
Welcome to Advanced ZBrush!
Course Overview
This course serves as a gateway to unparalleled proficiency and innovation. As you embark on this advanced journey, you are not only investing in your artistic growth but also joining a community of like-minded individuals dedicated to pushing the boundaries of digital design. Through a meticulously crafted curriculum encompassing intricate sculpting, advanced character design, and dynamic texturing, this class aims to empower you with the expertise needed to sculpt, refine, and present digital masterpieces. Your commitment to excellence is the driving force behind this collaborative learning endeavor, and I am confident that the knowledge gained will be a catalyst for your continued success in the realm of advanced ZBrush techniques. Welcome to a transformative educational experience that will undoubtedly shape the trajectory of your artistic endeavors.
Tools Recap
UI
The ZBrush UI aids to the core of the use of ZBrush. It always for access and the customization of what is possible with ZBrush and the tools it provides. For any questions regarding a tool, simply hover over the item in question with your cursor and hold Ctrl. This will expand the information given beyond just the name.
Dynamesh
DynaMesh is truly analogous of sculpting with traditional real-world clay. As you add volume to clay by stretching out details or laying on strips of new clay the actual consistency of the material remains exactly the same. So no matter how much volume you add, you still have the same capacity for sculpting. DynaMesh accomplishes the same thing, maintaining the uniform resolution and polygon distribution of your mesh. This is very unlike traditional sculpting methods which result in stretched polys if you push the surface too far – something that hampers your ability to do anything more with the surface in those areas. DynaMesh will truly free your sense of creativity.
Sculptris Pro
When the Sculptris Pro button is enabled all brushes that are compatible with Sculptris Pro mode will add triangle tesselation with each brush stroke. This mode will also deciamte where needed as the brush is applied to the surface.
ZSpheres
ZSpheres are an advanced ZBrush tool that permit ‘sketching out’ a 3D model (particularly an organic one) quickly and easily. Once the model has been formed using ZSpheres, it can be ‘skinned’ (a mesh can be created from it) for further sculpting.
There’s nothing like ZSpheres in other 3D programs, and the only way to learn their ins and outs is through experience. We’ll briefly touch on a few topics, and then leave you with some tutorials to study.
ZRemesher 4.0
Faster automatic retopology
ZRemesher will recreate a new polygonal structure for your model, with a controlled flow of polygons and a global polycount value. In just a few seconds you can convert a 200,000 polygon DynaMesh to a 10,000 poly retopologized model with a natural flow of polygons. From there you can project all the fine details from your original sculpture, easily generate UV’s with UV Master, and ultimately create your Vector, Displacement, Normal and Diffuse maps.
ZRemesher 4.0 brings speed and other improvements giving you greater control over the new topology.
Settings: Try working with the default settings before making any adjustments.
Mesh Integrity: for any errors that you may get with using the ZRemesher, try checking the mesh integrity found under the Tools Pallet > Mesh Integrity. Select “Check Mesh Integrity” let it run the operation. Then Select “Fix Mesh”. Once that is completed, try ZRemeshing again. This usually fixes the error.
Masking
The Tool > Masking sub-palette provides options for masking a 3D object. Masking modifies all sculpting or painting actions, whether applied directly or adjusted in the Deformation sub-palette.
Masks can be applied in two ways:
Paint them directly on an object by holding the CTRL key and paint the mask. While holding Ctrl different masking brushes can be selected.
Project the selected Alpha onto the object by holding the CTRL key and dragging over the top of the object. (Hold Ctrl to select the Alpha you want.)
Polygroups
Polygroups allow you to organize the mesh with visual grouping information. Polygroups are one way to organize your mesh. Another way is to use Subtools. Where SubTools create separate pieces of geometry, Polygroups only create separate selection areas. Your mesh is still one contiguous surface.
Polygroups are an extremely powerful way of working with your mesh. Various functions, such as the Insert Mesh brushes, use Polygroups.
There are many options for creating Polygroups. The controls are in the Tool > Polygroups sub-palette.
Ctrl+Shift+x
Ctrl+Shift+s
Ctrl+Shift+a
SUBDIVISION LEVELS
Subdivision is probably familiar to most users of modeling programs; it increases the polygon count of a model by replacing each polygon with multiple polygons. The most commonly used subdivision scheme is the Catmull-Clark method, which also moves vertices as it subdivides, so that a low-resolution cage can give a high-resolution smooth surface.
Smoothing
Edge Support
Dynamic Subdivisions
The Dynamic Subdivision system contains alternative functions to ZBrush’s Classic Subdivision Surface mode, allowing you to apply dynamic smoothing to your models without actually dividing the polygons. This feature is mainly designed to work in association with the ZModeler brush and low polygonal models.
The default Dynamic Subdivision mode is similar to the classic subdivision surfaces previously used by ZBrush. Applying a single subdivision level with Dynamic Smooth Subdivision mode active gives the same result as simply subdividing the model once in previous ZBrush versions.
Settings
Thickness
Micromesh
Quicksketch
To get started, all you need to do is click the QuickSketch button. ZBrush will set up the canvas and pick a brush ready for you to start drawing. Symmetry is switched on by default but you can turn this off by pressing the X key or through the Transform palette (where you can also change the axis if you wish).
There are several new brushes especially designed for use with QuickSketch: you’ll find them in the Brush palette and their names all begin with ‘Pen’, such as Pen Shadow, Pen Sketch, Pen Fur and so on. Experiment to find out which best suits your style.
Symmetry
Symmetry allows you to sculpt one side of your model and have the other side update with your changes as well. There are three types of symmetry:
Symmetry across an axis
Poseable symmetry
Radial symmetry
The Symmetry controls are in the Transform palette.
LazyMouse
Advanced controls for your sculpting and painting brush strokes. The LazyMouse v2 is an enhanced version of the original LazyMouse, giving you accurate control of your strokes. The updates bring new creative processes where you can continue from your previous stroke, as well as allowing your strokes to cross over each other without buildup.
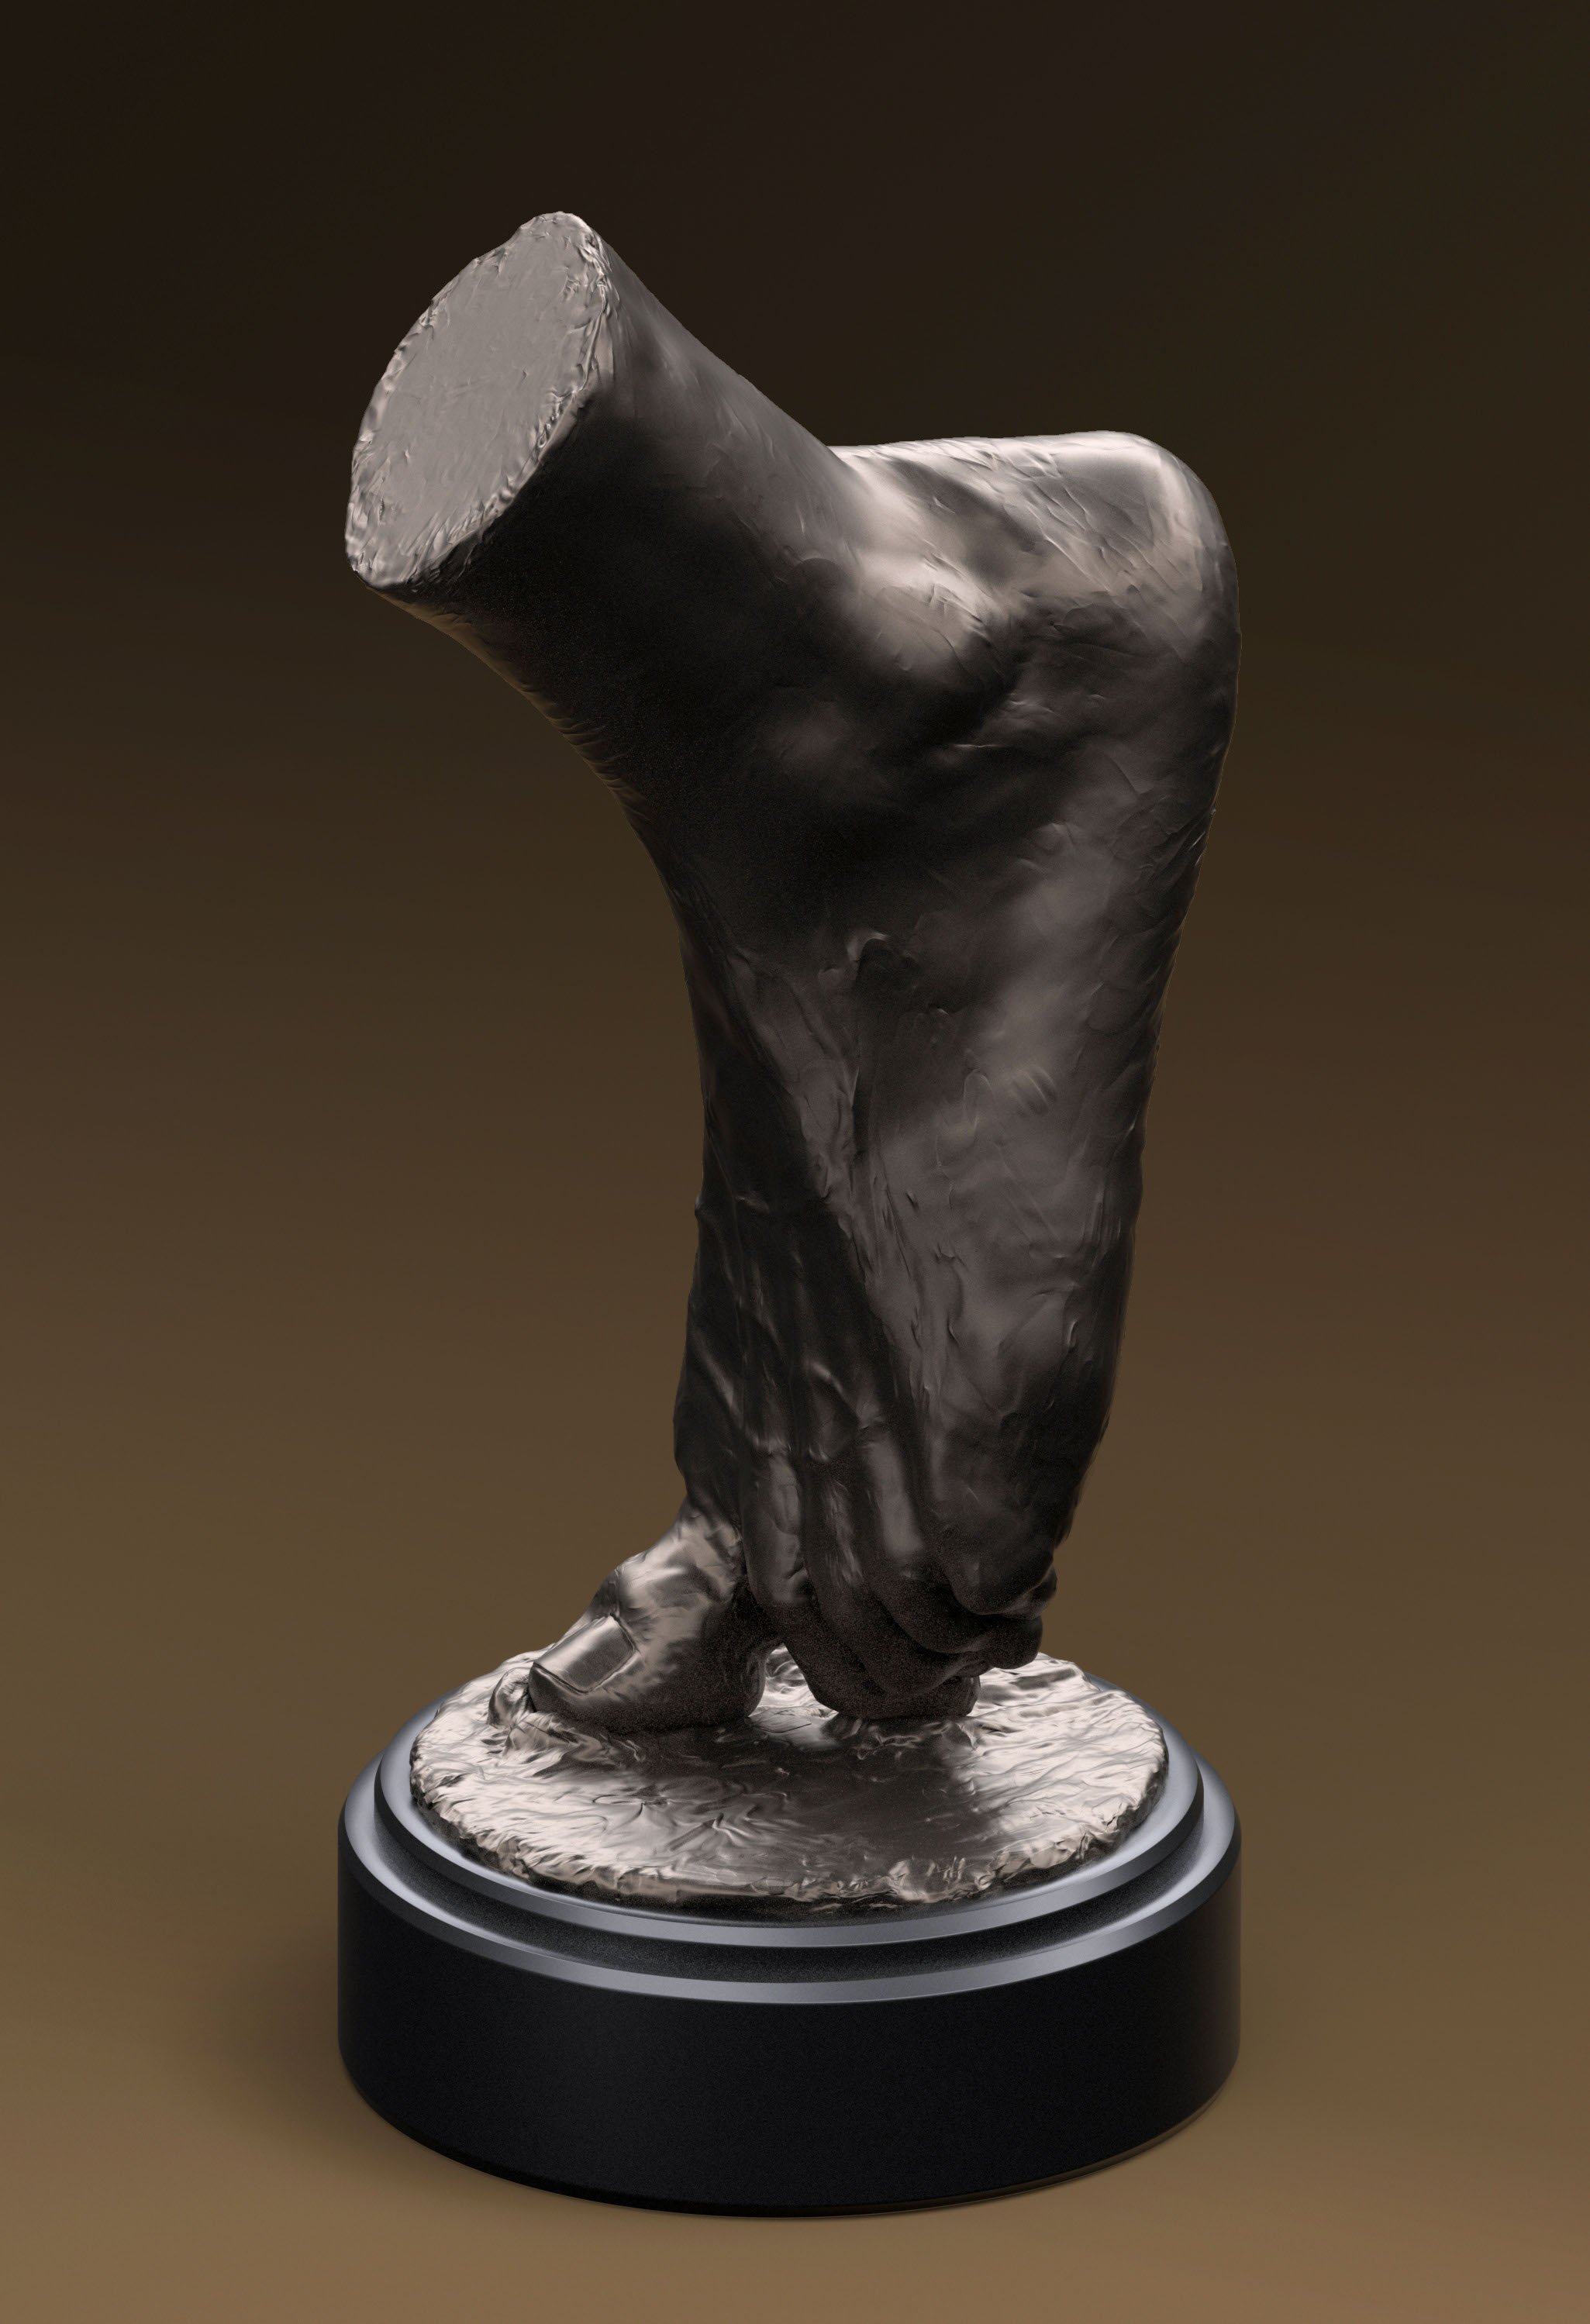
Source: ZBrush DocumentationProject Format


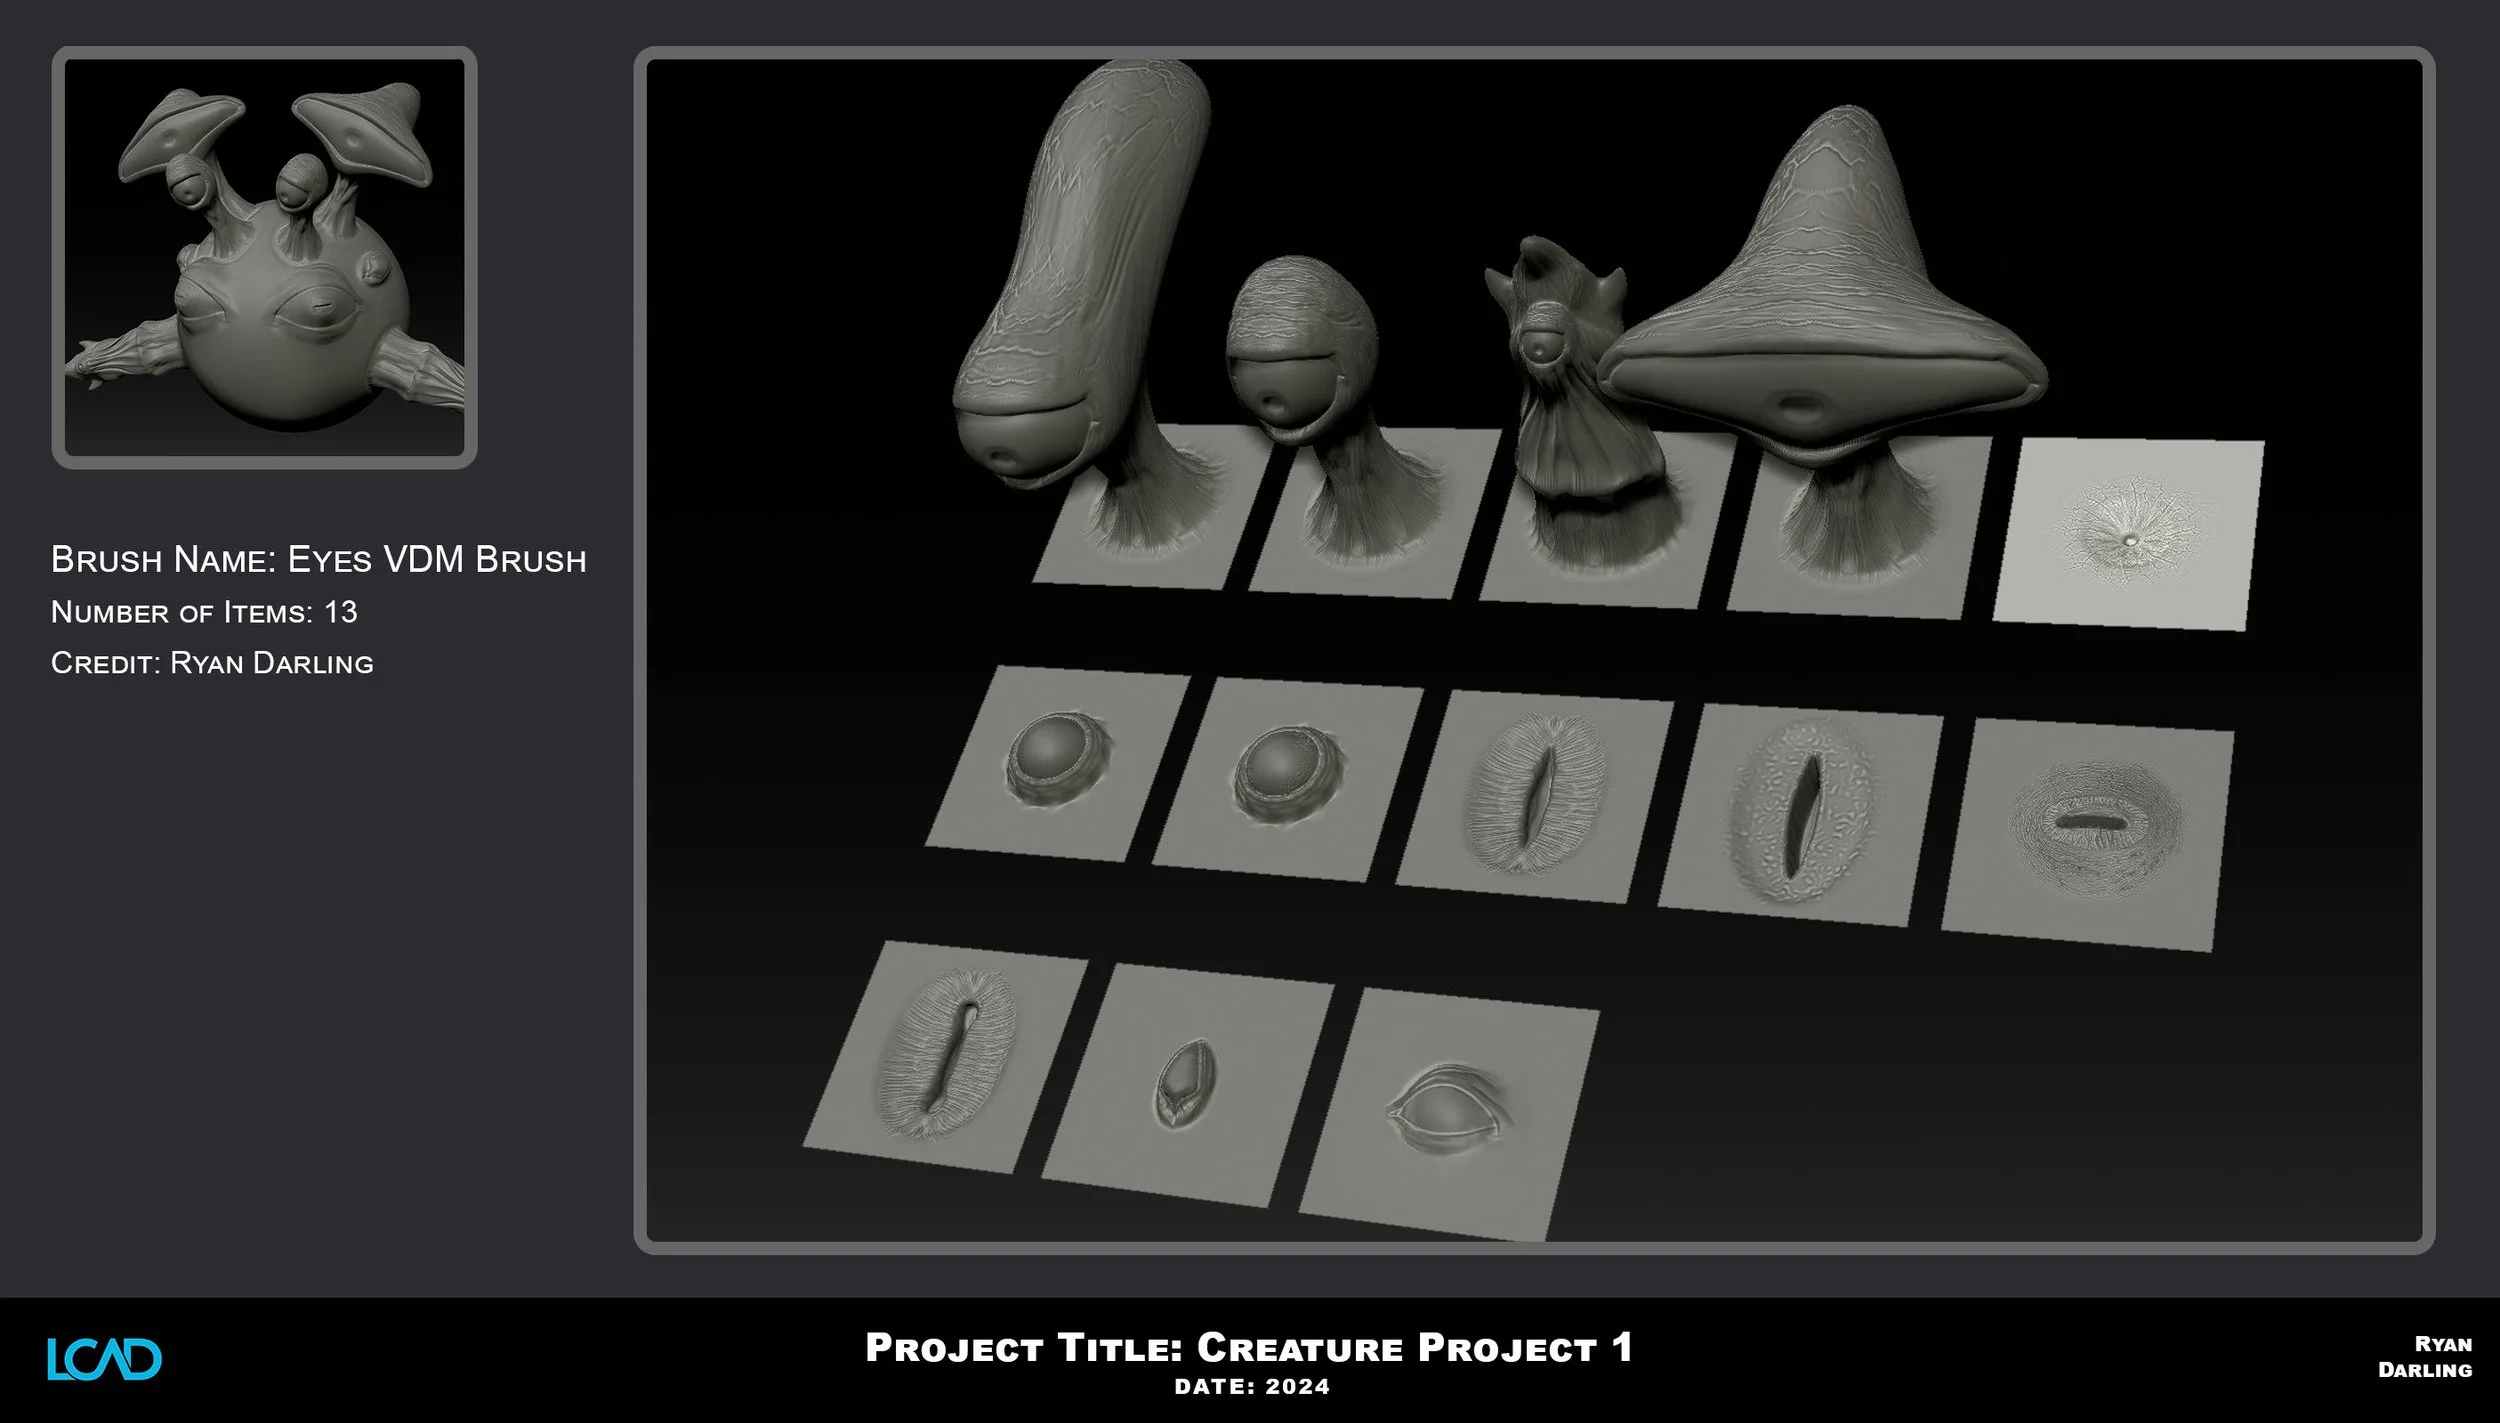


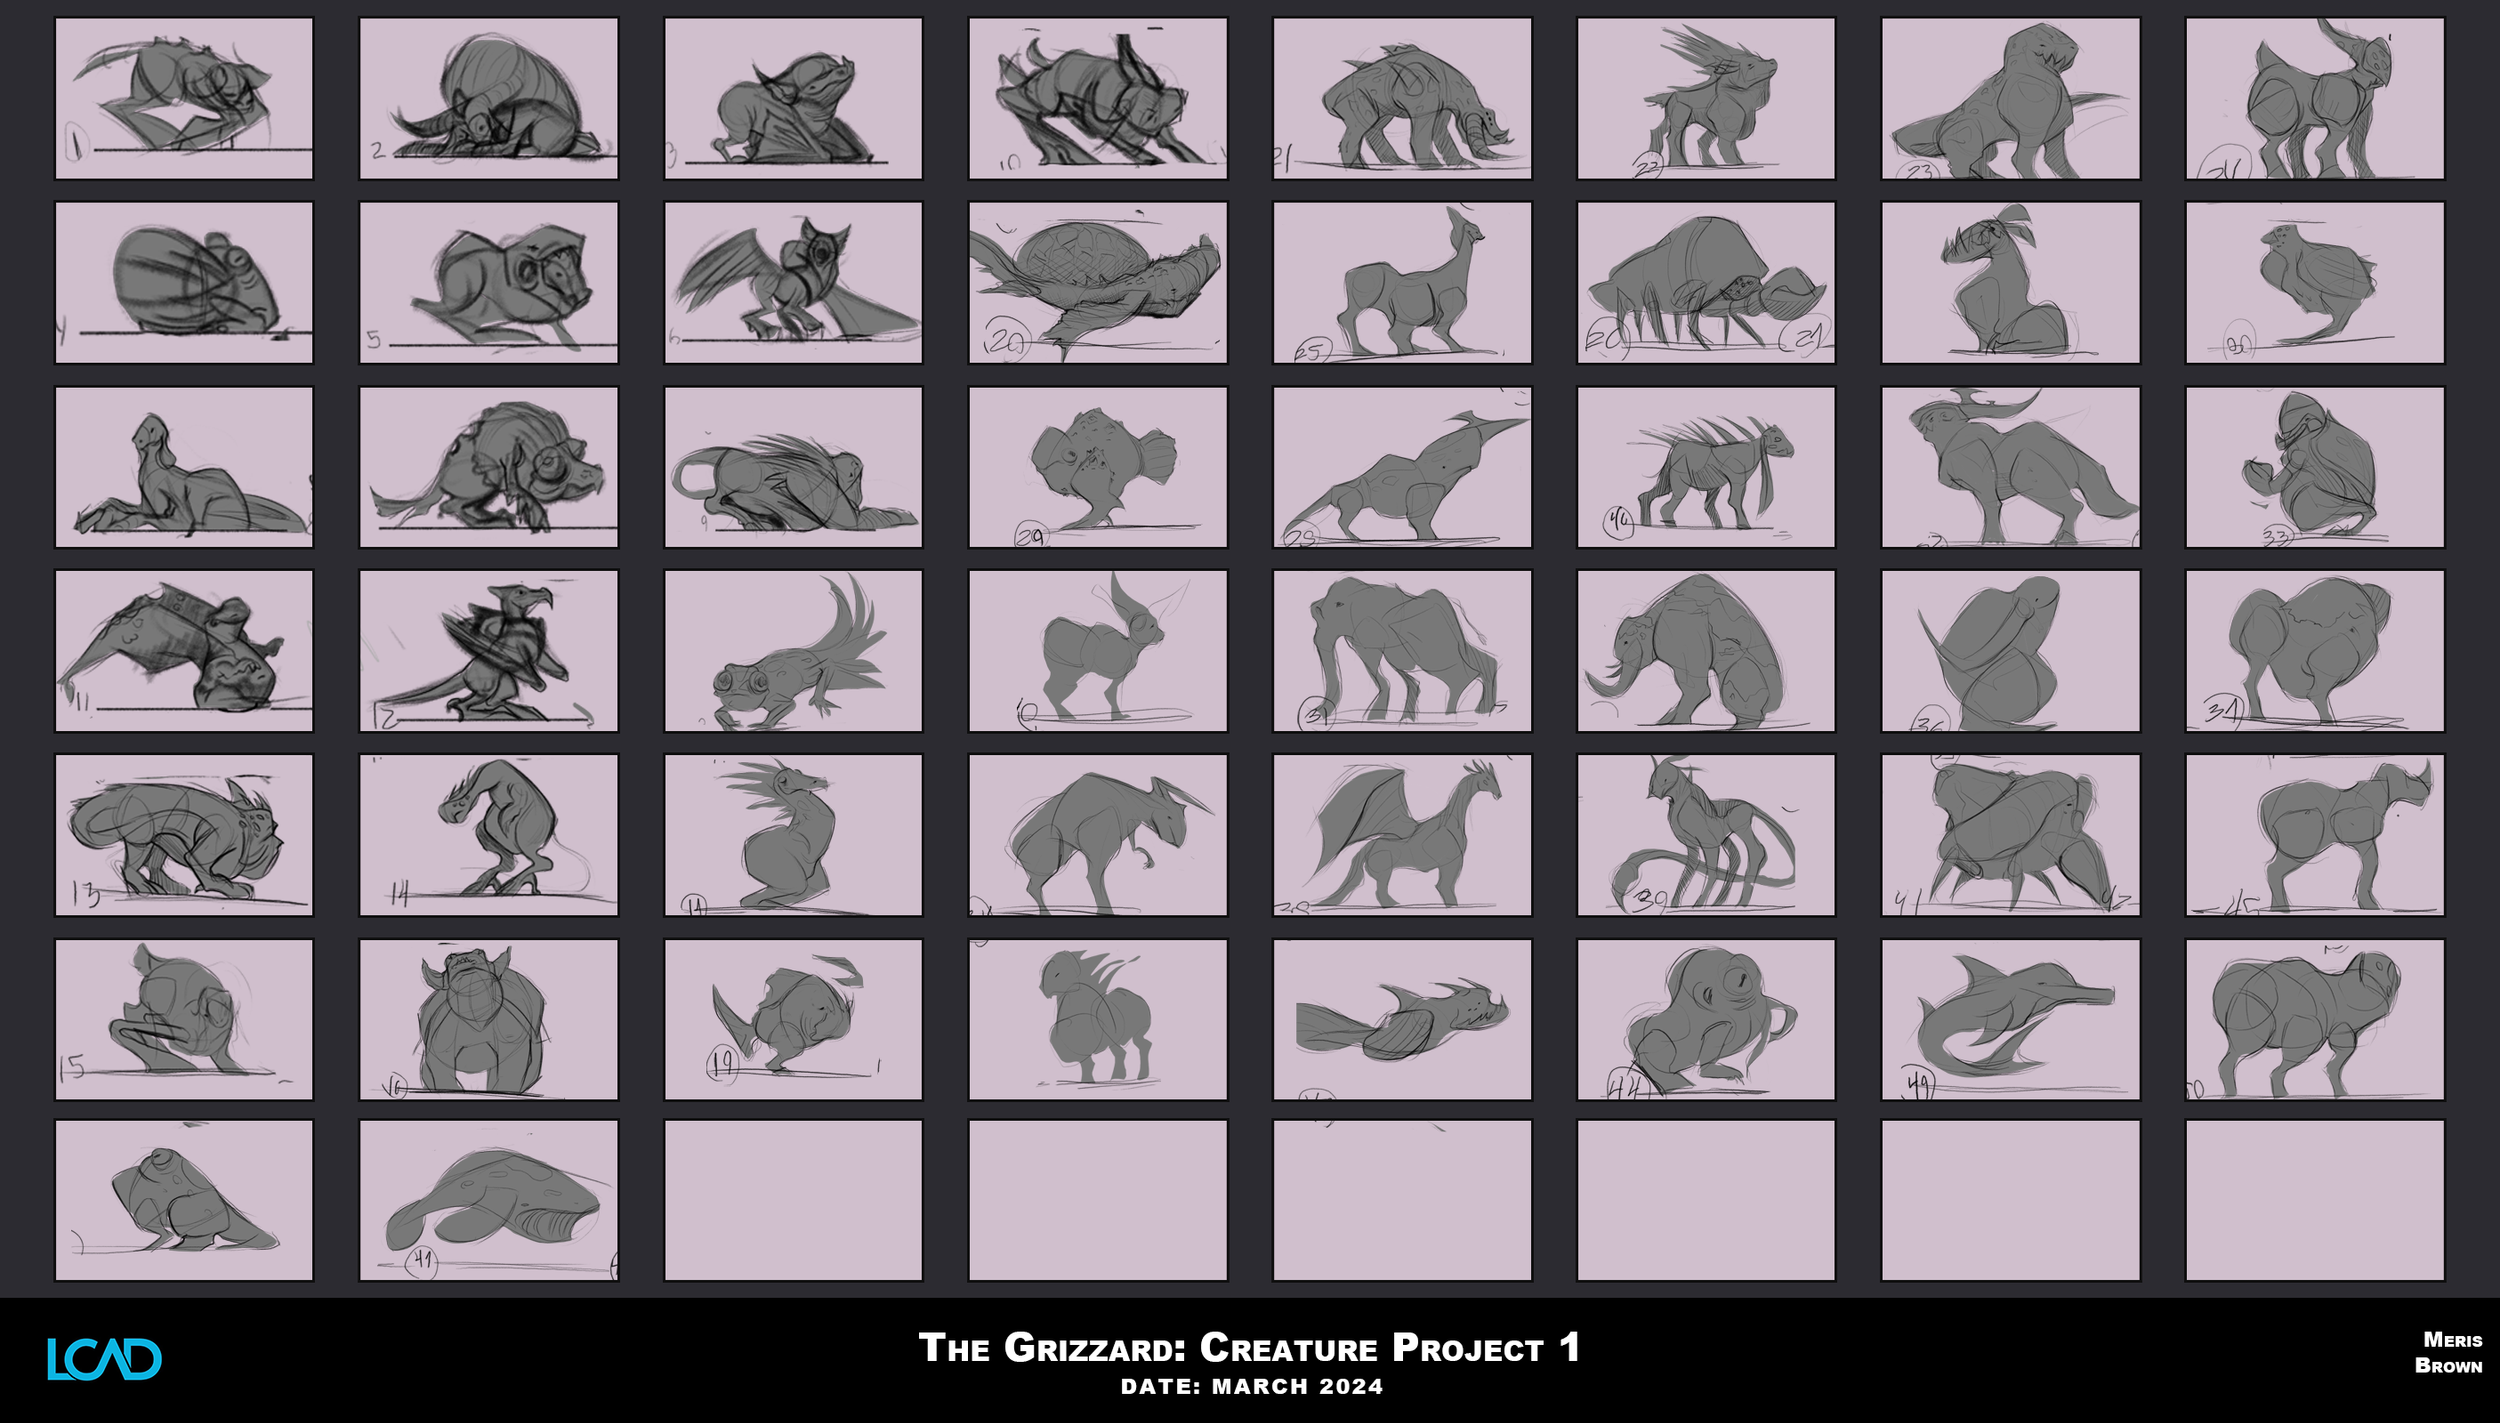
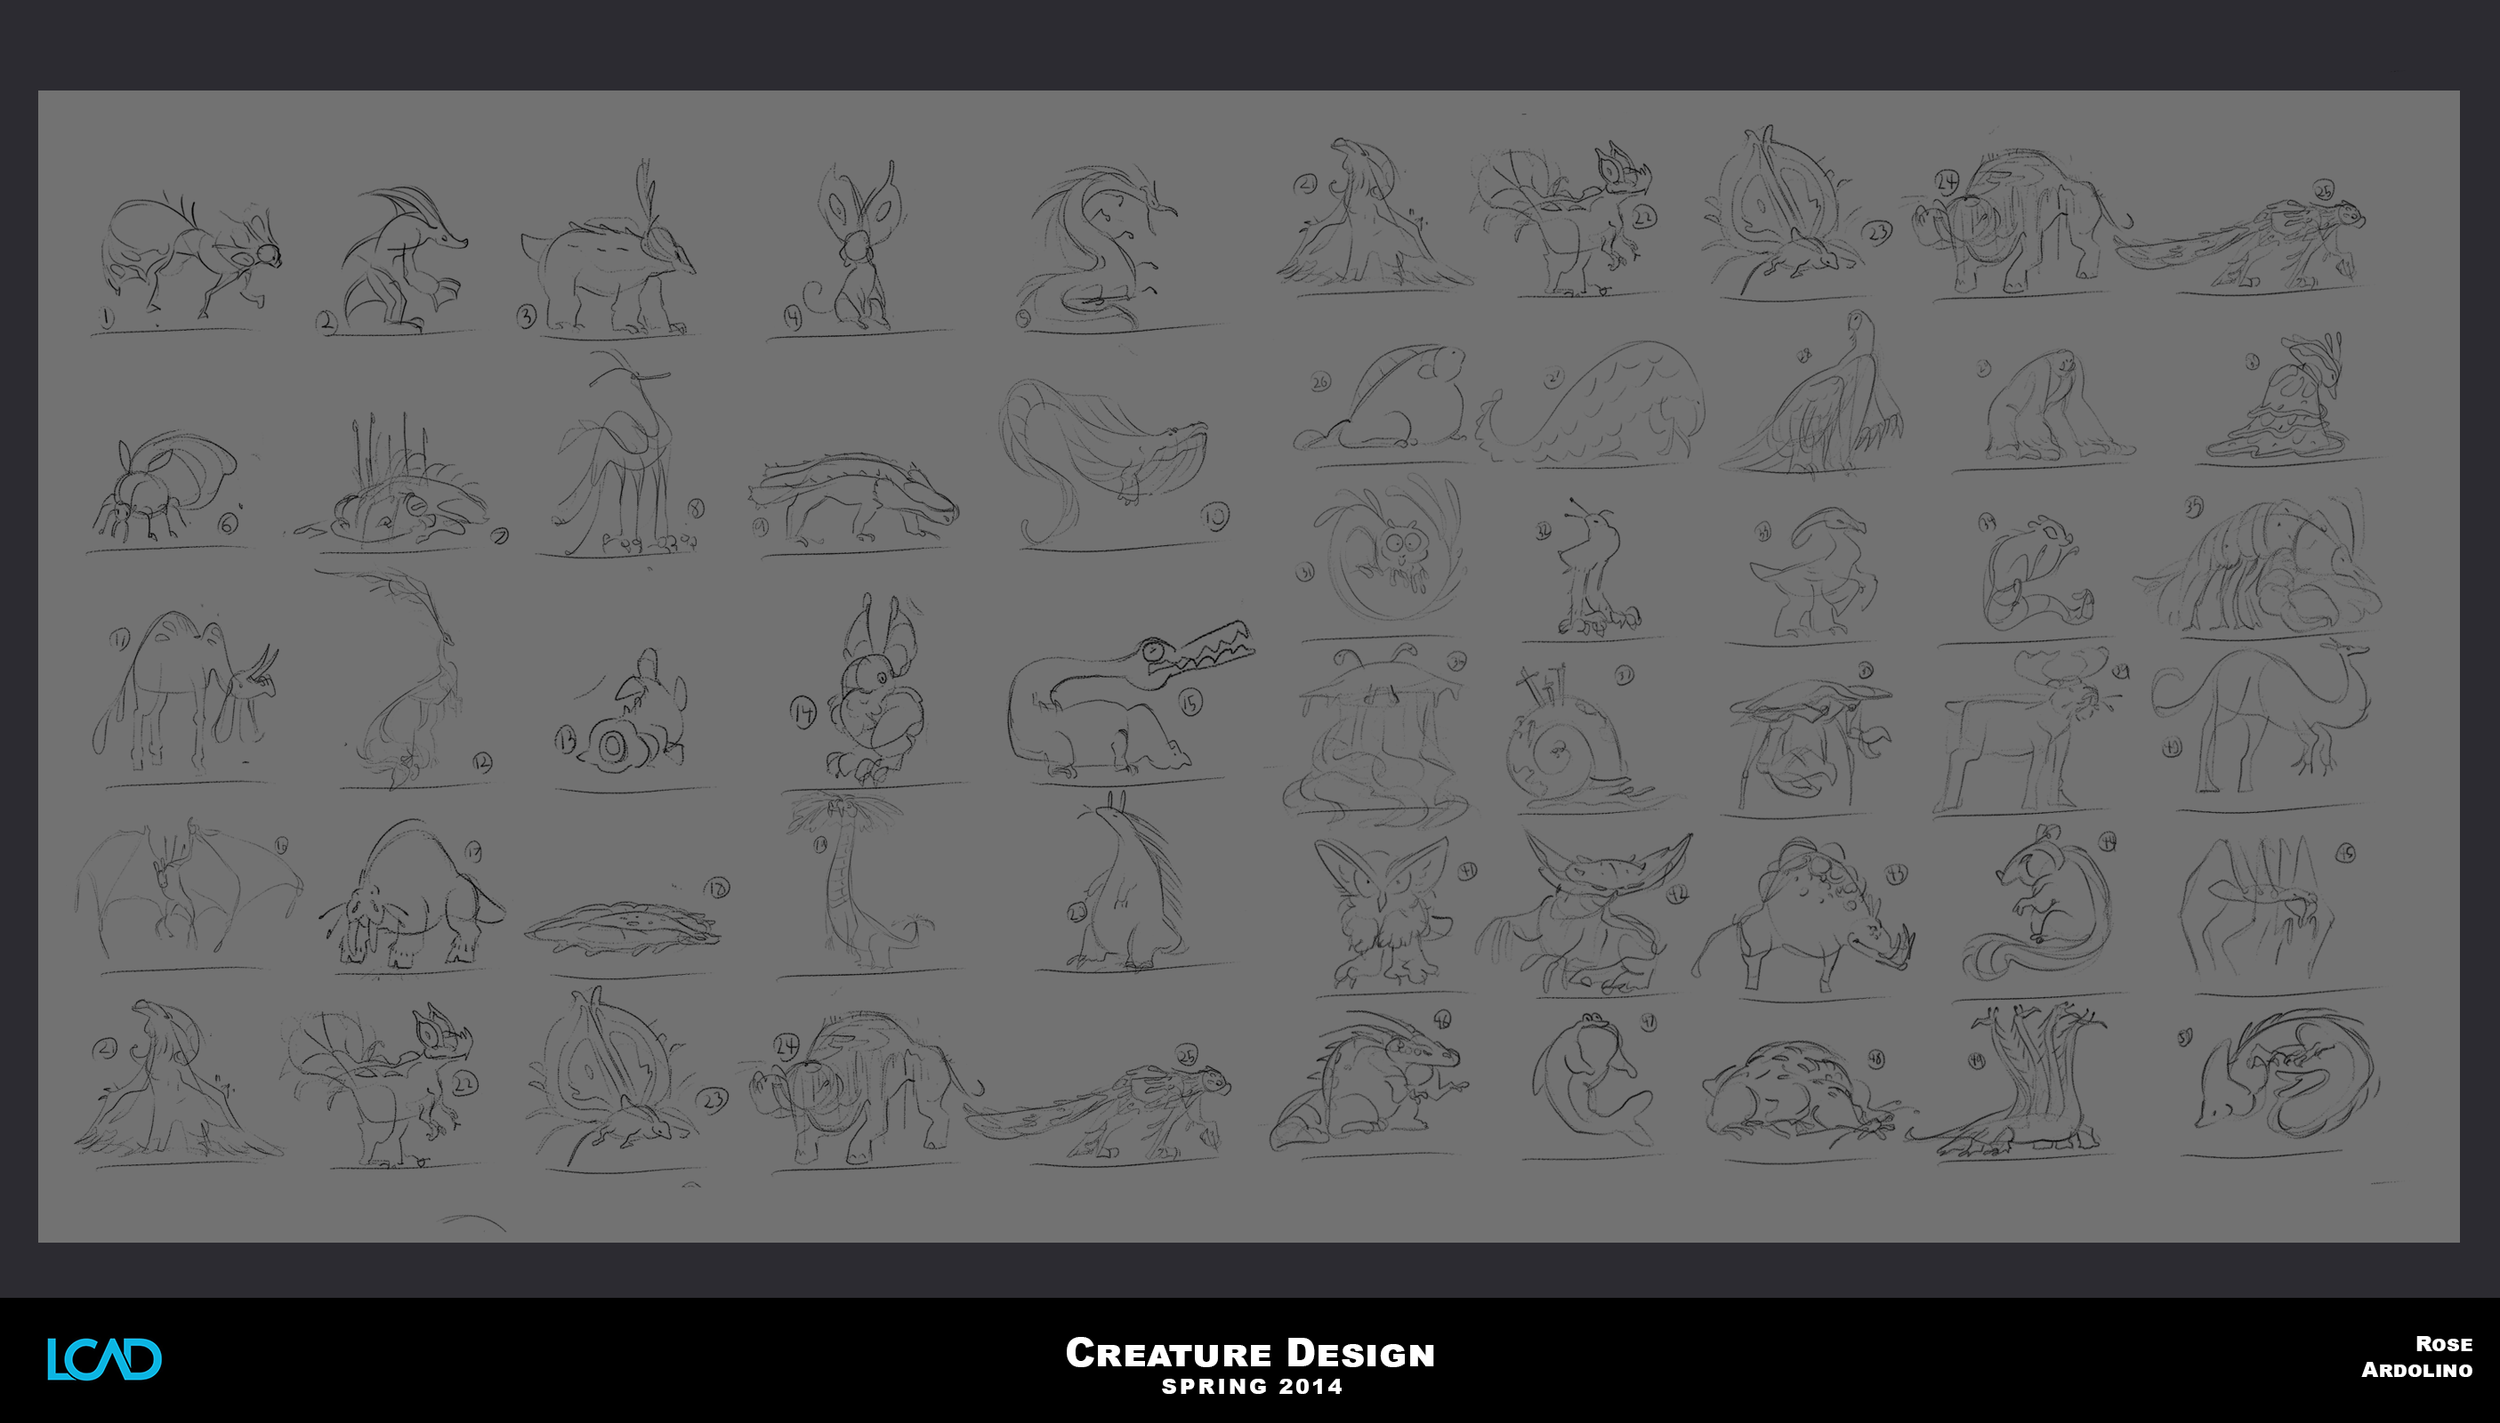
Past Student Work


For our first assignment, we will be modeling a creature according to the designs you refine from your sketches. Having a high volume of thumbnail sketches will serve you best for establishing the uniqueness of your creature design.
As you move forward into your refinement stage, I’ll be introducing you to both new and old concepts to help establish your designs into a final piece with a photo finish presentation.
This will be the first of two major assignments for this class. You will have until midterms to get this done.
It is important to document your process as you move forward through your project. Keep in mind all that you have available to capture your work, i.e.: Screenshot’s, OBS video recordings, Sketches, Turntables, history outputs, etc.
Project PHASES
PHASE 1:
50 Thumbnail Sketches. This phase will begin our creature design process. The goal is to not spend more than 5 min on each gesture. Push through until you have a good 30 - 50 silhouettes to work with. Once you have an approved silhouette, you are ready to move onto the next phase of the project.
PHASE 2:
Build simple form in a symmetrical pose. Do not go too fast. It is important to refine your big and simple shapes first before moving onto smaller details.
PHASE 3:
Anatomy Refinement. This phase will require you to study your animal anatomy. Break down your design into anatomical traits and then study what under lying anatomy is required to achieve that look.
PHASE 4:
Details 1st Pass. This process will bring us to the use of the Damion Standard brush. This first pass of details will give us the opportunity to break down the surface into functional texture sensitive to the movement of the creature.
PHASE 5:
Tools and Assets. Here we will begin the process of building brush tools, other subtools and you’ll be working with alphas and VDM data to help block out the Trichy detailed forms that we will need to build into our creatures.
PHASE 6:
Details 2nd Pass. In this phase we will refine our overall details to a high fidelity finish. This phase will be completed with a clean topology on our models. No Dynamesh is to be used from this point on.
PHASE 7:
Posing. There are various ways to pose. Each approach will come with its own set of do’s and don'ts. For this stage, we will likely be touching on all the various way to pose our models. This will involve working with ZSpheres, Proxy pose, Stager, and T-Pose Master.
PHASE 8:
Presentation. For our final focus we will take a deep dive into all the most common ways to accomplish the best outputs for rapid productions with a high quality of finish. This will take us outside of ZBrush and into other titles in line with industry standards.
Our final presentation will utilize the template slides that I will be providing to you.
Assignment 1
Action Items
Read and refamiliarize yourself with the tools listed above.
Sketch your 30 - 50 plus creature thumbnail designs
Watch Video 1: Creature Design for Film: Artist Panel
Watch Video 2: Push Your Limits: Attempting the 500 Creature Thumbnails
Watch Video 3: Class Sketching
Watch Video 4: ZBrush Refresher
Find Favorite ZBrush Artist on ArtStation
Lets Connect
This link is time sensitive so grab it now!
This server will be the heart of the class outside of our scheduled time to meet. This has served students well for gaining peer and mentor feedback. If you need to reach out to me personally, share your ZBrush screen, to chat, or set up a time to meet via video chat, then this is the space for you!
I’ll also be sharing link from other artists and giving you random tips and tricks as they come.
!! IMPORTANT !!
Once you’ve connected to the server, find the Channel that says “#introductions” Type your name and say hello so I know who you are.
Access available on all devices.
Resources
Pinterest Link: Animal Reference
Pinterest Link: 3D Design: ZBrush
Sketching and Getting Started