Week 5 | ZSpheres and Subdivision | Building Form and Resolution
Class Agenda
Introduction to ZSpheres and their role in creating base meshes.
Understanding Subdivision levels and smooth sculpting techniques.
Using ZSpheres to create a hand in pose.
Critique
DEMOS:
ZSHPERES & ZSKETCHING
Setup
Traditional ZSpheres
Make sure symmetry is activated on your brush
Create a ZSphere found in the tool pallet.
Tool>Select ZTool>ZSphere
Drag out a ZSphere onto your canvas
Press T
Draw additional ZSpheres from the first ZSphere
TIP: When moving spheres, its best to keep your brush size at 1. This will help the behavior of the ZSpheres to act more predictably when manipulating your ZSphere creations.
SCULPTING DEMO
Shadowbox
The shadowbox feature in ZBrush is a powerful tool that allows artists to create complex forms rapidly by creating 3D objects from silhouettes drawn on the side of a plane from the masking functions from holding Ctrl from any brush.
To get started, create a subtool in your subtool sub pallet. Any poly mesh based object will do. Find “ShadowBox” under Tool > Geometry > ShadowBox. Adjust the resolution as needed. To commit to your design turn off ShadowBox to work on and refine your model. The resulting mesh can be manipulated further, giving you the ability to produce intricate designs with ease.
Once you have your base shape, you can refine the details by masking areas, adding texture, or applying various brushes to enhance your design. Additionally, you can combine ShadowBox with other features like Dynamesh or ZRemesher to achieve even more. Experimenting with these tools will help you harness the full potential of ShadowBox, making it a valuable addition to your ZBrush workflow.
Quicksketch
To start using the Quicksketch feature in ZBrush, first ensure you have the software open and a blank canvas ready. Navigate to the ZPlugins Pallet and open the QuickSketch and click on the QuickSketch button. Now begin to draw in symmetry. Everything needed to get started is automated. To clear your work, use the Preferences > Initialize to clear ZBrush.
This can be a useful tool to quickly sketch out ideas and build quick designs. This feature allows you to select different brush options to help visualize your concepts, enabling you to experiment freely without the constraints of formal modeling at this stage.
Quicksketch is an excellent way to speed up the ideation process and nurture creativity within ZBrush.
Slime Bridge
The slime bridge feature in ZBrush is a powerful tool for creating smooth connections between two surfaces or elements in your 3D model. To use it effectively, first mask the two areas you want to connect.
You can find this feature under Tool > Slime Bridge. Tip: Use smaller settings to get started. A little bit can go a long way.
Project 2 | Hand Study
No other part of the human body can morph it’s form anywhere close to what the hand is capable of. I often think how the hand reminds me of the deformation seen within an octopus. Both can spread flat on a surface, ball up onto itself, and conform around other objects for gripping and holding. However, unlike an octopus our hands can’t change color and are limited to the ridged bones within. Yet like the wagging tail of a dog, they can expressively give away our internal feelings before we even utter a single word. Entire languages are predicated on the ability for hands to be able to shape and form gestures. It’s often said that body language is a high percentage of communication, some say 90%. And let us not forget sleight of hand. The ability to tell a story visually can deceive even the most careful of observations. They can be both offensive and inviting. The design of the human hand is why mankind continues to advance.
The irony of it all is that some of our best references, our own hands, are the very thing just in front of controlling our artistic tools as we struggle to capture its form. Broken anatomy of the hands and feet are always the first thing we as the audience tend to notice, yet we see our hands every day. Great anatomy starts with studying the figure and the efforts of master artists that came before us. There is no shortage of great drawings when it comes to hands. All great artists have studied both artistic and scientific anatomy. Lysippus, Villpru, da Vinci, Michelangelo, and Netter are all renowned figures who have made significant contributions to the field of art and the study of anatomy, each bringing their unique perspectives and techniques to the table. They implemented the internal mechanics and elegance of the human form to their work.
Assignment
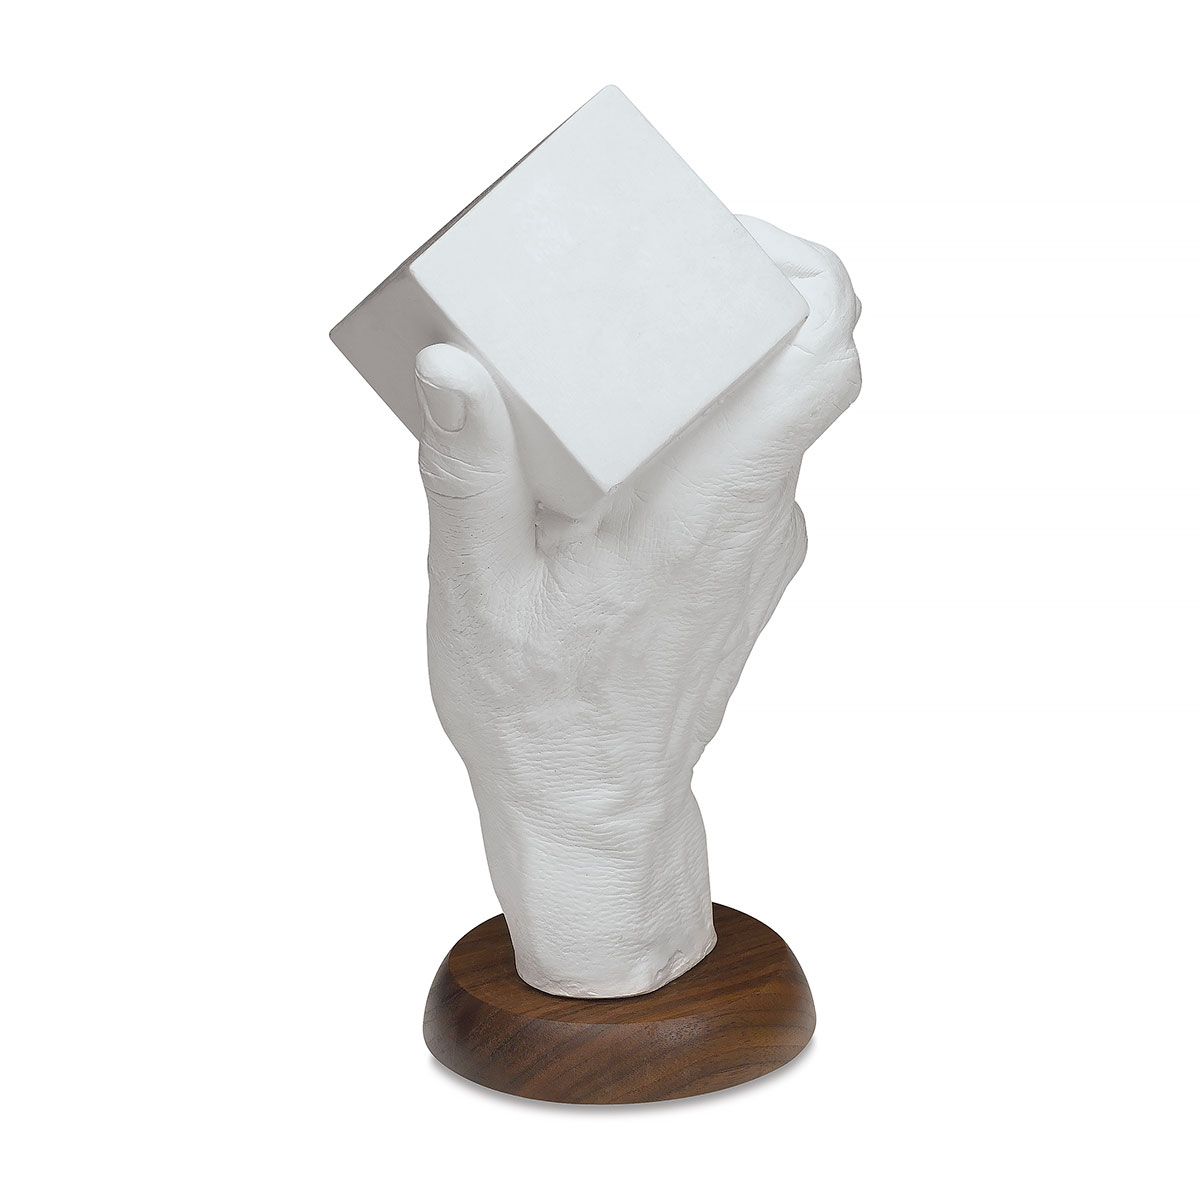
For this assignment, we will be creating a hand in ZBrush starting with ZSpheres. The first part will be to build the hand in a relaxed pose. Once that is achieved, you will then pose it with a privative object or other object of your choosing. Give careful consideration to your final presentation. Aim to give your work some personality. Seek reference for ideas. Make sure you include a base to display your study.
Requirements
Create a hands using ZSpheres and practice sculpting on different subdivision levels.
Hand must be holding a primitive object, i.e.: Sphere, Cube, Cylinder, Pyramid, Cone, etc
Hand must be in a pose
TIP: use the golden mean for your proportional measurements
REFERENCES
Examples