
Week 12 | 2D Output
Rendering in ZBrush and Compositing with Photoshop
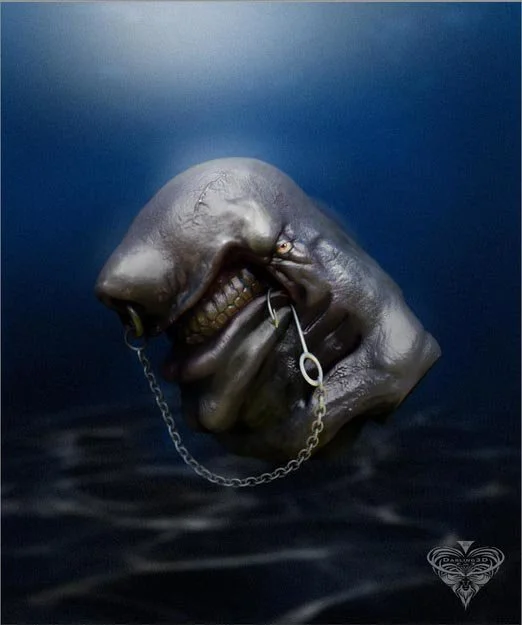


Part 1: Rendering Phase 1 & 2
Intro
Core Passes (07:52)
Lights (12:18)
MatCaps (21:57)
Part 2: Compositing Phase 3 & 4
Layer Setup (00:00)
Prep our Layers (19:03)
Layer blending (22:23)
Lighting (29:38)
SSS and Colored Light (39:04)
Adding the eyeball (57:10)
Touch ups with the Smudge Tool (01:05:10)
Working the Foreground and Background (01:10:11)
Chains (01:24:03)
Upscaling (01:27:57)
Adjusting Globals (01:29:24)
DOF (01:30:33)
This process will cover four phases of what is required to accomplish your image composite:
Phase 1: Setting up your Lights and Cameras.
Phase 2: Matcaps
Phase 3: PS Setup
Phase 4: PS Layer Compositing
First we’ll look at these phases in depth. Be sure to note the list of passes listed below for a typical usage. To follow along you can grab the demo files here.
Phase 1: Setting up your lights and Cameras
Overview
Create as many Light Passes as you need. Ultimately you are the one who is in control of the lights. Don't feel that you have to use all of them in your final composite. Create 2 light passes for each of your light passes with both the Blinn and JellyBean MatCaps Material turned on. Start with turning them all on, set to screen and then turn them all off. Progress with your lights one by one.
Render the following light layers and save them into a “Light Maps Folder” within your project.
Step 1:
Create custom camera position, set focal length somewhere between 28 - 35mm. Lock the Camera.
Step 2:
Set up your Render globals.
Render > Properties
Details: 4
Note: This is the point where you’d want to turn on your, Live boolean, Microomesh, and any additional passes that may not be turned on with ZBrush factory settings, i.e.: Transparency, SSS, WaxPreview, etc.
Render > BPR Shadow
Rays: 400
Angle: 30 ish
Blur: 1
Step 2:
Fill light, adjust 1st light into position
ZBrush Settings: Front Light, Blinn Matcap, Black RGB, Intensity = 3.65, Ambient 3
PS Layer Mode: Lighten - Lighter Color
PS Usage: Mask into areas where needed
Step 3:
Key light, adjust 2nd light into position
ZBrush Settings: Front/Side, Light Blinn Matcap, Black RGB, Intensity = 3.65, Ambient 3
PS Layer Mode: Lighten - Lighter Color
PS Usage: Mask into areas where needed
Step 4:
Rim light, double tap light position on pallet to switch light to back of sphere. Adjust 3rd light into position.
ZBrush Settings: Rear/side Light, Blinn Matcap, Black RGB, Intensity = 3.65, Ambient 3
PS Layer Mode: Lighten - Lighter Color
PS Usage: Mask into areas where needed
Phase 2: Matcaps
Step 1: Visit the ZBrush Free Matcaps repository at Pixologic.com/resources
Step 2: Render the following Matcap layers and save them into a “Matcap Folder“:
Frame01 (Included with ZBrush)
Reflected Map (Included with ZBrush)
Reflect2 (Included with ZBrush)
Metal (Included with ZBrush)
Metal01 (Included with ZBrush)
Normal RGB Map (Included with ZBrush)
Phase 3: PS Setup
Overview
Below is a quick list for how to stack your layers. This will serve as a base for how to get started. Build your layers stack to match below as a base. Make adjustments accordingly to fit your own specific needs.
Tip: Once your layers are stacked accordingly, create a duplicate window under “Window > Arrange > New Window for (Filename.psd)” or open your navigation window for single monitors
Core Layers I
Shadow
AO
Depth
Soft Solar
Lights Group
Fill
Key
Rim
Core Layers II
Flat Color
MatCaps
Reflected Map
Reflected Map 2
GK_Bubble_Gum
Metal01
Frame01
SL_Skinmat2
Skeleton
Skin04
Core Layers III
Base
Black Background
Phase 4: Layer Compositing
Recap
Step 1:
Import maps if you haven’t already
Step 2:
Put light passes into layer groups
Step 3:
Put Matcap passes into layer groups
Step 4:
Start with all layers turned off except “Base”.
Step 5:
Set up duplicate window zoomed out.
Step 6:
Set modes on all MatCaps layers
Step 7:
Set modes on all Light Passes.
Don’t feel like you have to use every light.
Step 8:
Composite Layers accordingly with an artistic eye
Consider adding color and contrast into the background to help with your final presentation.
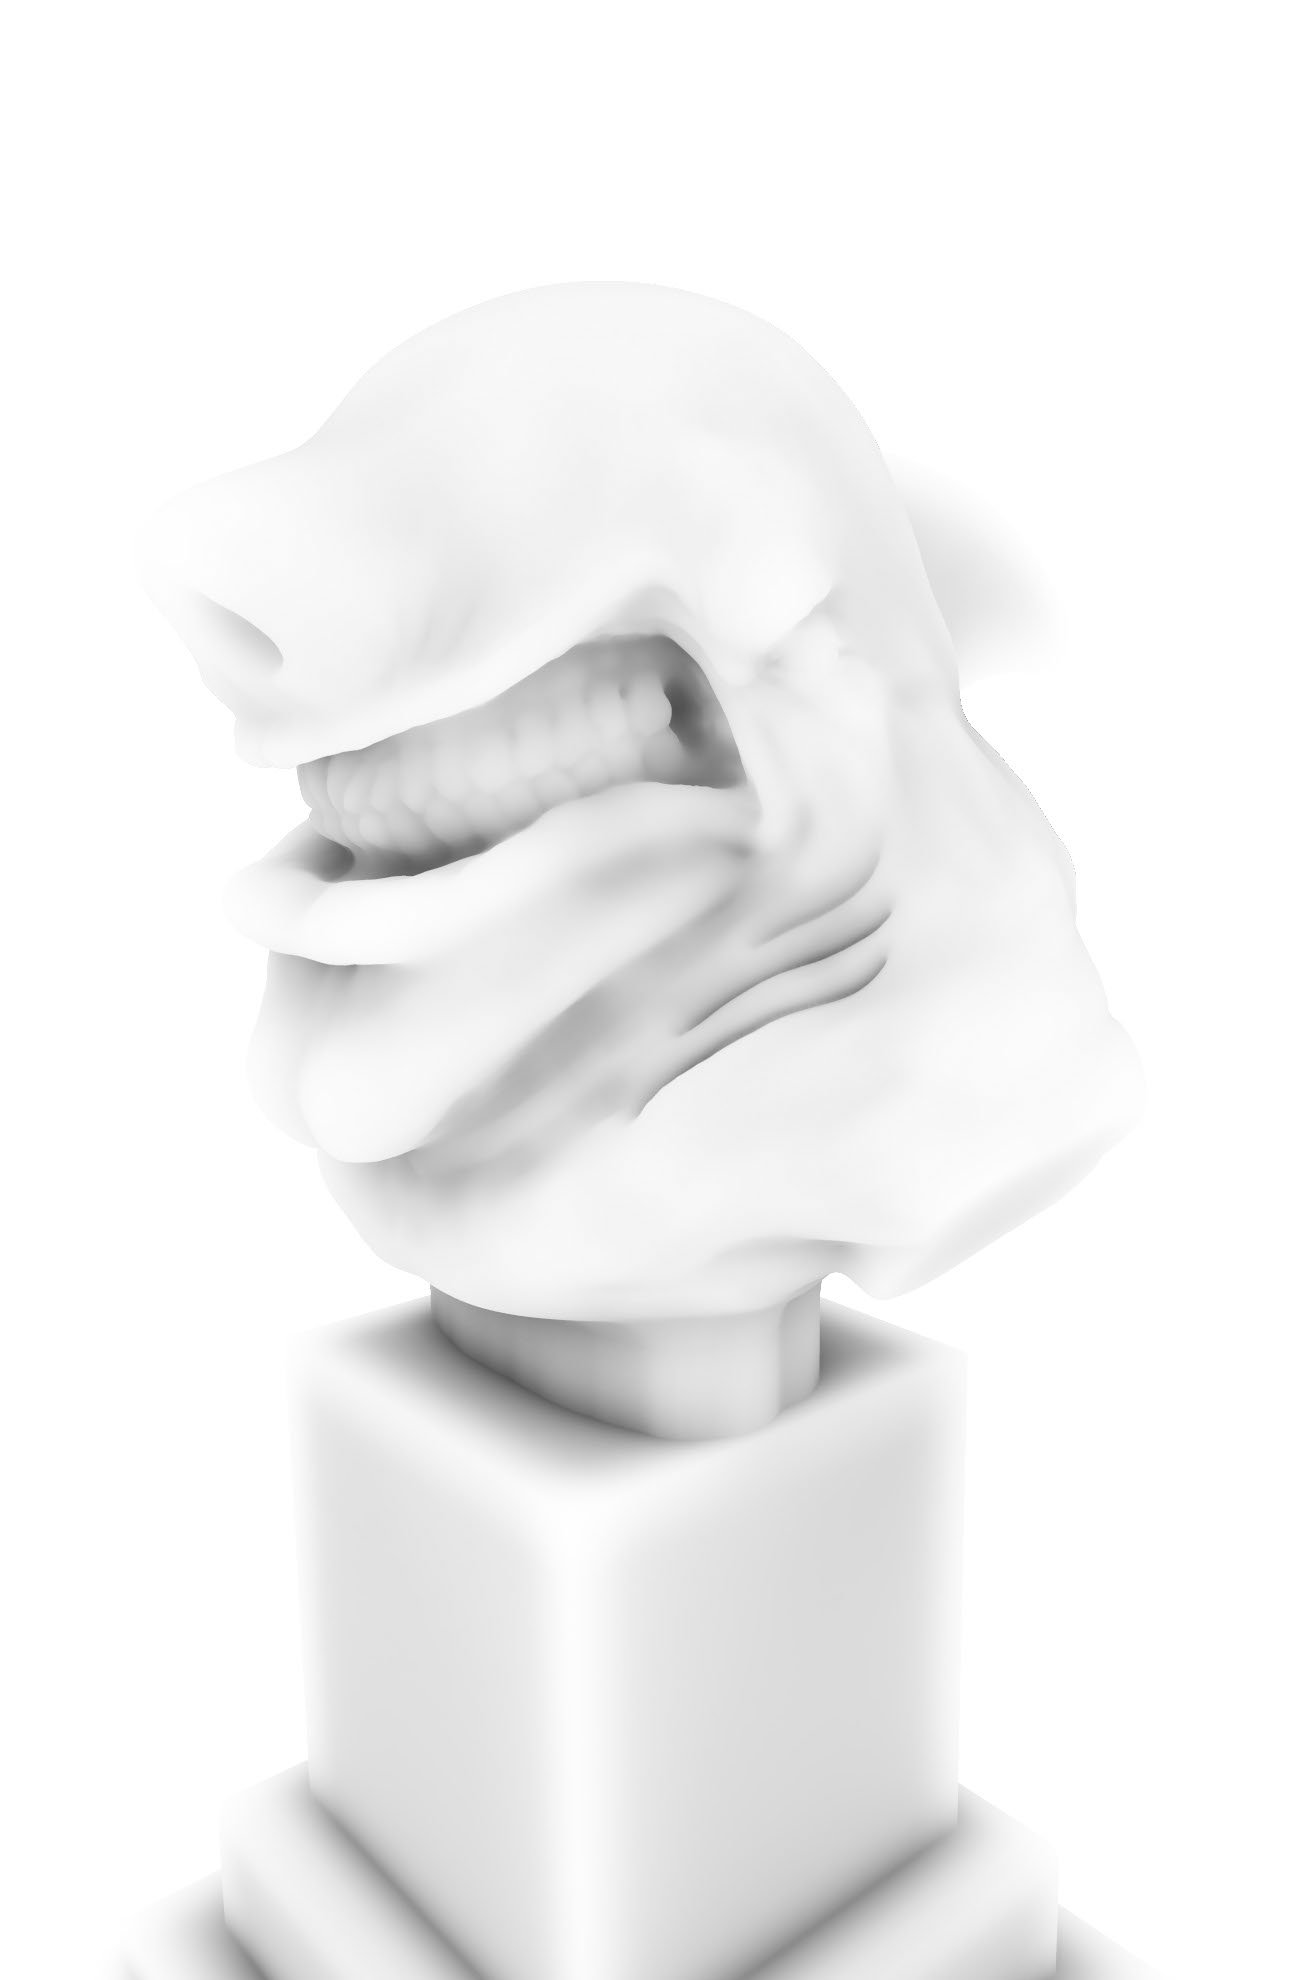
Core Maps Overview
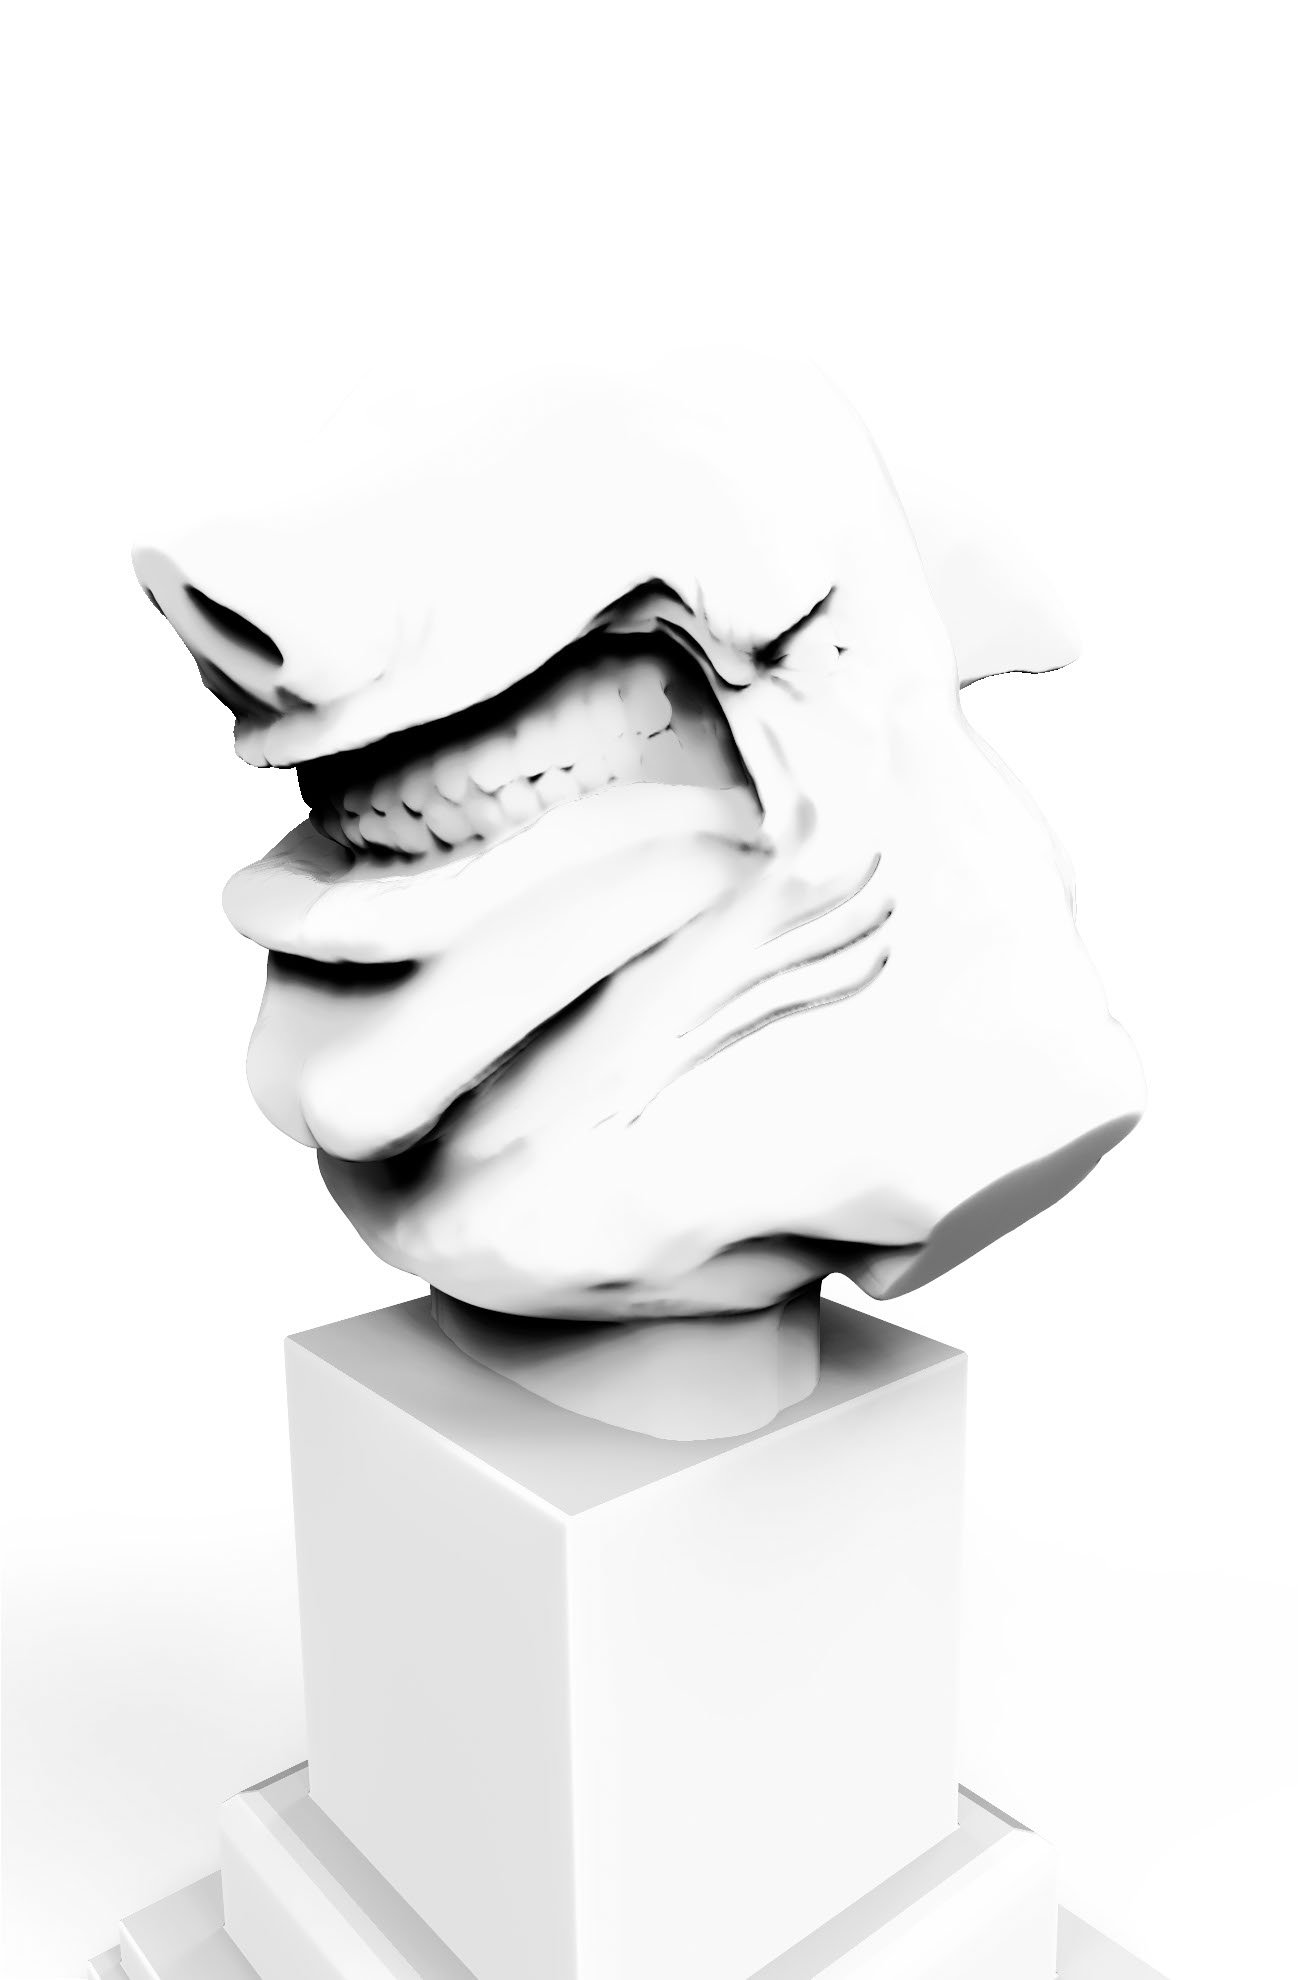
Base Map |
Purpose: Provides skin-like properties to your surface.
ZBrush Setting: Best Render with a single light and shadows turned on
PS Layer Mode: Normal
PS Usage: Foundational bottom layer to catch the composite of all above layers.
AO Map |
Purpose: To add values to the form. within occluded areas where light naturally terminates. Using your levels can help adjust your Values.
ZBrush Setting: “Best” Rendered. AO Default setting. TIP: Increase
PS Layer Mode: Multiply
PS Usage: Standard
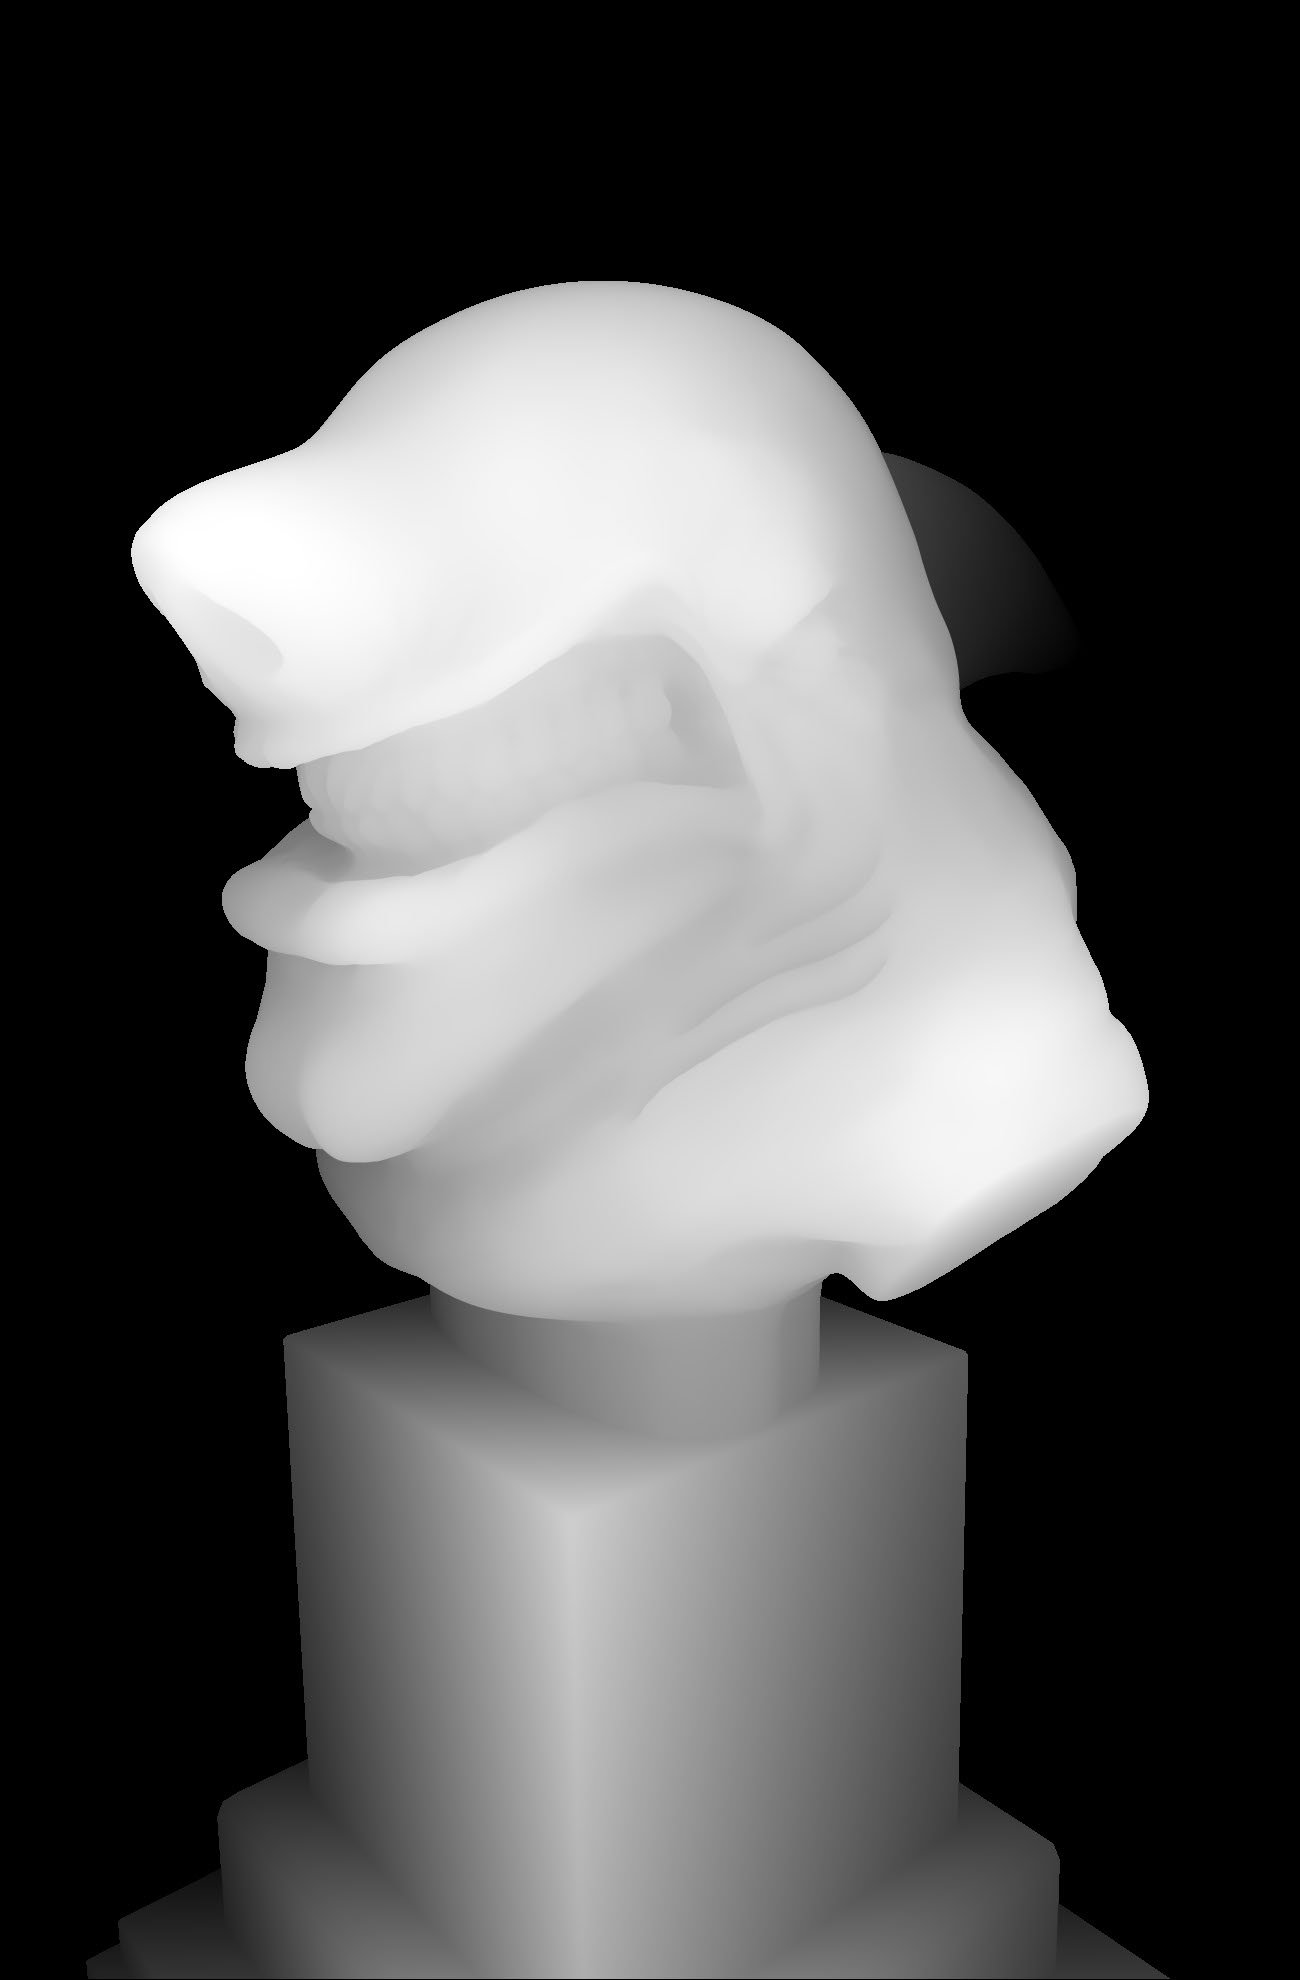
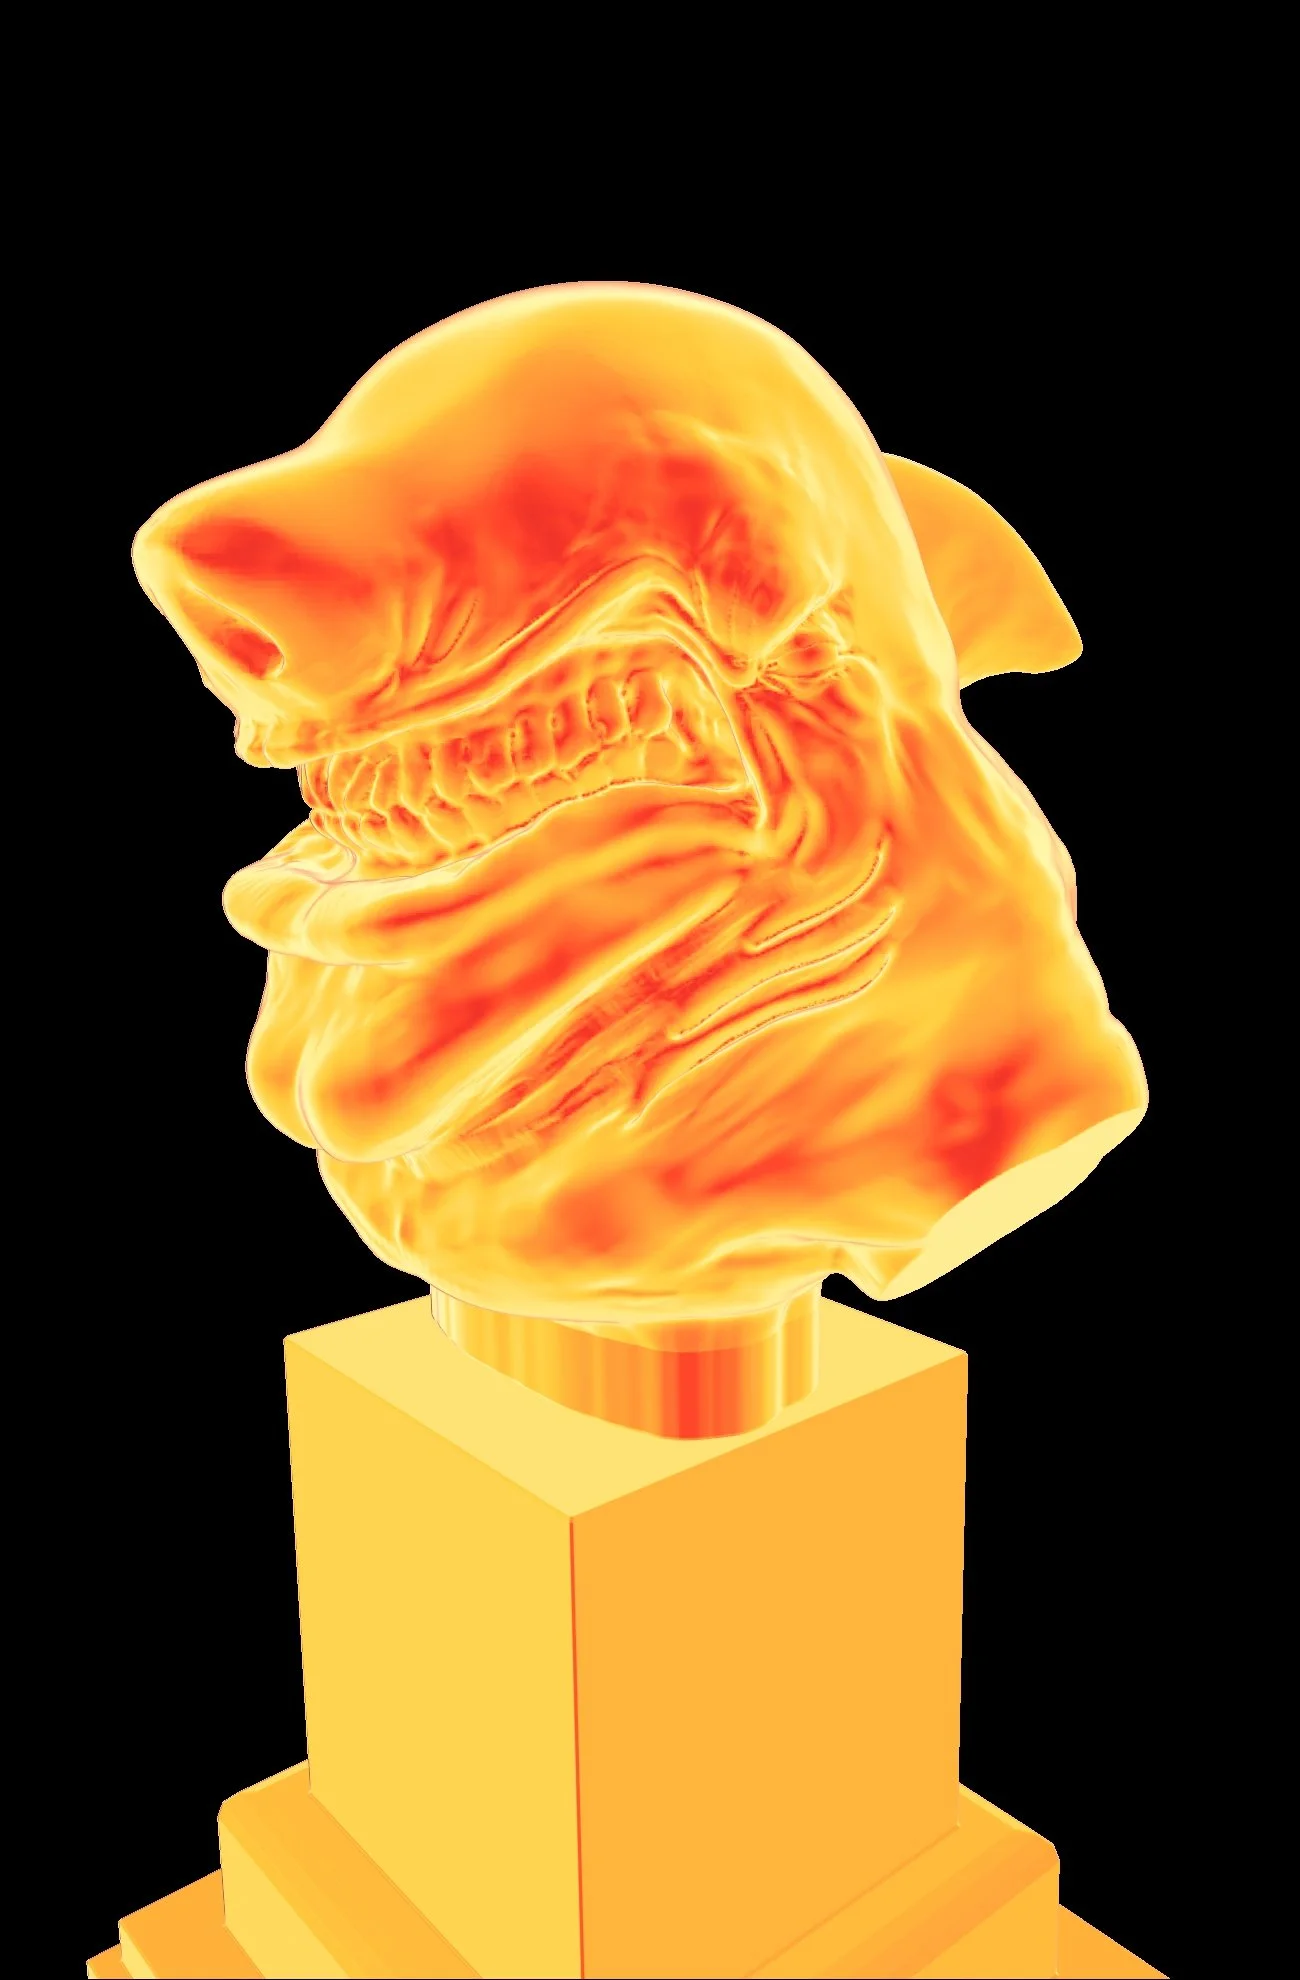
Depth Map |
Purpose: To force the focal point of your model. You can also use this for creating a chiaroscuro effect on black. to increase the darkness spread, adjust the “Angle”
ZBrush Setting: Default Settings
PS Layer Mode: Overlay
PS Usage: Using you levels can help. As standard usage or with the "Lens Blur Filter"
Shadow Map |
Purpose: Generally kept close to the top of your layer stack
ZBrush Setting: Default
PS Layer Mode: Multiply
PS Usage: Standard
ID Pass Map |
Purpose: To use for isolating objects, creating selections, and masking
ZBrush Set Up: Assign the "Flat Color Matcap" with different RGB fills. Keep the objects next to each other complimentary. Avoid using the same color twice.
PS Layer Mode: N/A
PS Usage: Use with color selection to quickly separate and isolate your control.
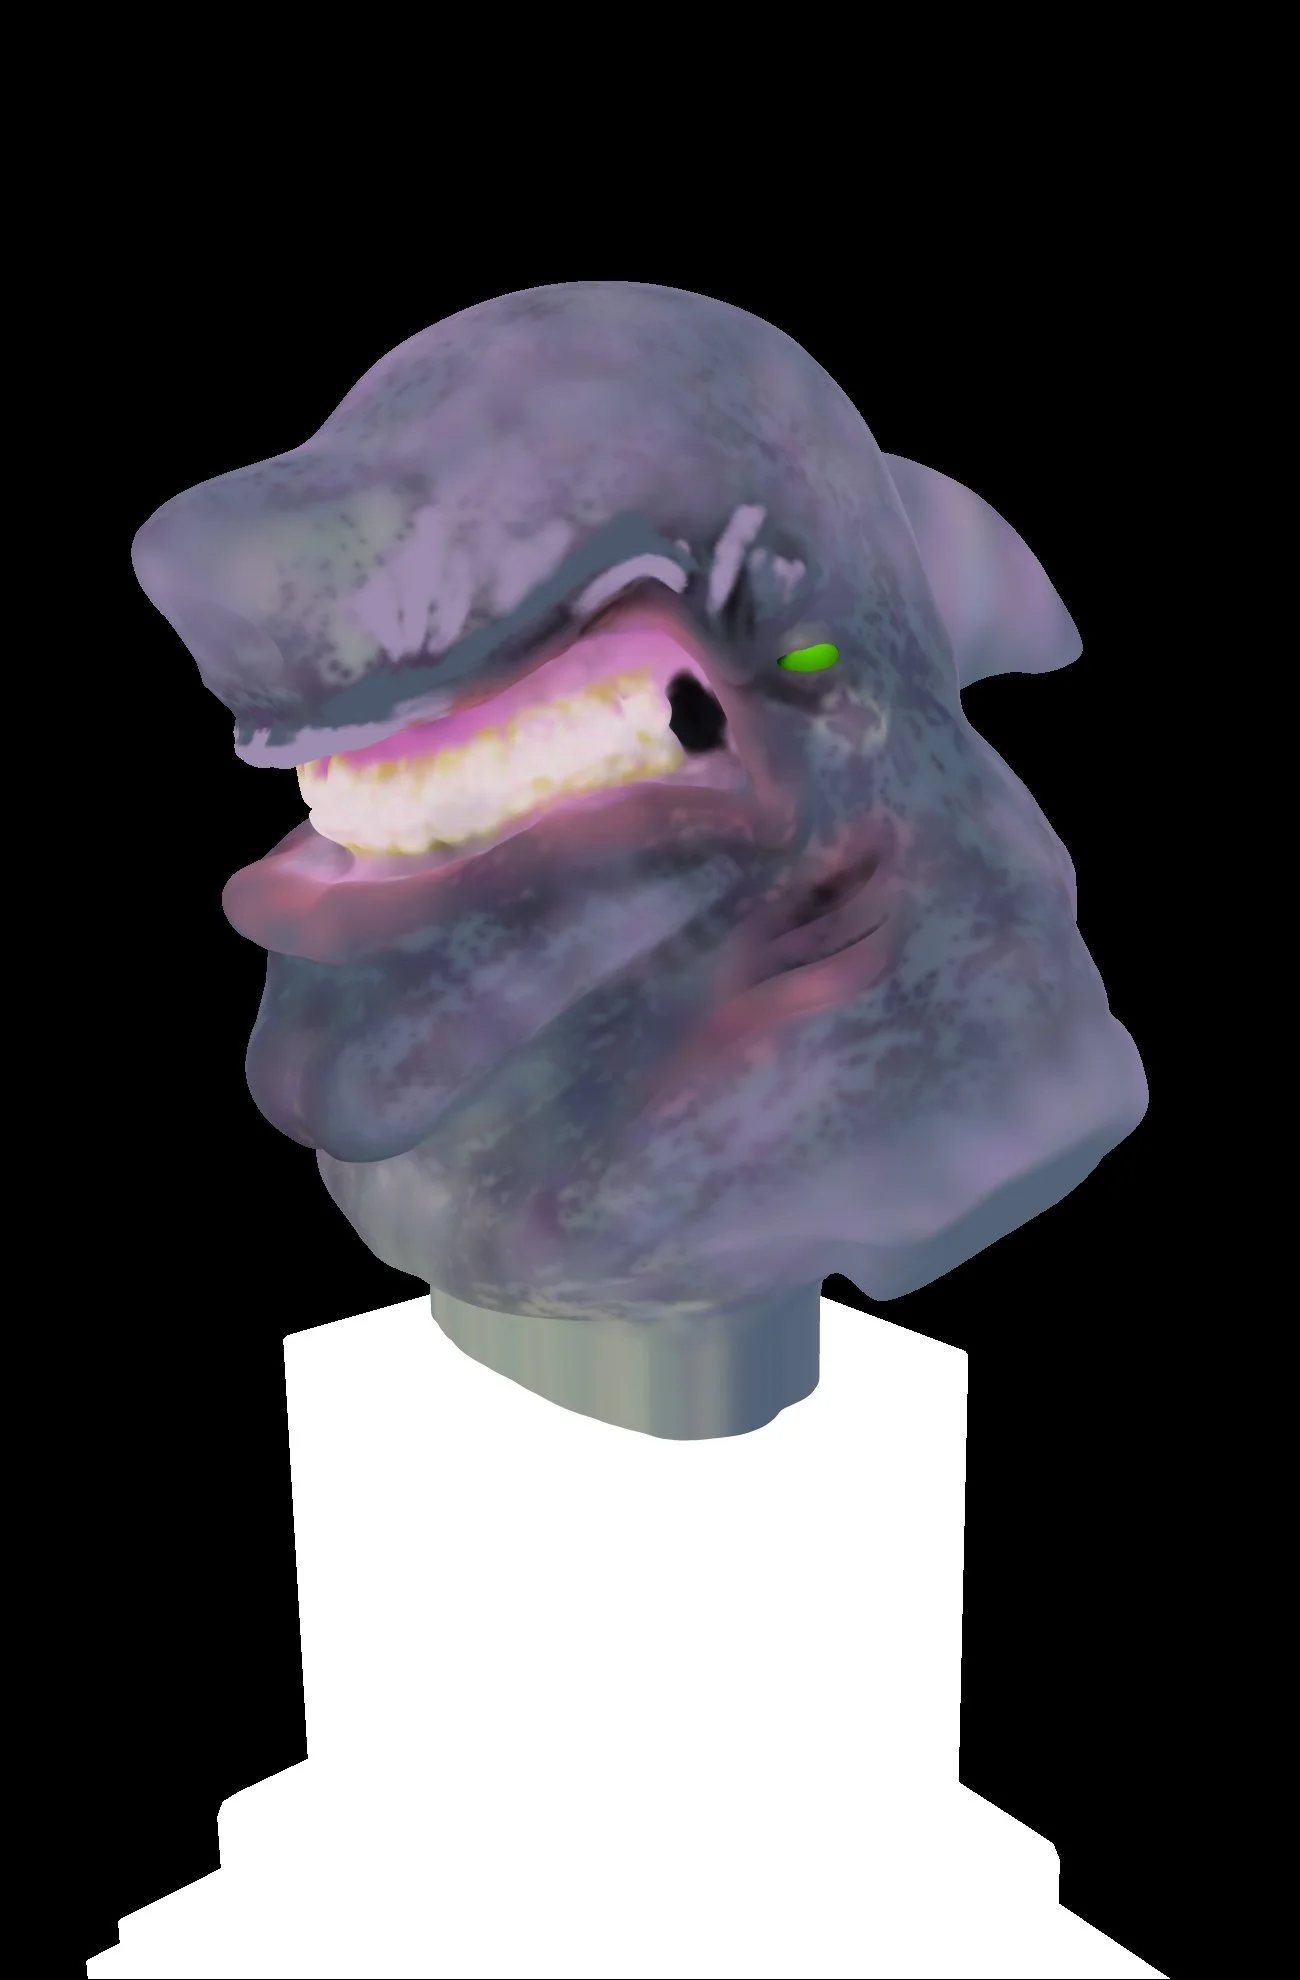
Flat Color Pass Map |
Purpose: To retain your color information painted on your model
ZBrush Setting: Default
PS Layer Mode: Color/Color Dodge
PS Usage: Standard
Matcaps
Overview
The MatCaps listed below will help you to get a base foundational overview for what can be done with MatCaps. Use these MatCaps listed below for you project and understand you can explore your choices for what MatCaps will work best for you. Also don't forget to use your PS global adjustments to control your layer opacity and intensity of your MatCap passes. So go experiment!

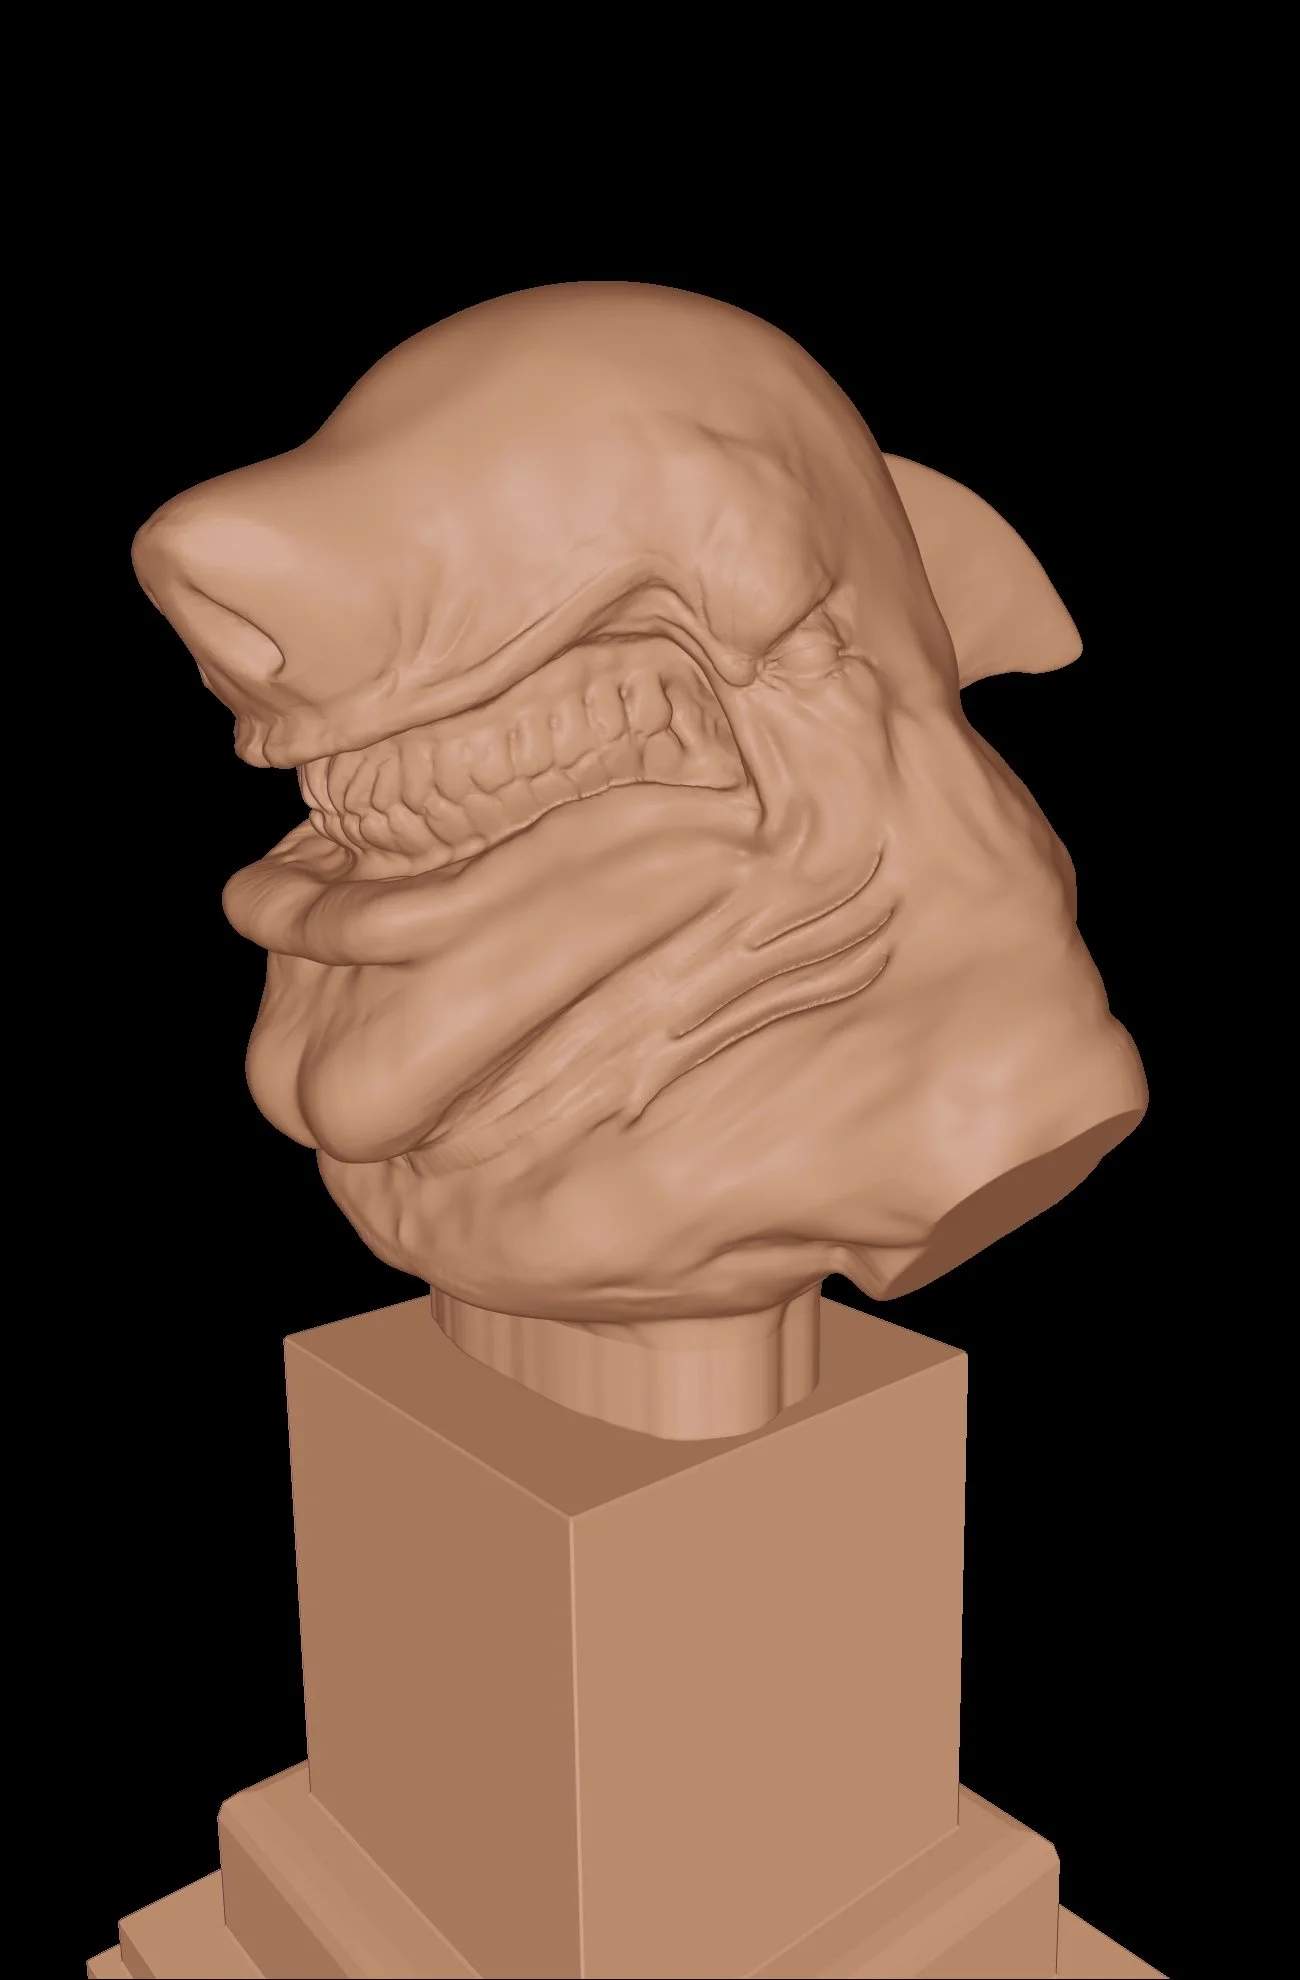
Skin04
Purpose: Dynamic Usage
ZBrush Setting: Default/Shadows off
PS Usage: Diffused Skin highlights and Base color
PS Layer Mode: Soft light

Skeleton
Purpose: Dynamic Usage
ZBrush Setting: Default/Shadows off
PS Usage: Diffused Brightening of Base color and Shadows
PS Layer Mode: Soft Light

Frame01
Purpose: Cavity details. TIP: Try inverting this map to use as a wash for your cavities. I generally have the layer opacity set to 30 - 50%
ZBrush Setting: Default/Shadows off
PS Usage: Isolating Shadows
PS Layer Mode: Typically overlay or soft light

Soft Solar
Purpose: To fake sub surface scattering in PS
ZBrush Setting: Default/Shadows off
PS Usage: To add fake bounce lighting
PS Layer Mode:

Reflected Map
Purpose: Fake Reflections. TIP: Turn off shadows before you render.
ZBrush Setting: Default/Shadows off
PS Usage: Brushed into areas
PS Layer Mode: Overlay - Hard Light

Reflected Map 2
Purpose: Fake Reflections
ZBrush Setting: Default/Shadows off
PS Usage: Fake Reflections
PS Layer Mode: Overlay - Hard Light

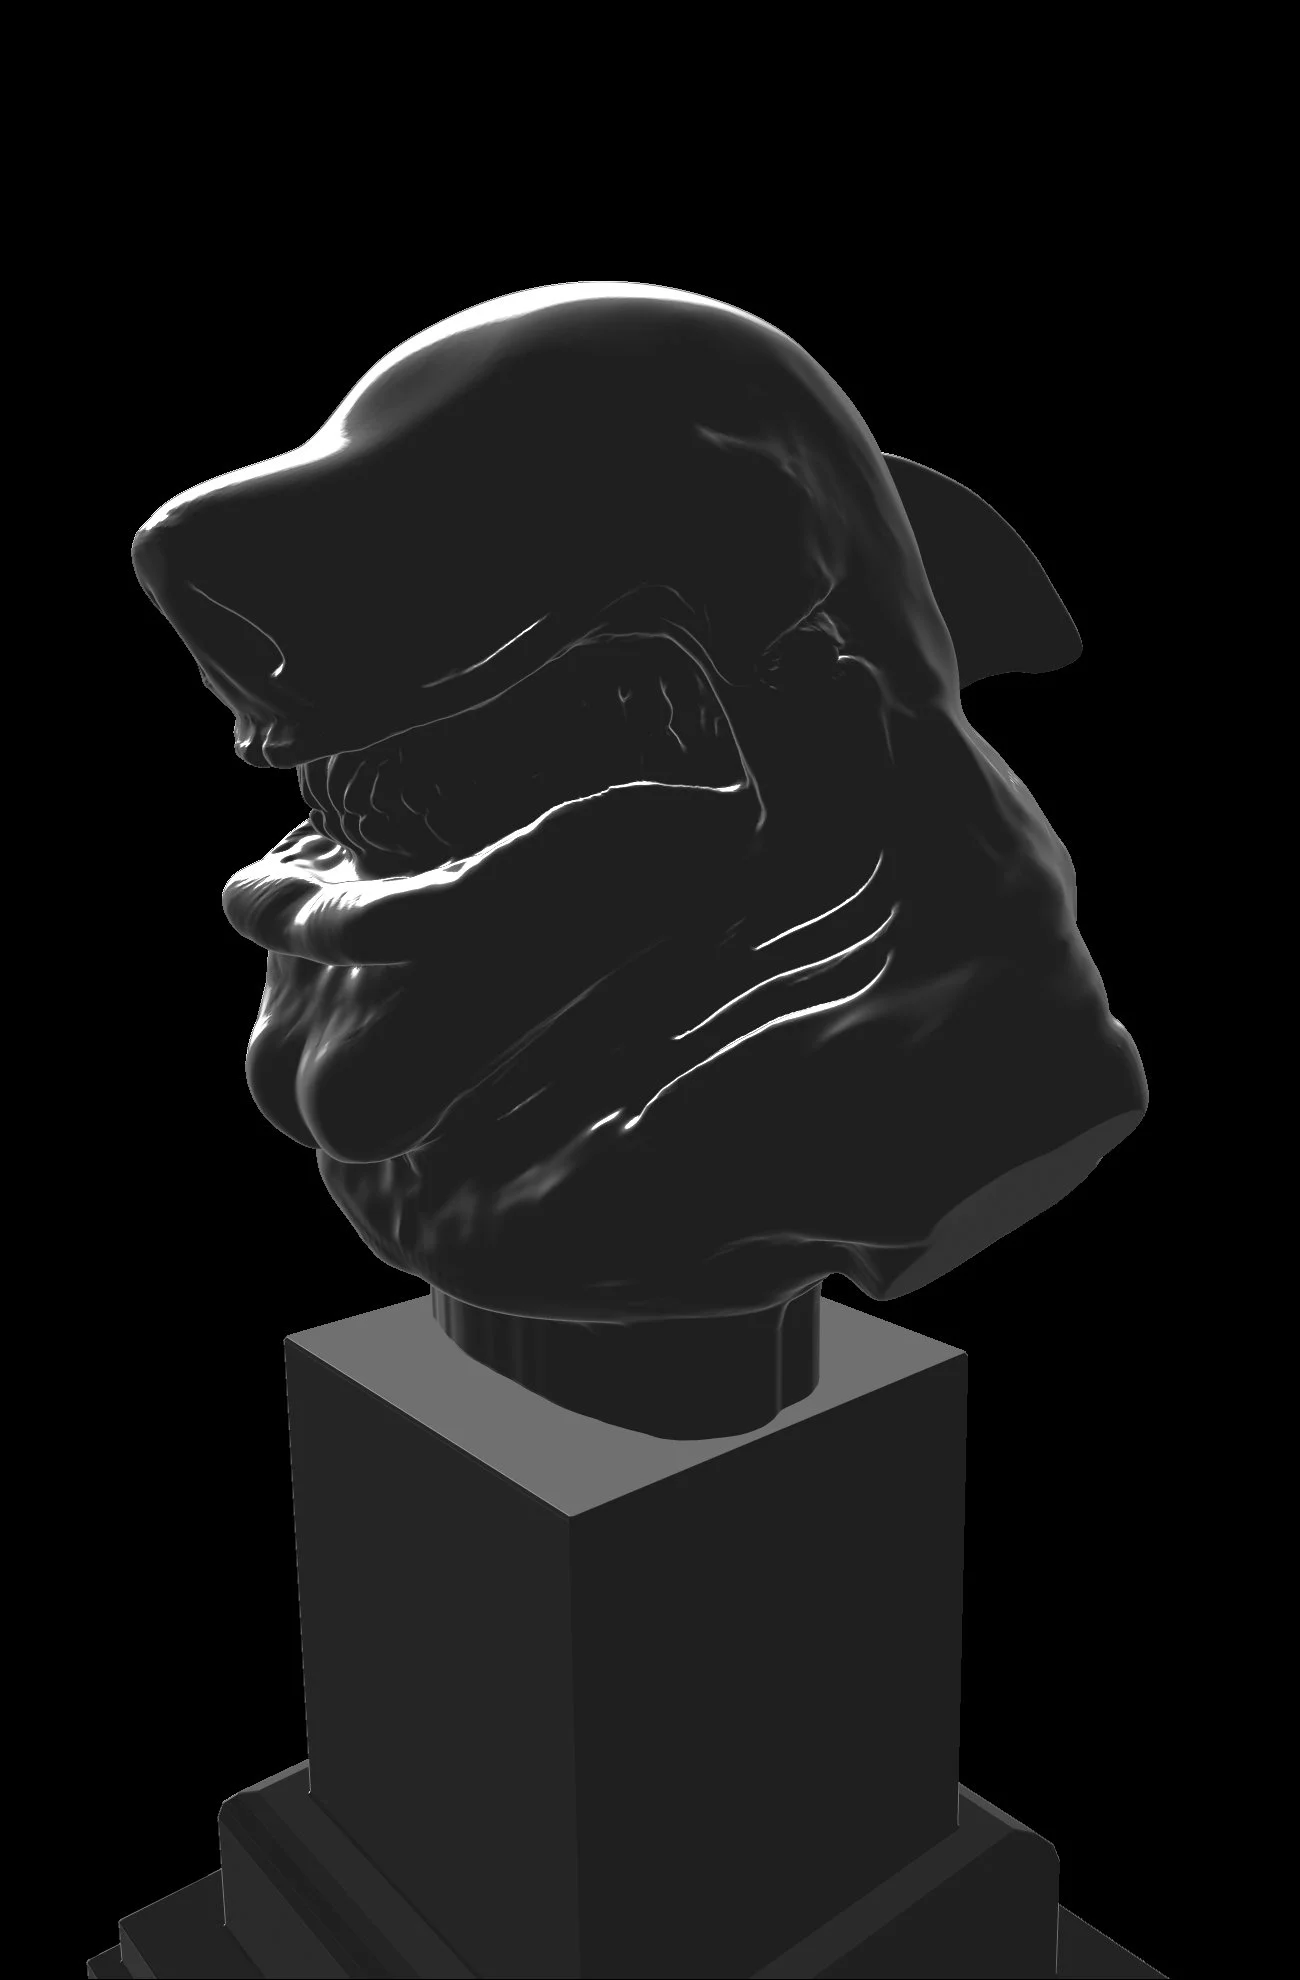
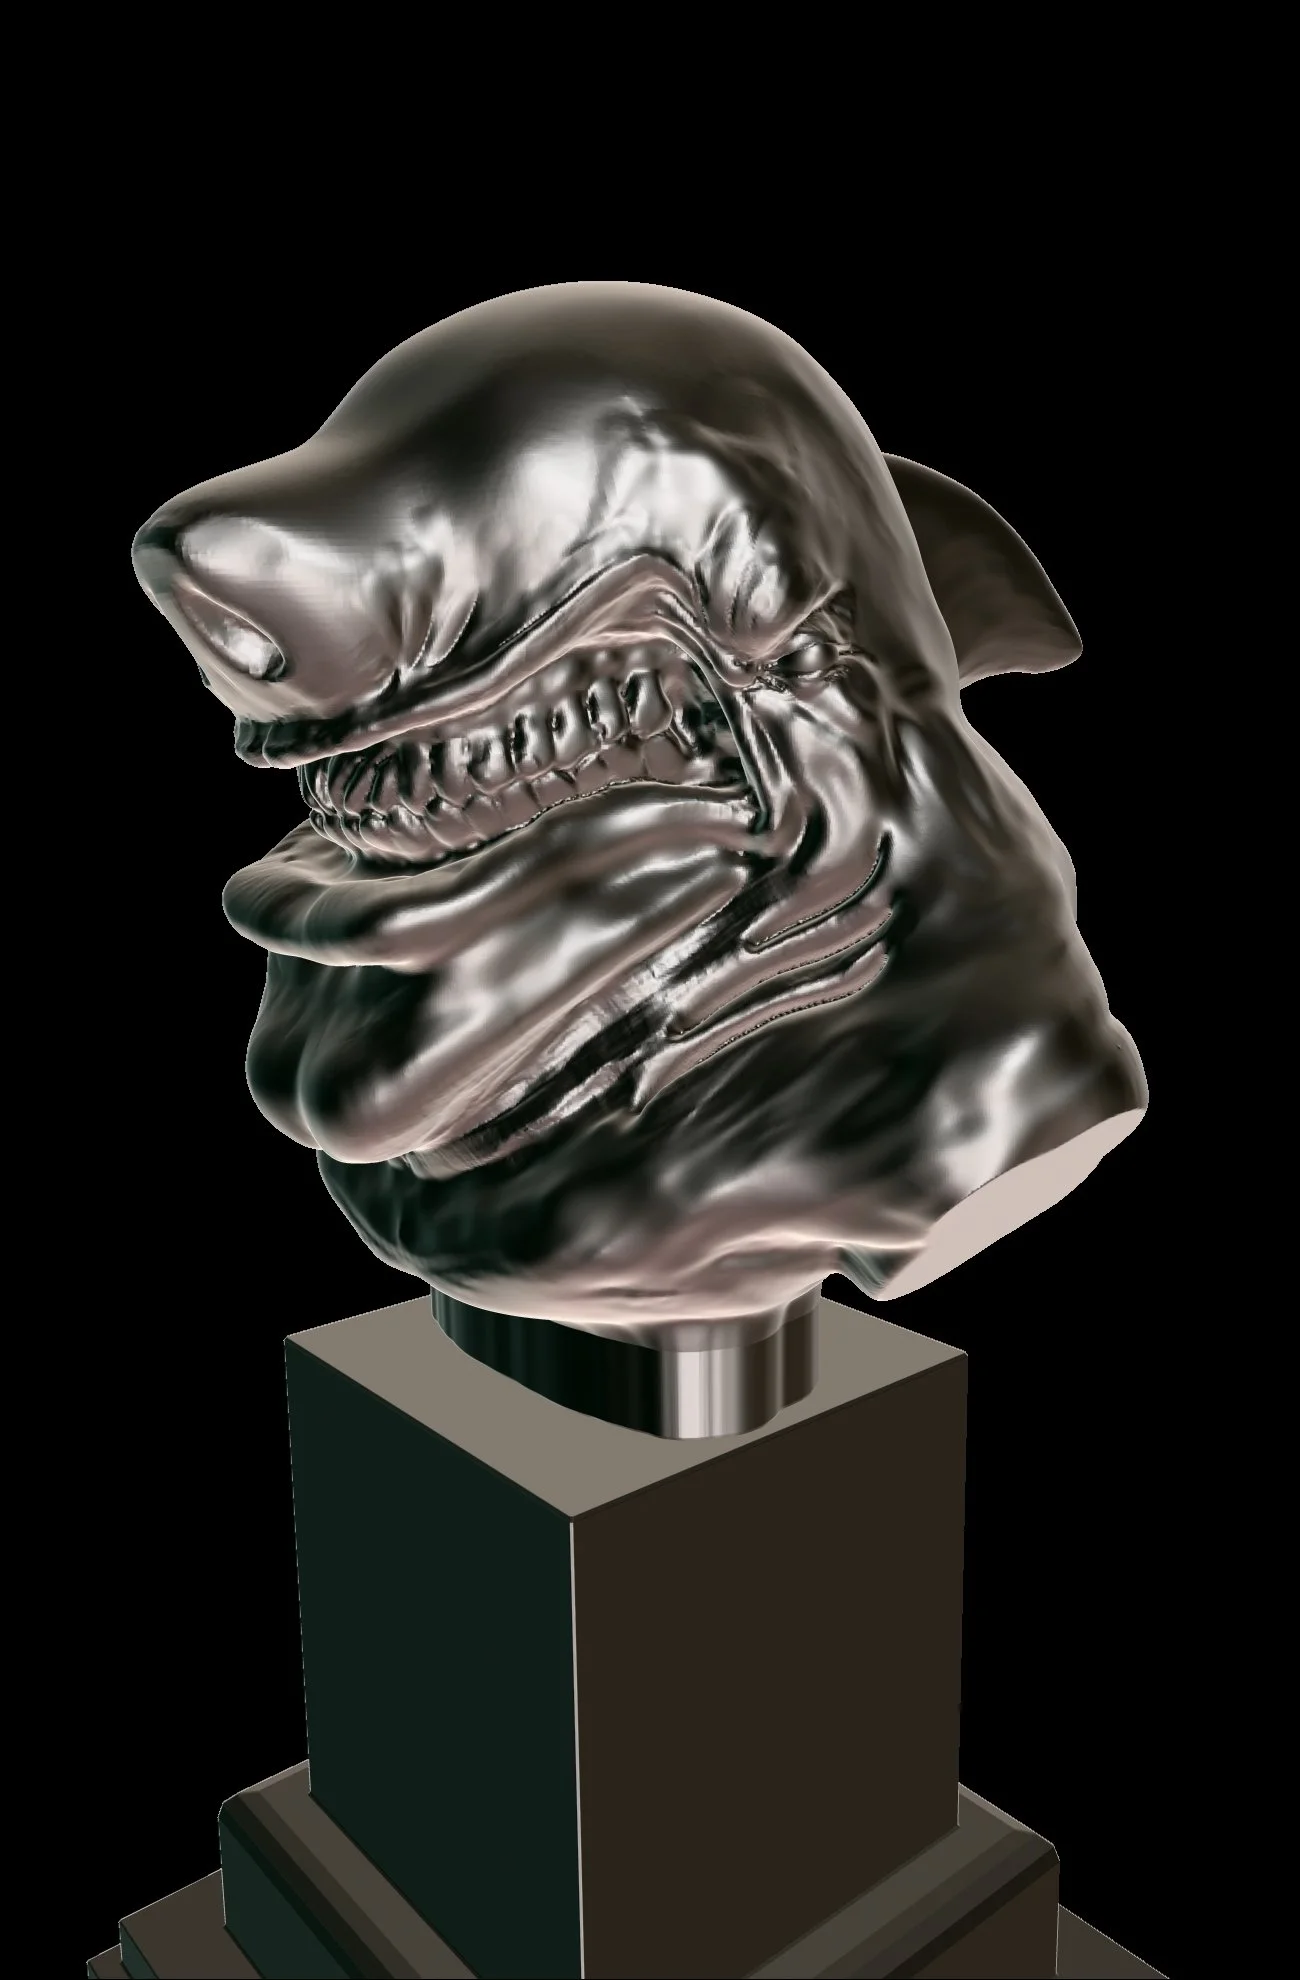
Metal01
Purpose: To fake metallic surfaces
ZBrush Setting: Default/Shadows off
PS Usage:Standard
PS Layer Mode: Overlay - Hard Mix

Metal02
Purpose: To fake metallic surfaces
ZBrush Setting: Default/Shadows off
PS Usage: Standard
PS Layer Mode: Overlay - Hard Mix

GK_Bubble_Gum
Purpose: TIP I often use global color shifts
ZBrush Setting: Default/Shadows off
PS Usage: Brushed into areas
PS Layer Mode: Soft Light

DJ_Skin_2
Purpose:
ZBrush Setting: Default/Shadows off
PS Usage:
PS Layer Mode:

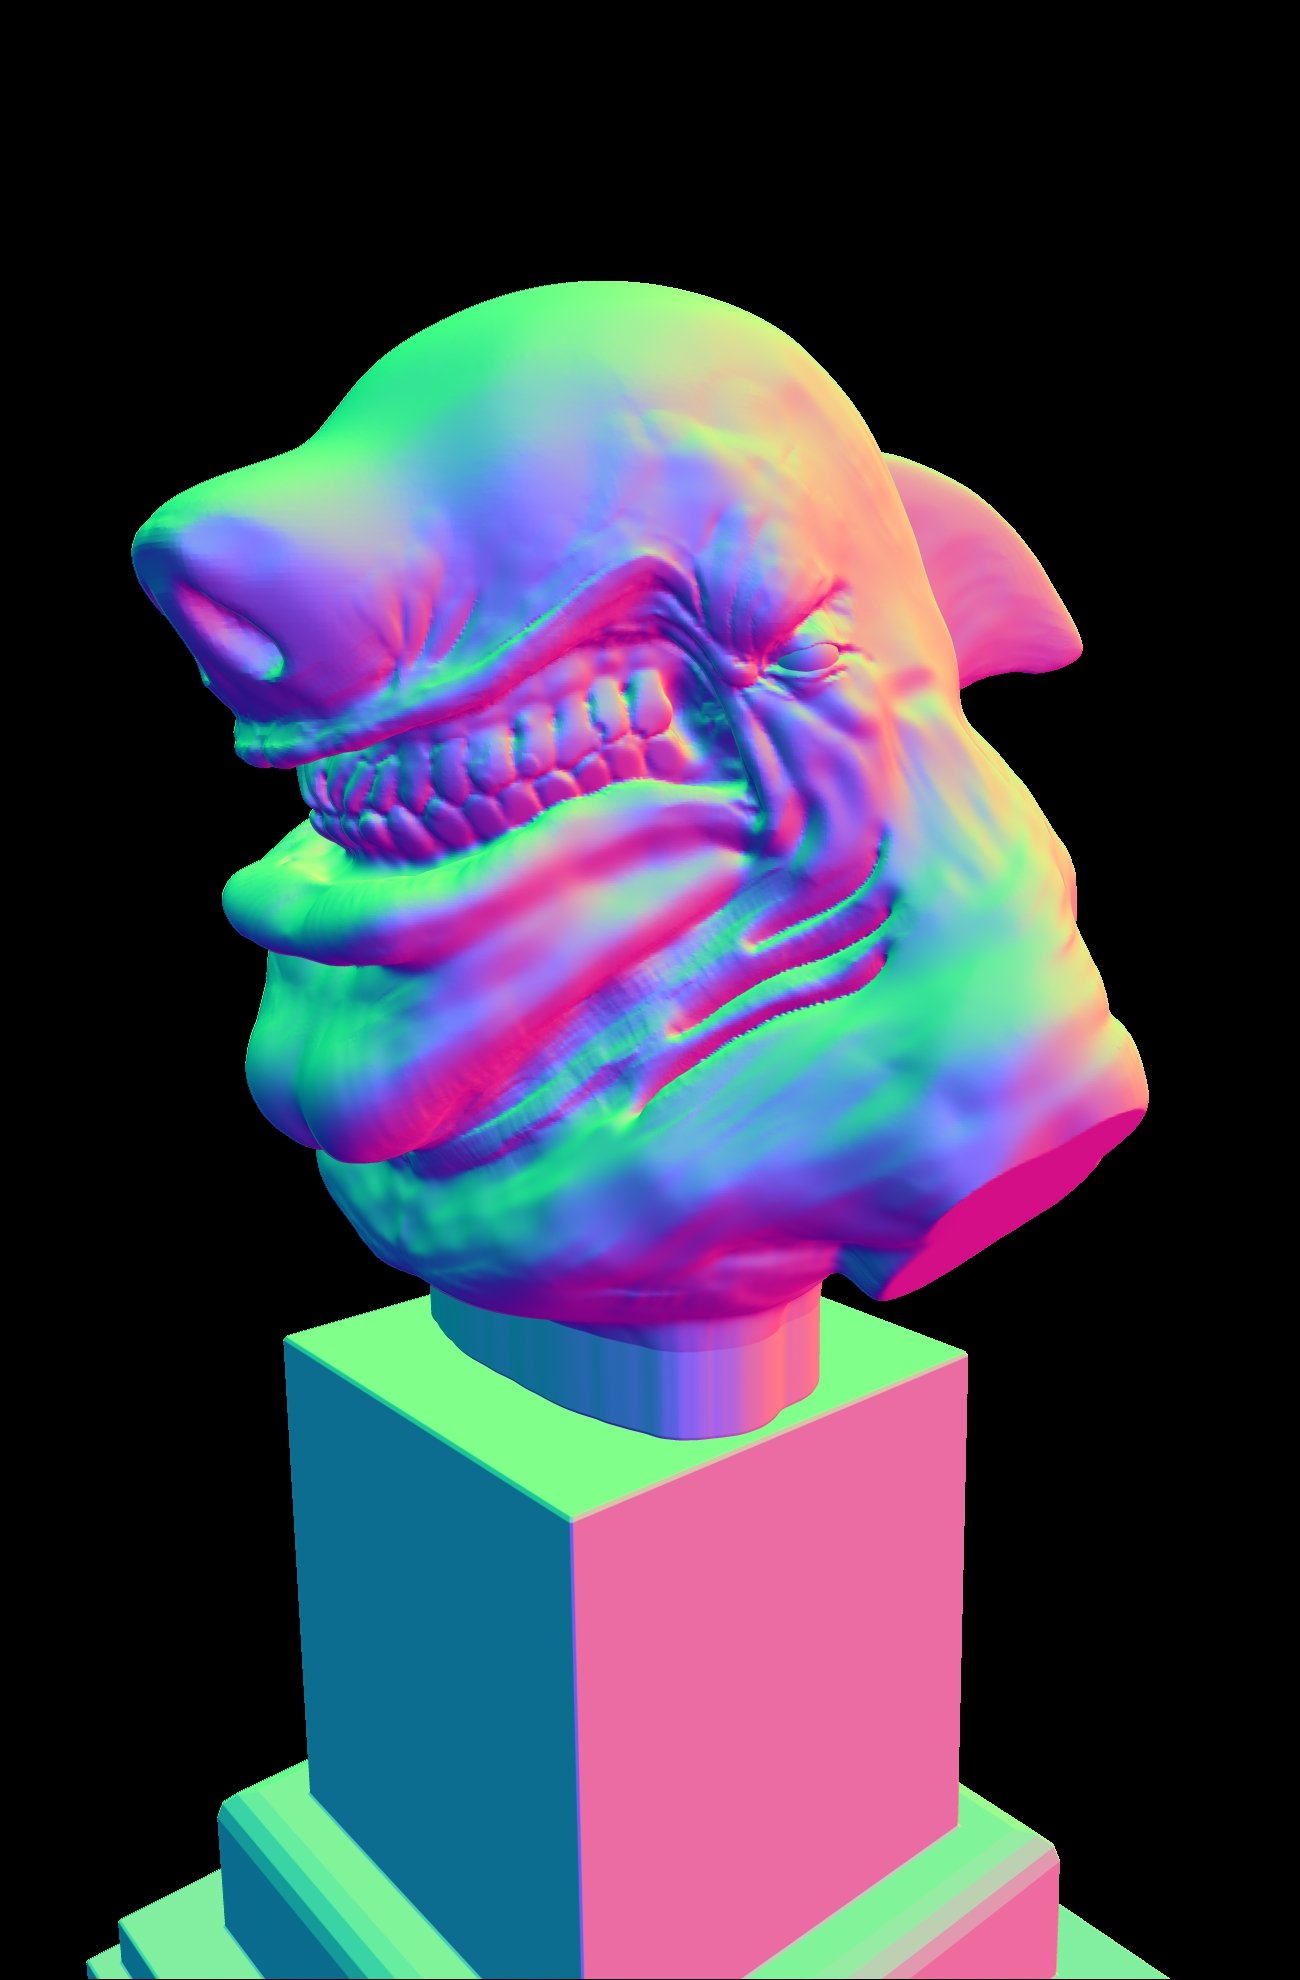
Normal RGB Map
Purpose: To help fake the Lighting.
ZBrush Setting: Default/Shadows off
PS Usage: Extract from RGB Color Channels
PS Layer Mode: Overlay - Hard Mix
Light Maps
Overview
Create as many Lights as you need. Ultimately you are the one who is in control of the lights. Don't feel that you have to use all of them in your final composite. Create 2 light passes for each of youlight pass with both the Blinn and JellyBean Matcap Material turned on. Start with turning them all on, set to screen and then turn them all off. Progress with your lights one by one.

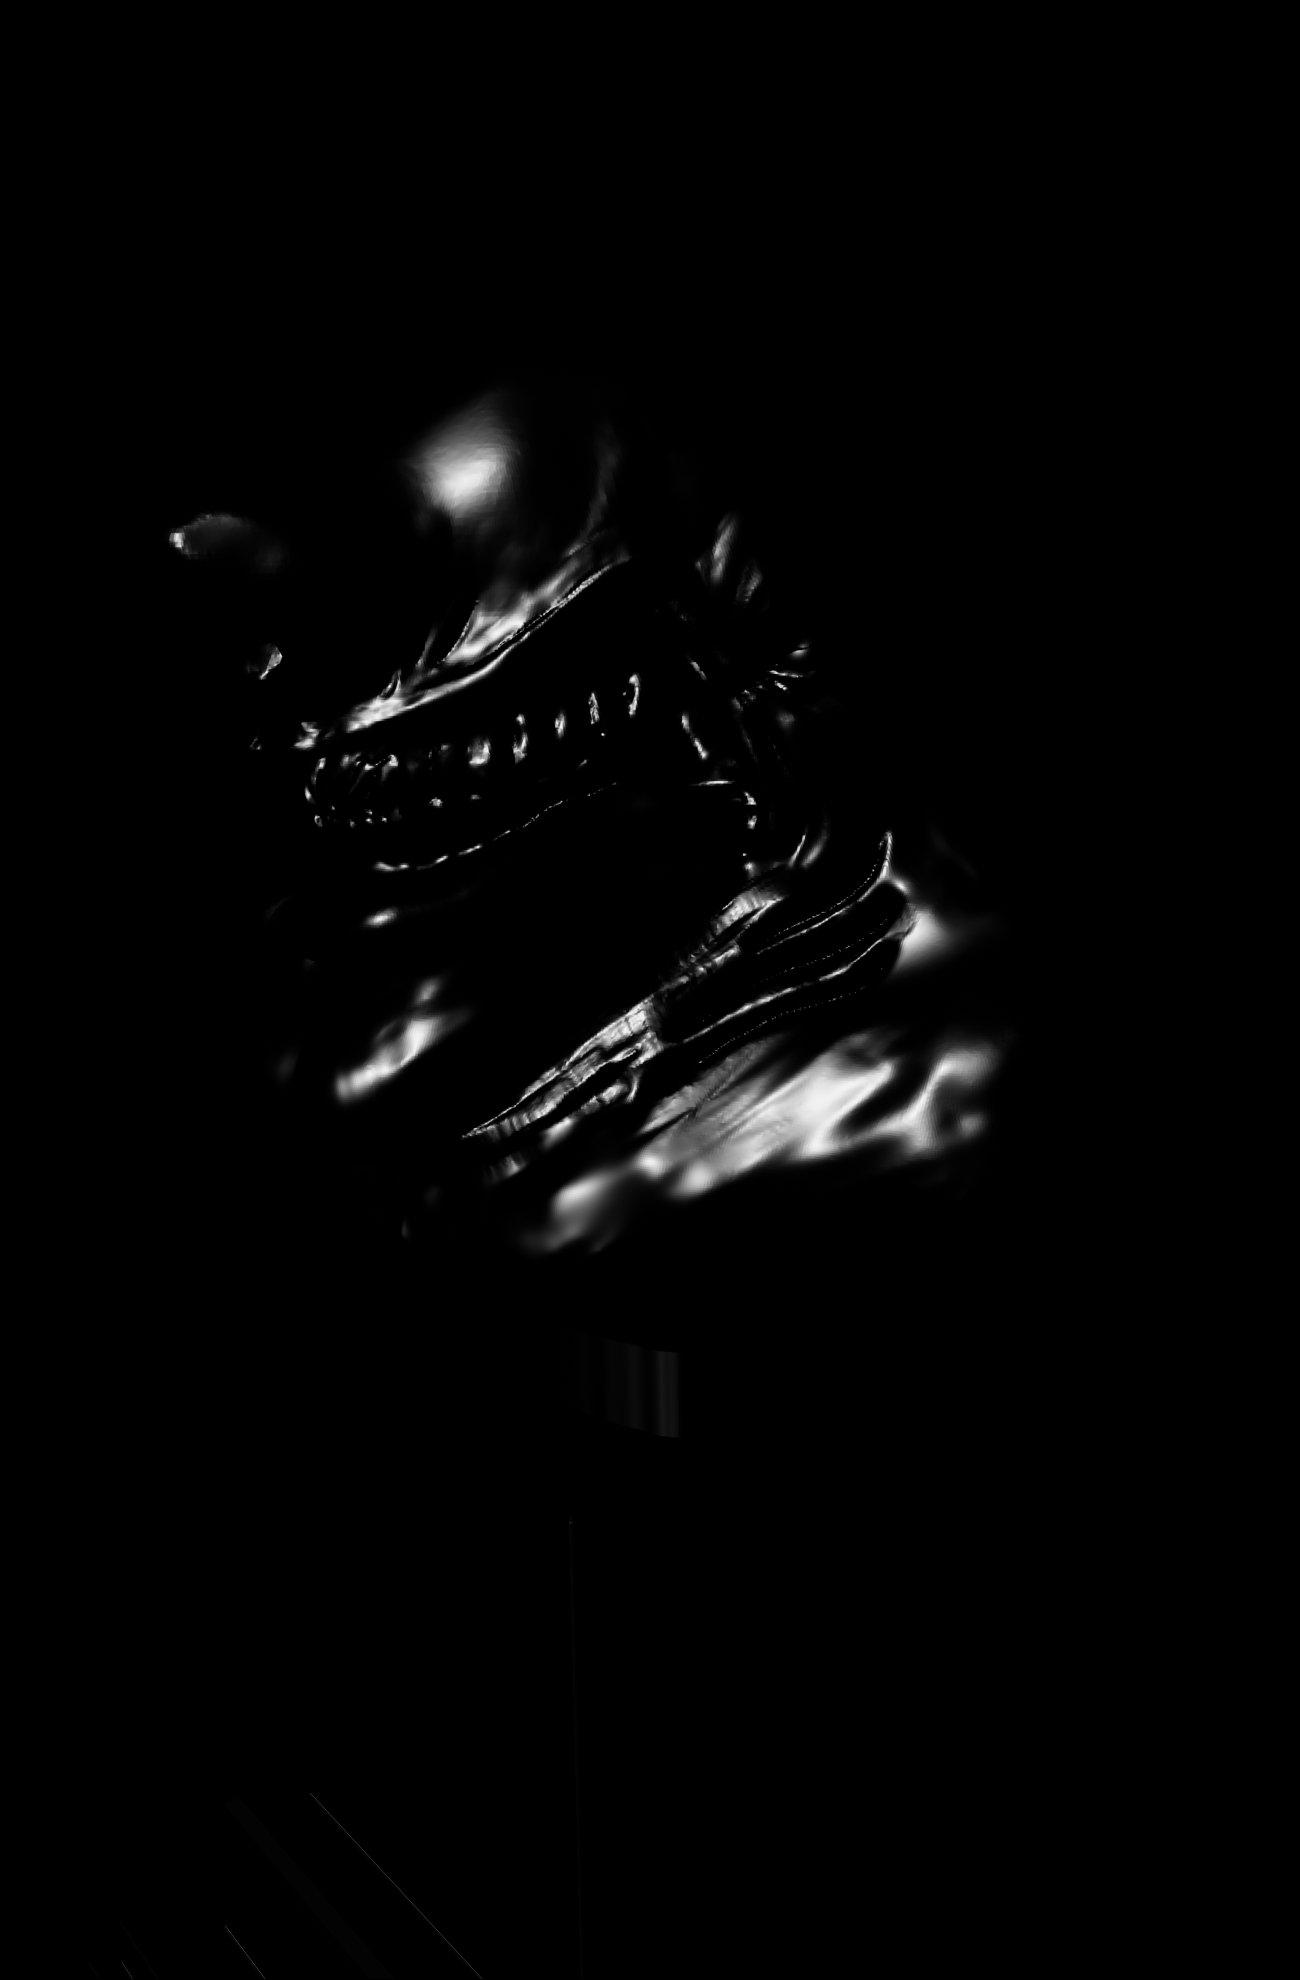
Blinn

Note:
Blinn Matcap gives you very sharp highlights
JellyBean gives you a softer spread from the highlights it creates.
Key Light
ZBrush Settings: Front/Side, Light Blinn Matcap, Black RGB, Intensity = 3.65, Ambient 3
PS Layer Mode: Lighten - Lighter Color
PS Usage: Mask into areas where needed
Fill Light
ZBrush Settings: Front Light, Blinn Matcap, Black RGB, Intensity = 3.65, Ambient 3
PS Layer Mode: Lighten - Lighter Color
PS Usage: Mask into areas where needed
Rim Light
ZBrush Settings: Rear/side Light, Blinn Matcap, Black RGB, Intensity = 3.65, Ambient 3
PS Layer Mode: Lighten - Lighter Color
PS Usage: Mask into areas where needed