Week 1 | Welcome to ZBrush | Introduction, Overview and Project 1
Welcome to ED401: Organic 3D Sculpture!

Project 1 | ZBrush, Maya, Redshift3D
This week marks the beginning of your journey into digital sculpture - and it starts with ZBrush, the industry standard for creating high-resolution models used in games, film, toys, and beyond.
If the interface feels overwhelming at first, that’s normal. ZBrush doesn’t think like other programs - it thinks like a sculptor. Our goal this week is to demystify the interface, understand the core tools, and start building a solid foundation for the rest of the semester. You'll learn how to navigate the software, explore brushes, and begin shaping forms using tools like DynaMesh and Sculptris Pro. We will also take a look at our first project. Project 1 will present an array of challenges designed to help you understand the tools and why they are significant throughout some of the more common pipelines.

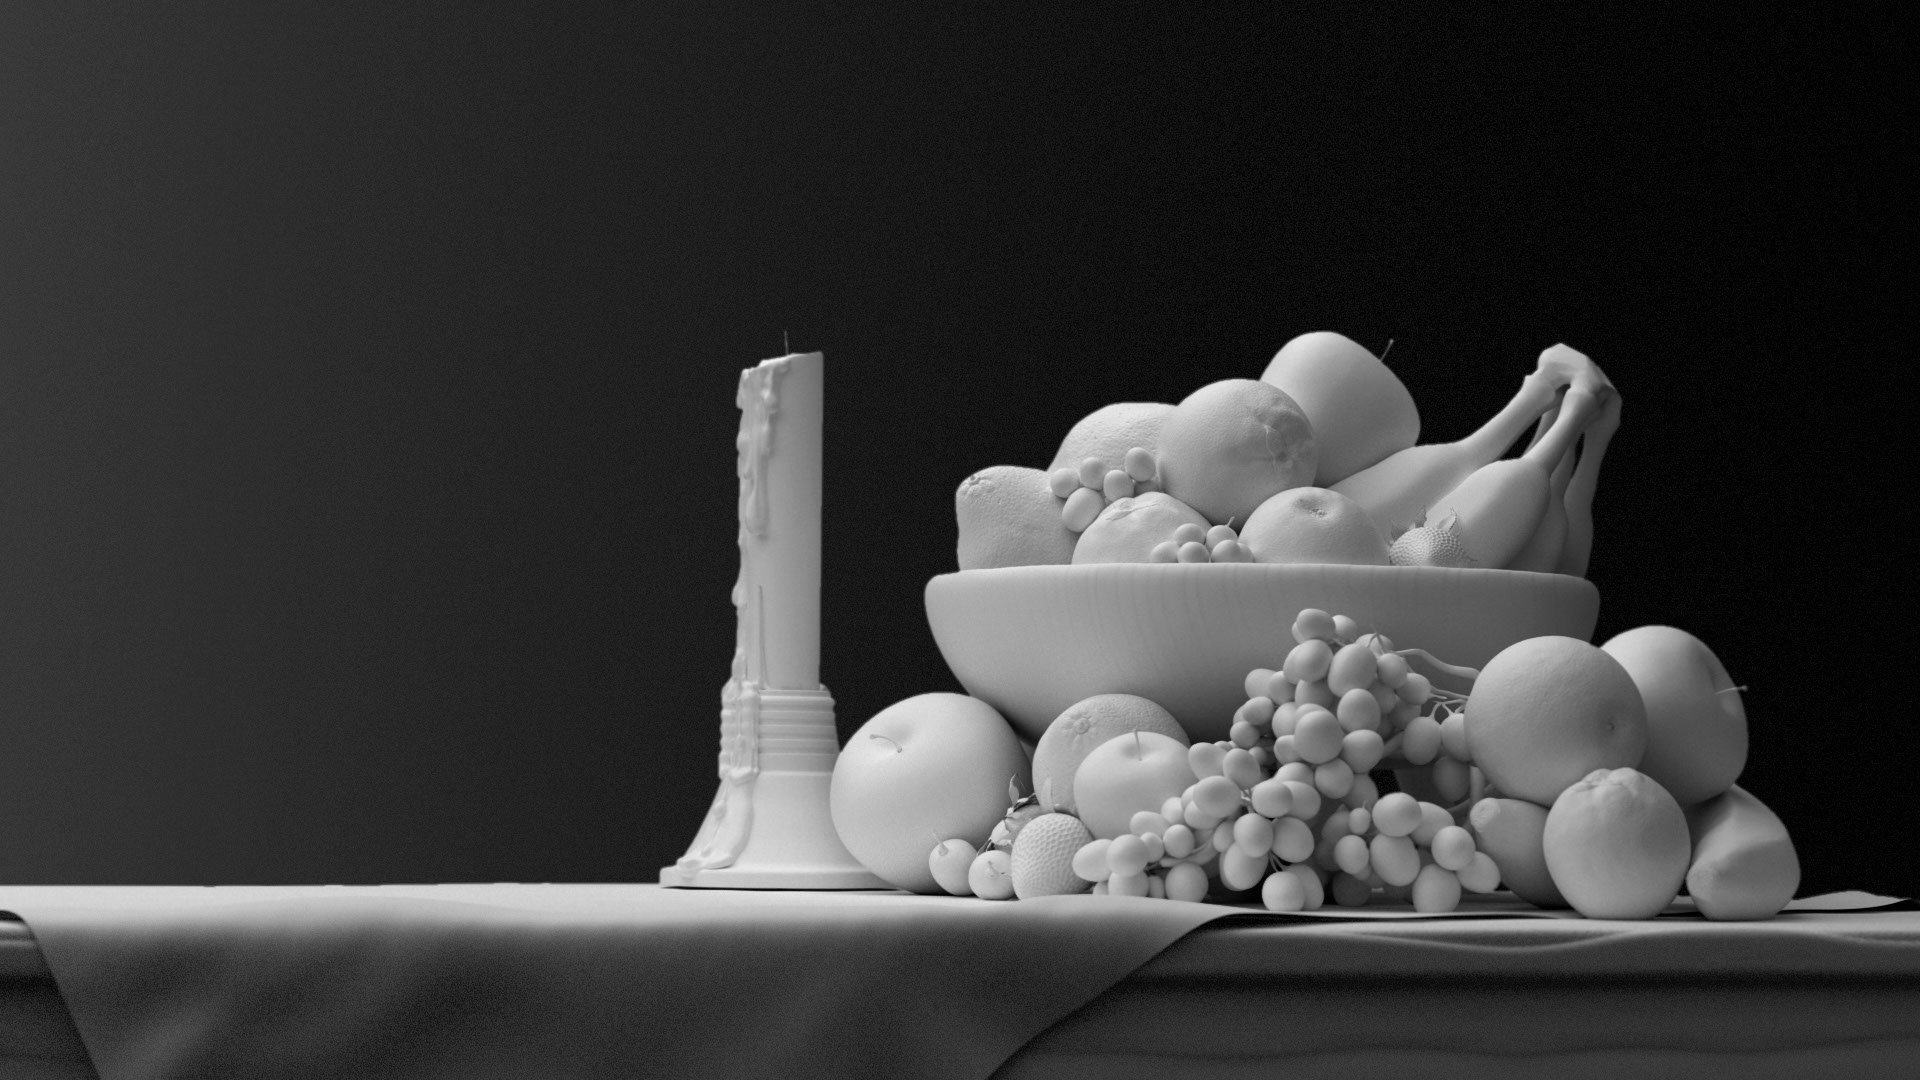
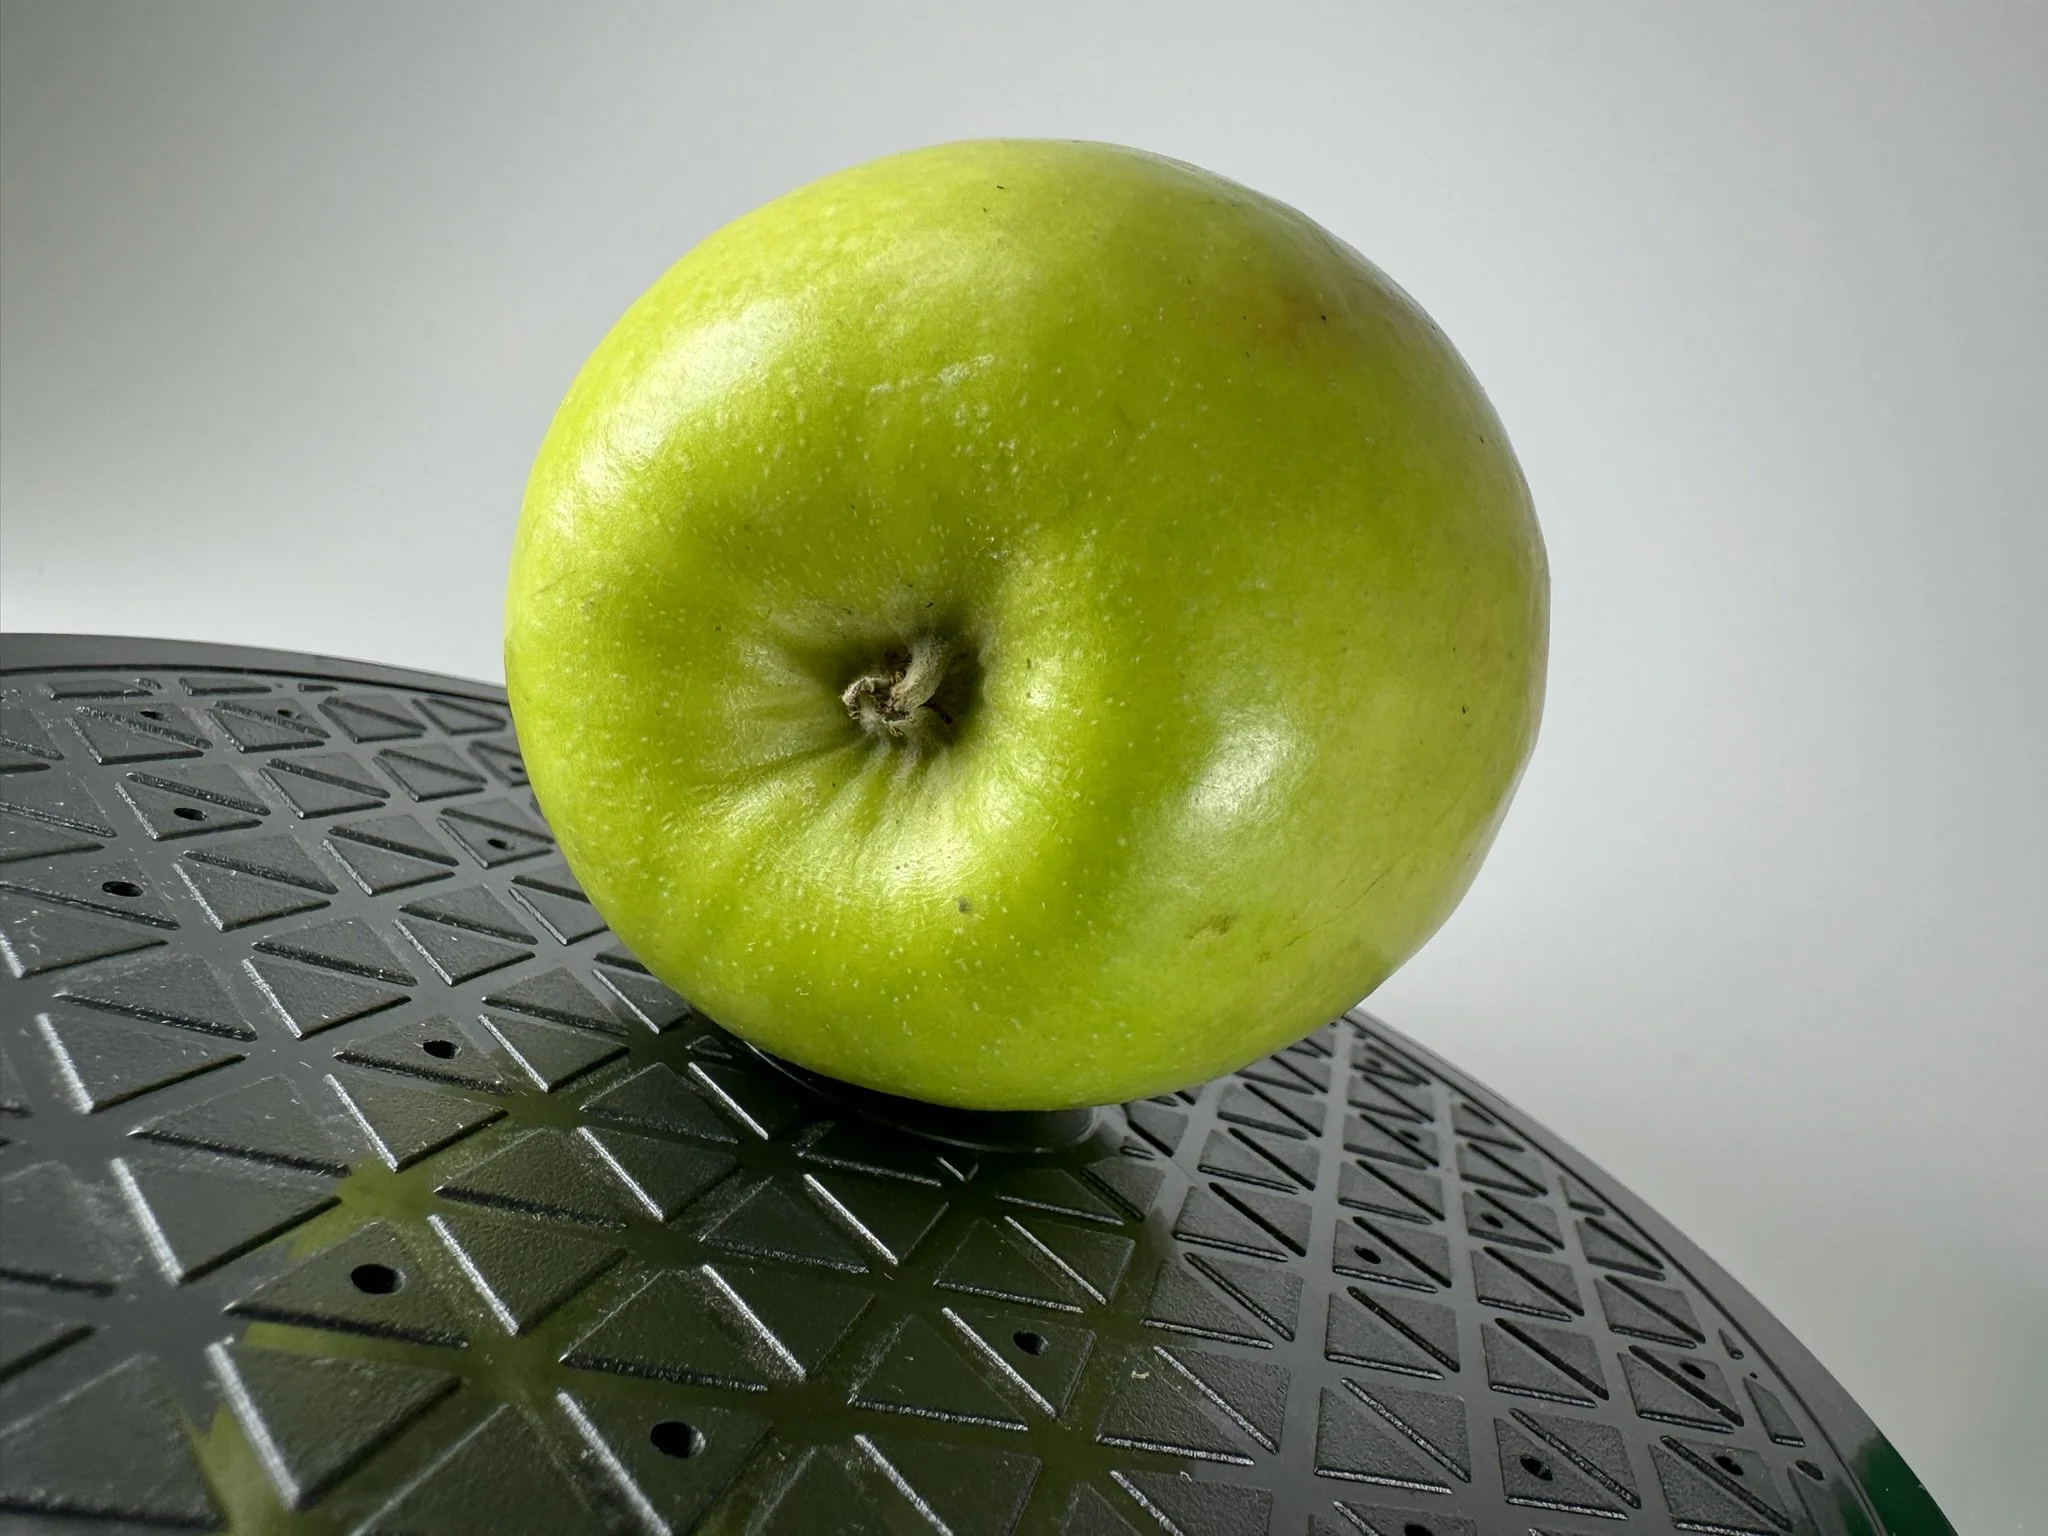
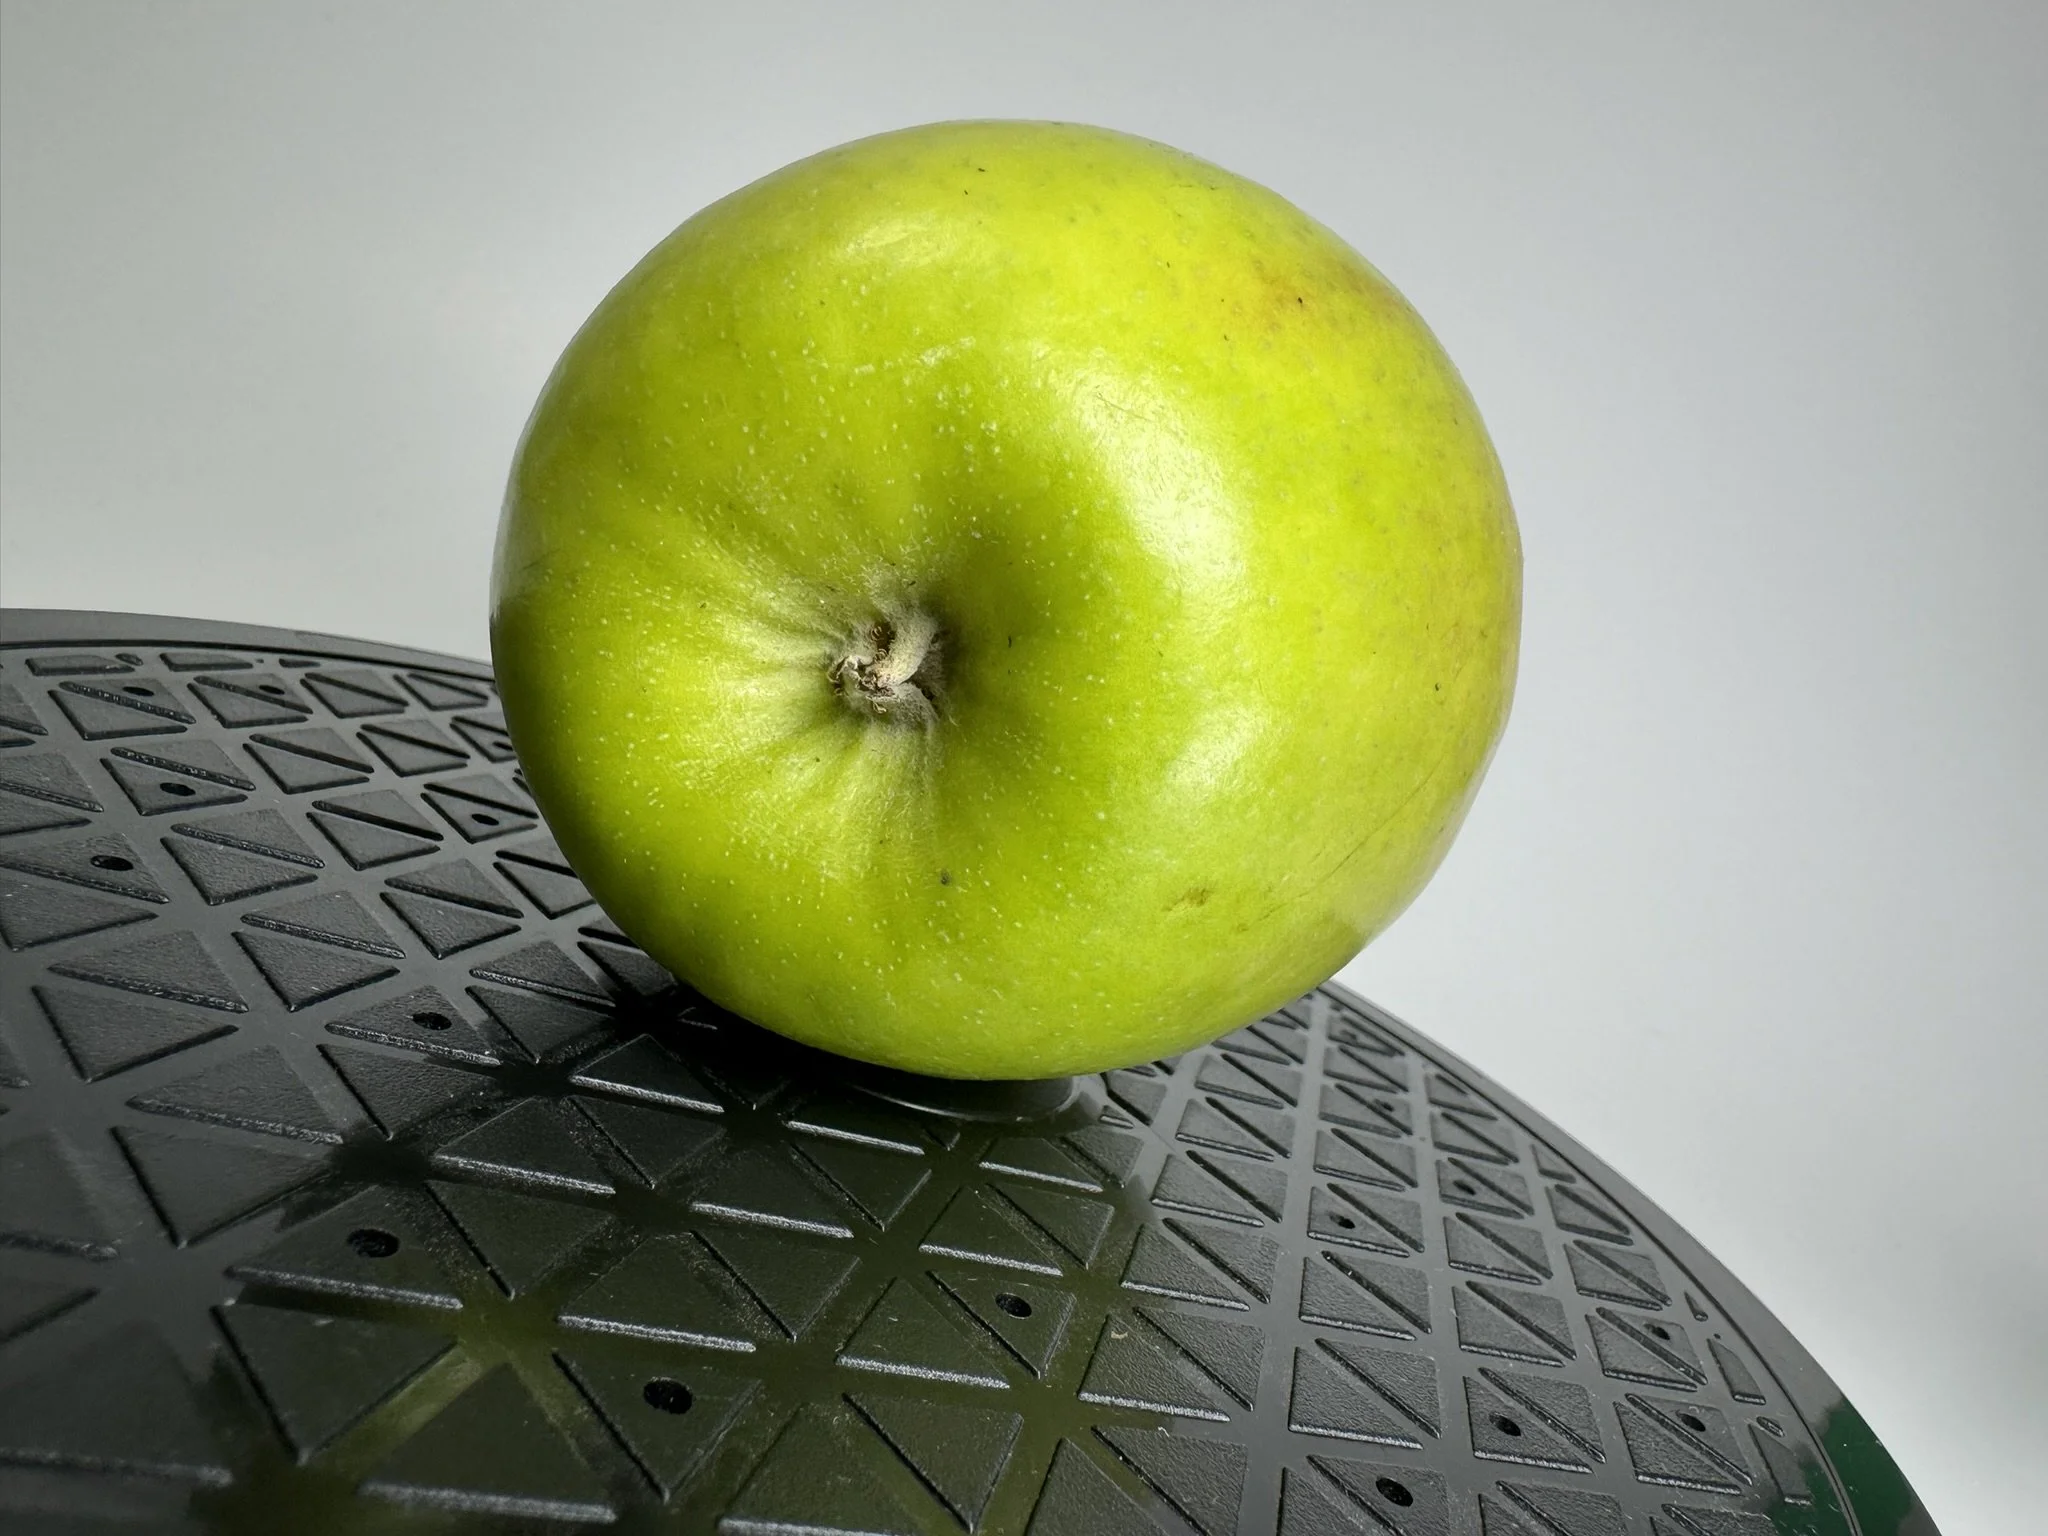
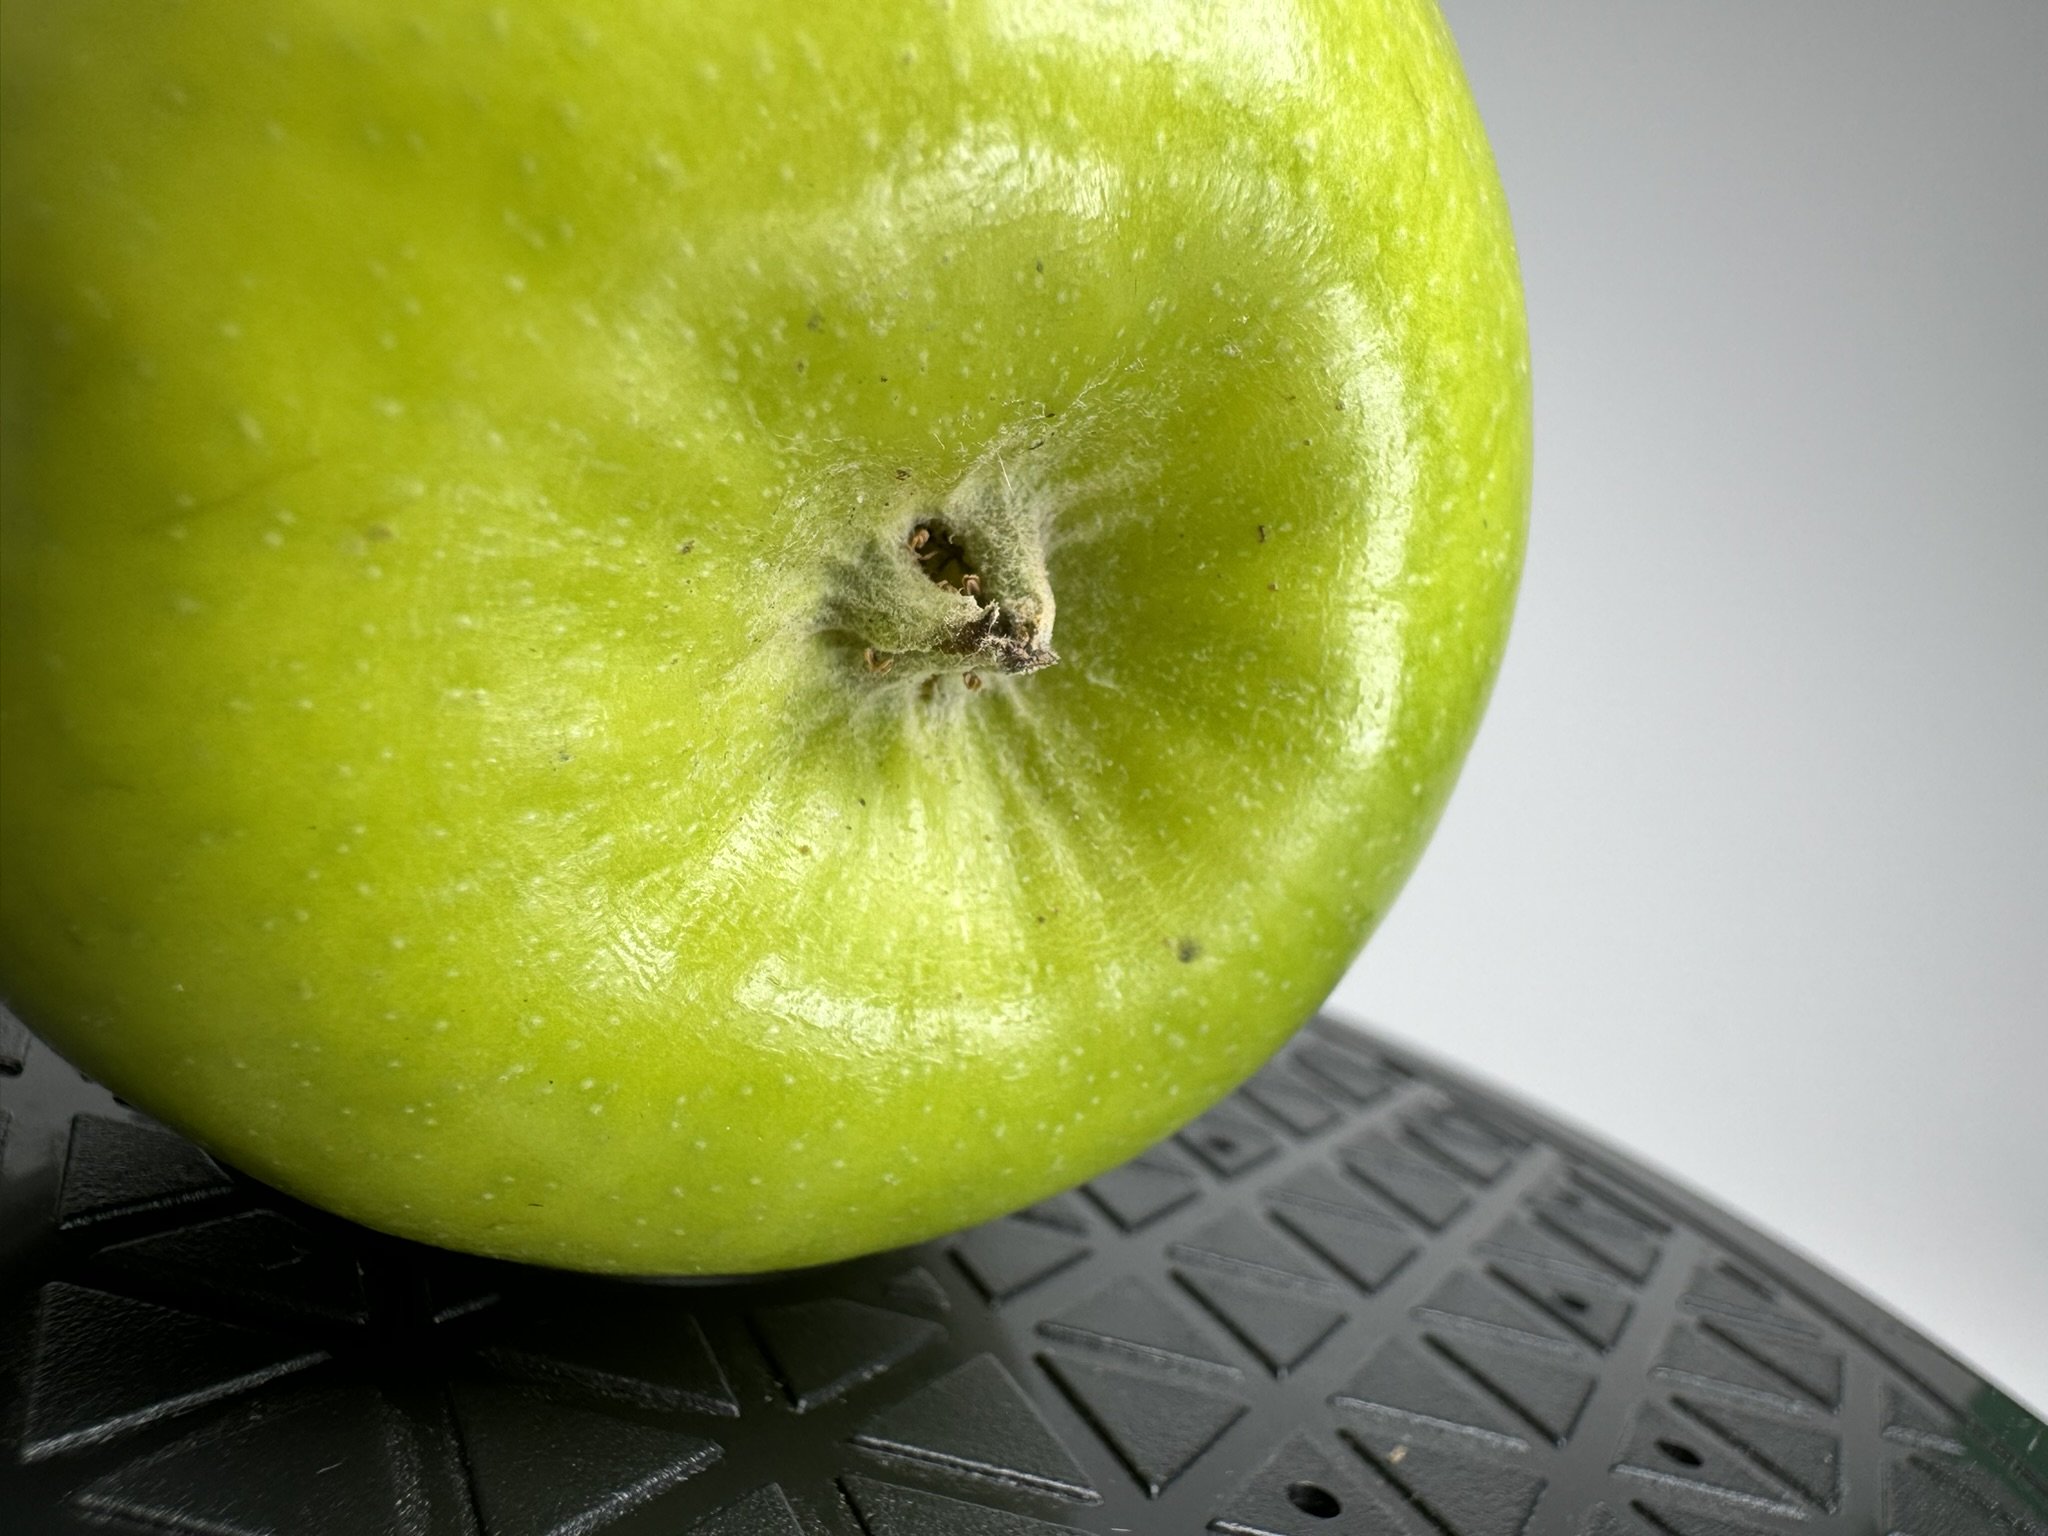
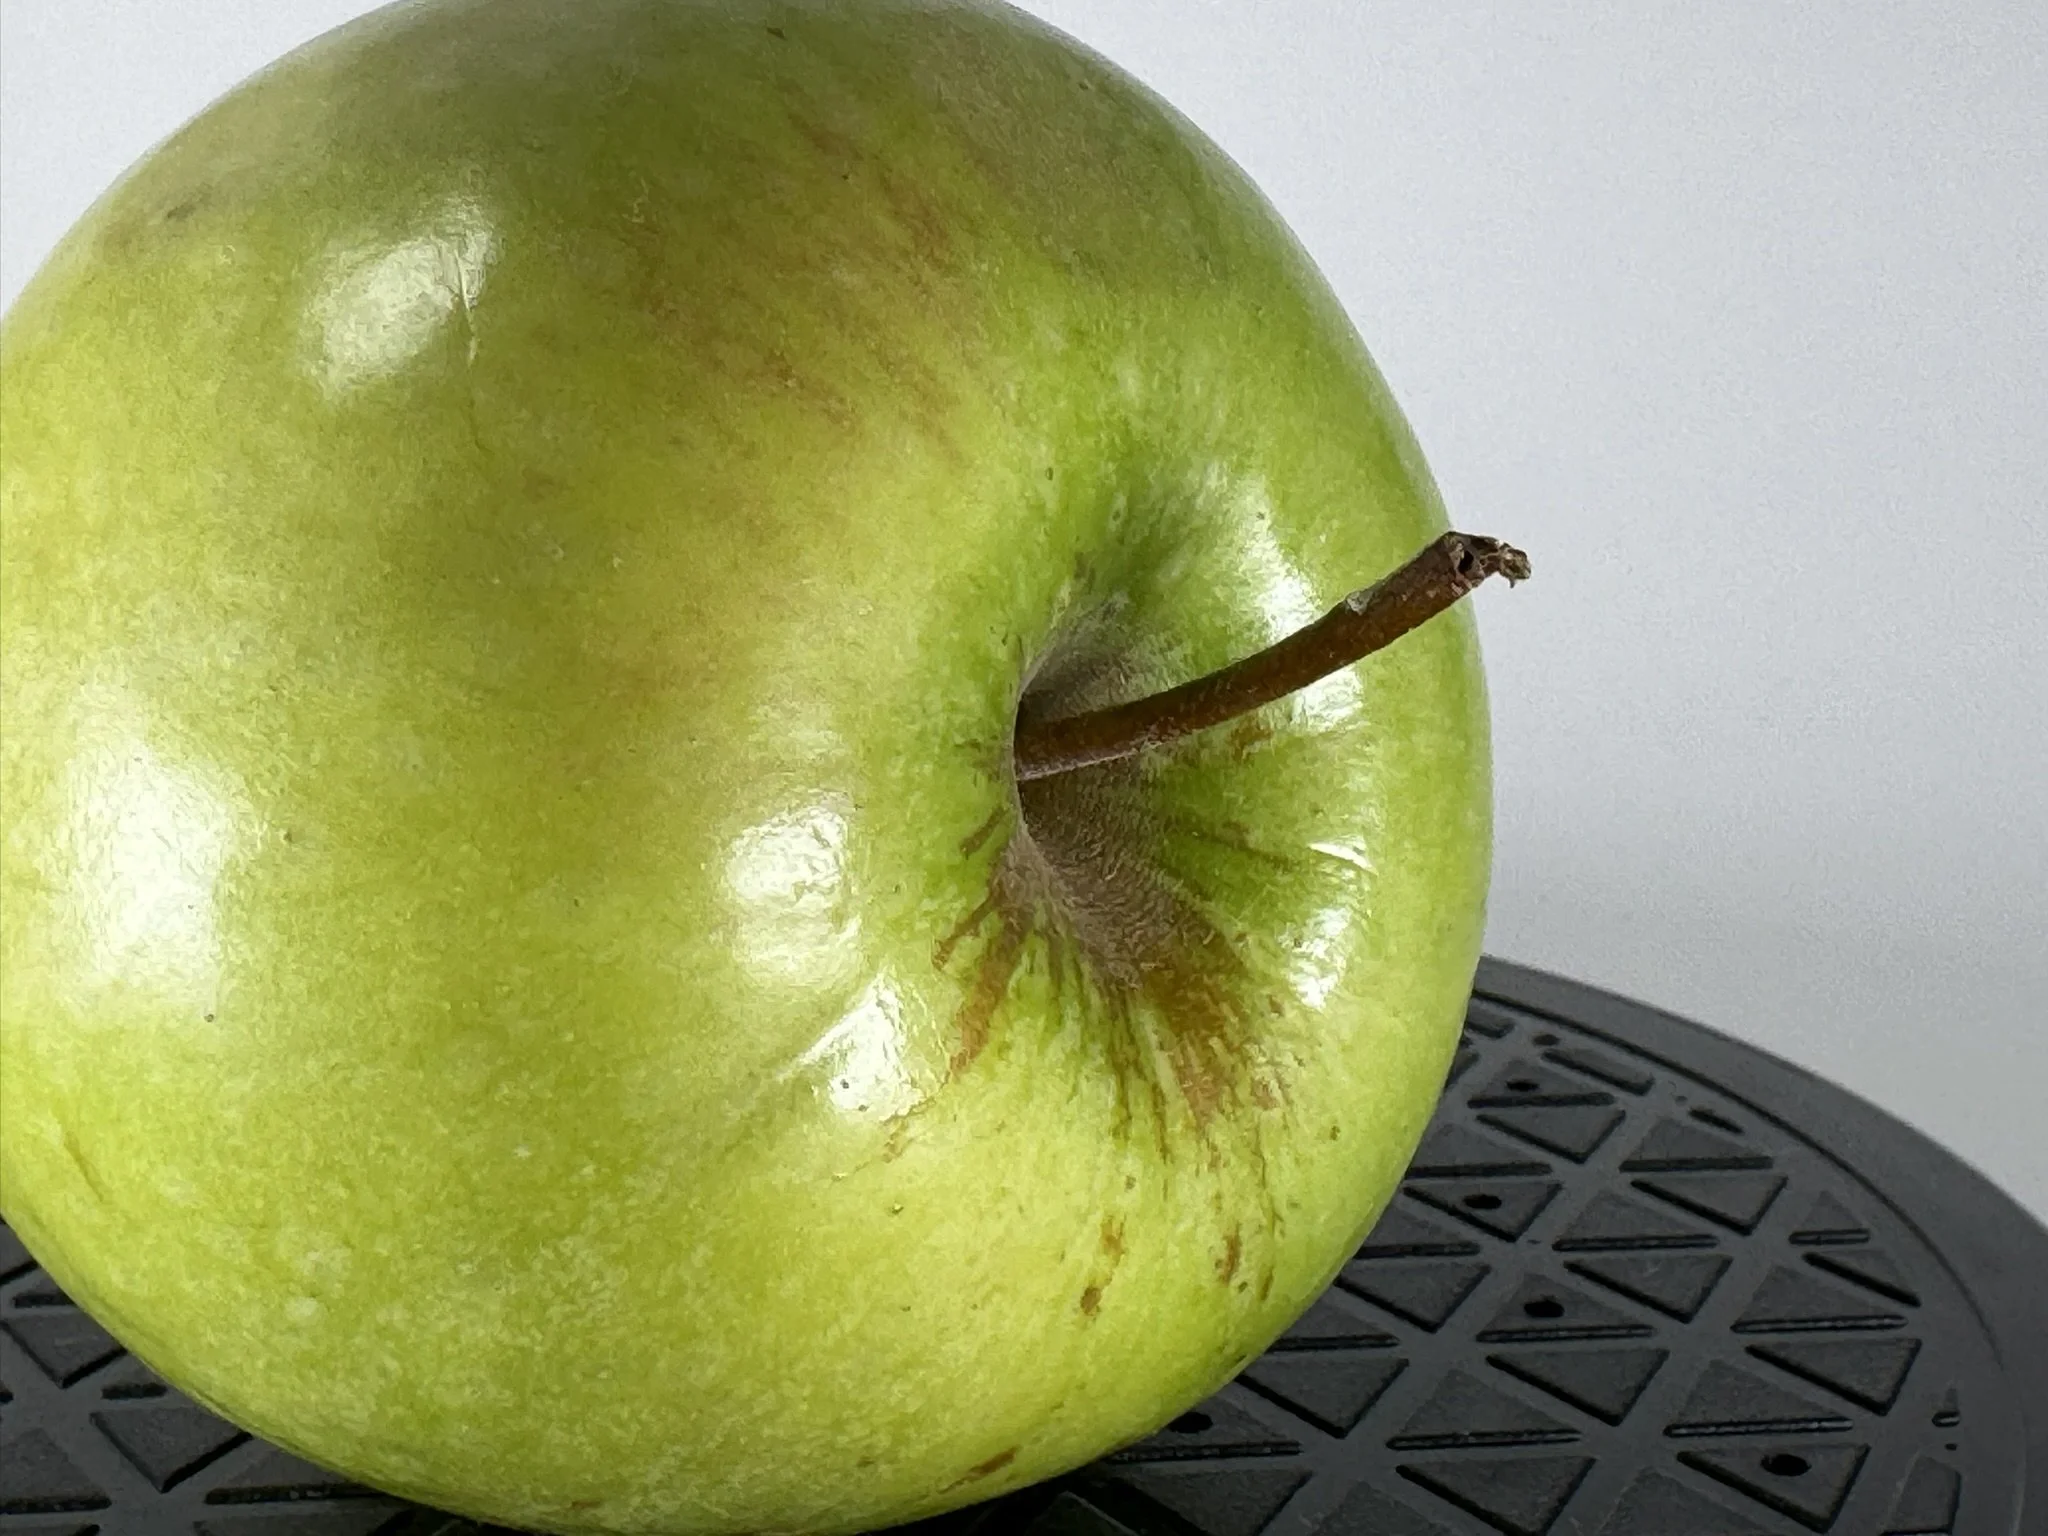
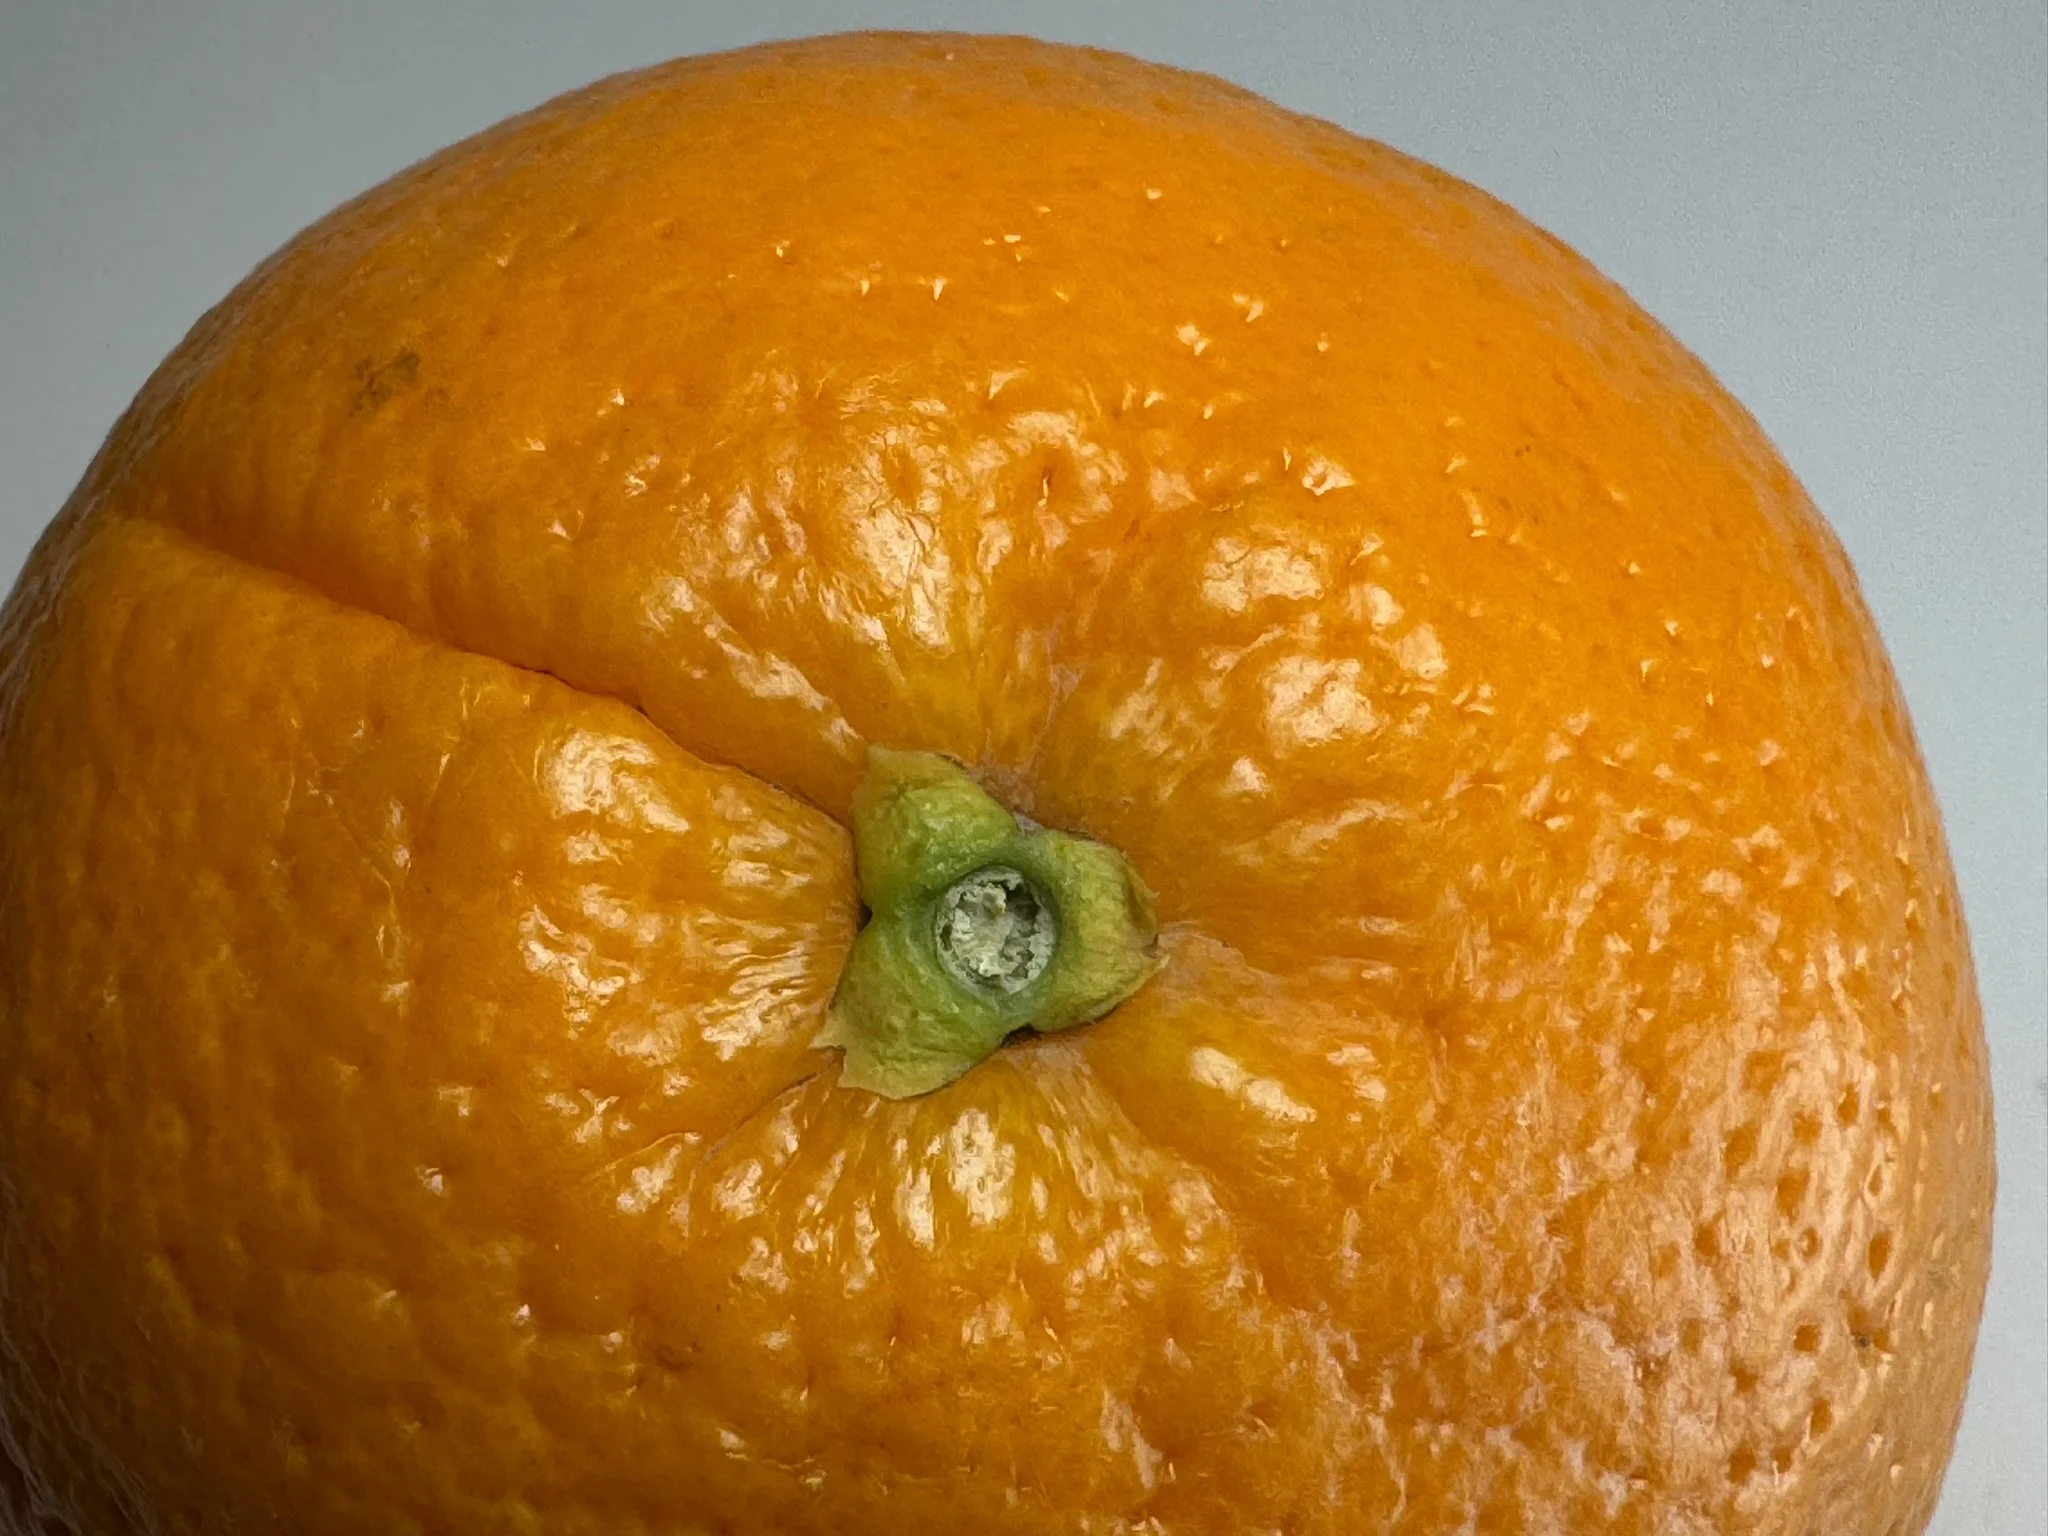
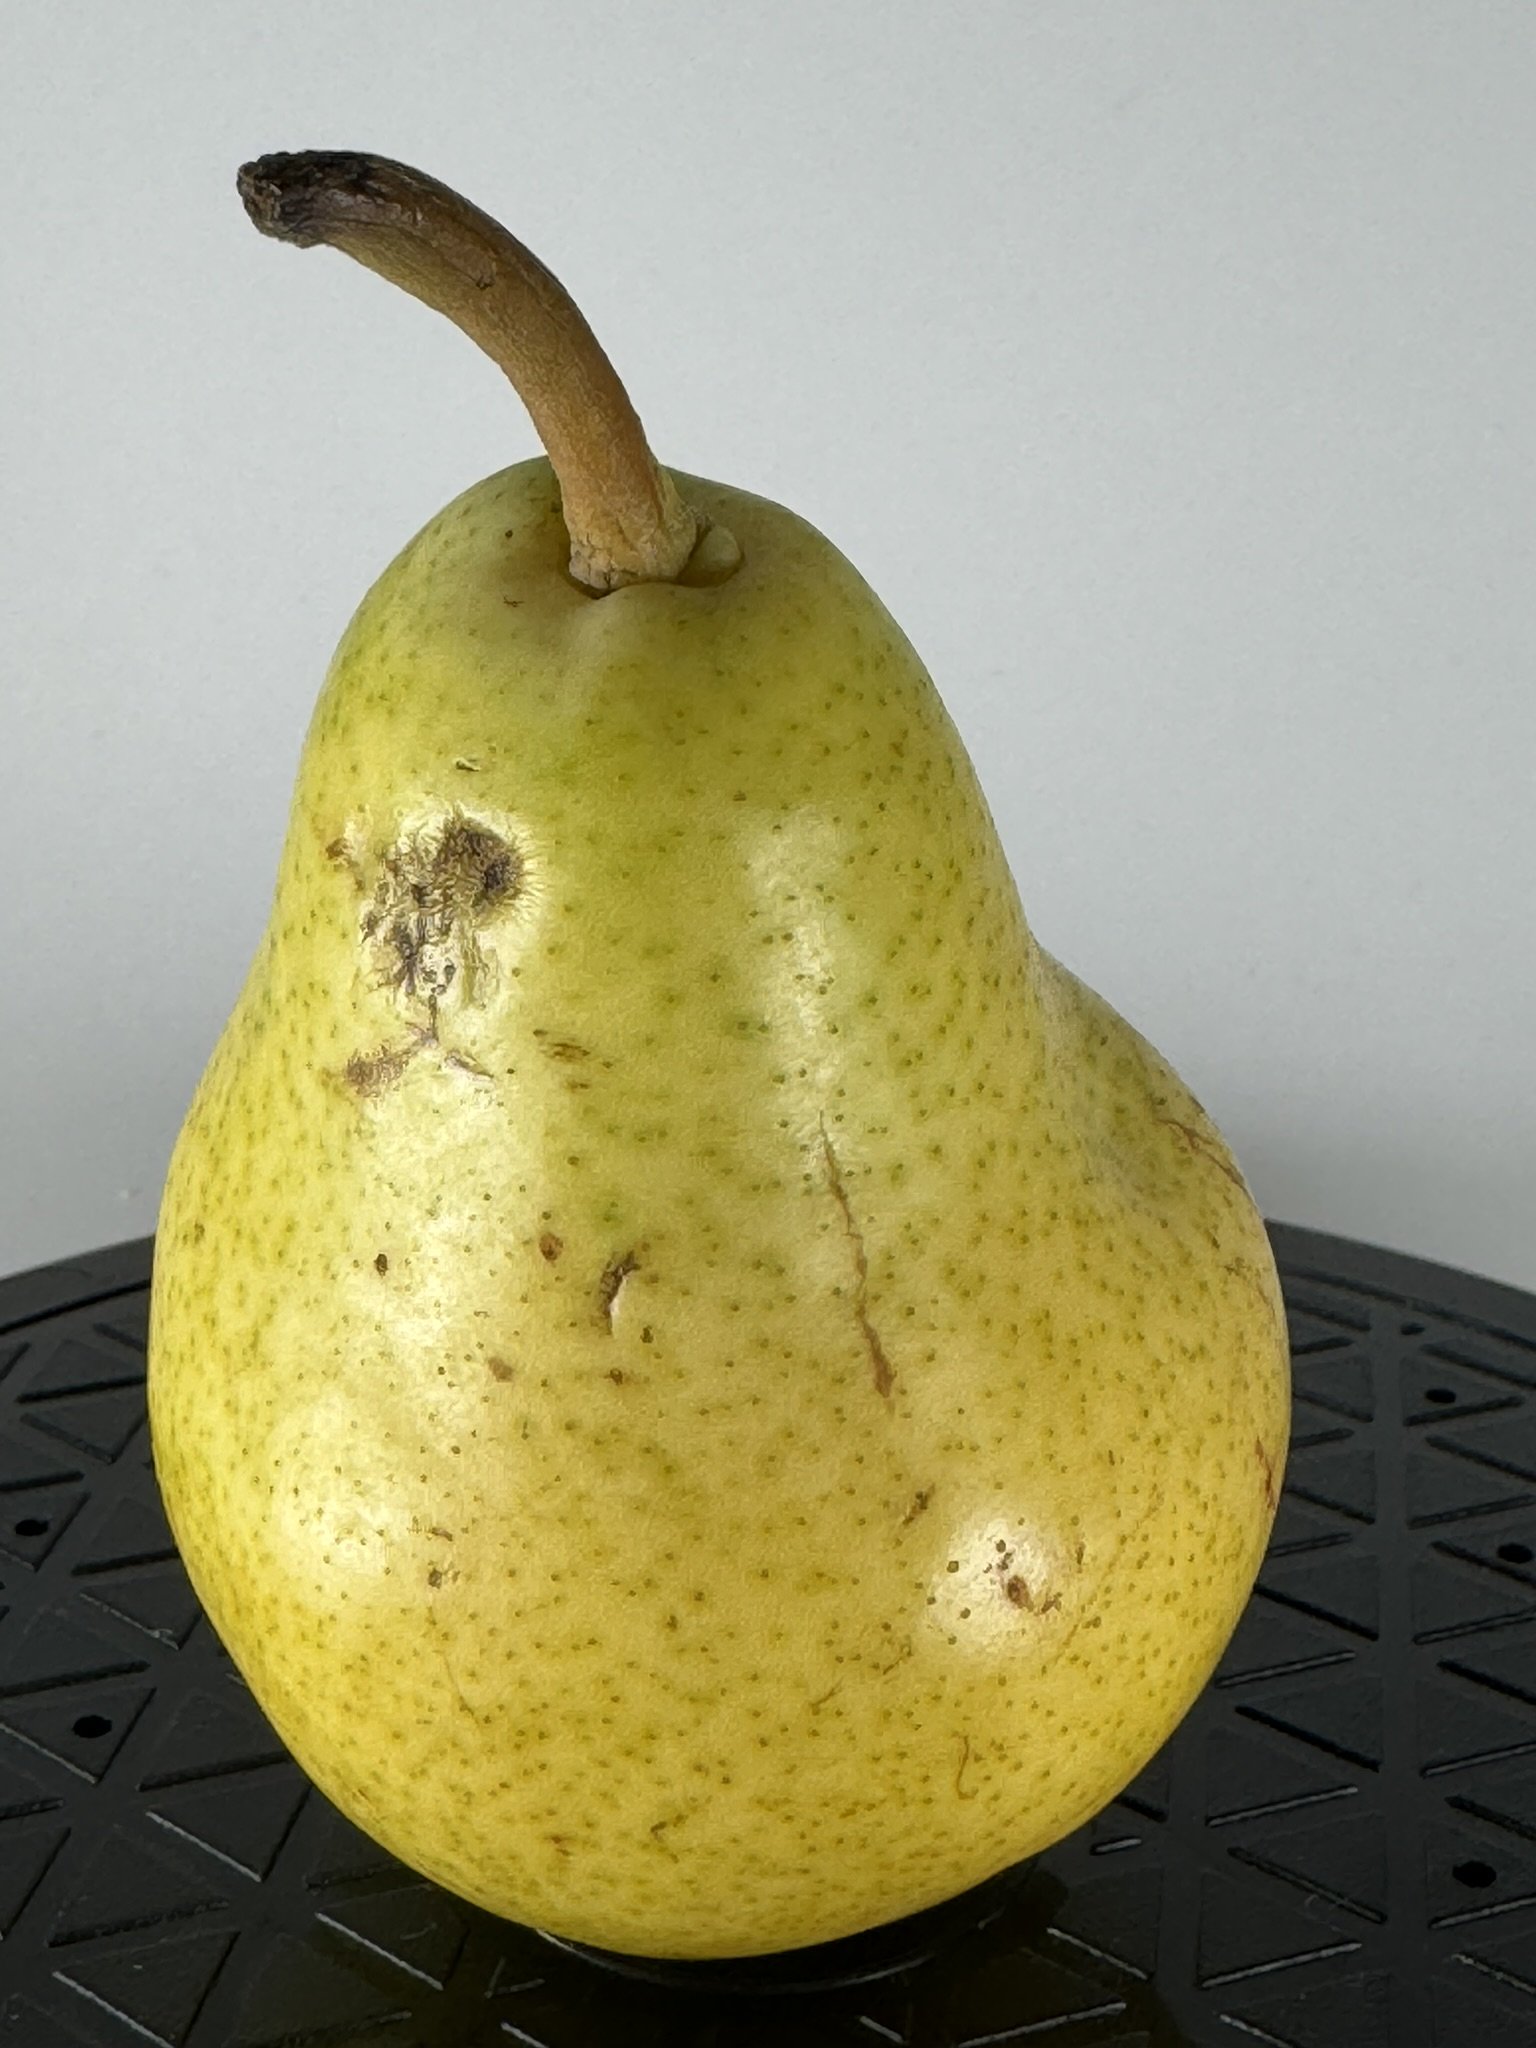
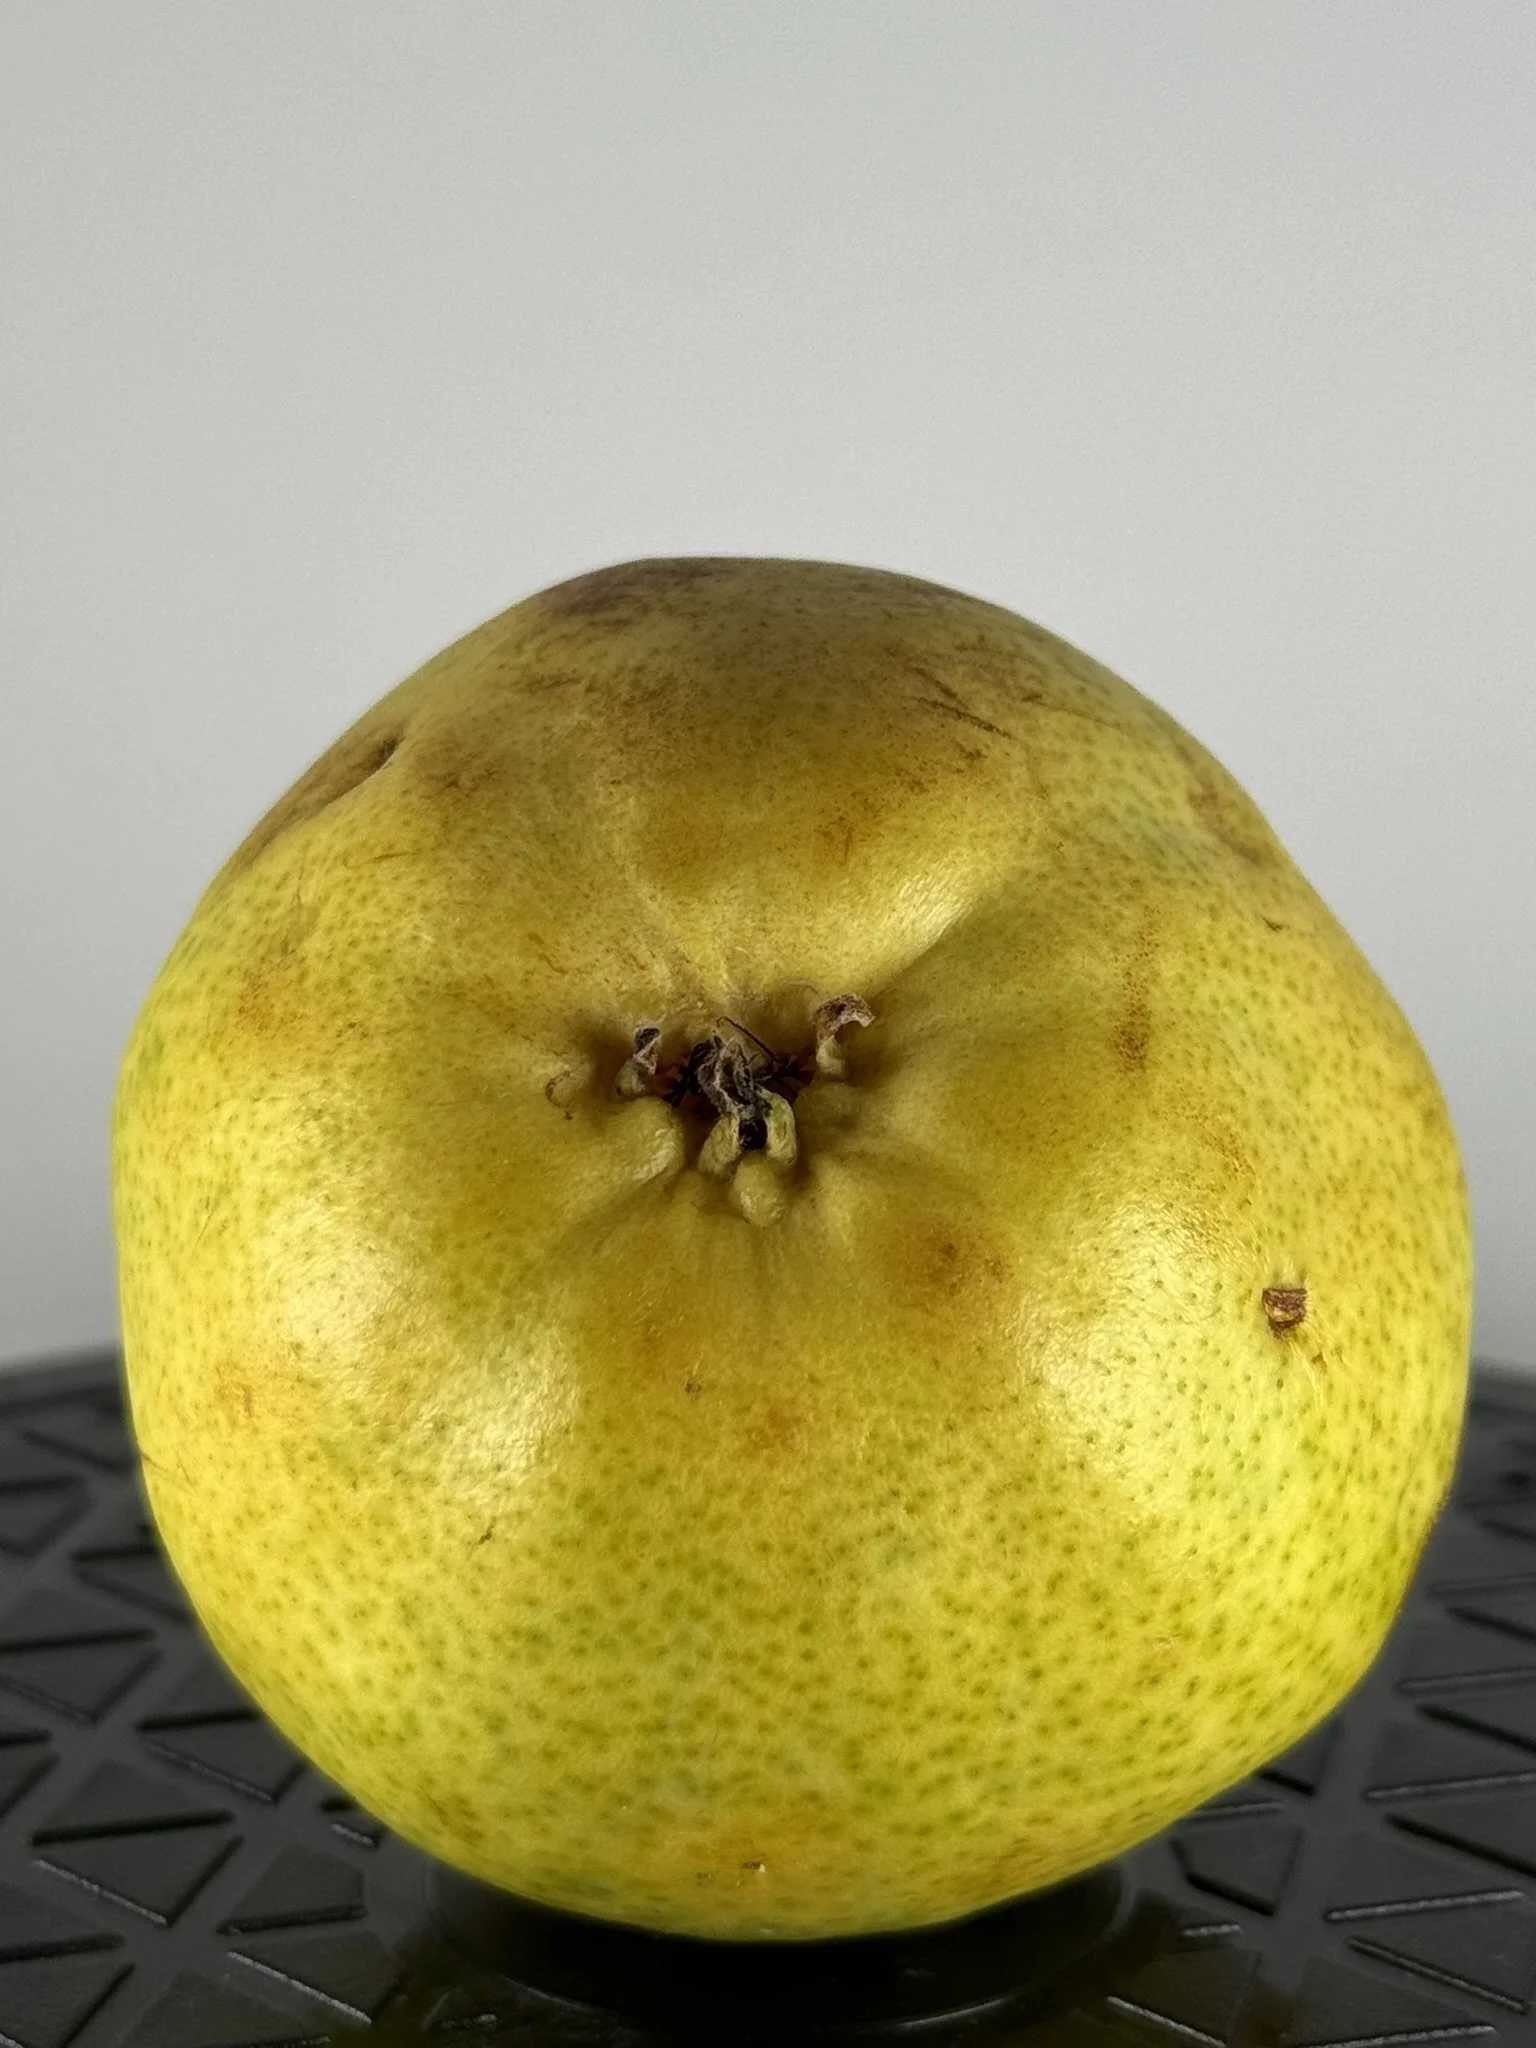
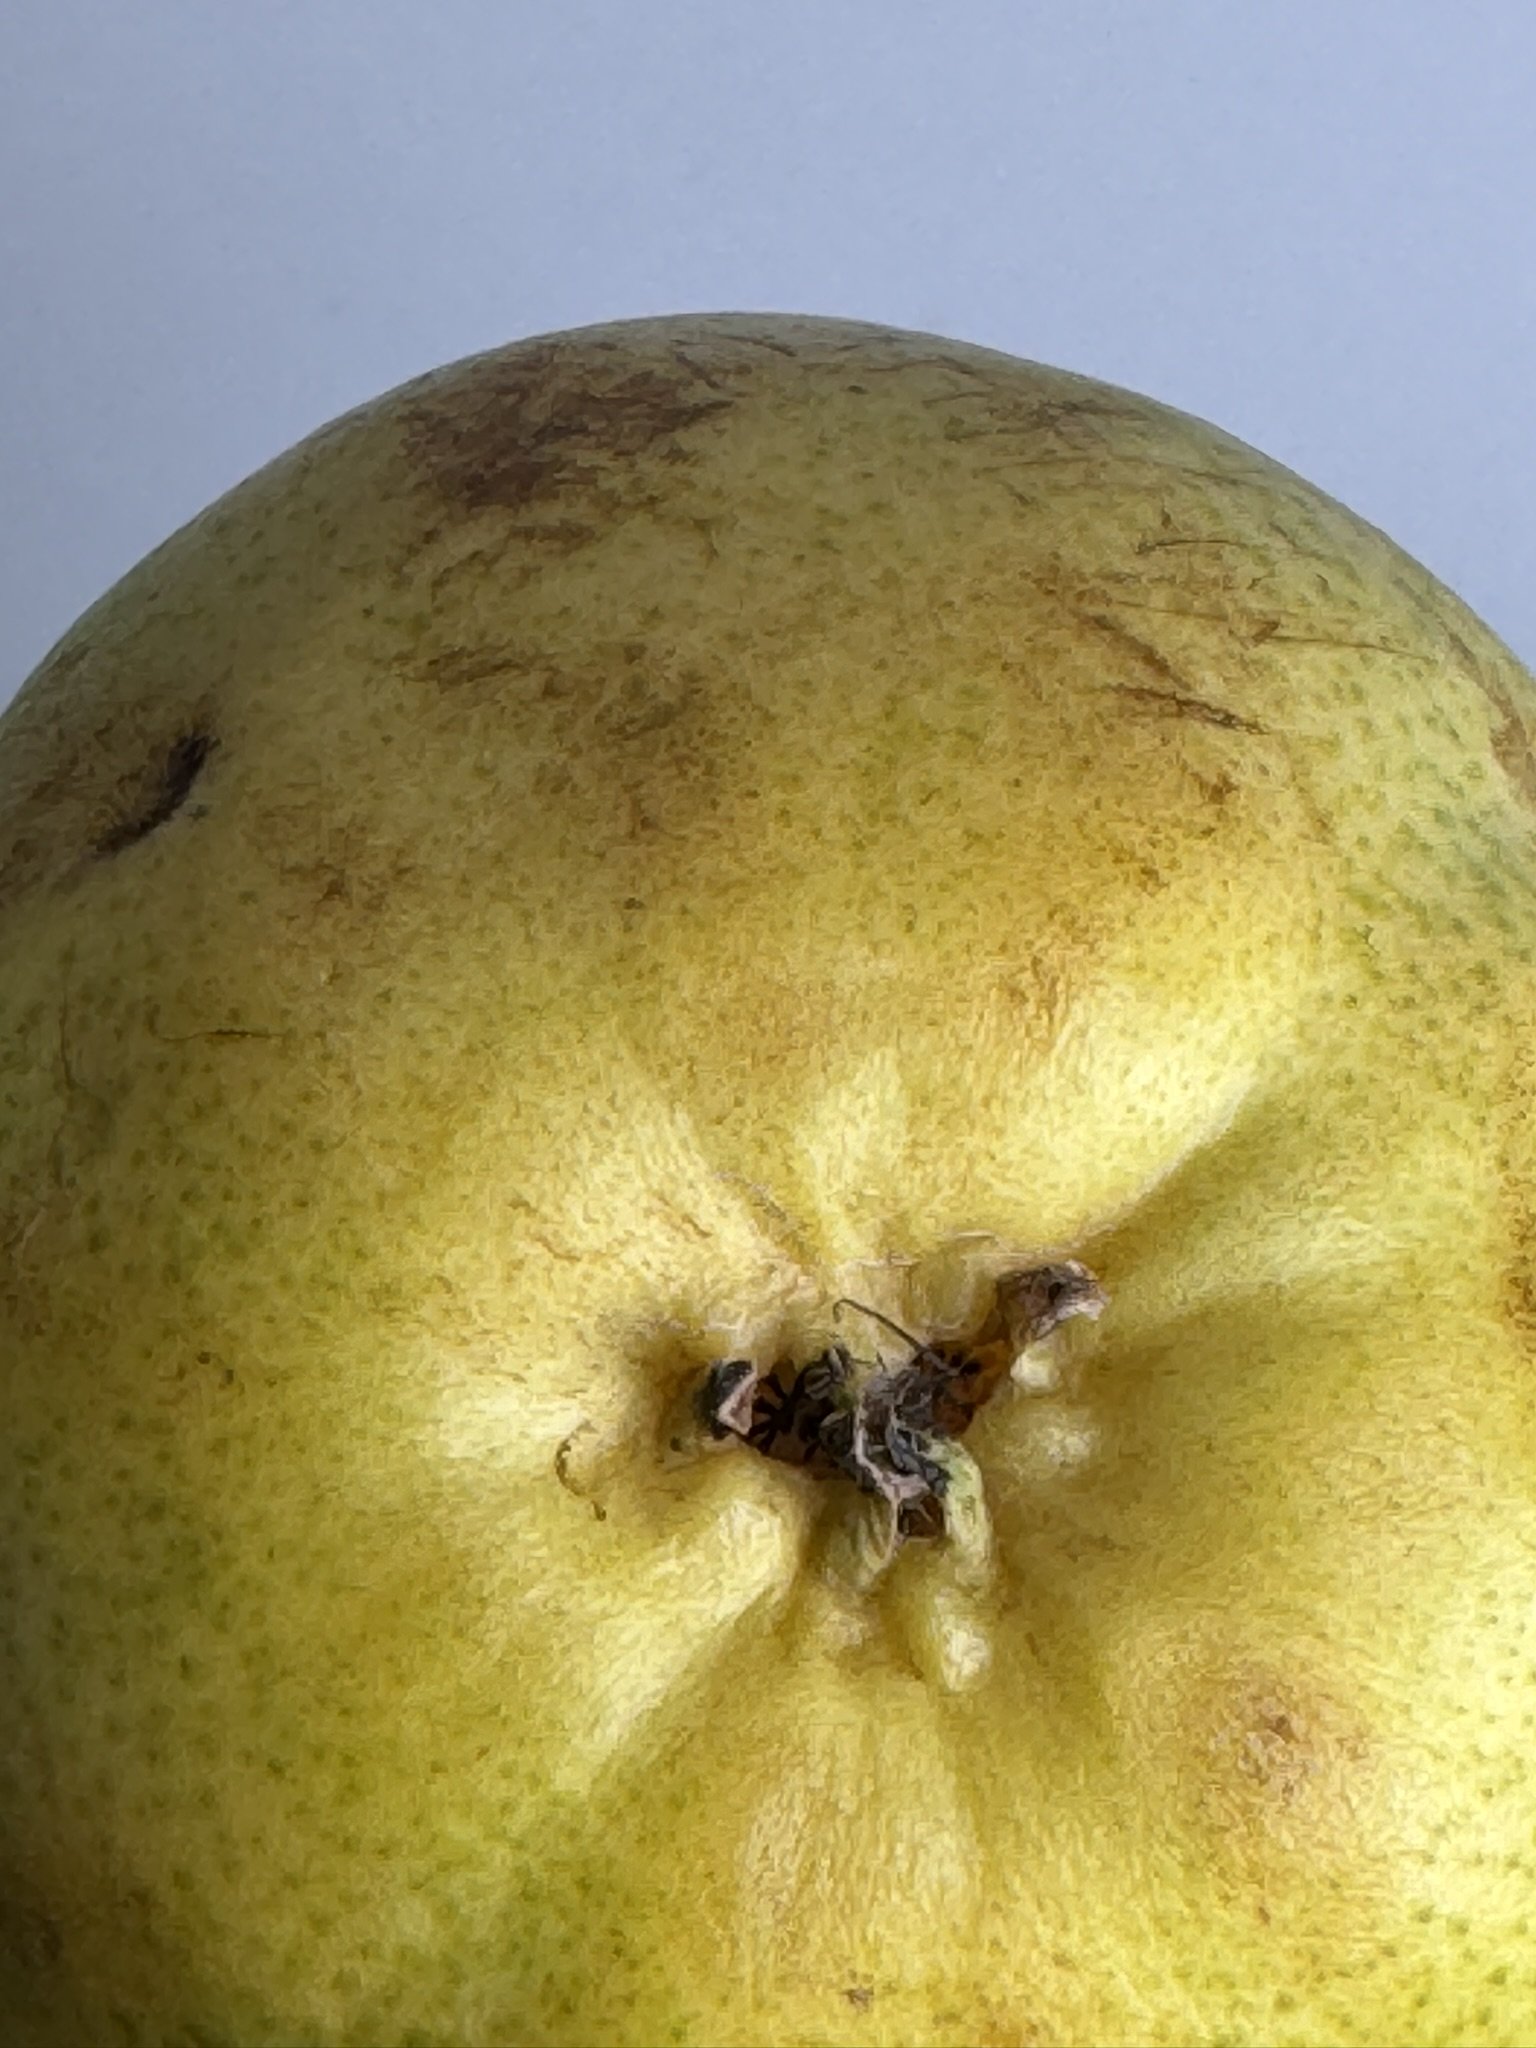
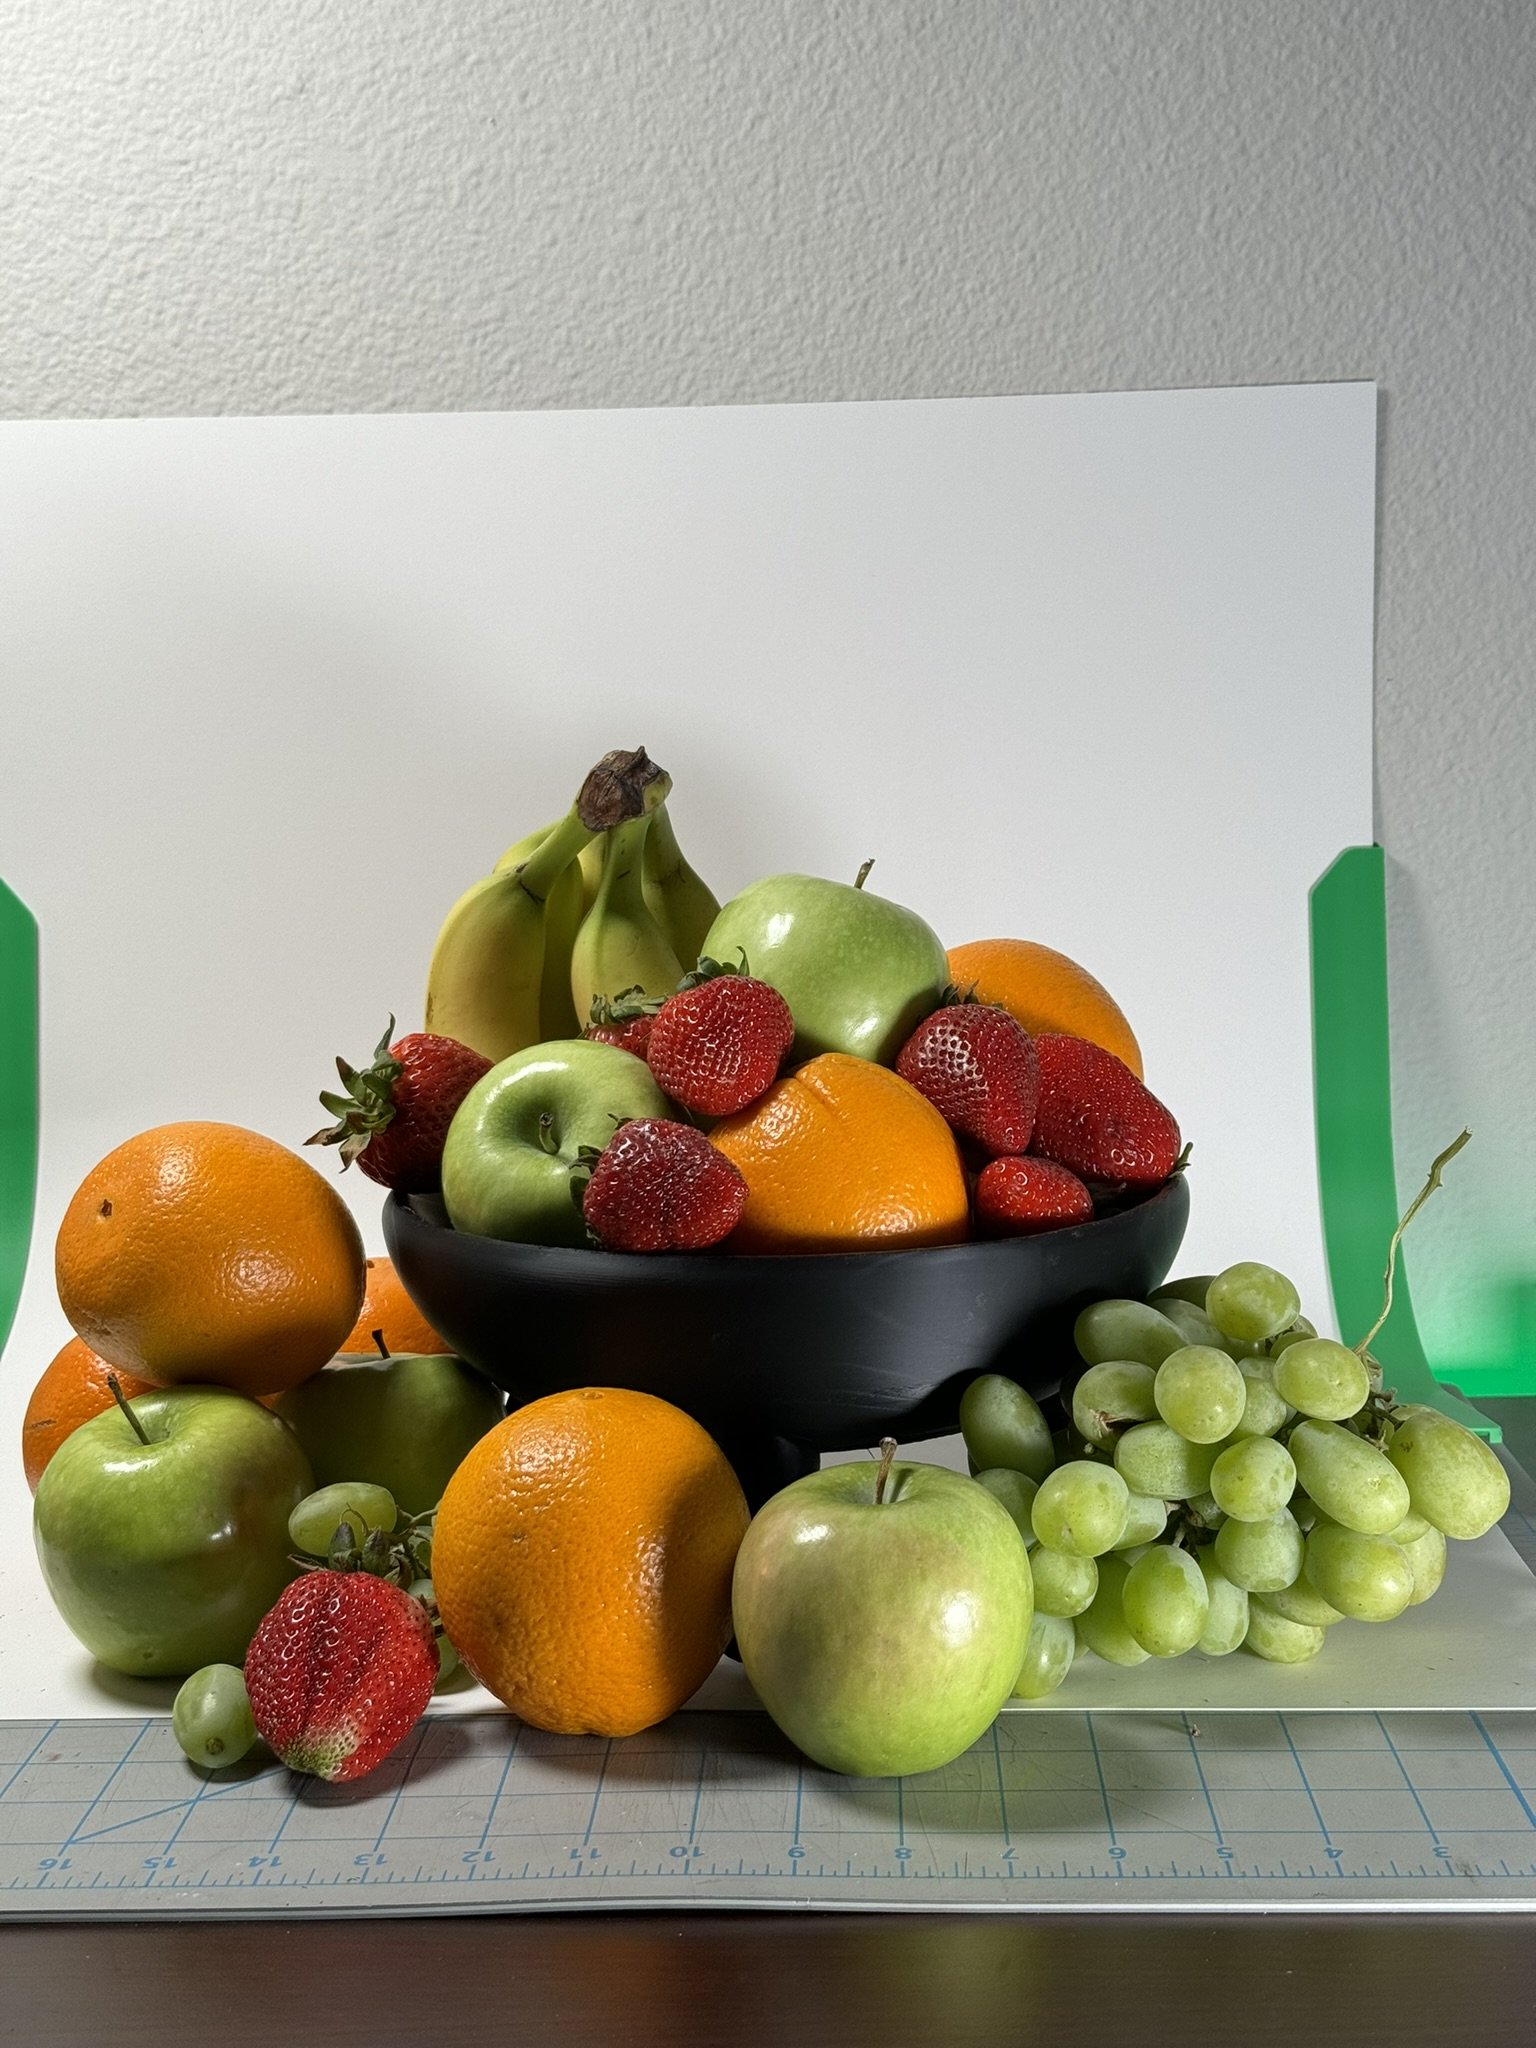
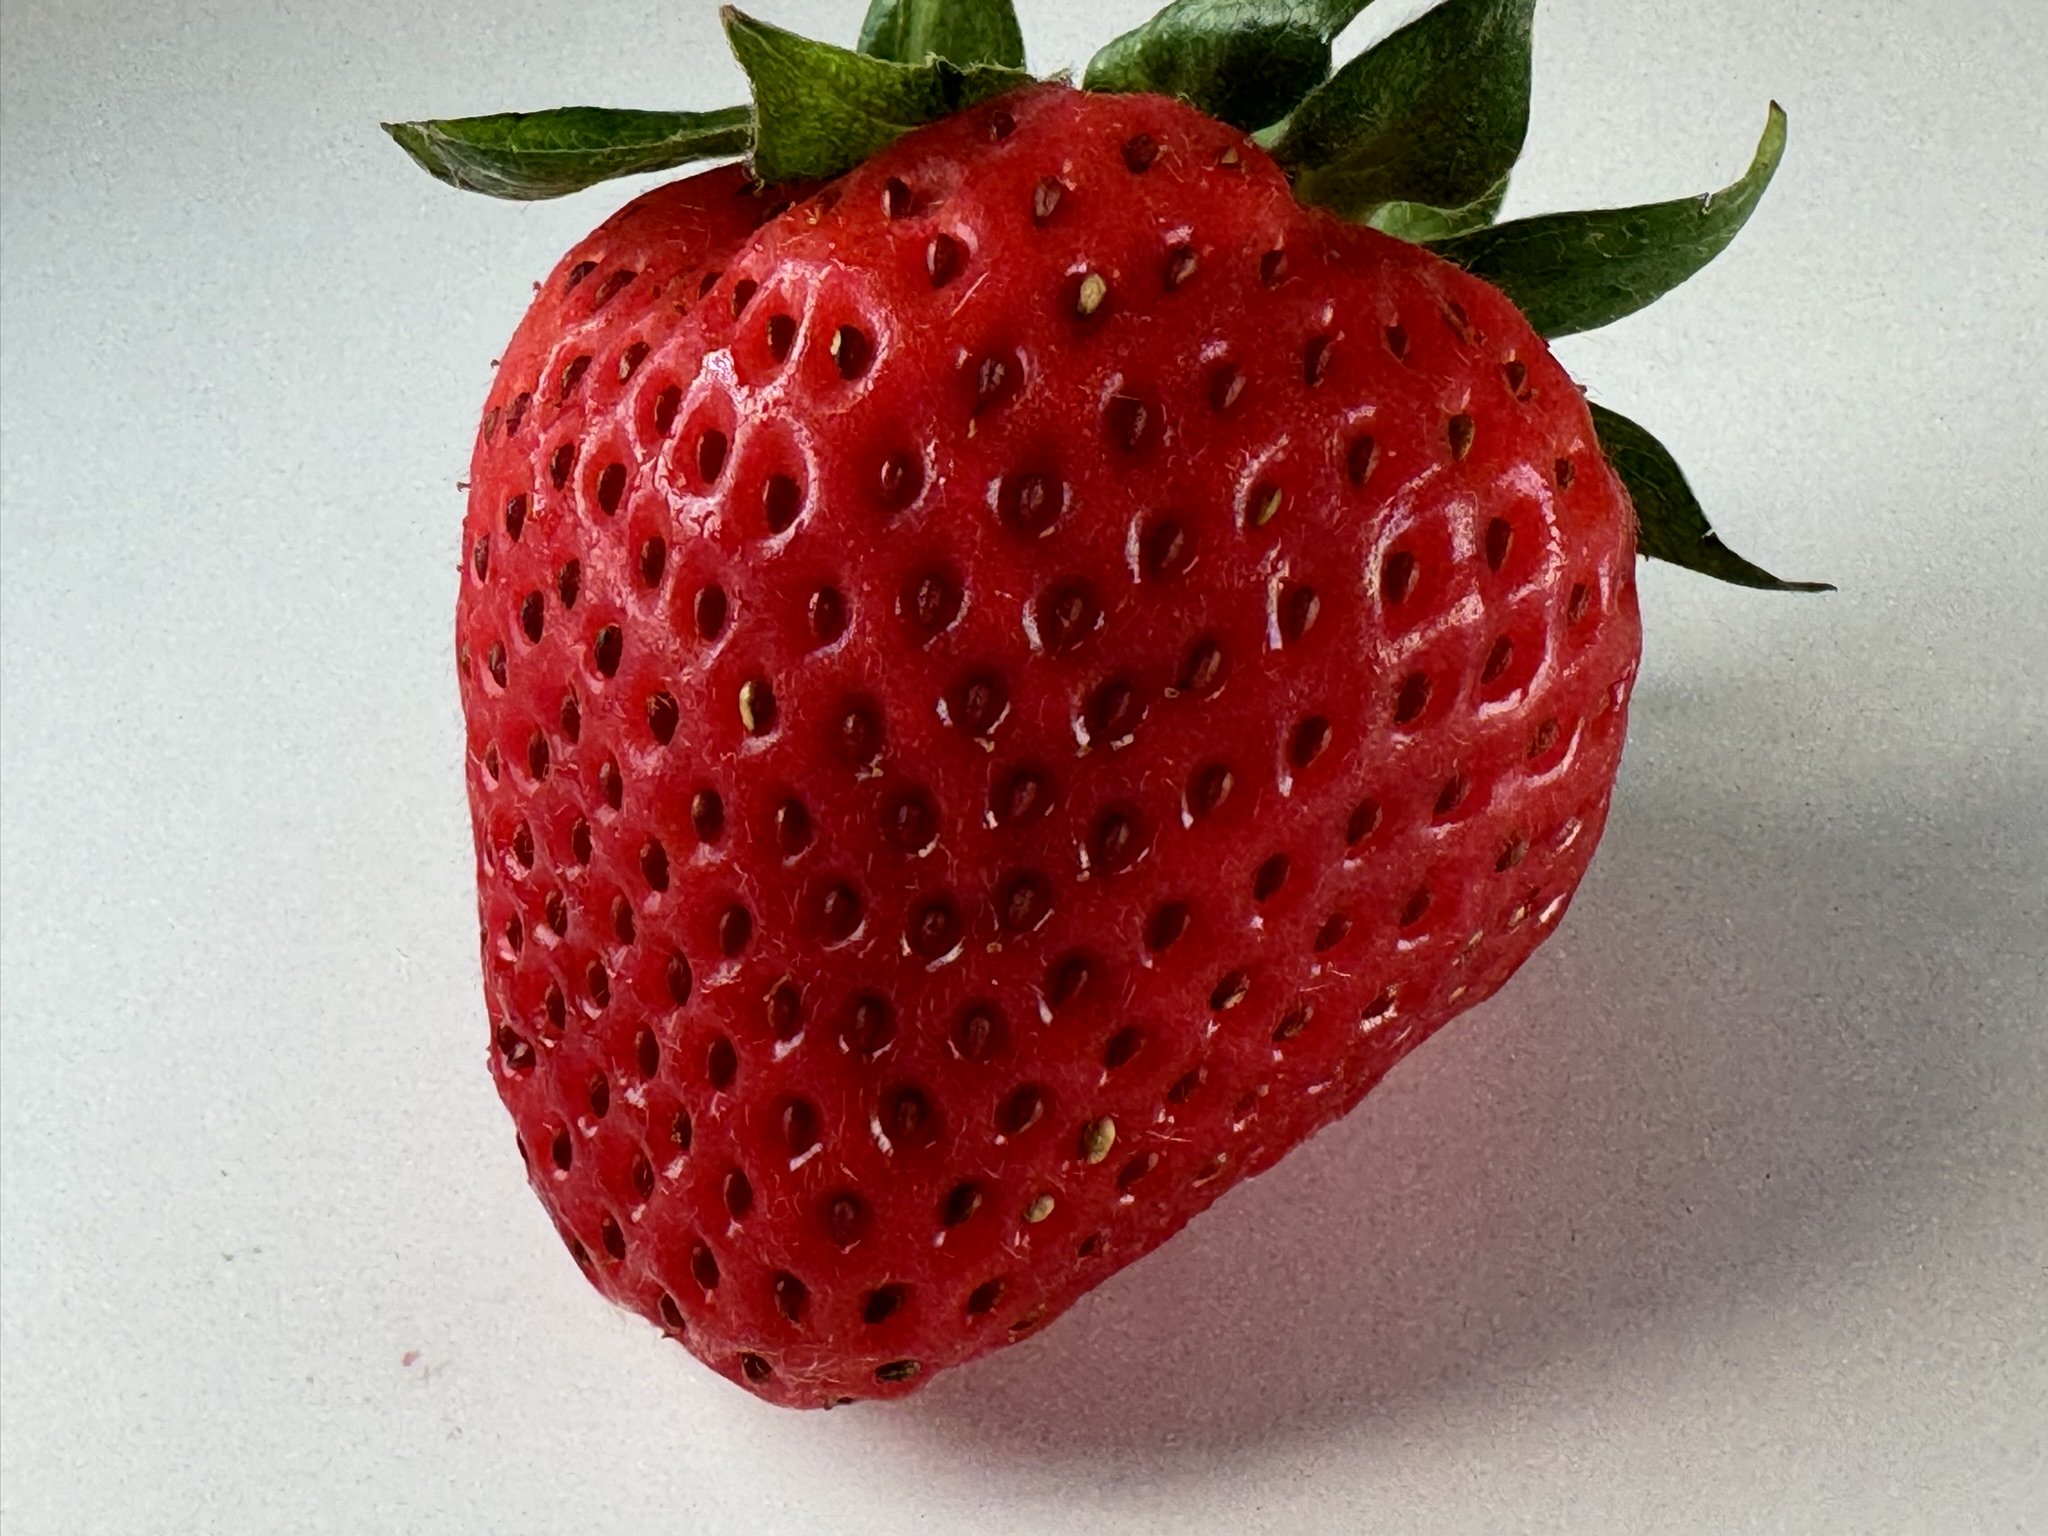
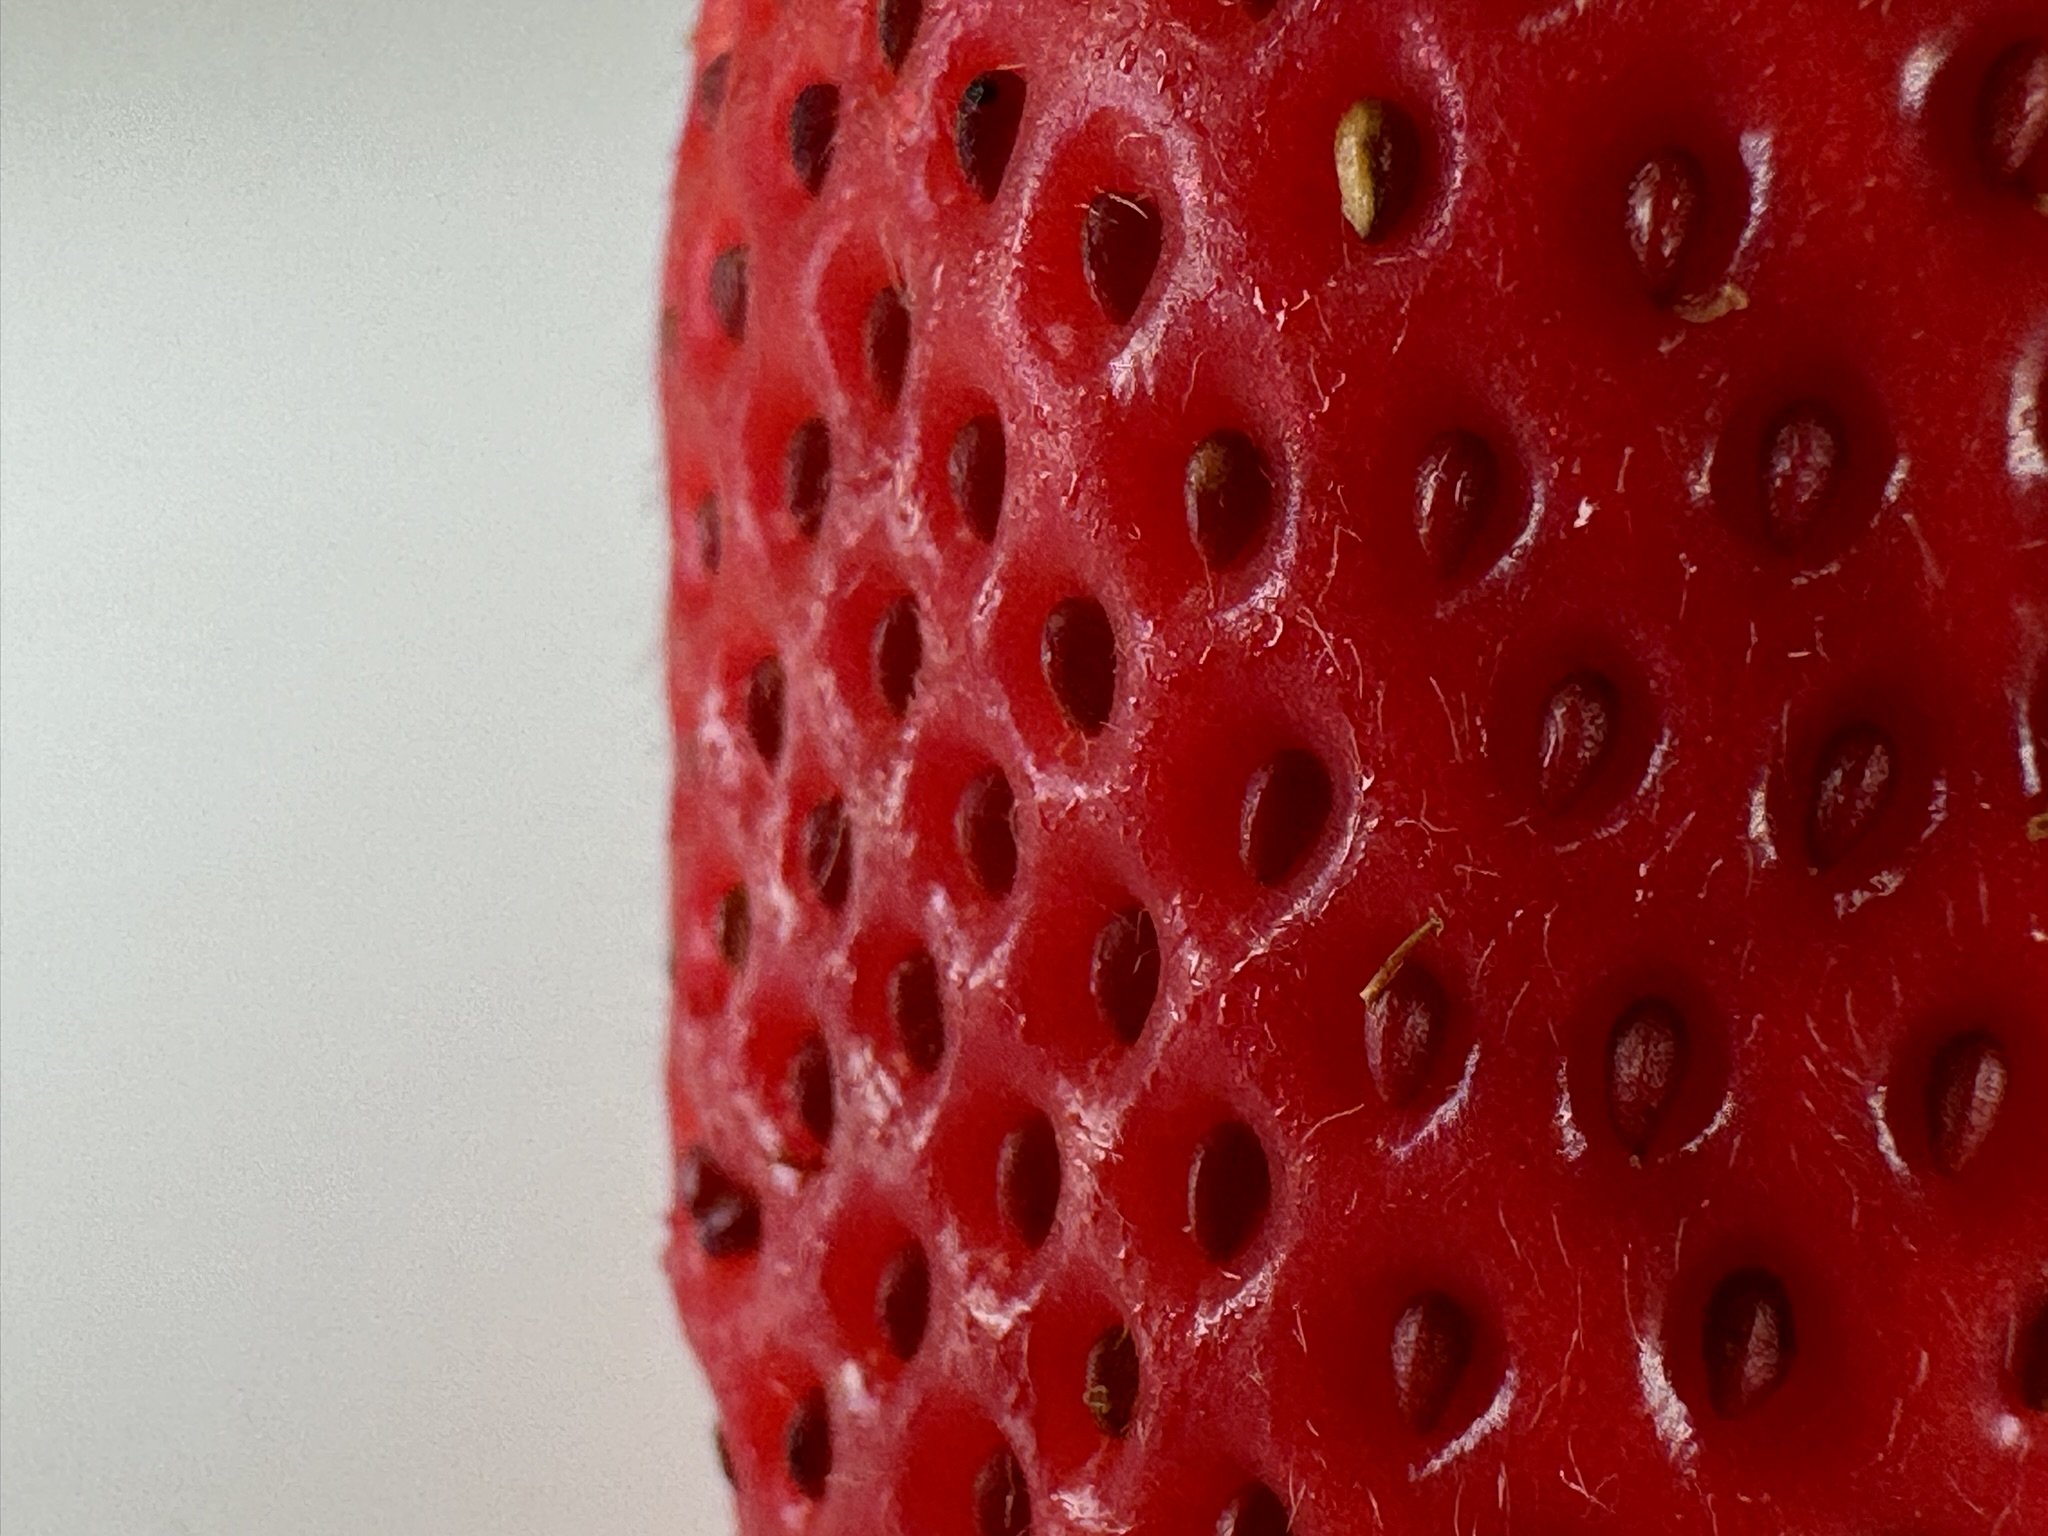
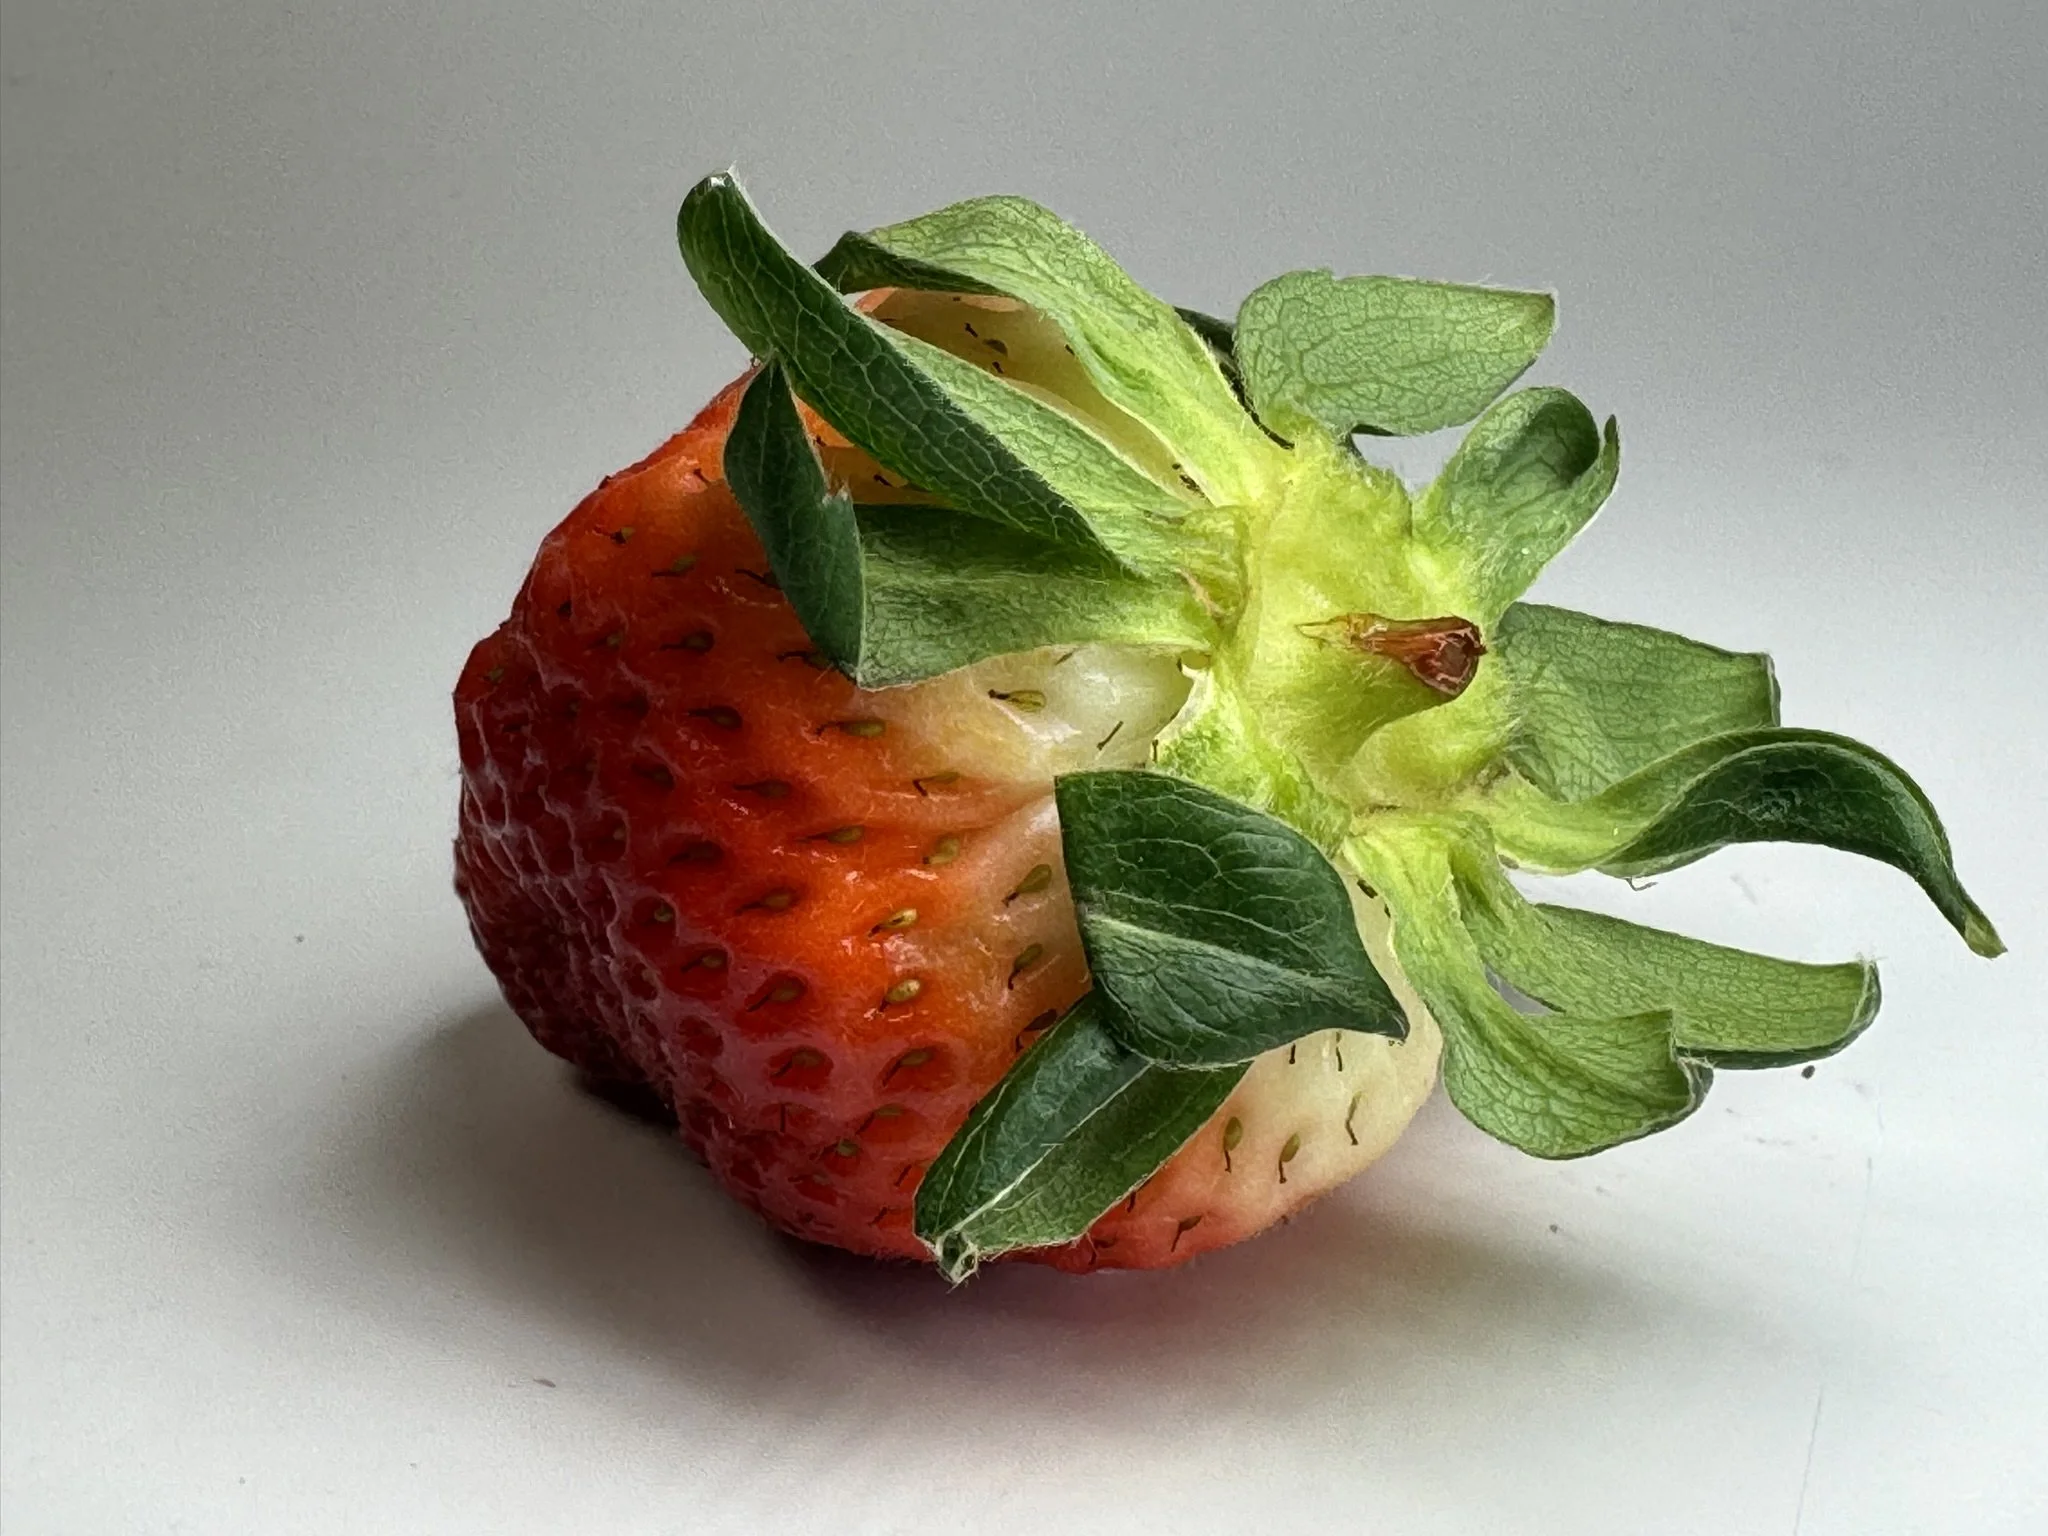
To anchor these techniques, we’ll kick off Project 1: A Still Life Study: Bowl of Fruit. It’s a classic exercise - not because we’re obsessed with apples - but because it trains your eye to recognize proportion, hierarchy, mass, rhythm, and gesture. These are the fundamentals of all great sculpture, digital or otherwise.
Over the next few weeks, ZBrush will start feeling less like a maze and more like a studio. Let’s get to work.
CLASS INTRO
What is ZBrush
ZBrush in my personal work
Beyond ZBrush
Common ZBrush Resources
ZBRUSH QUICK START
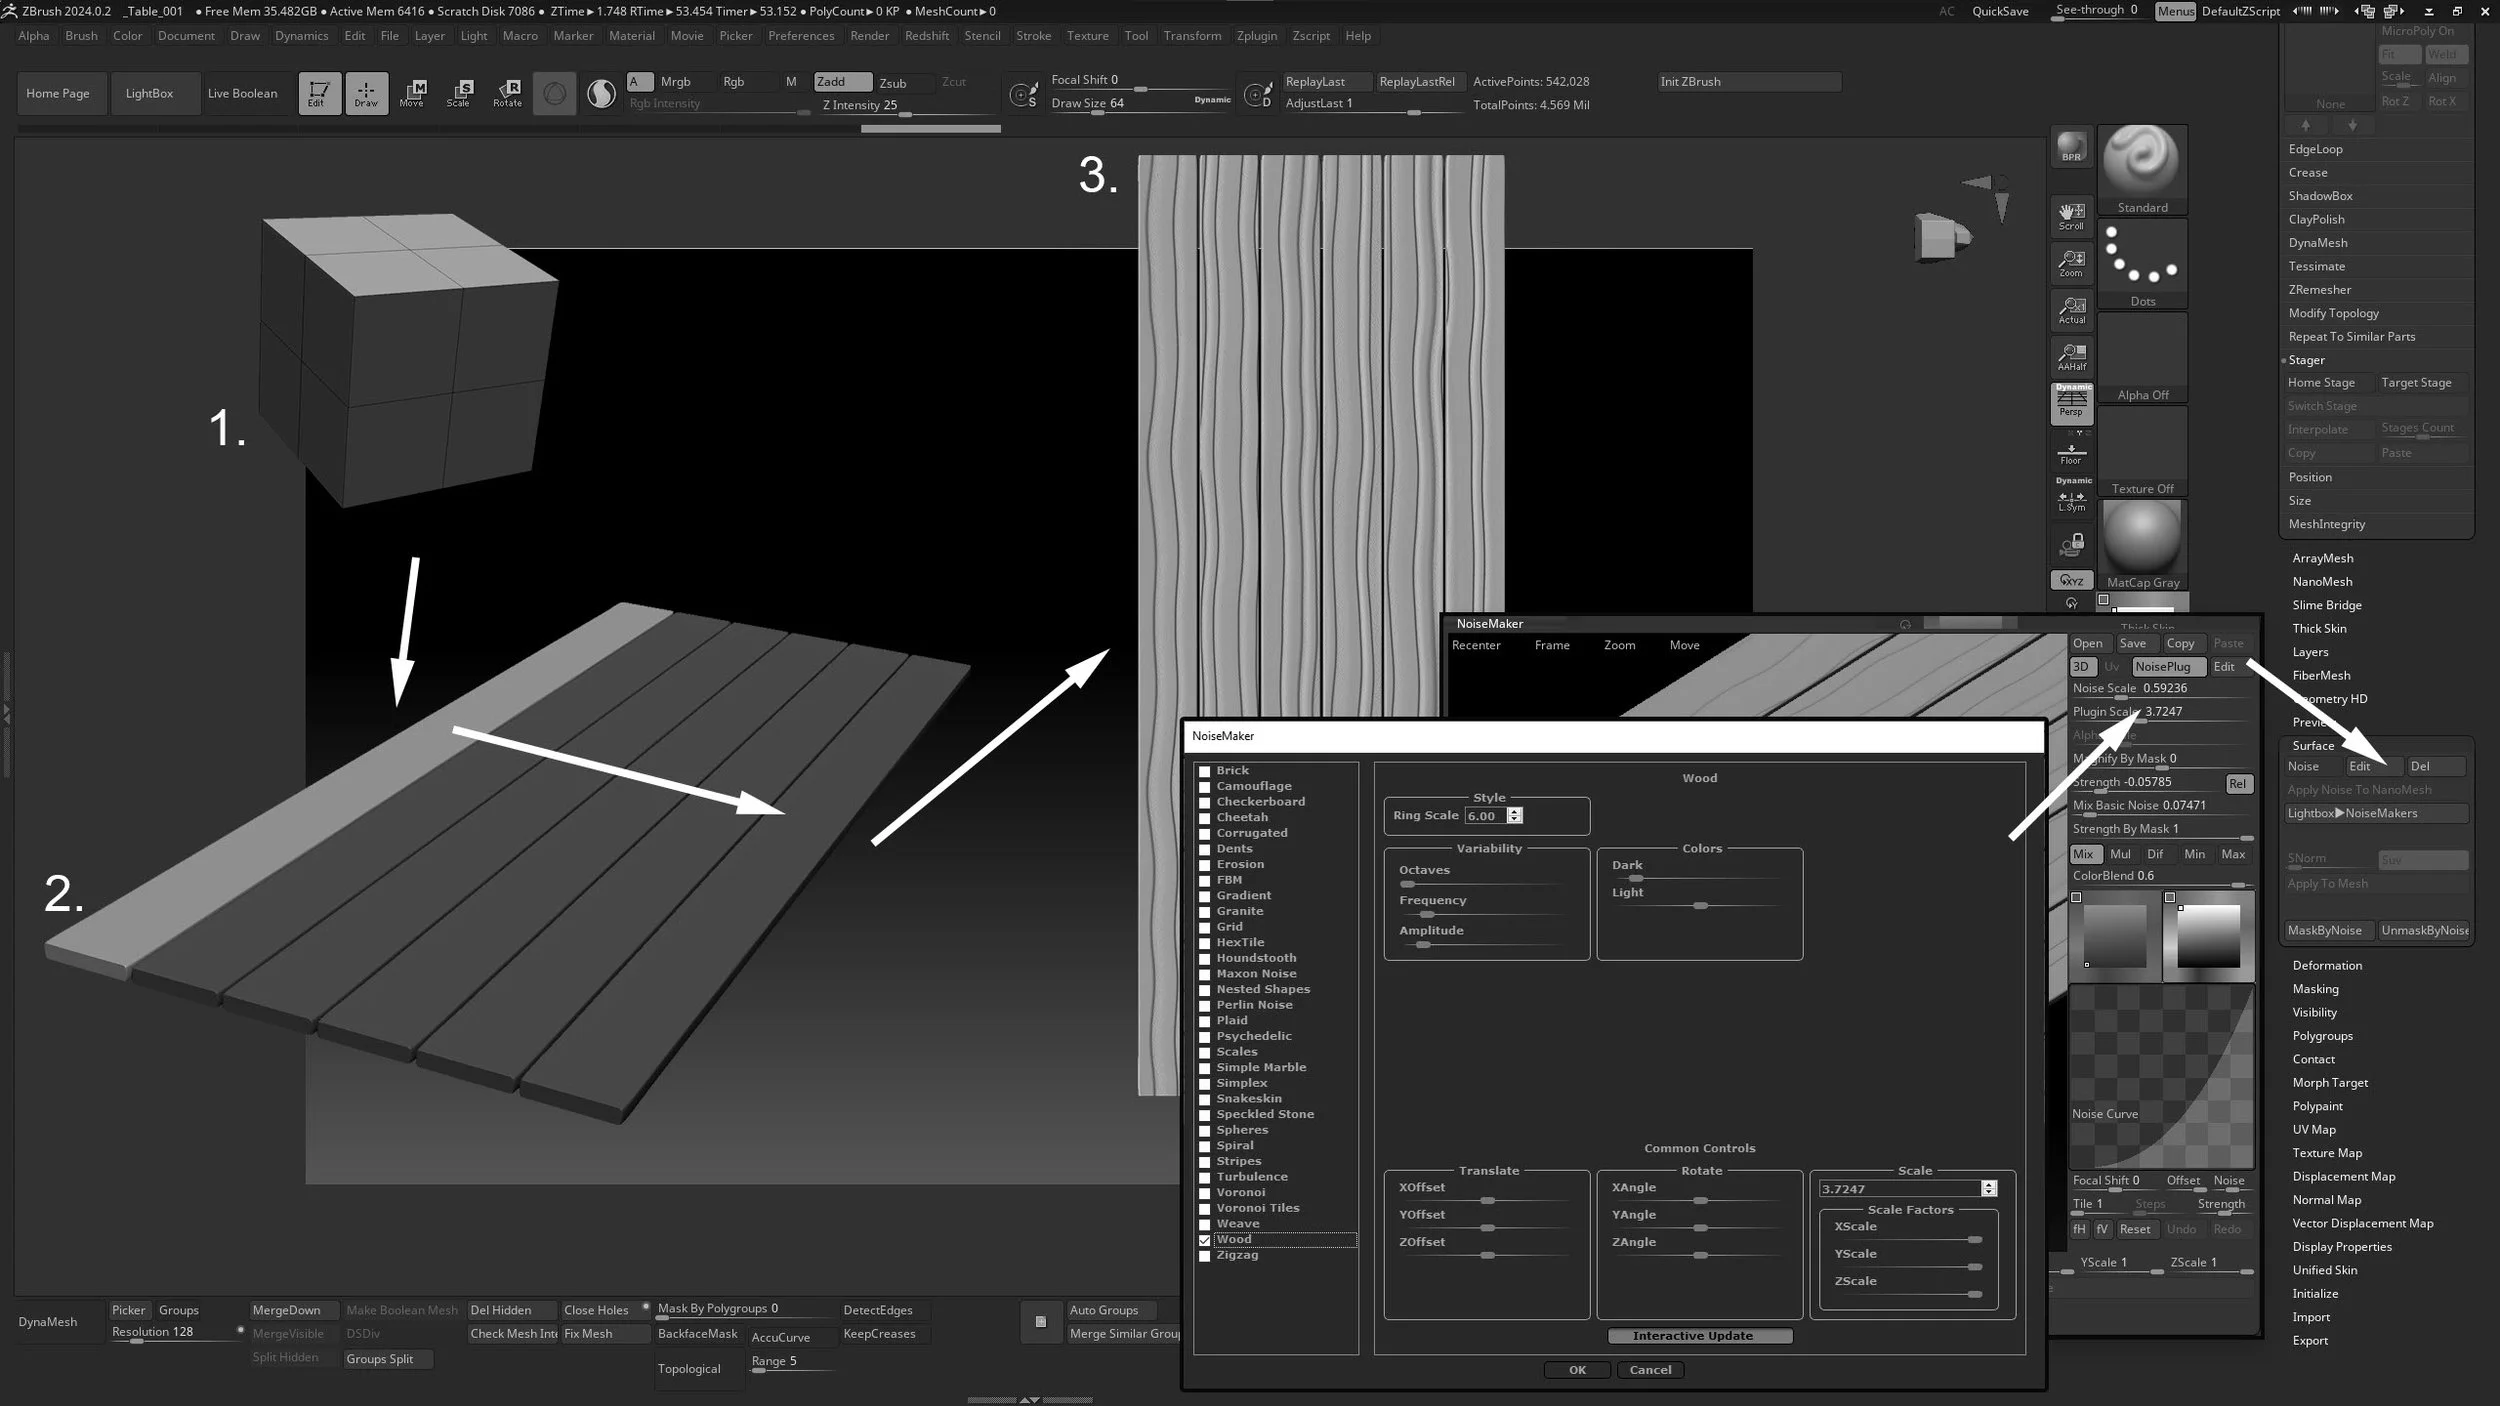
Creating Primitives
Select primitive object from large icon
Drag onto the canvas
Press “T“ to go into 3D edit mode
Press MakePolyMesh3D
Tool > Geometry > Dynamesh object
Sculpt
TIP: To clear ZBrush Document, press T then Ctrl+N
Delete Object now. Go to Tool > Subtool > Delete.
Reset ZBrush to Clean start up state. Go to Preferences > Initialize.
DYNAMESH VS. SCULPTRIS
Dynamesh
Activate/Deactivate Dynamesh: Tool > Geometry > Dynamesh
To Dynamesh an object: Ctrl+drag select on an area on the canvas that is off of the model
Sculptris Pro
Activate/Deactivate Sculptris: “/“ …or Stroke > Sculptris Pro > Activate
Brush size drives the level of detail
To erase mesh hold “Shift“ until mesh is gone
Note: Some brushes won’t work as well with Sculptris Pro Activated
THE ZBRUSH IU


Jump to 43 sec…
SCULPTING, WORKFLOW, and BRUSH PROPERTIES
SCULPING DEMO
Brushes
Standard (BST)
Dameon Standard (BDS)
Curve Tubes Brush (BCB)
Move (BMV)
Snake Hook (BSH)
Smooth (Shift+Stroke)
Alphas
Alpha Pallet
Selecting Alphas
Creating Alphas
Settings
Masking
Add mask: (Ctrl+Stroke)
Remove mask: (Ctrl+ALT+Stroke )
Polygroups
Polygroups (Ctrl+Shift+Stroke)
Symmetry
Sculpting in symmetry and symmetry types
Activate/Deactivate Symmetry: X
to change XYZ axis: Transform > Symmetry > XYZ
Move, Scale and Rotate
To move, scale or rotate an object with the Gizmo, you must first be out of draw mode. Note: this is automatically toggled off when any of the following key are pressed.
Quick keys
Move: W
Scale: E
Rotate: R
Tip: Move, Scale and rotate can be done in symmetry as well. However, in some cases this can produce undesired results.
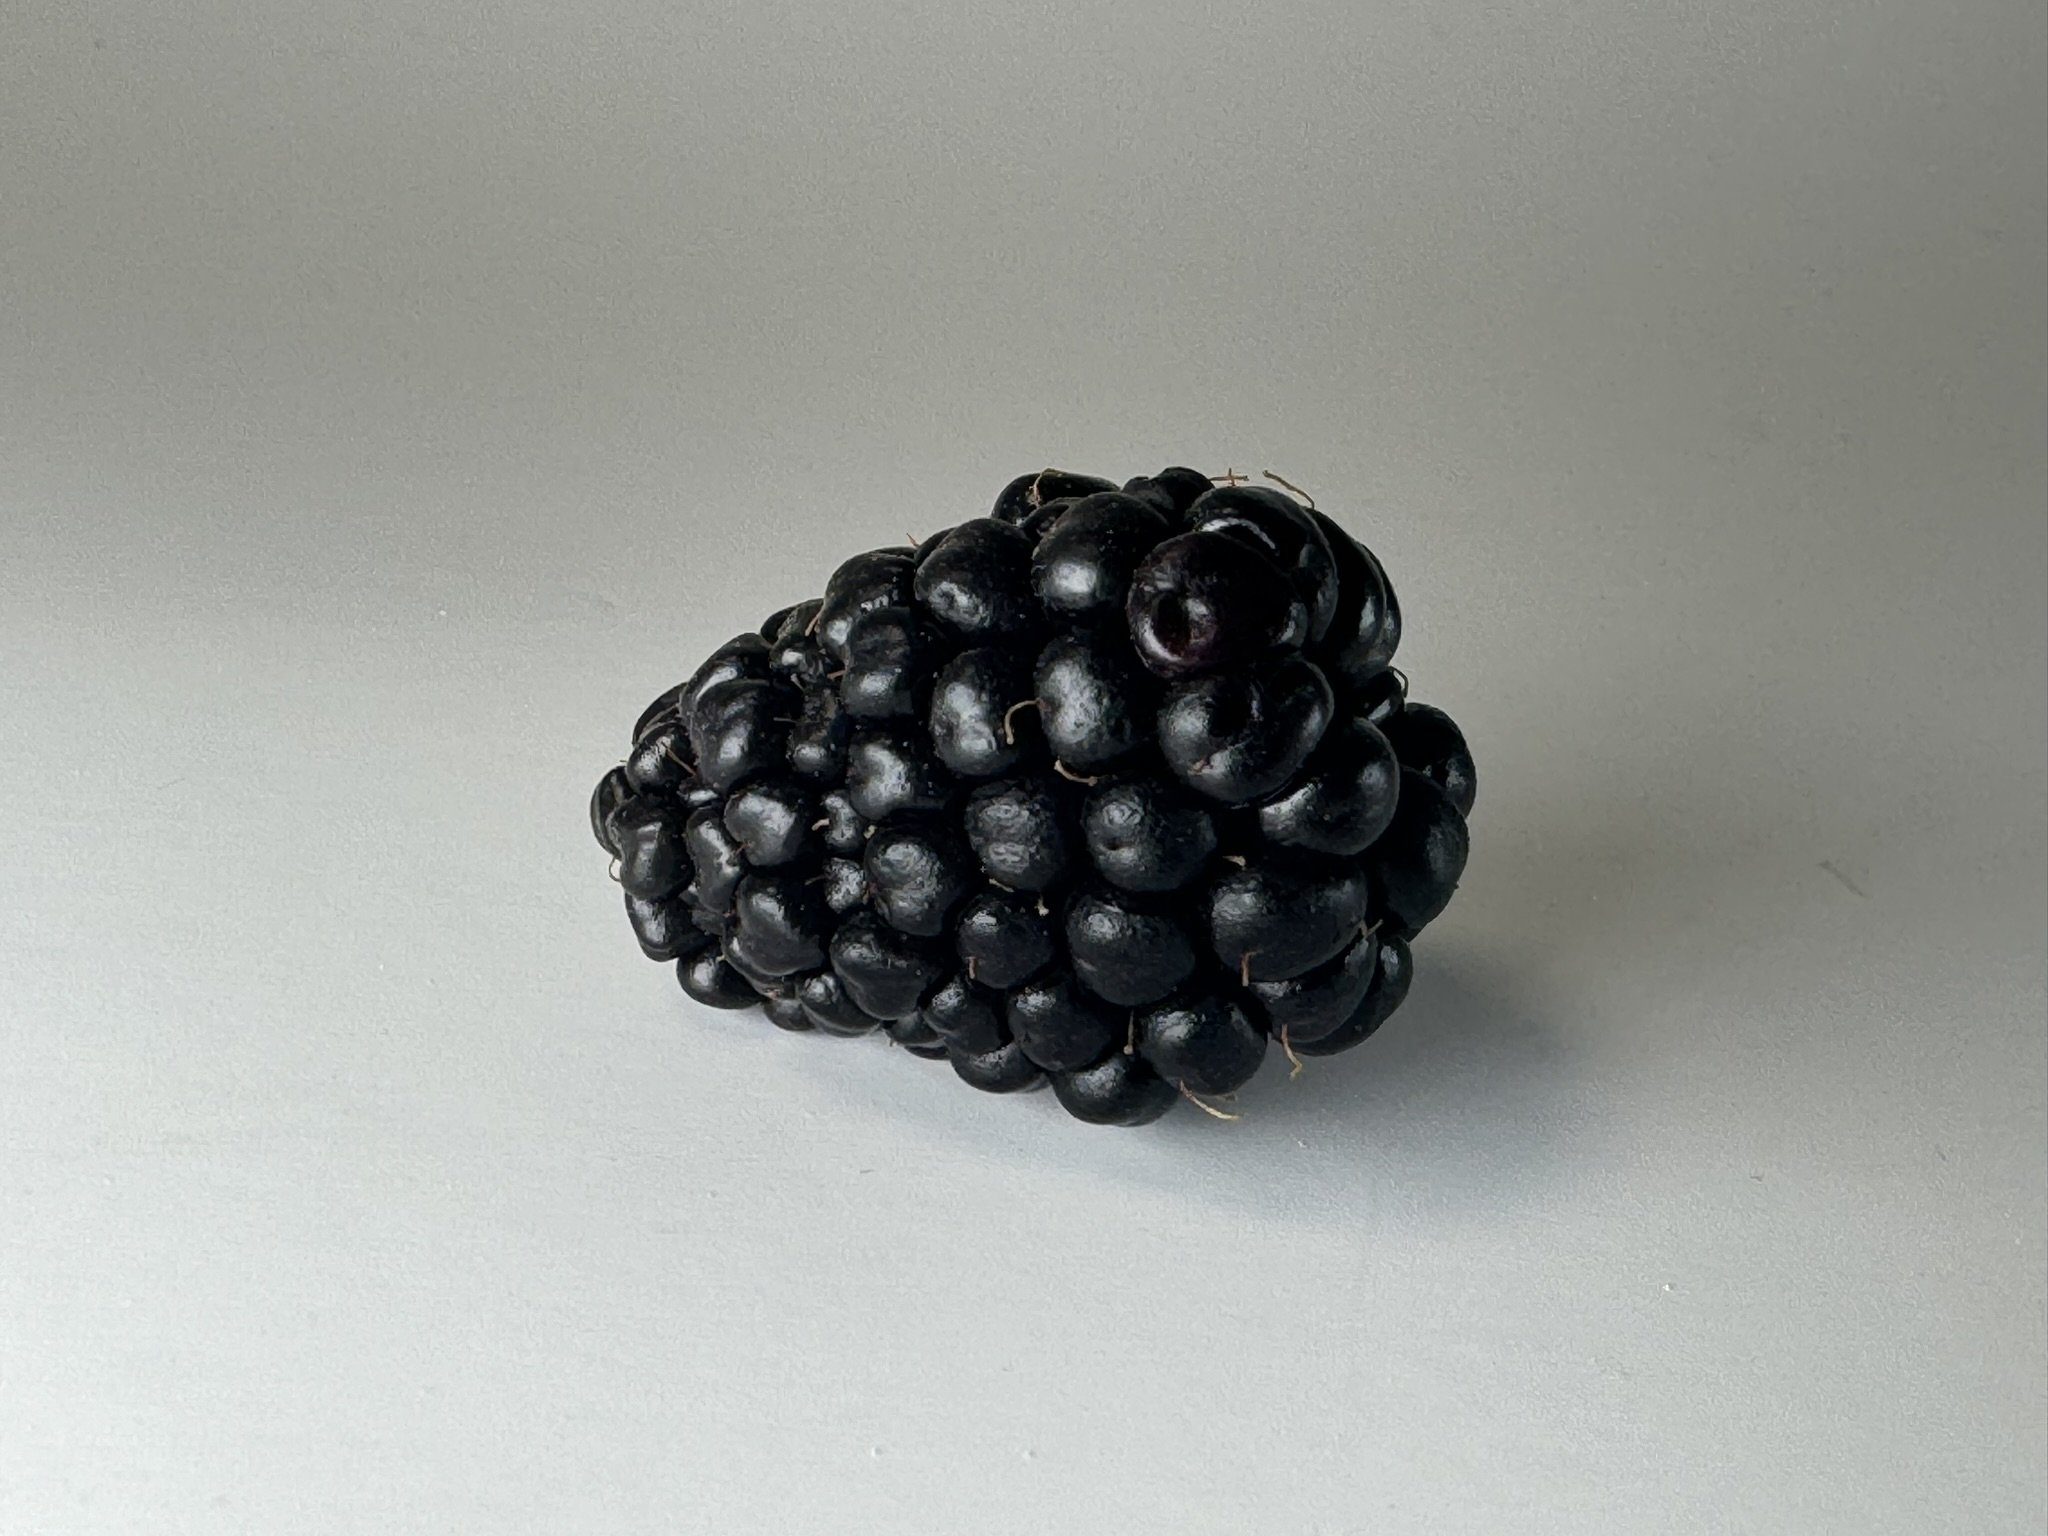
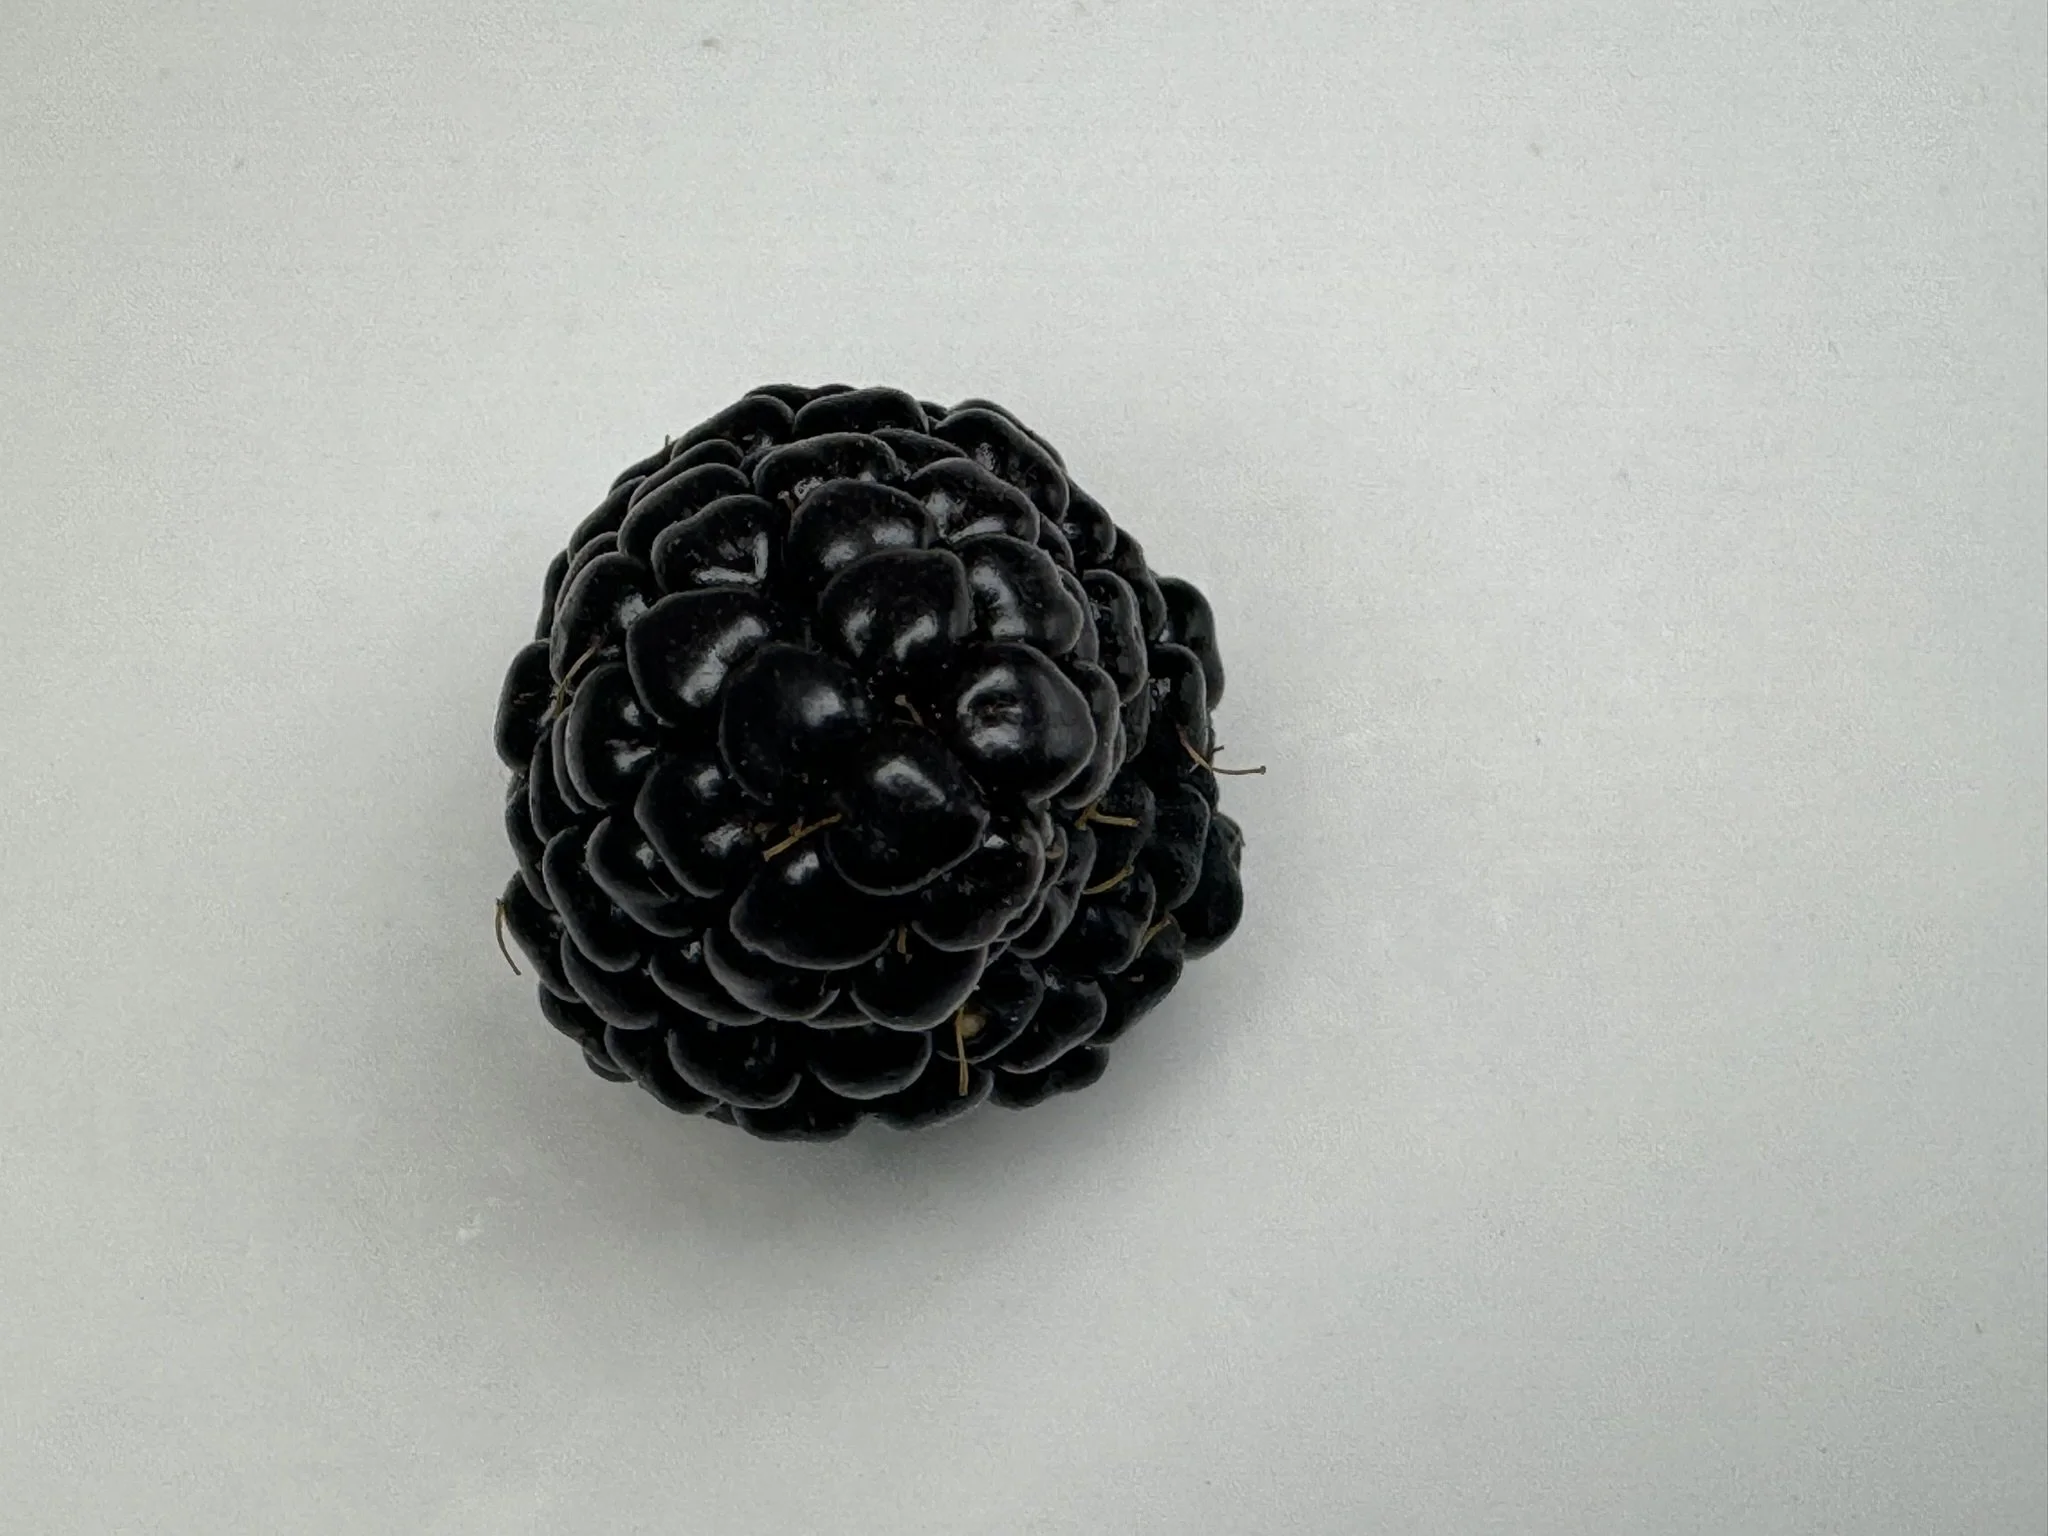
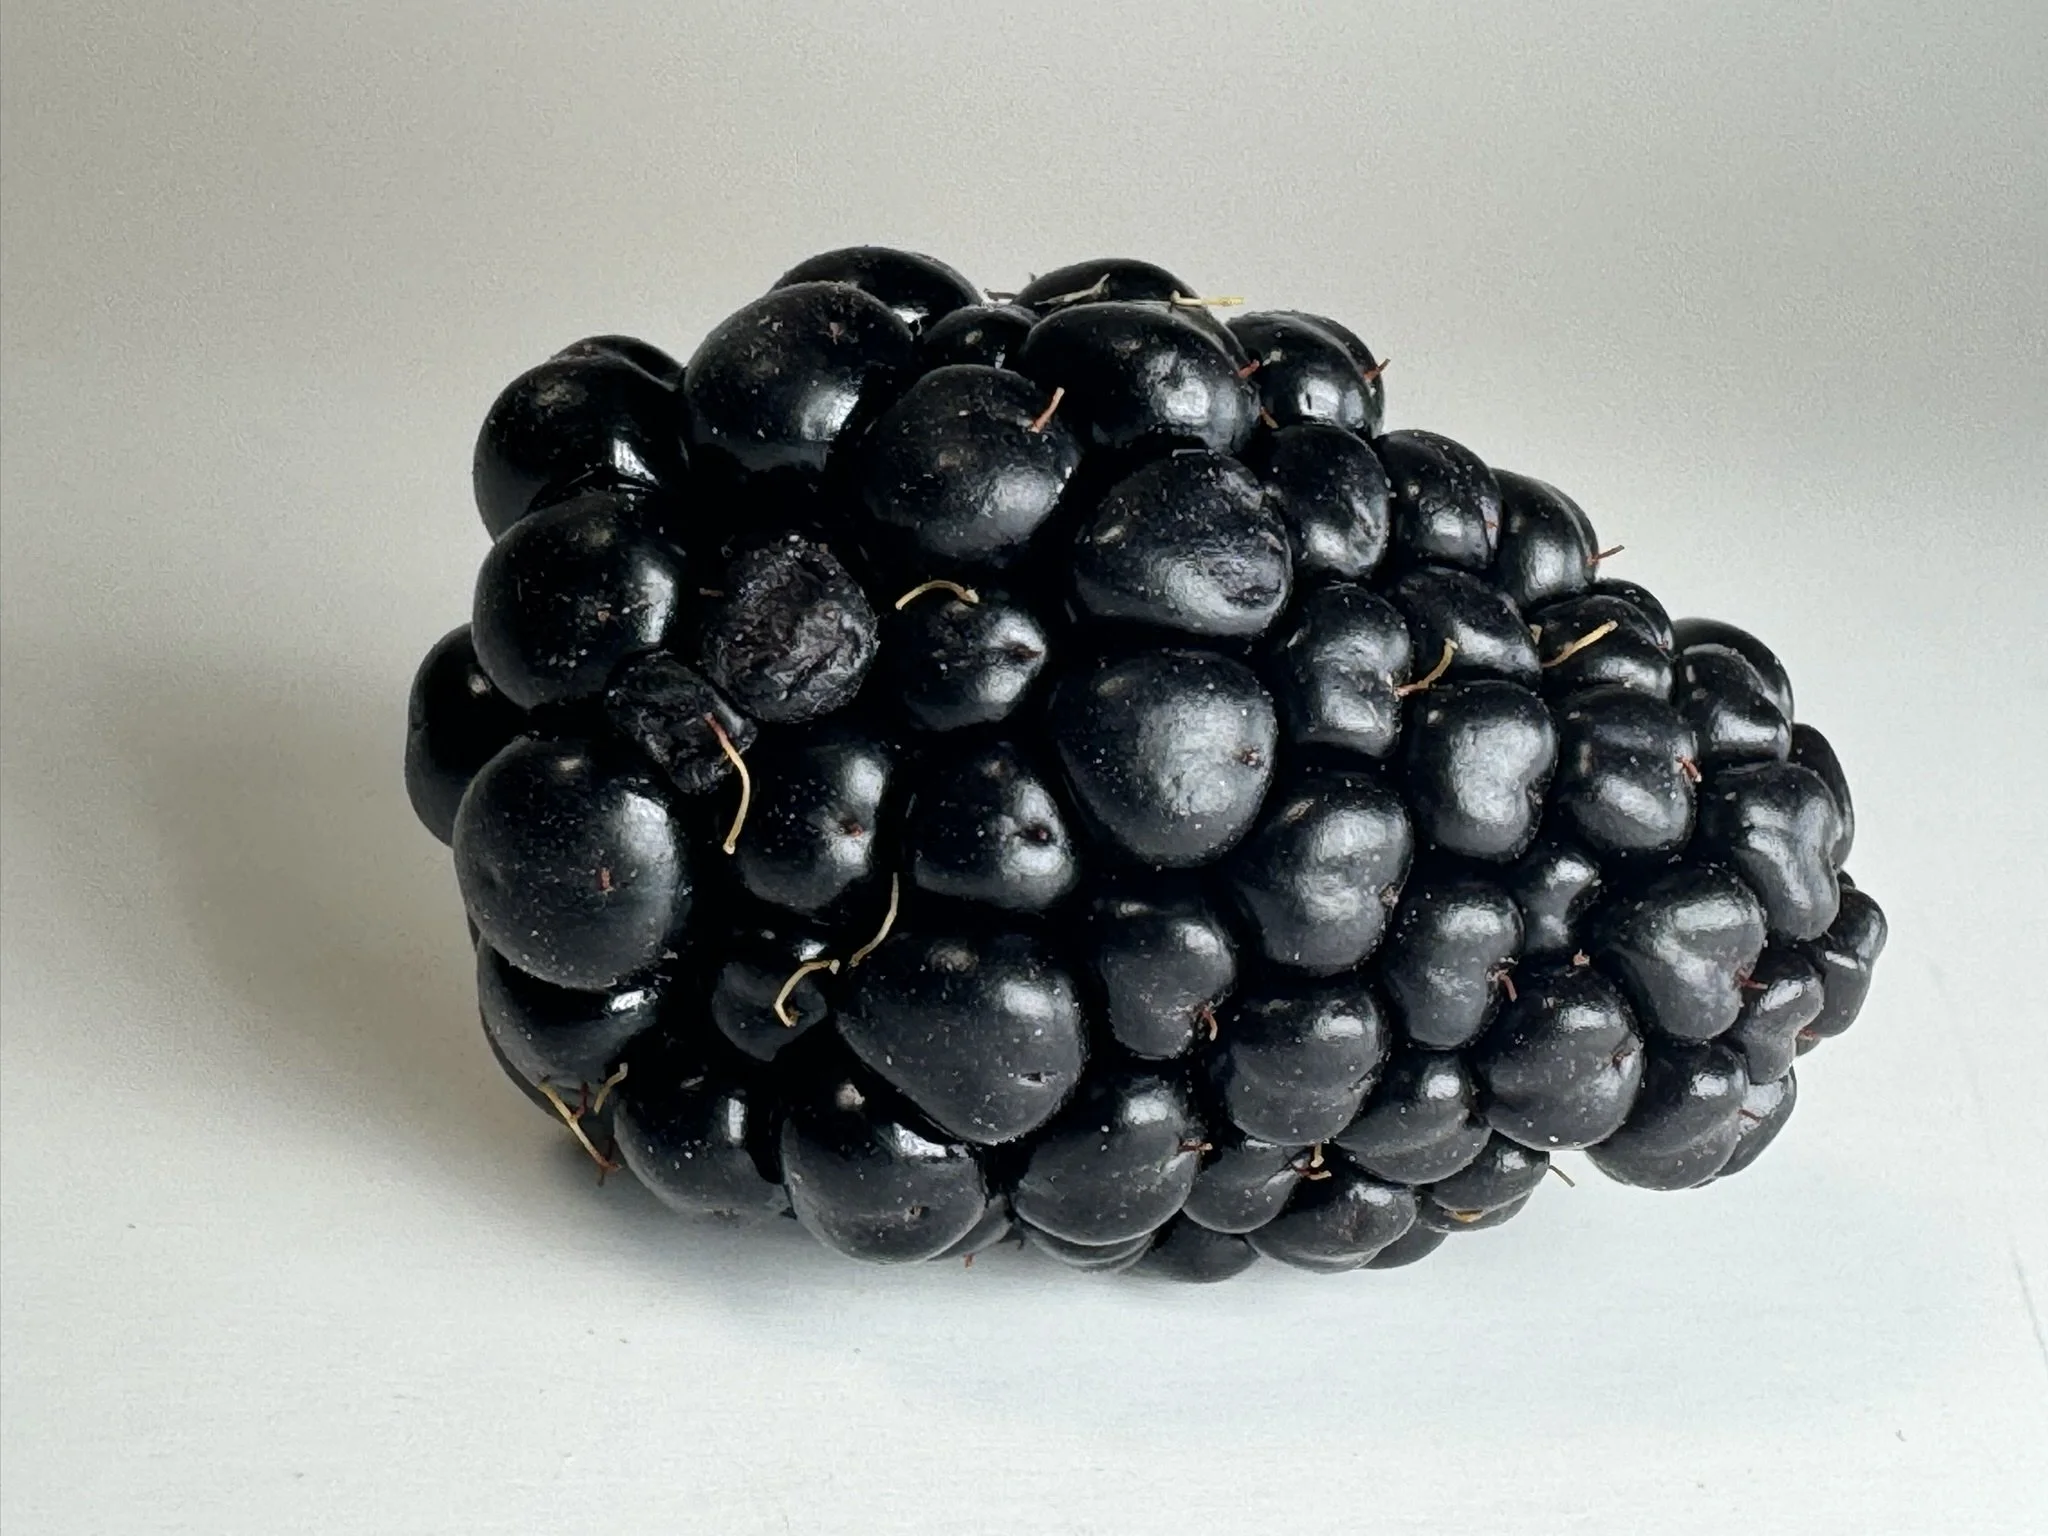
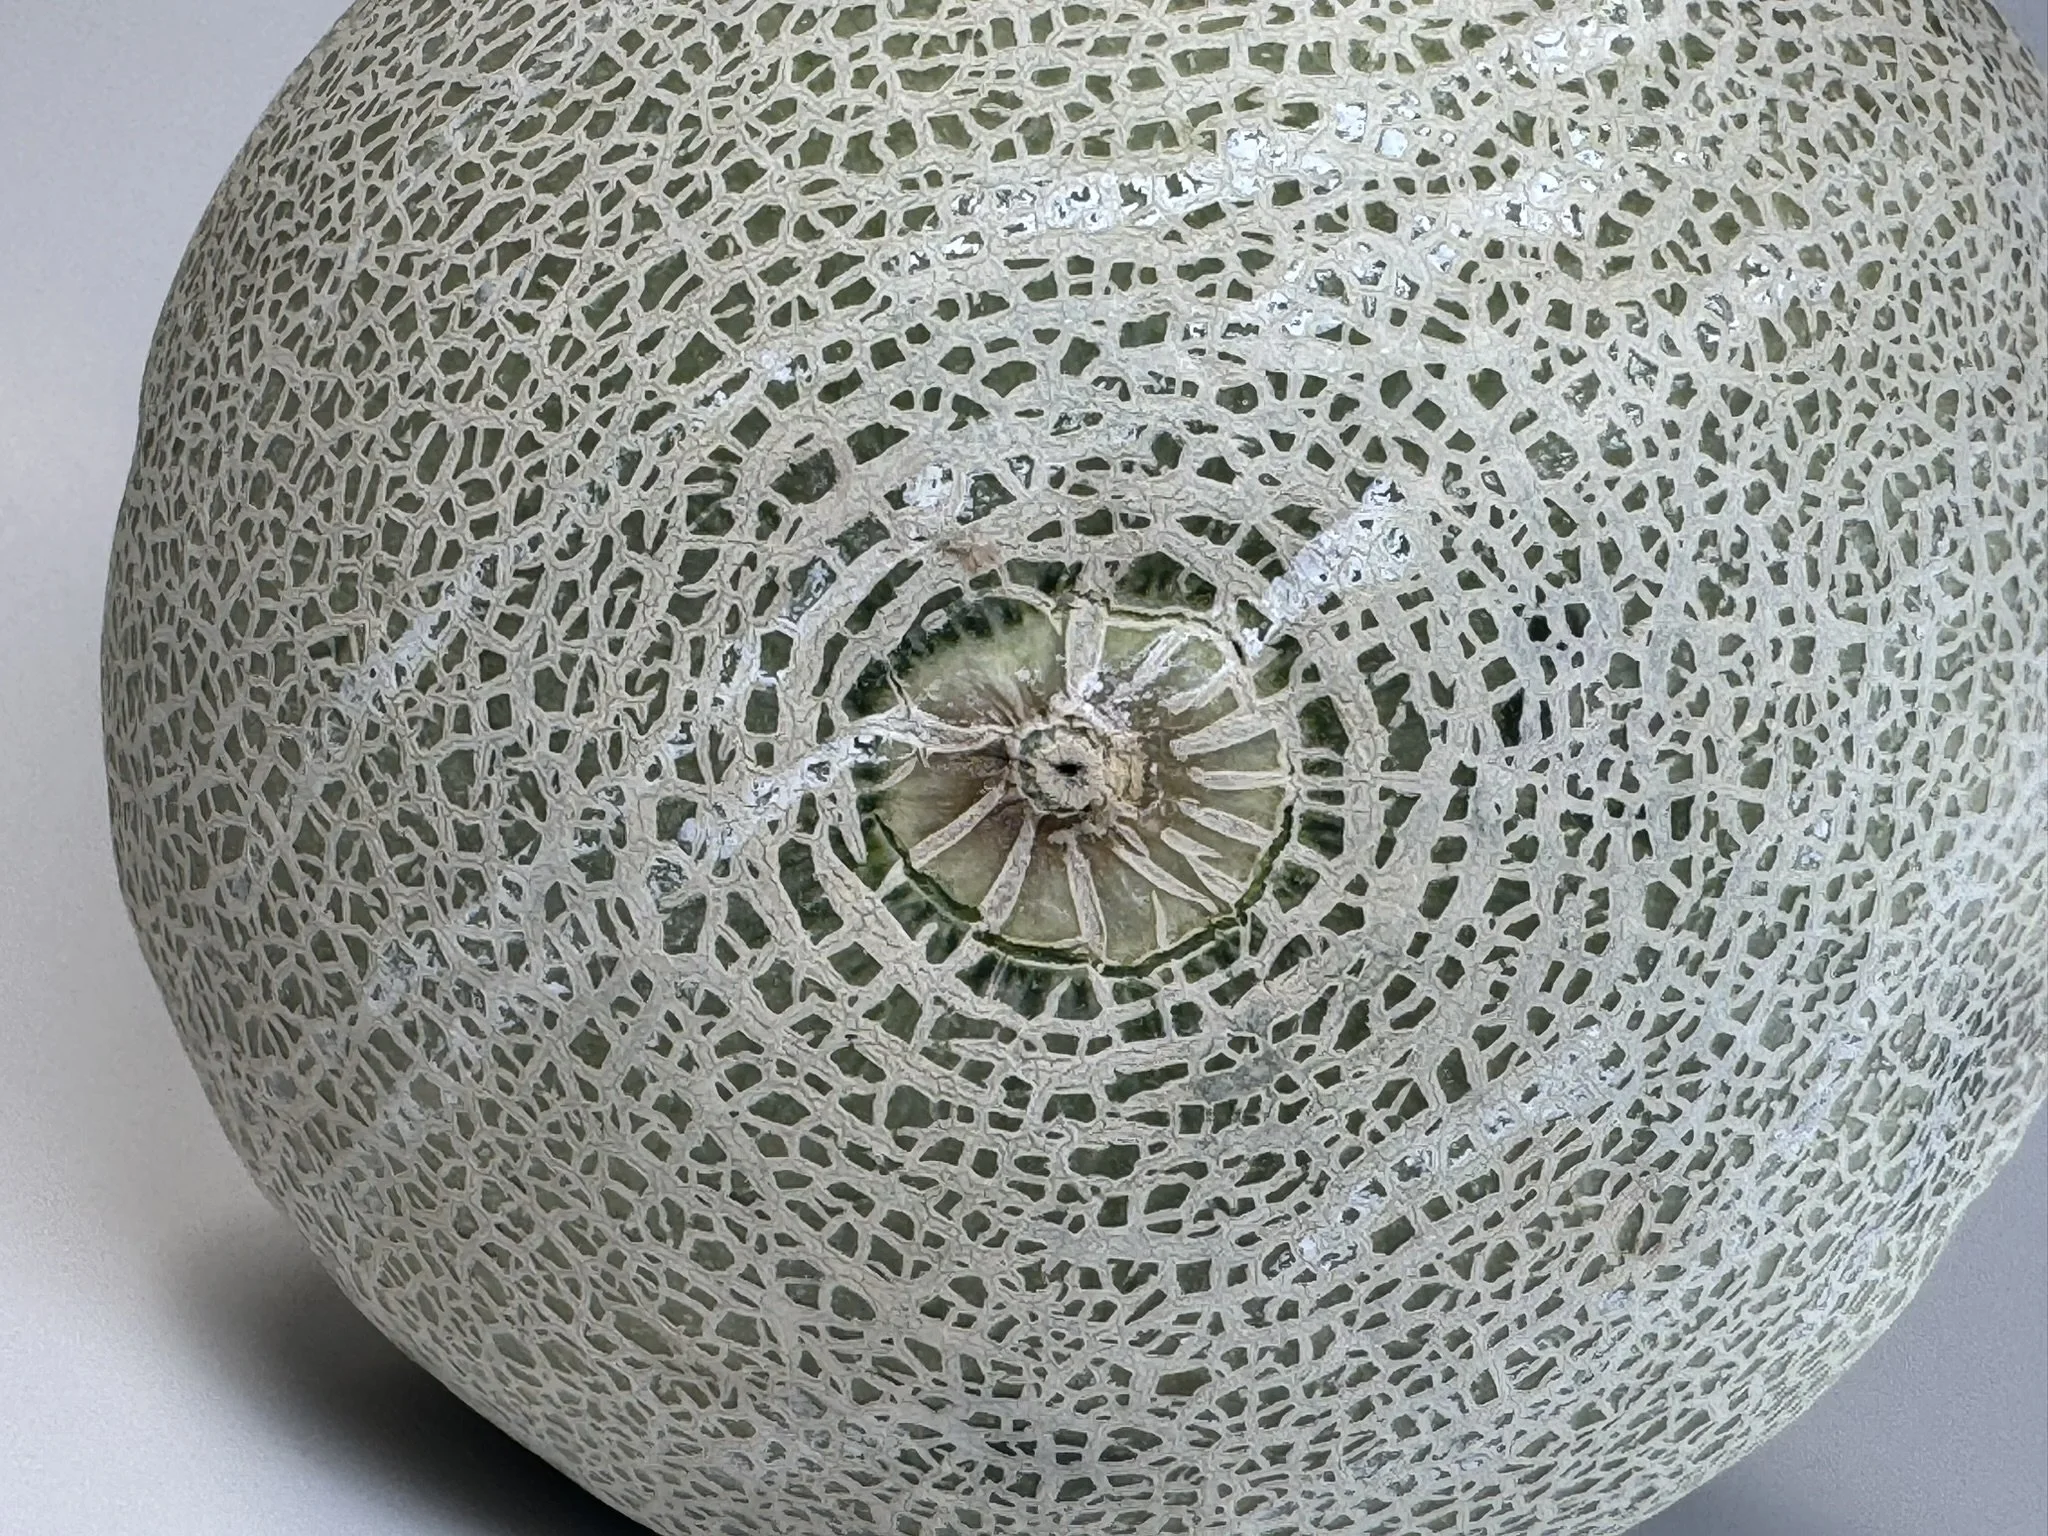
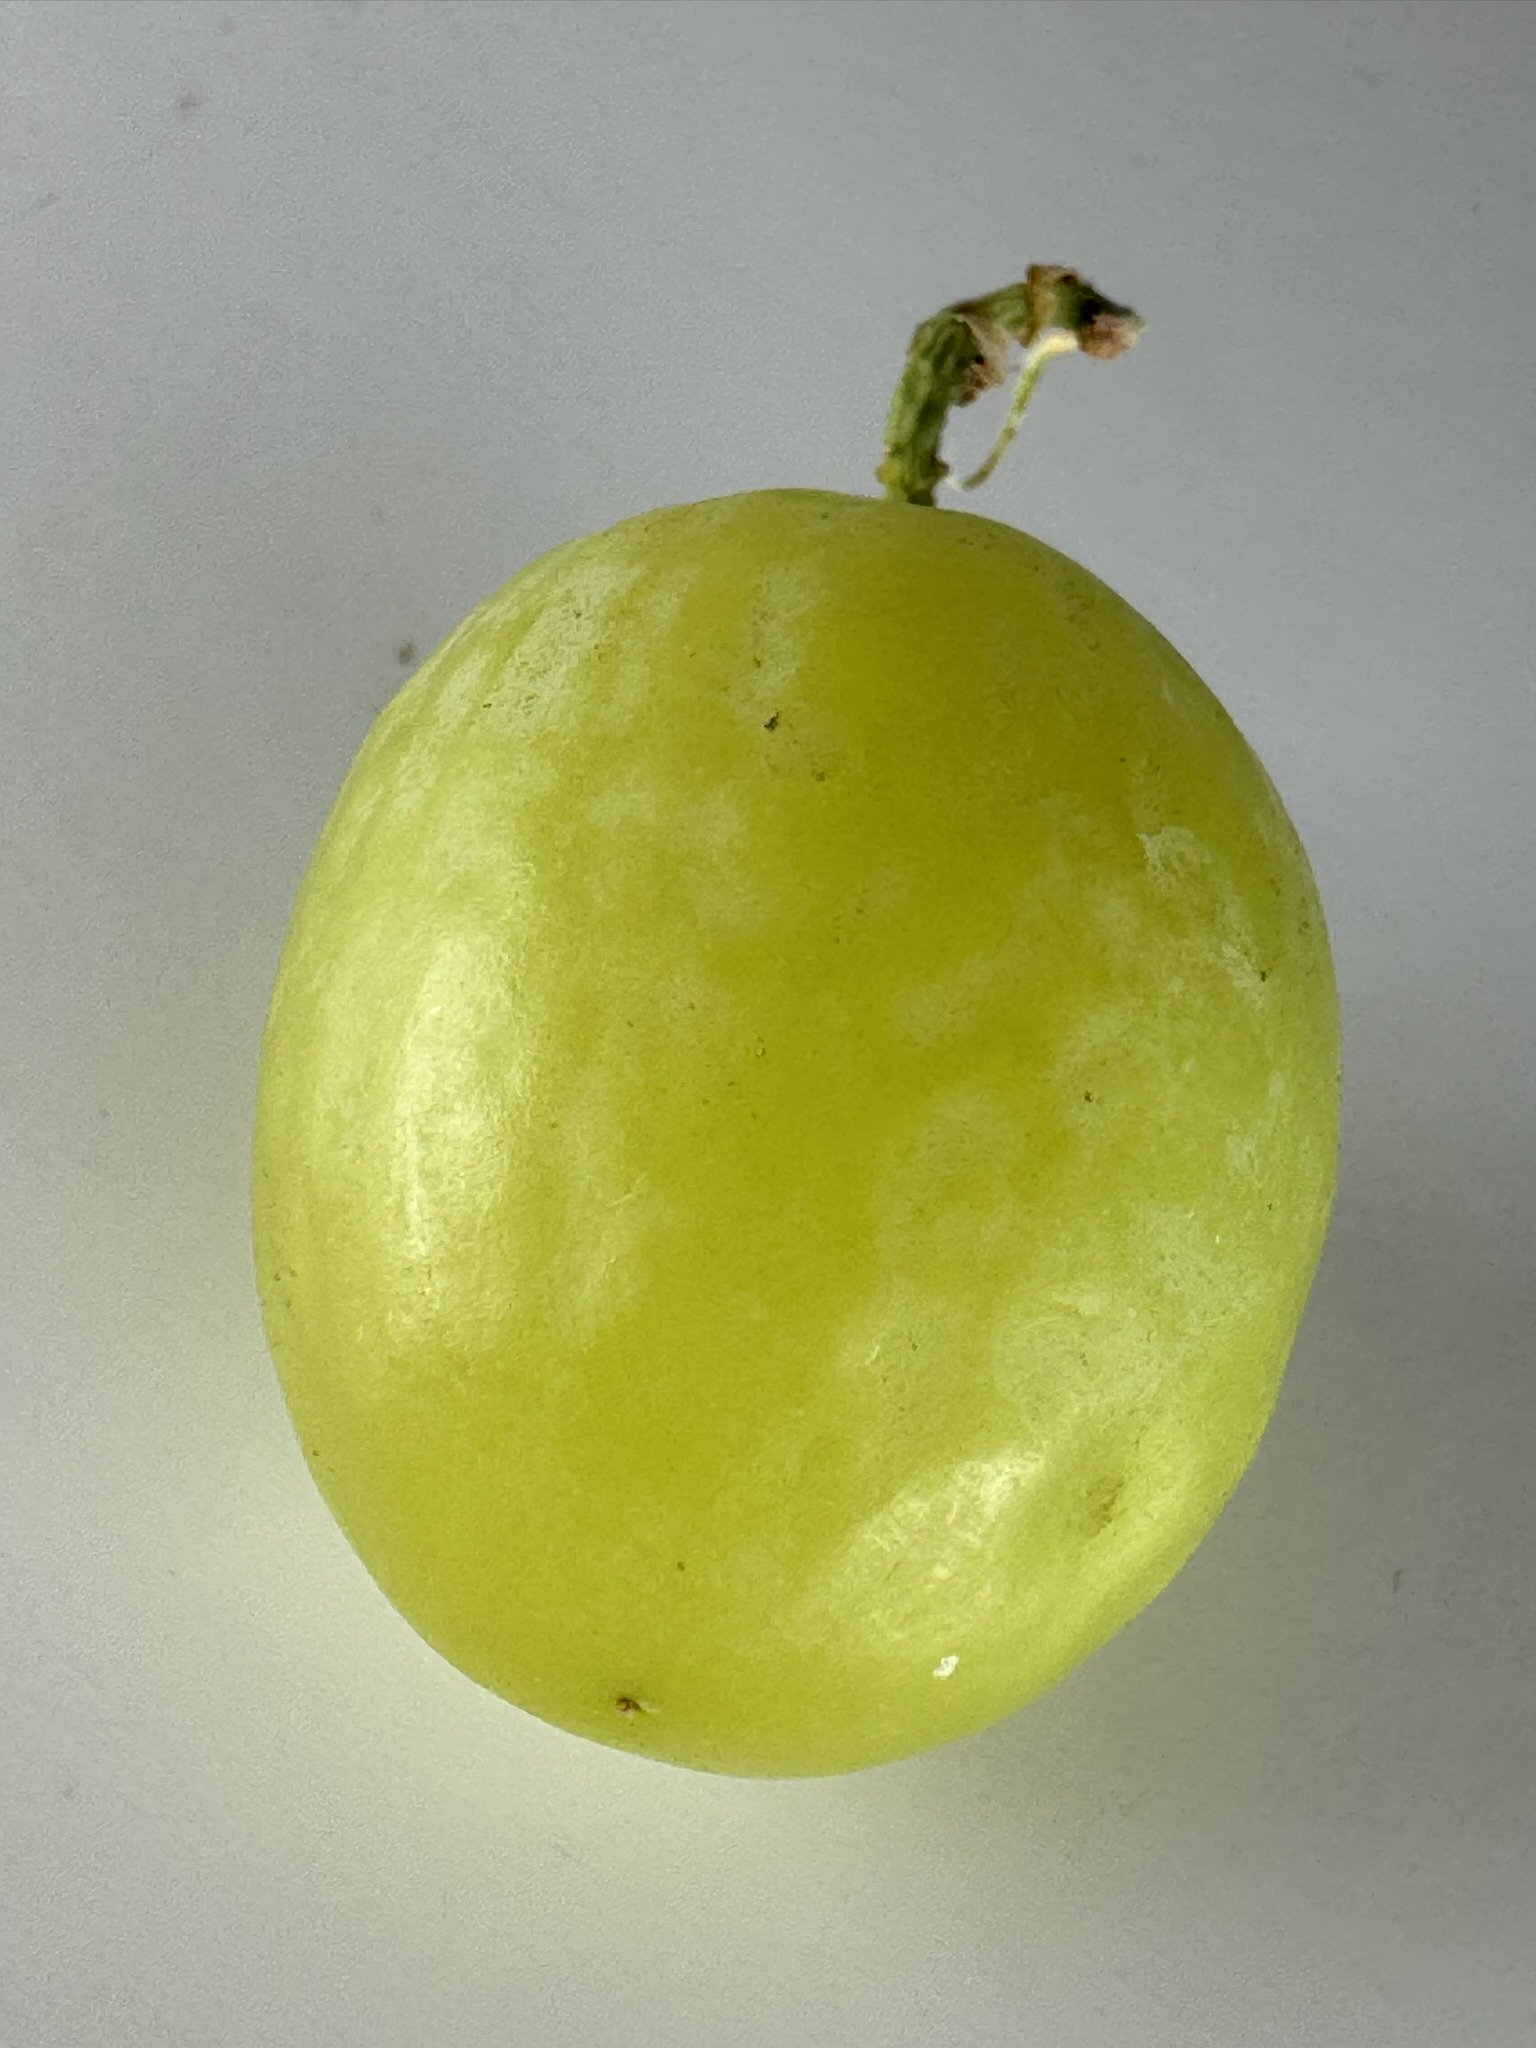
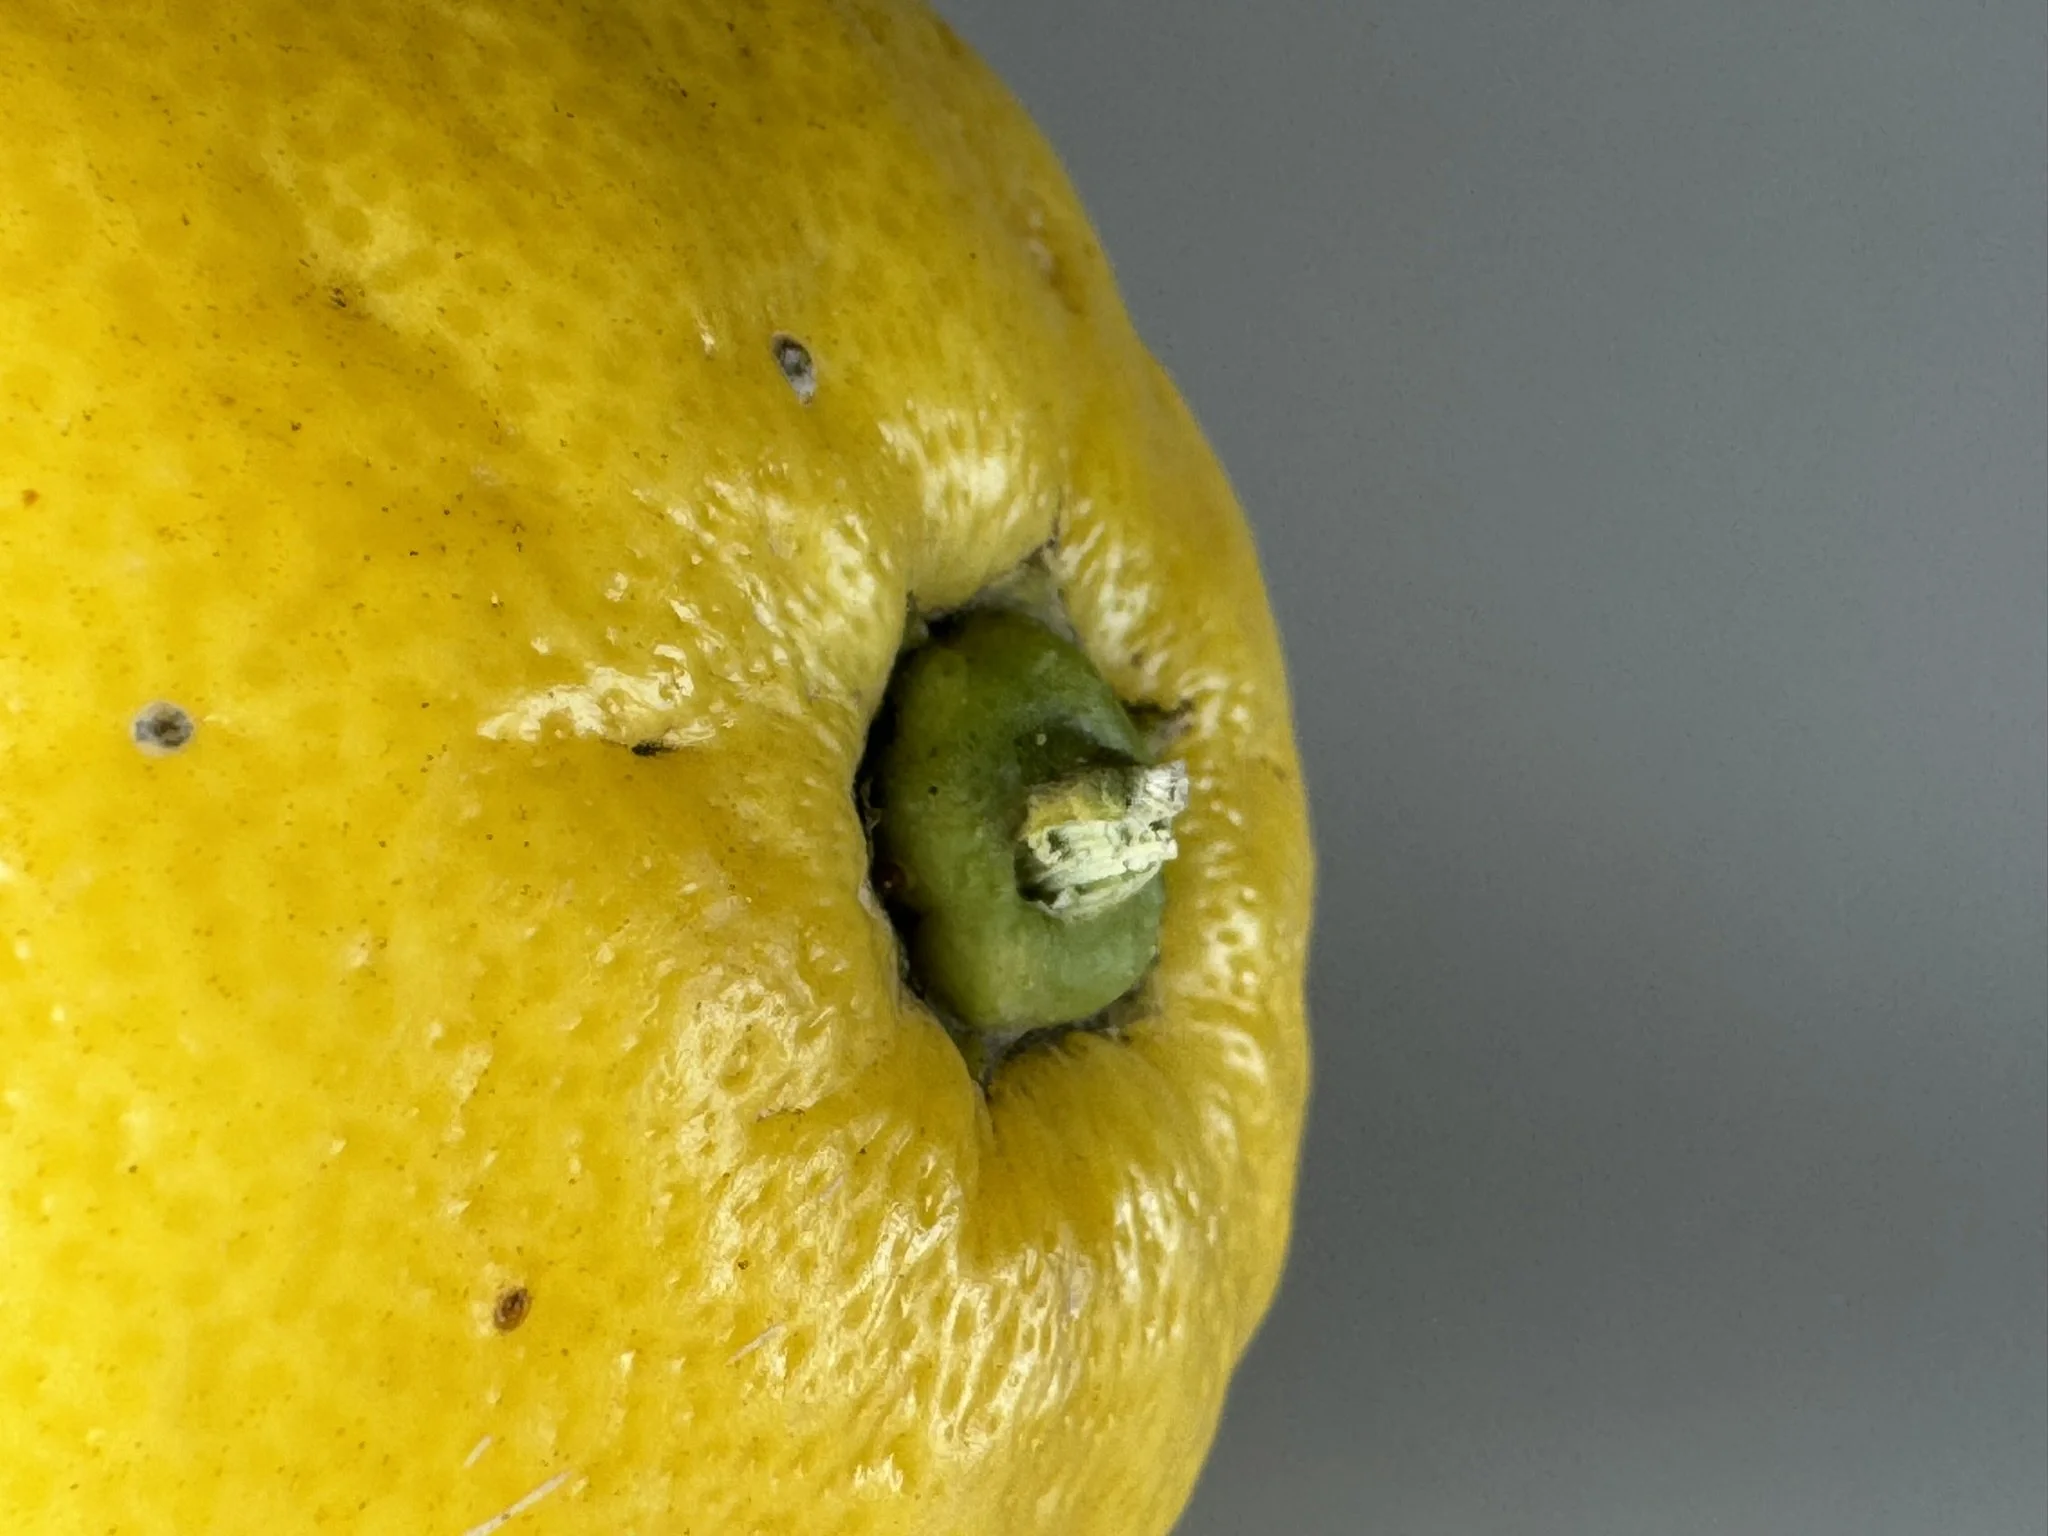
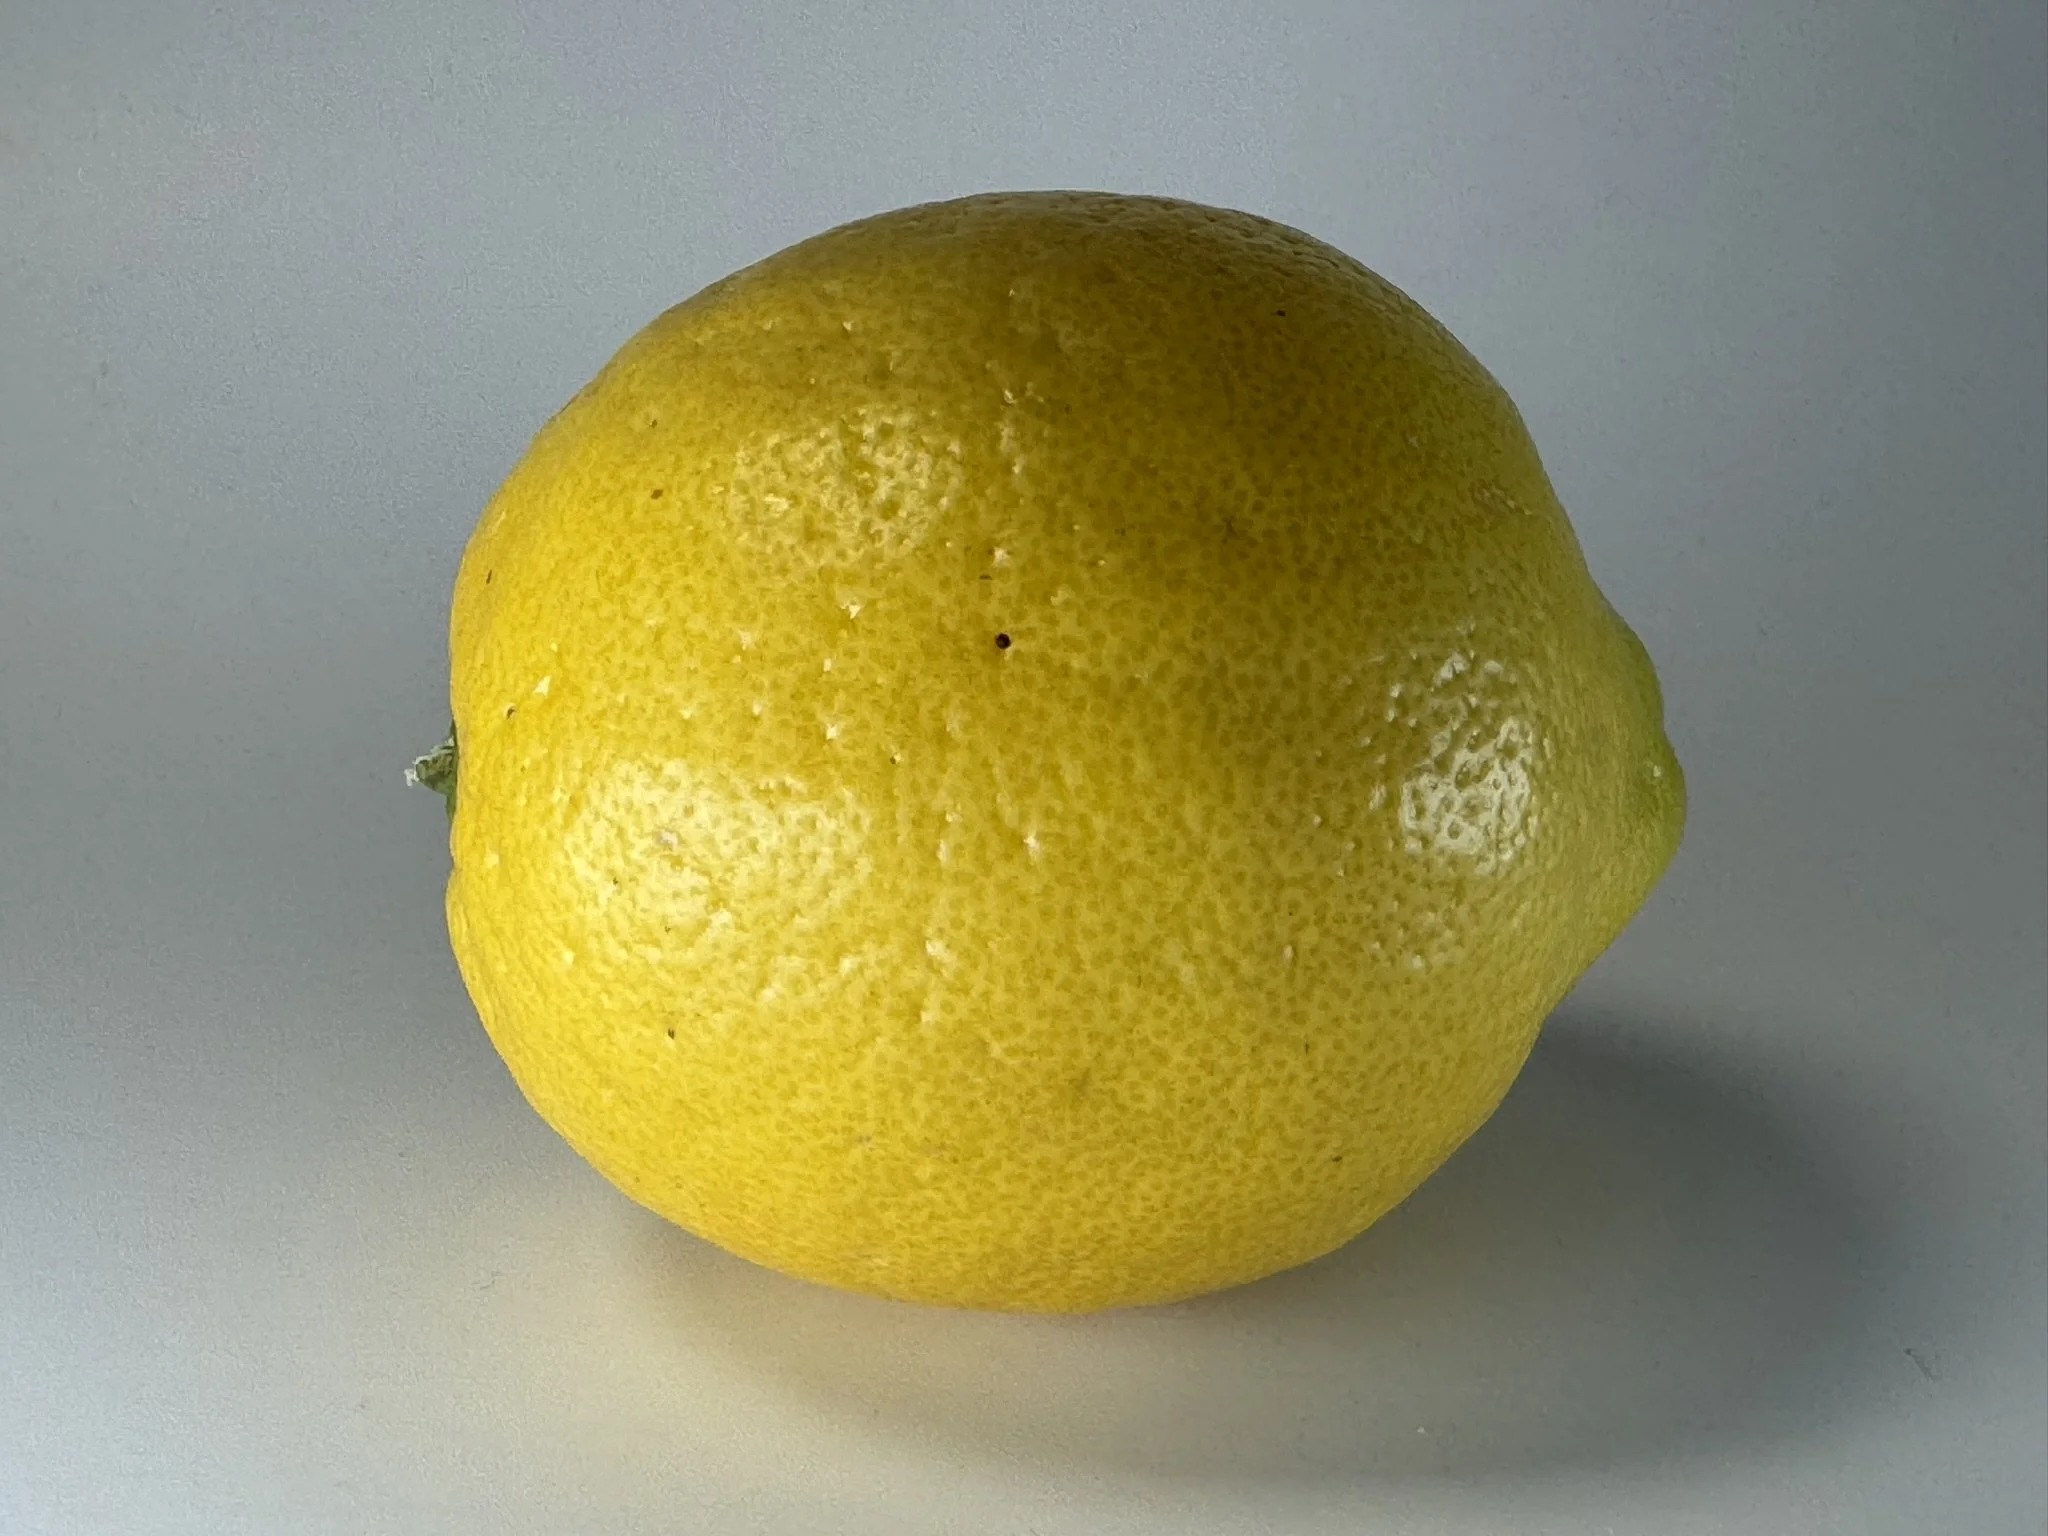
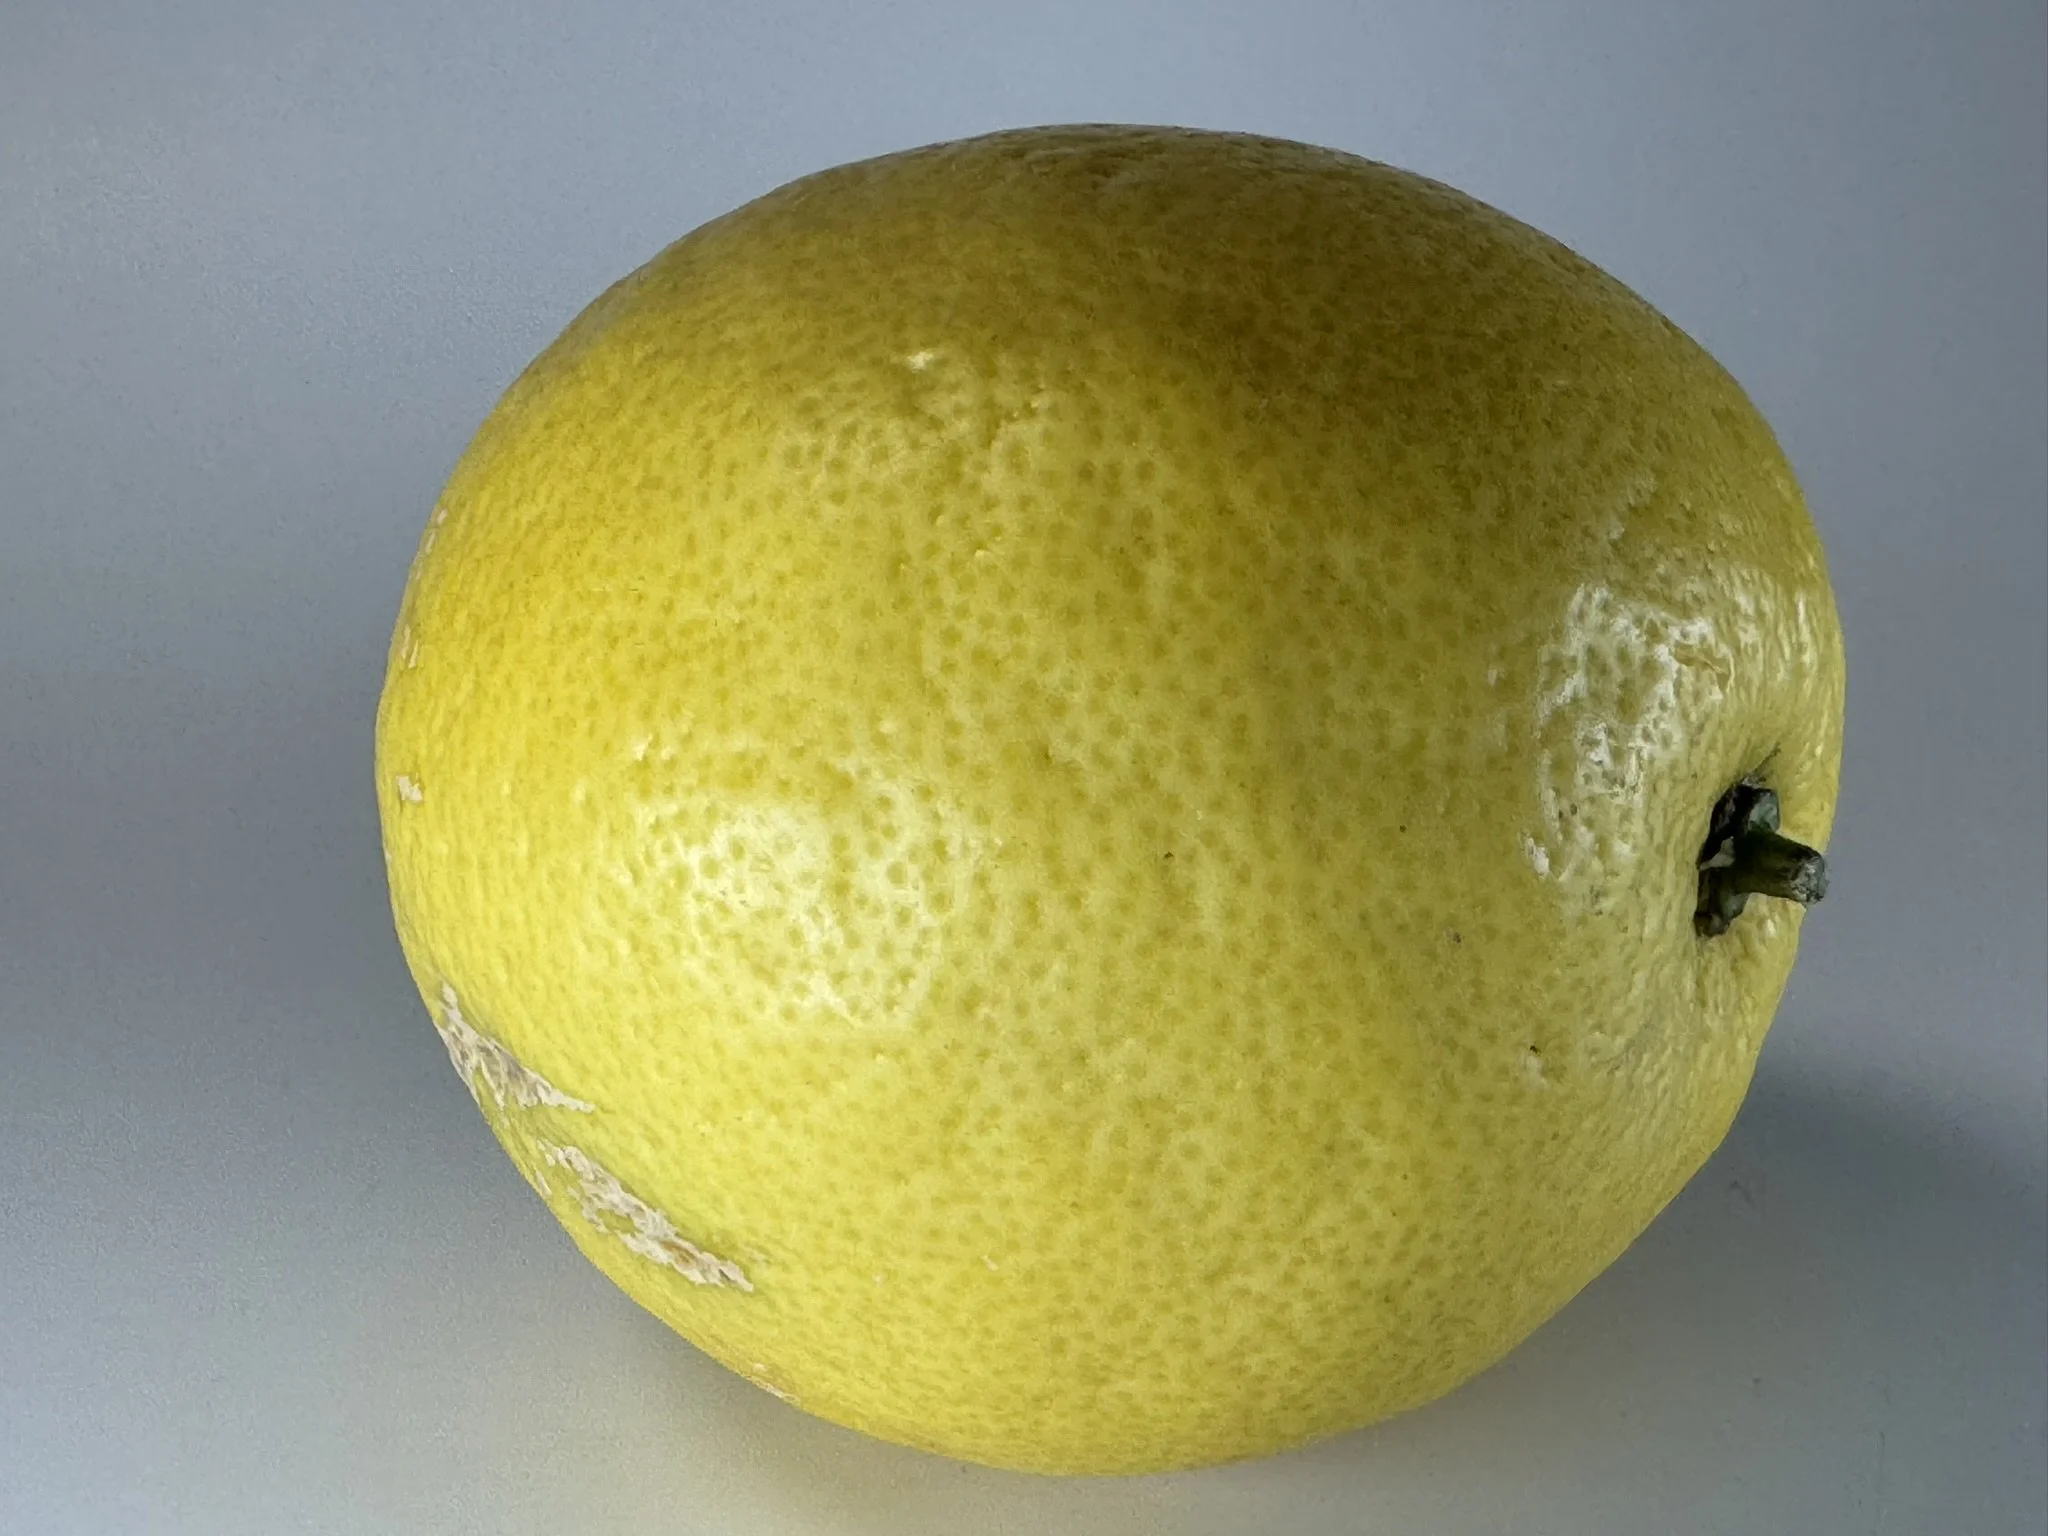
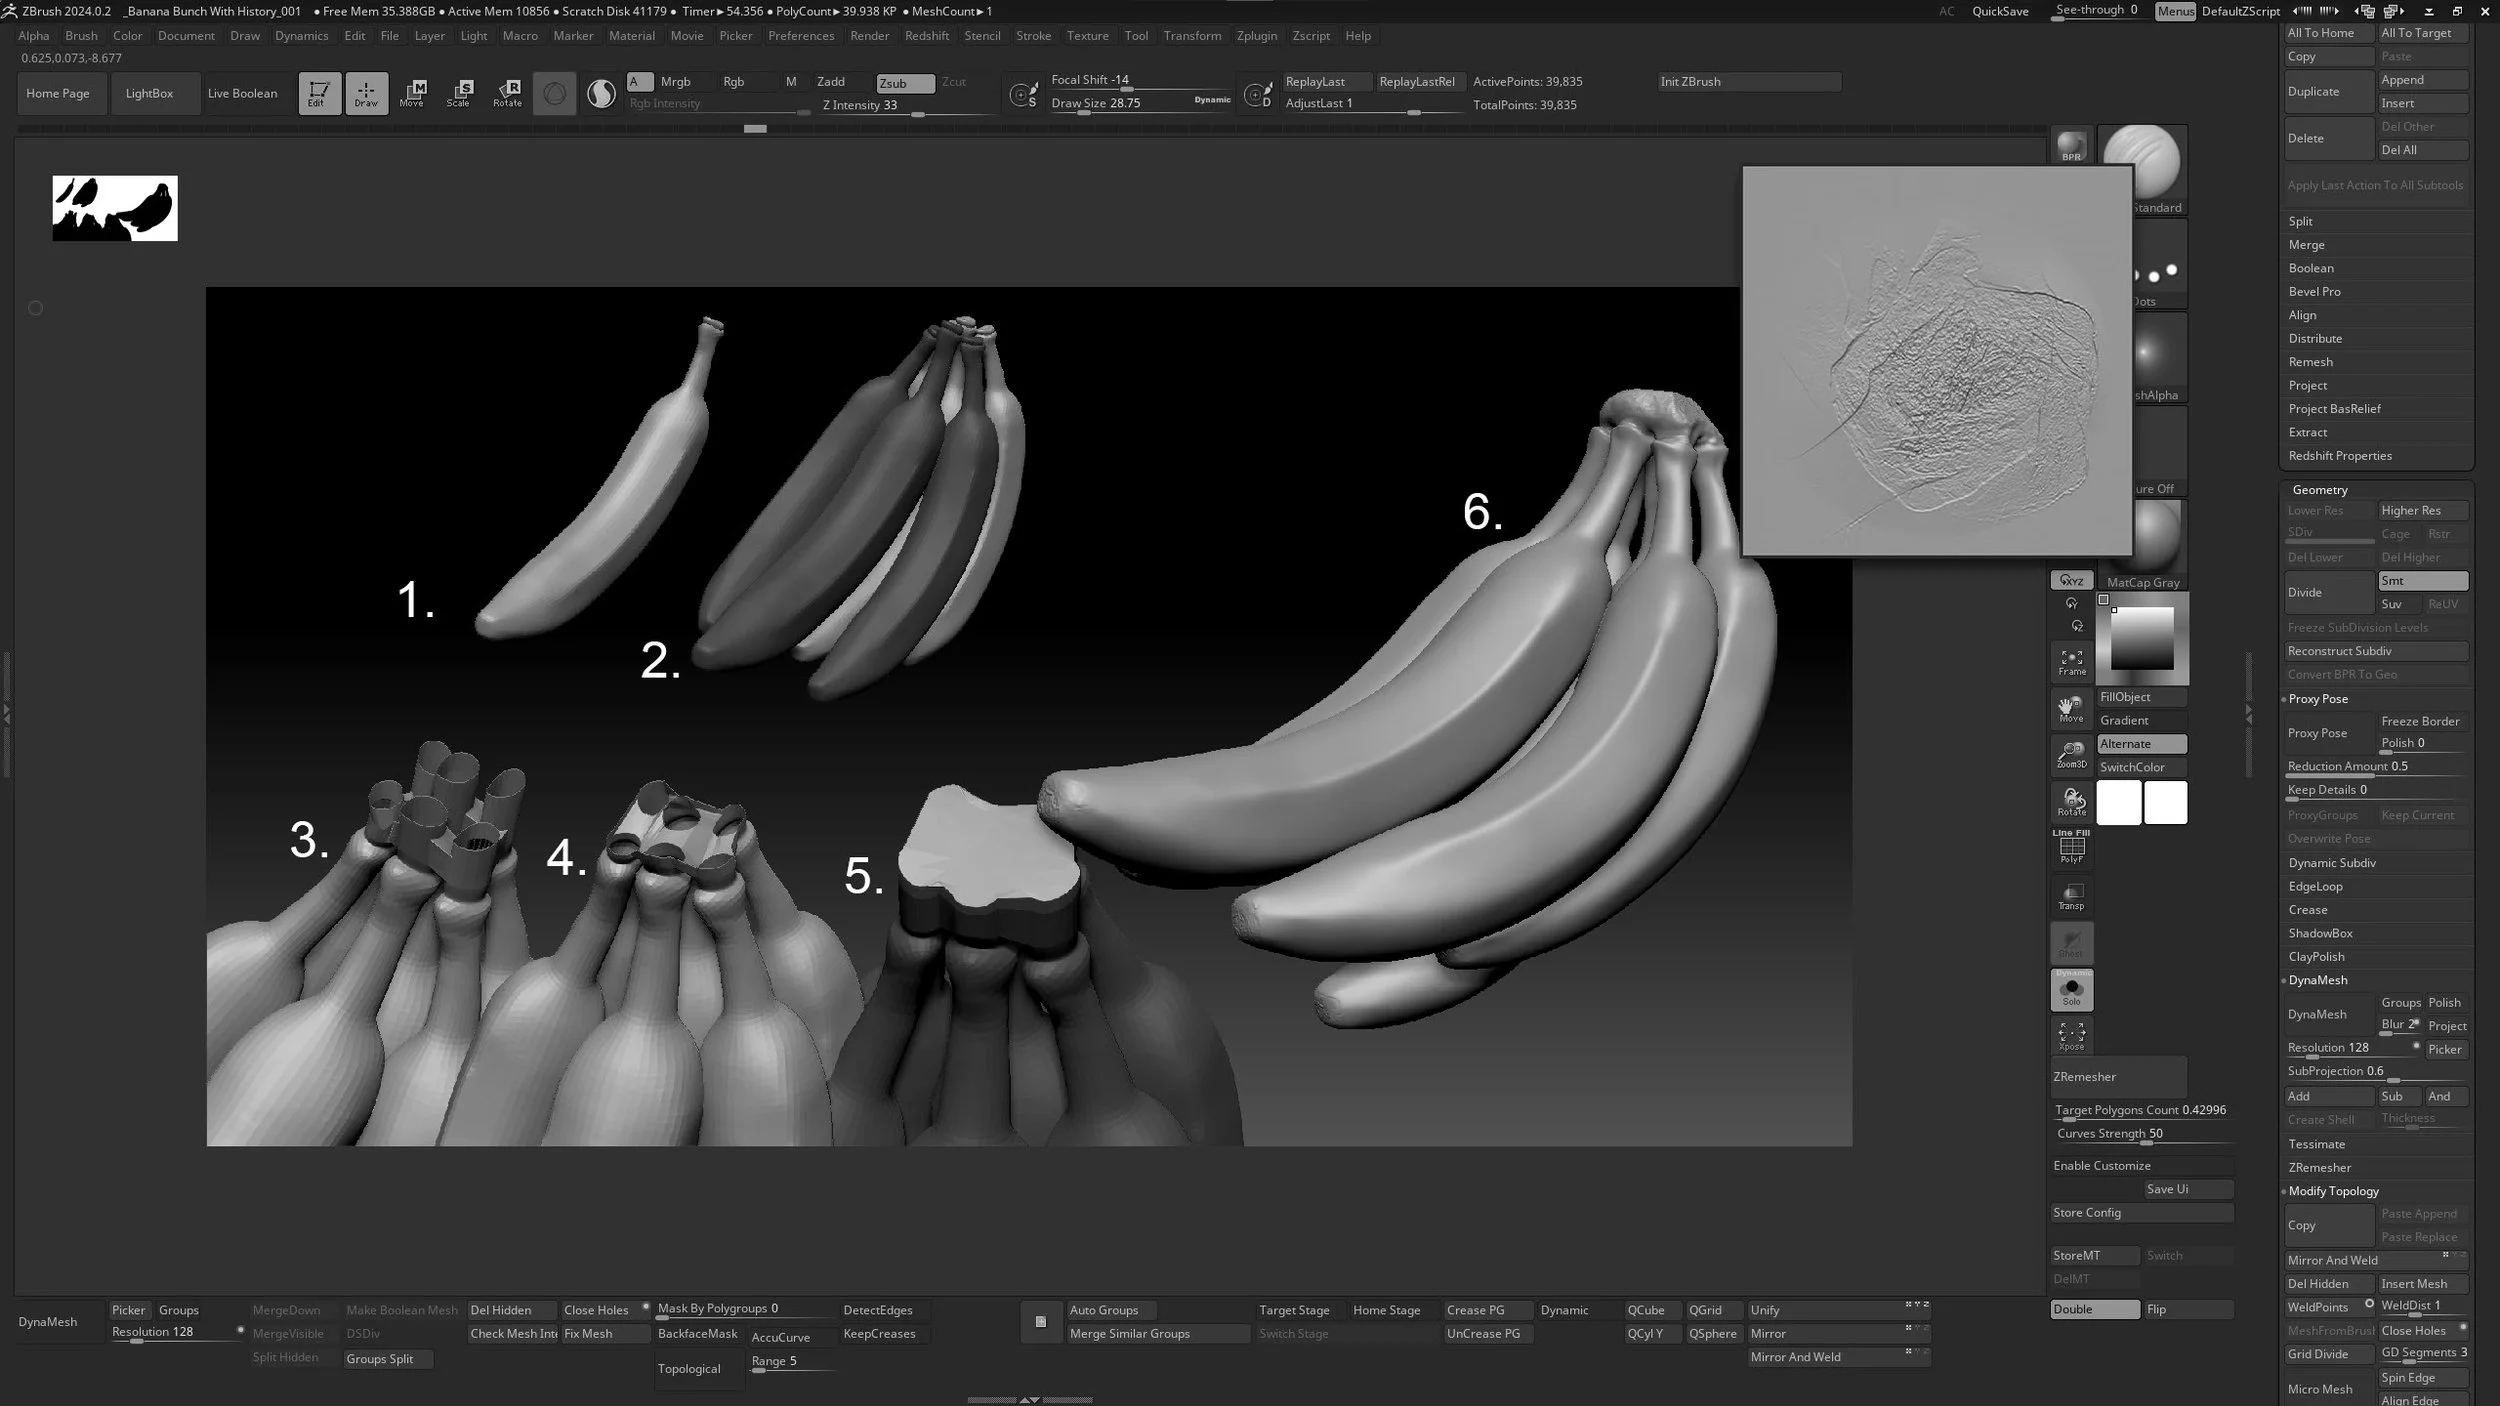
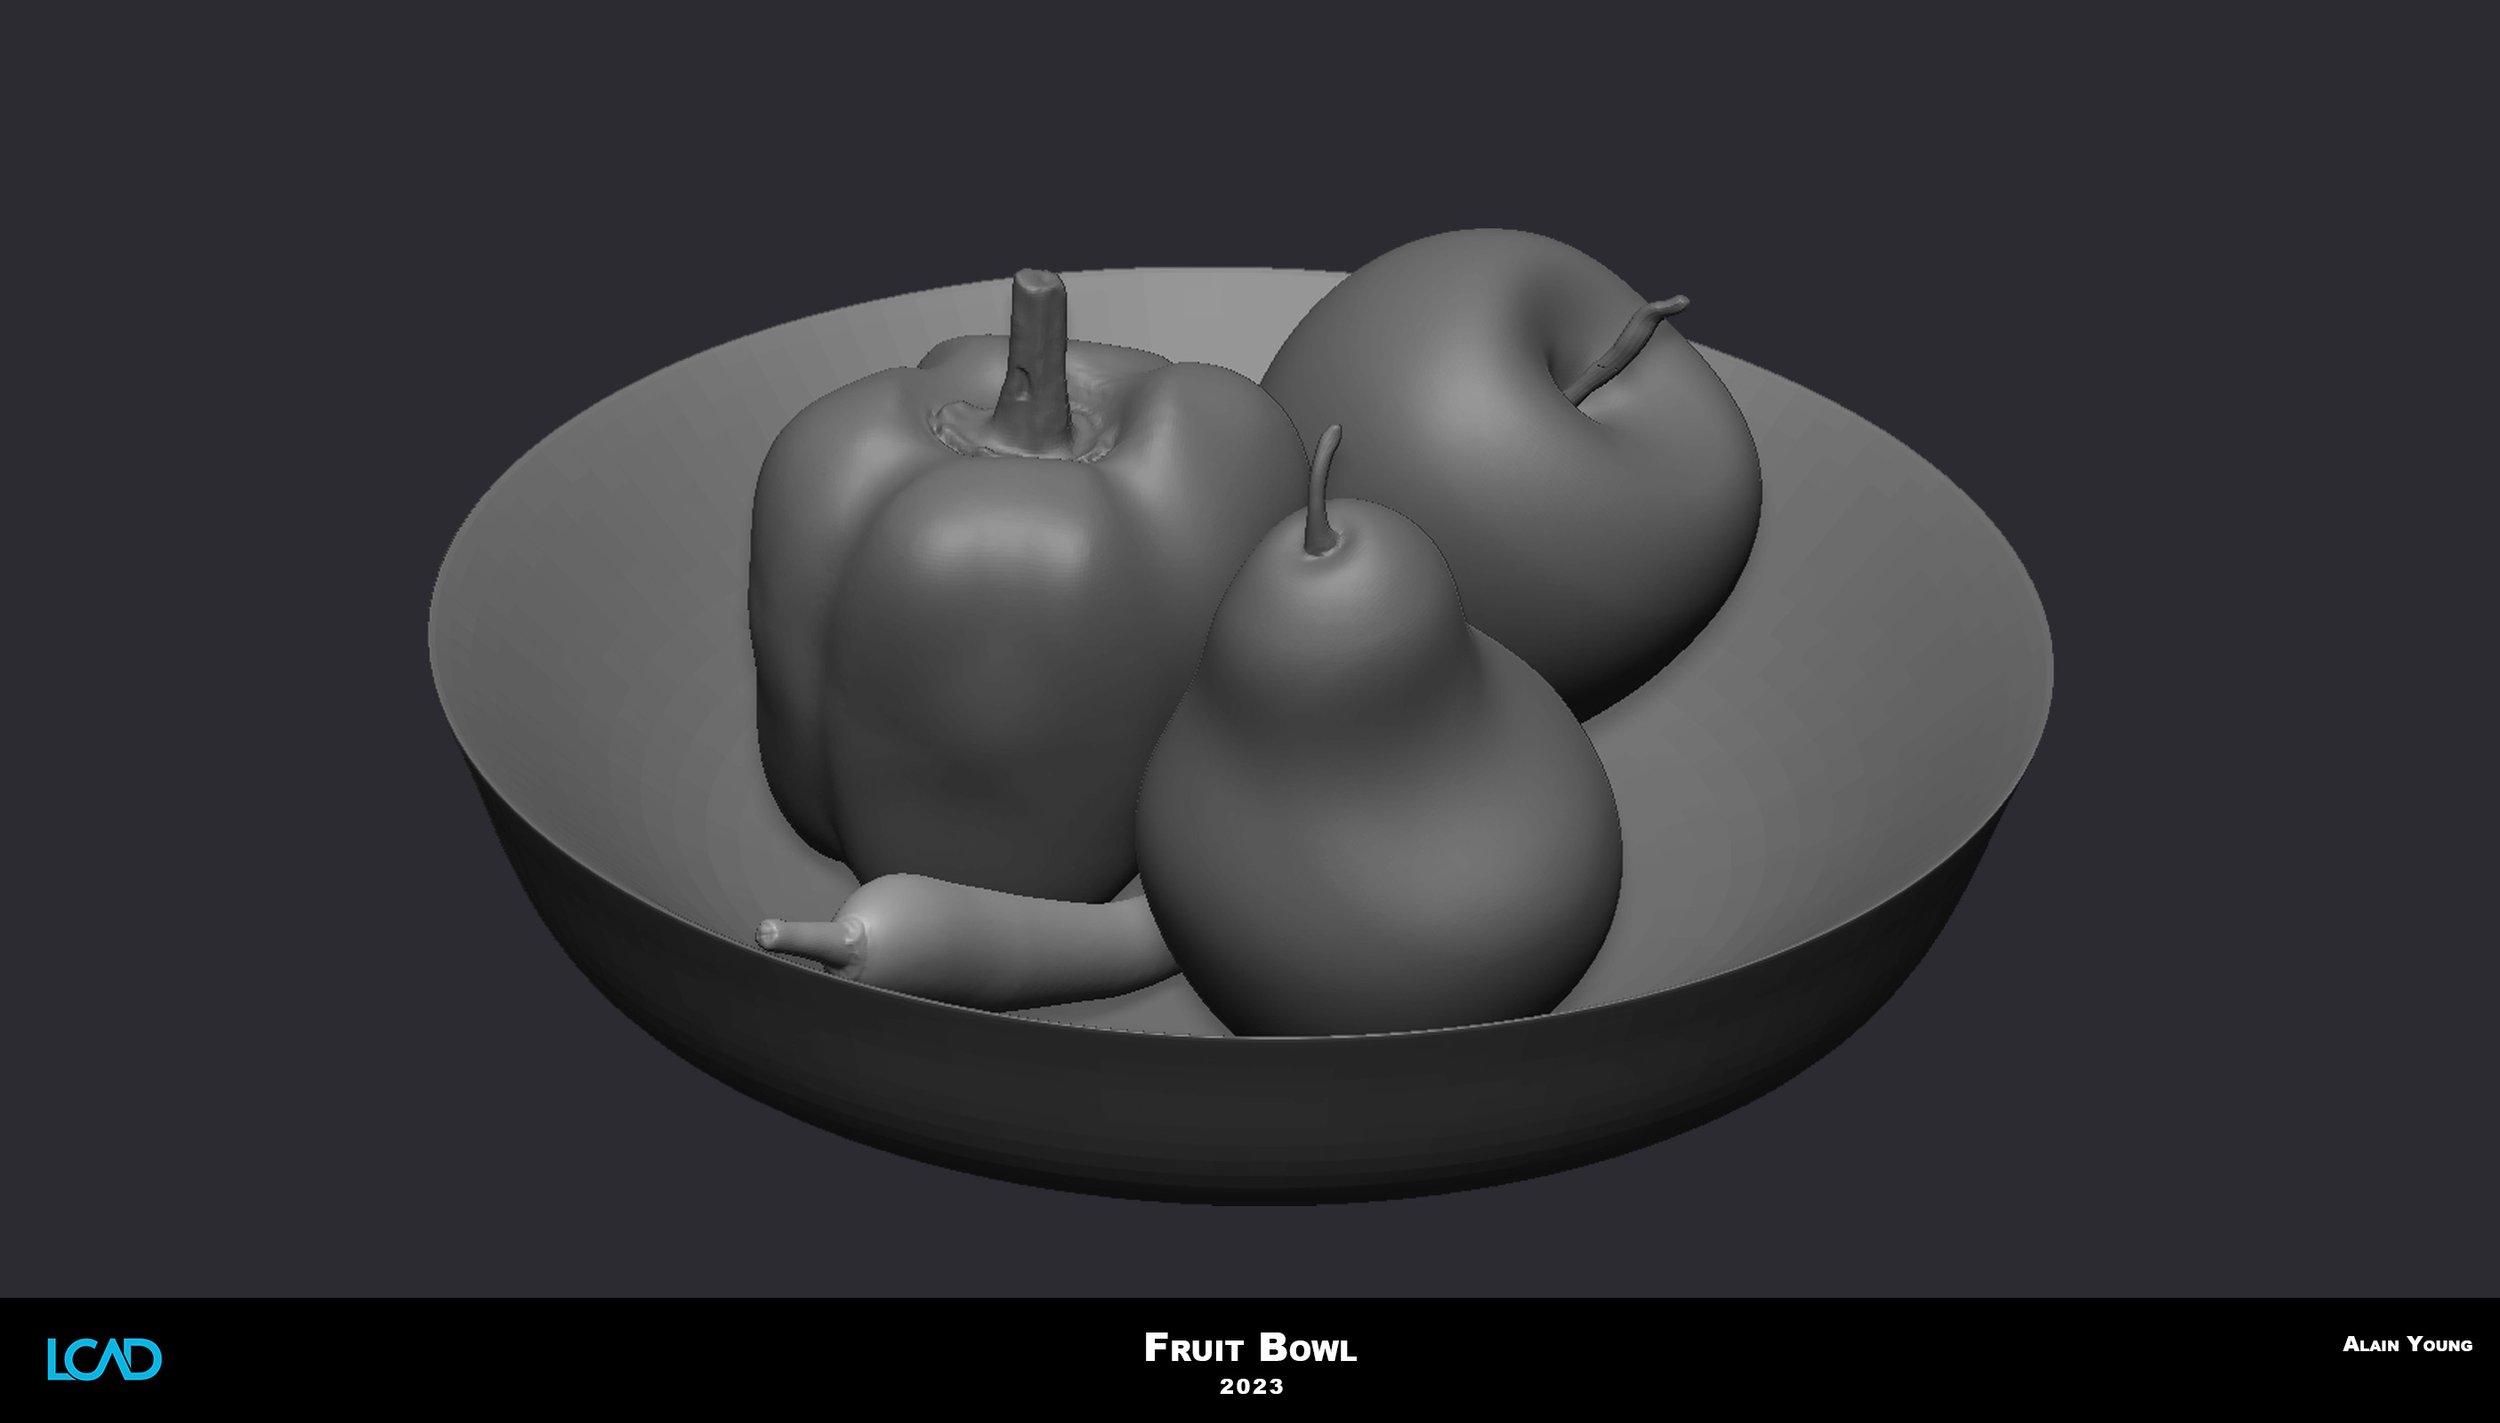
Assignment 1: Bowl of Fruit
Create a still life bowl of fruit using basic sculpting primitives i.e.:. sphere, cube, cylinder and save the project.
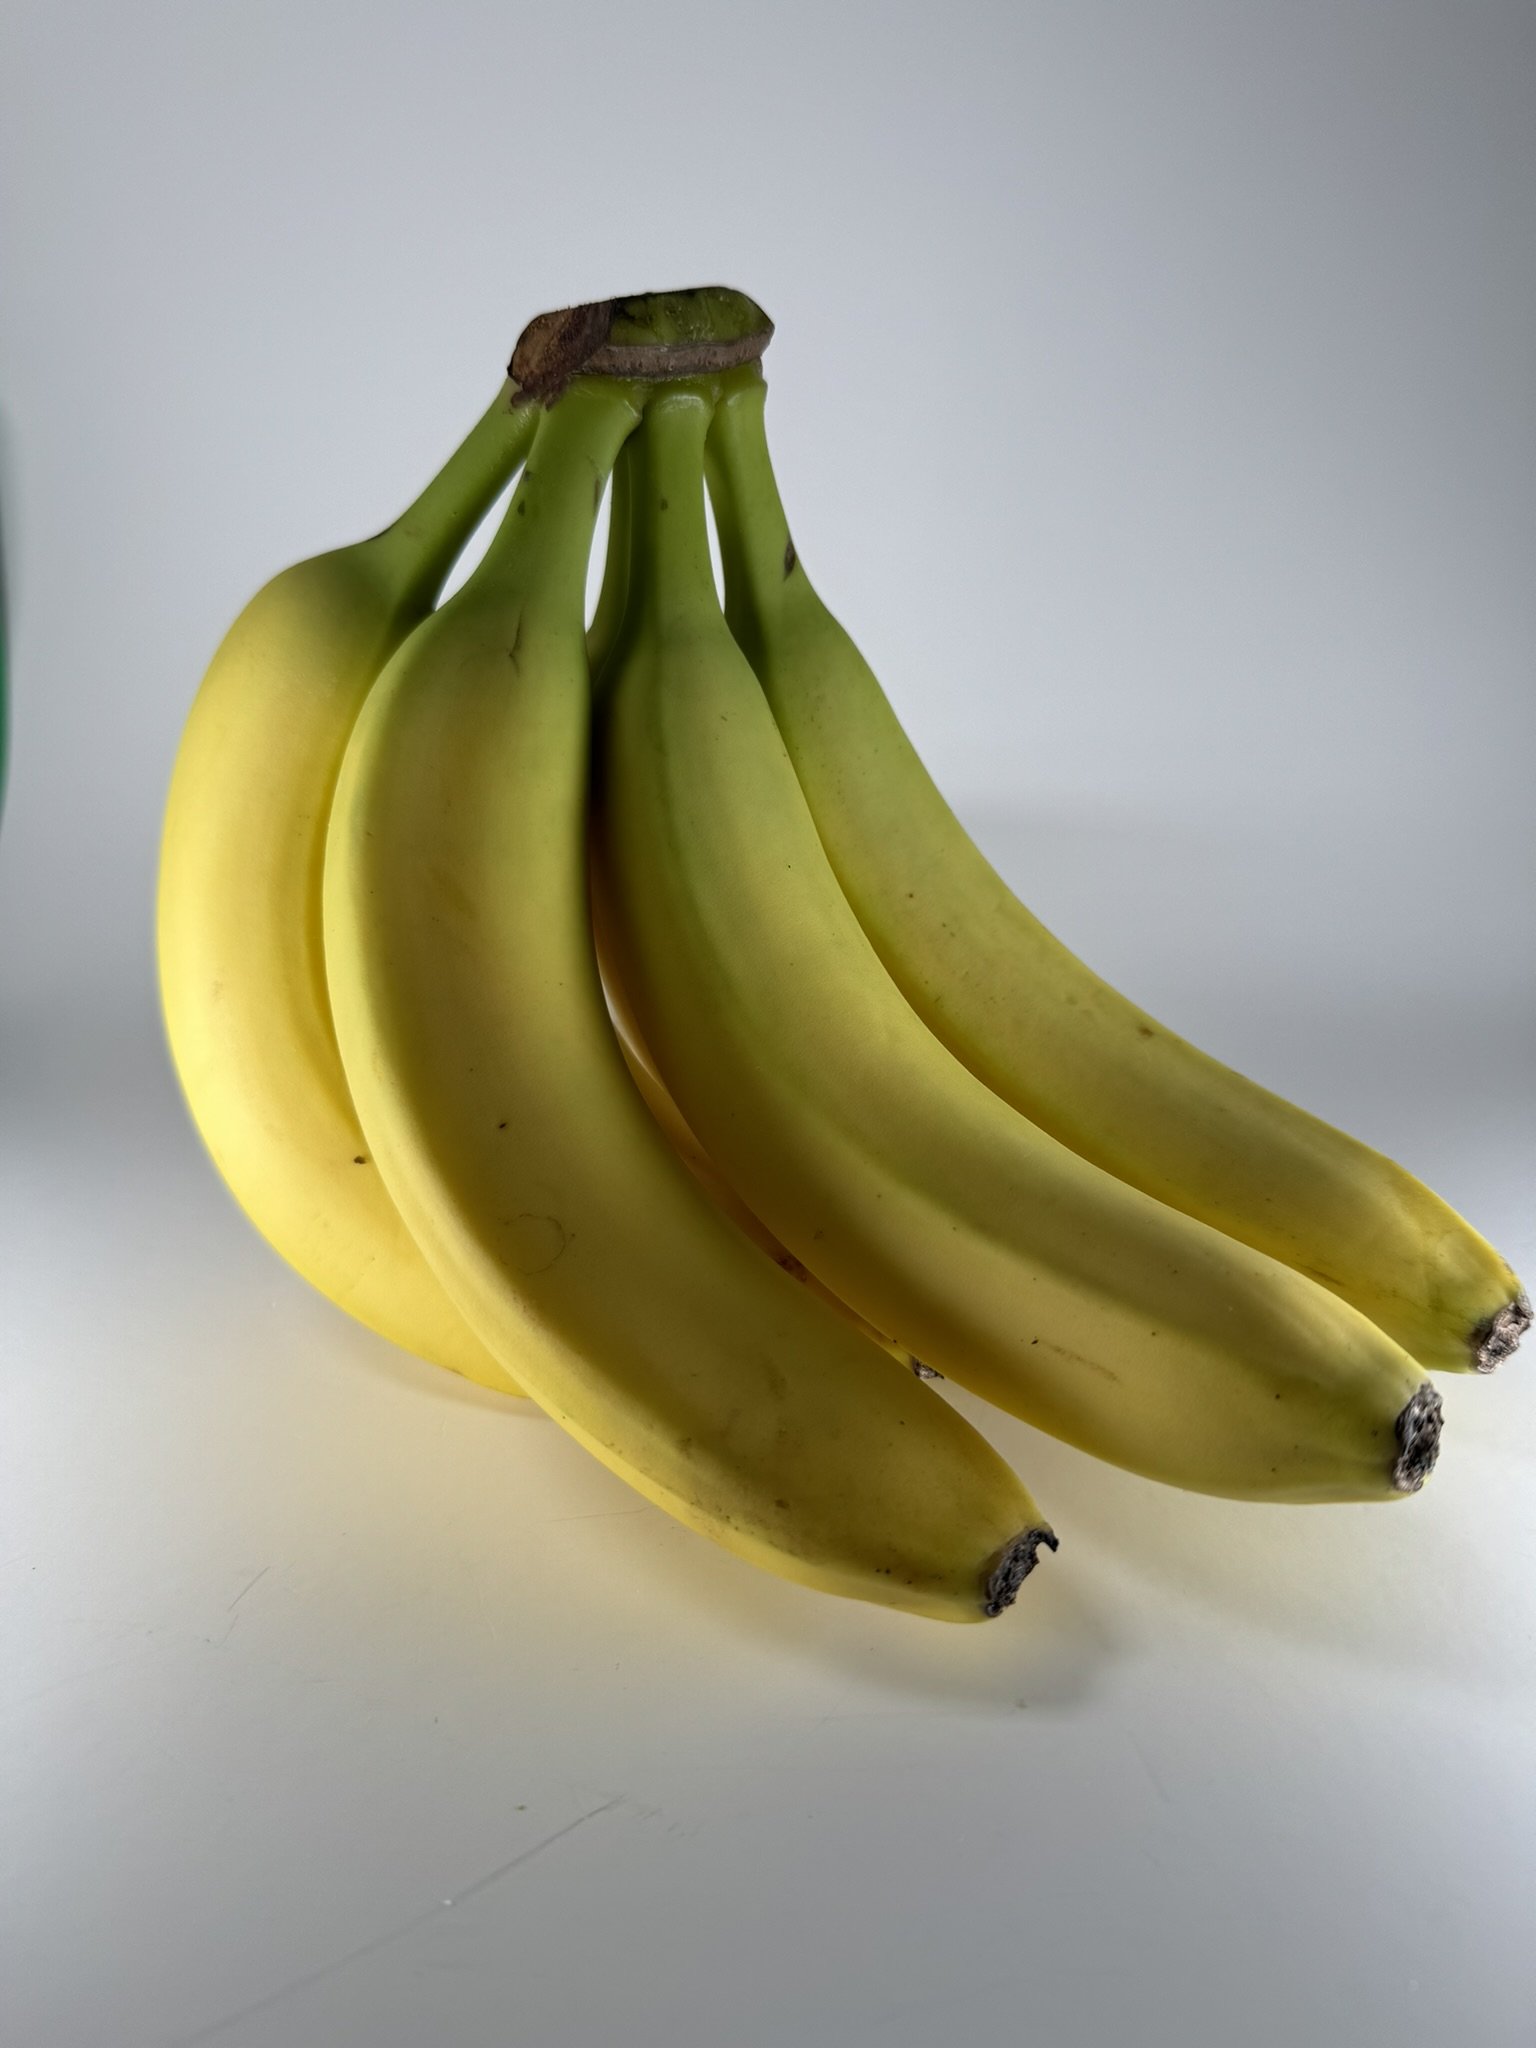
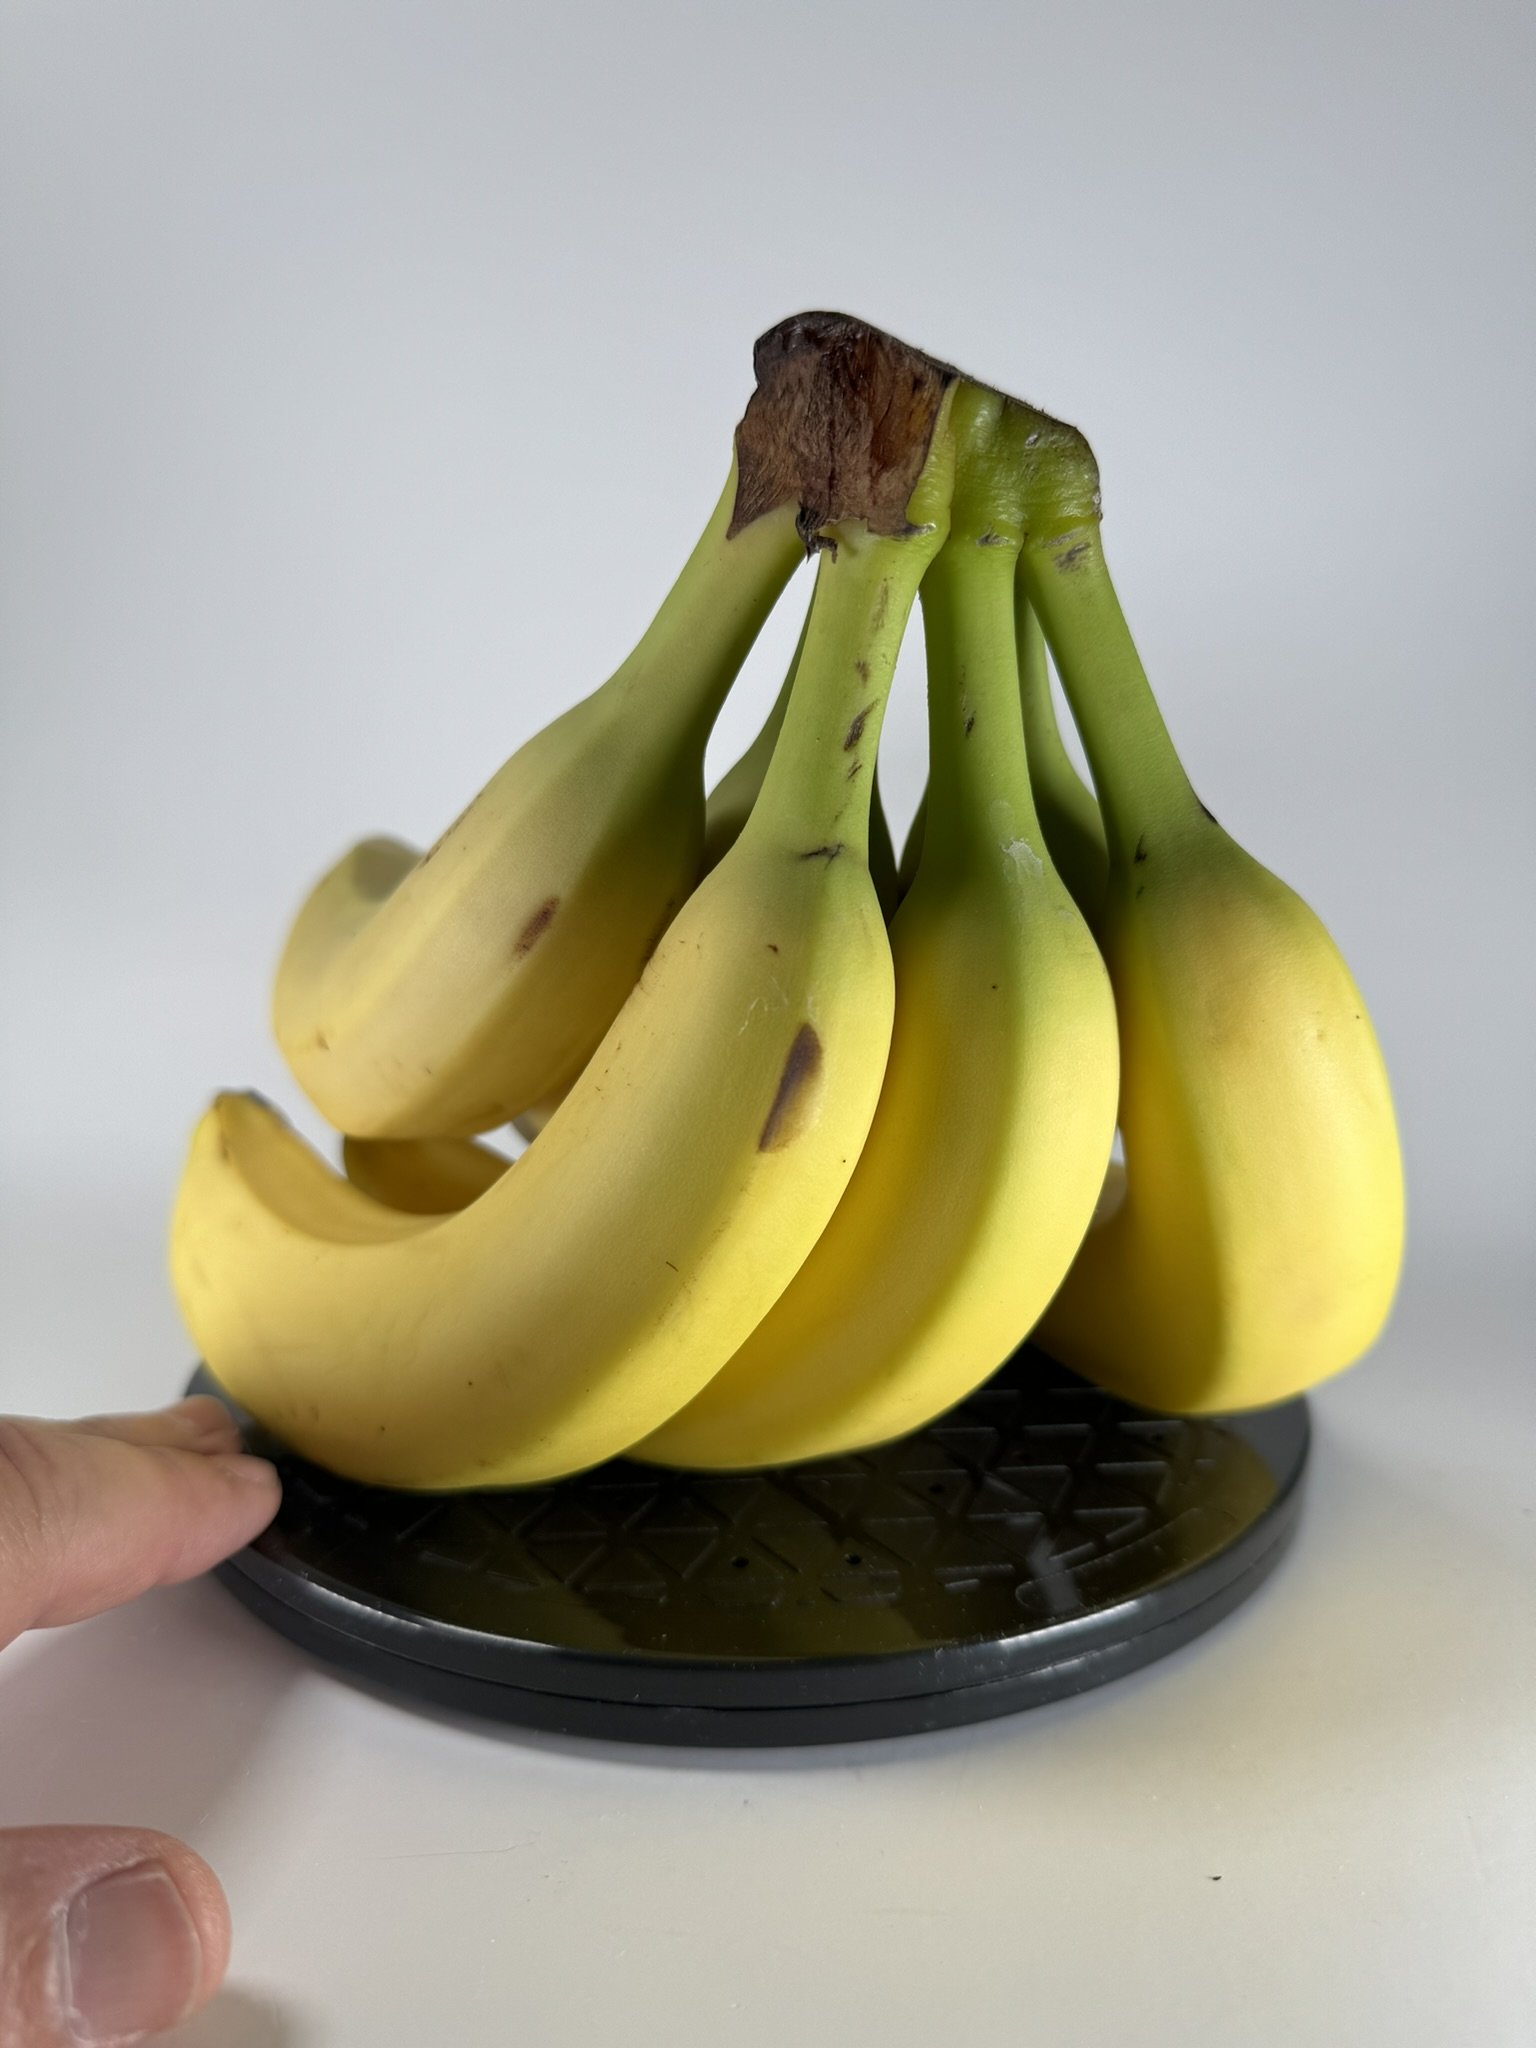
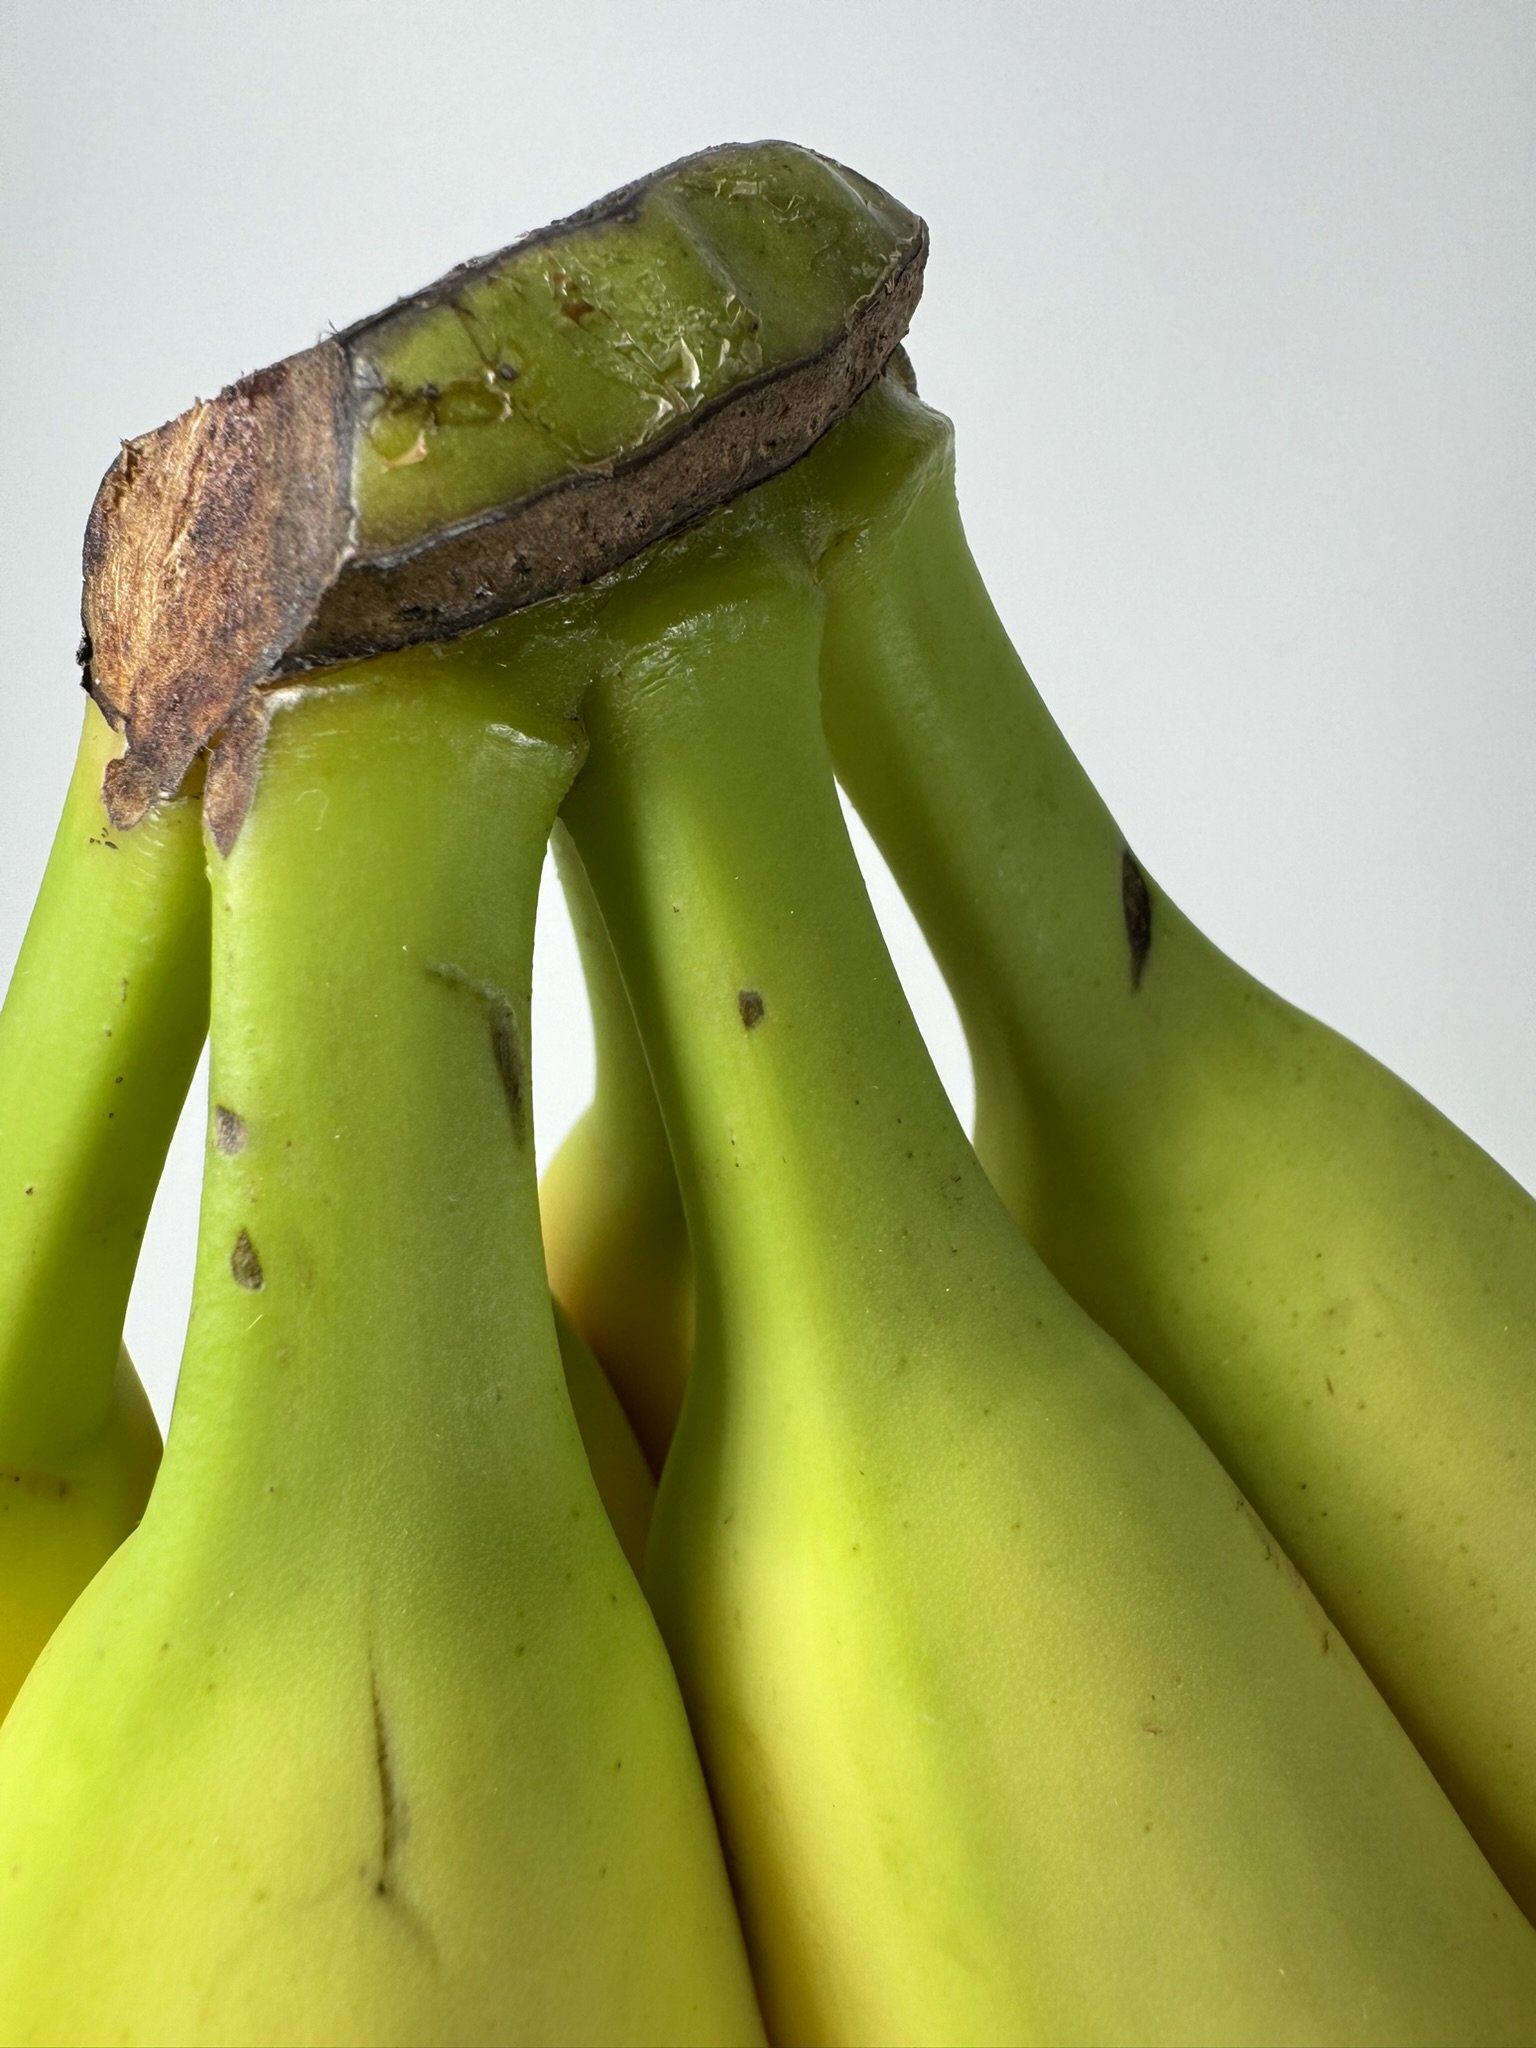
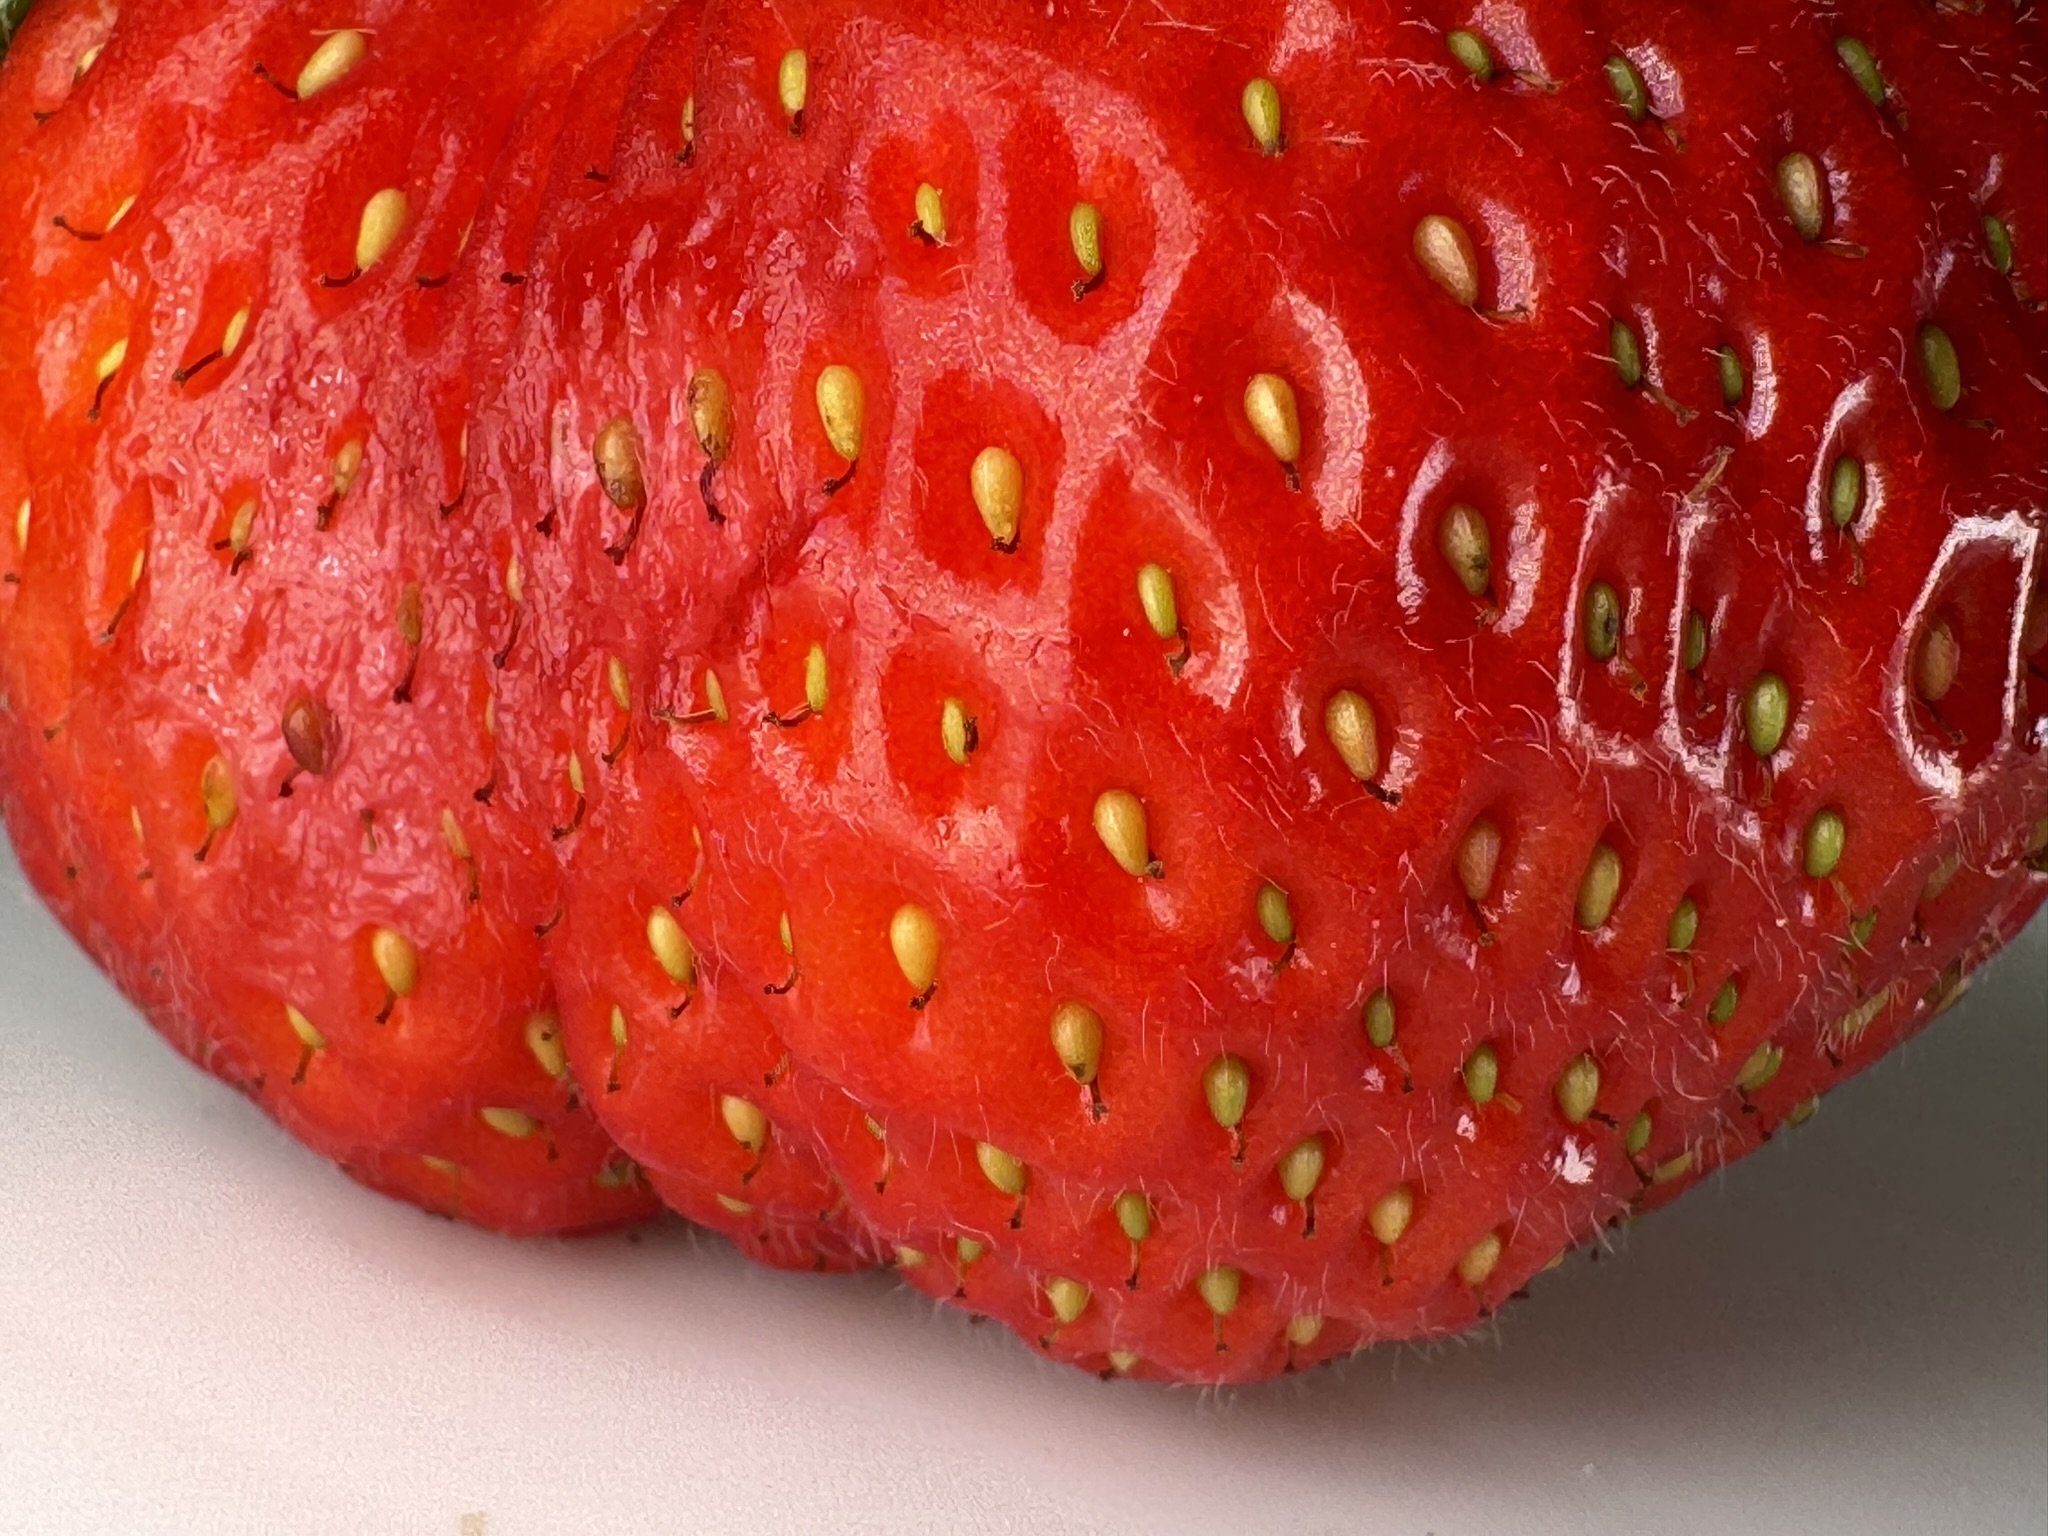
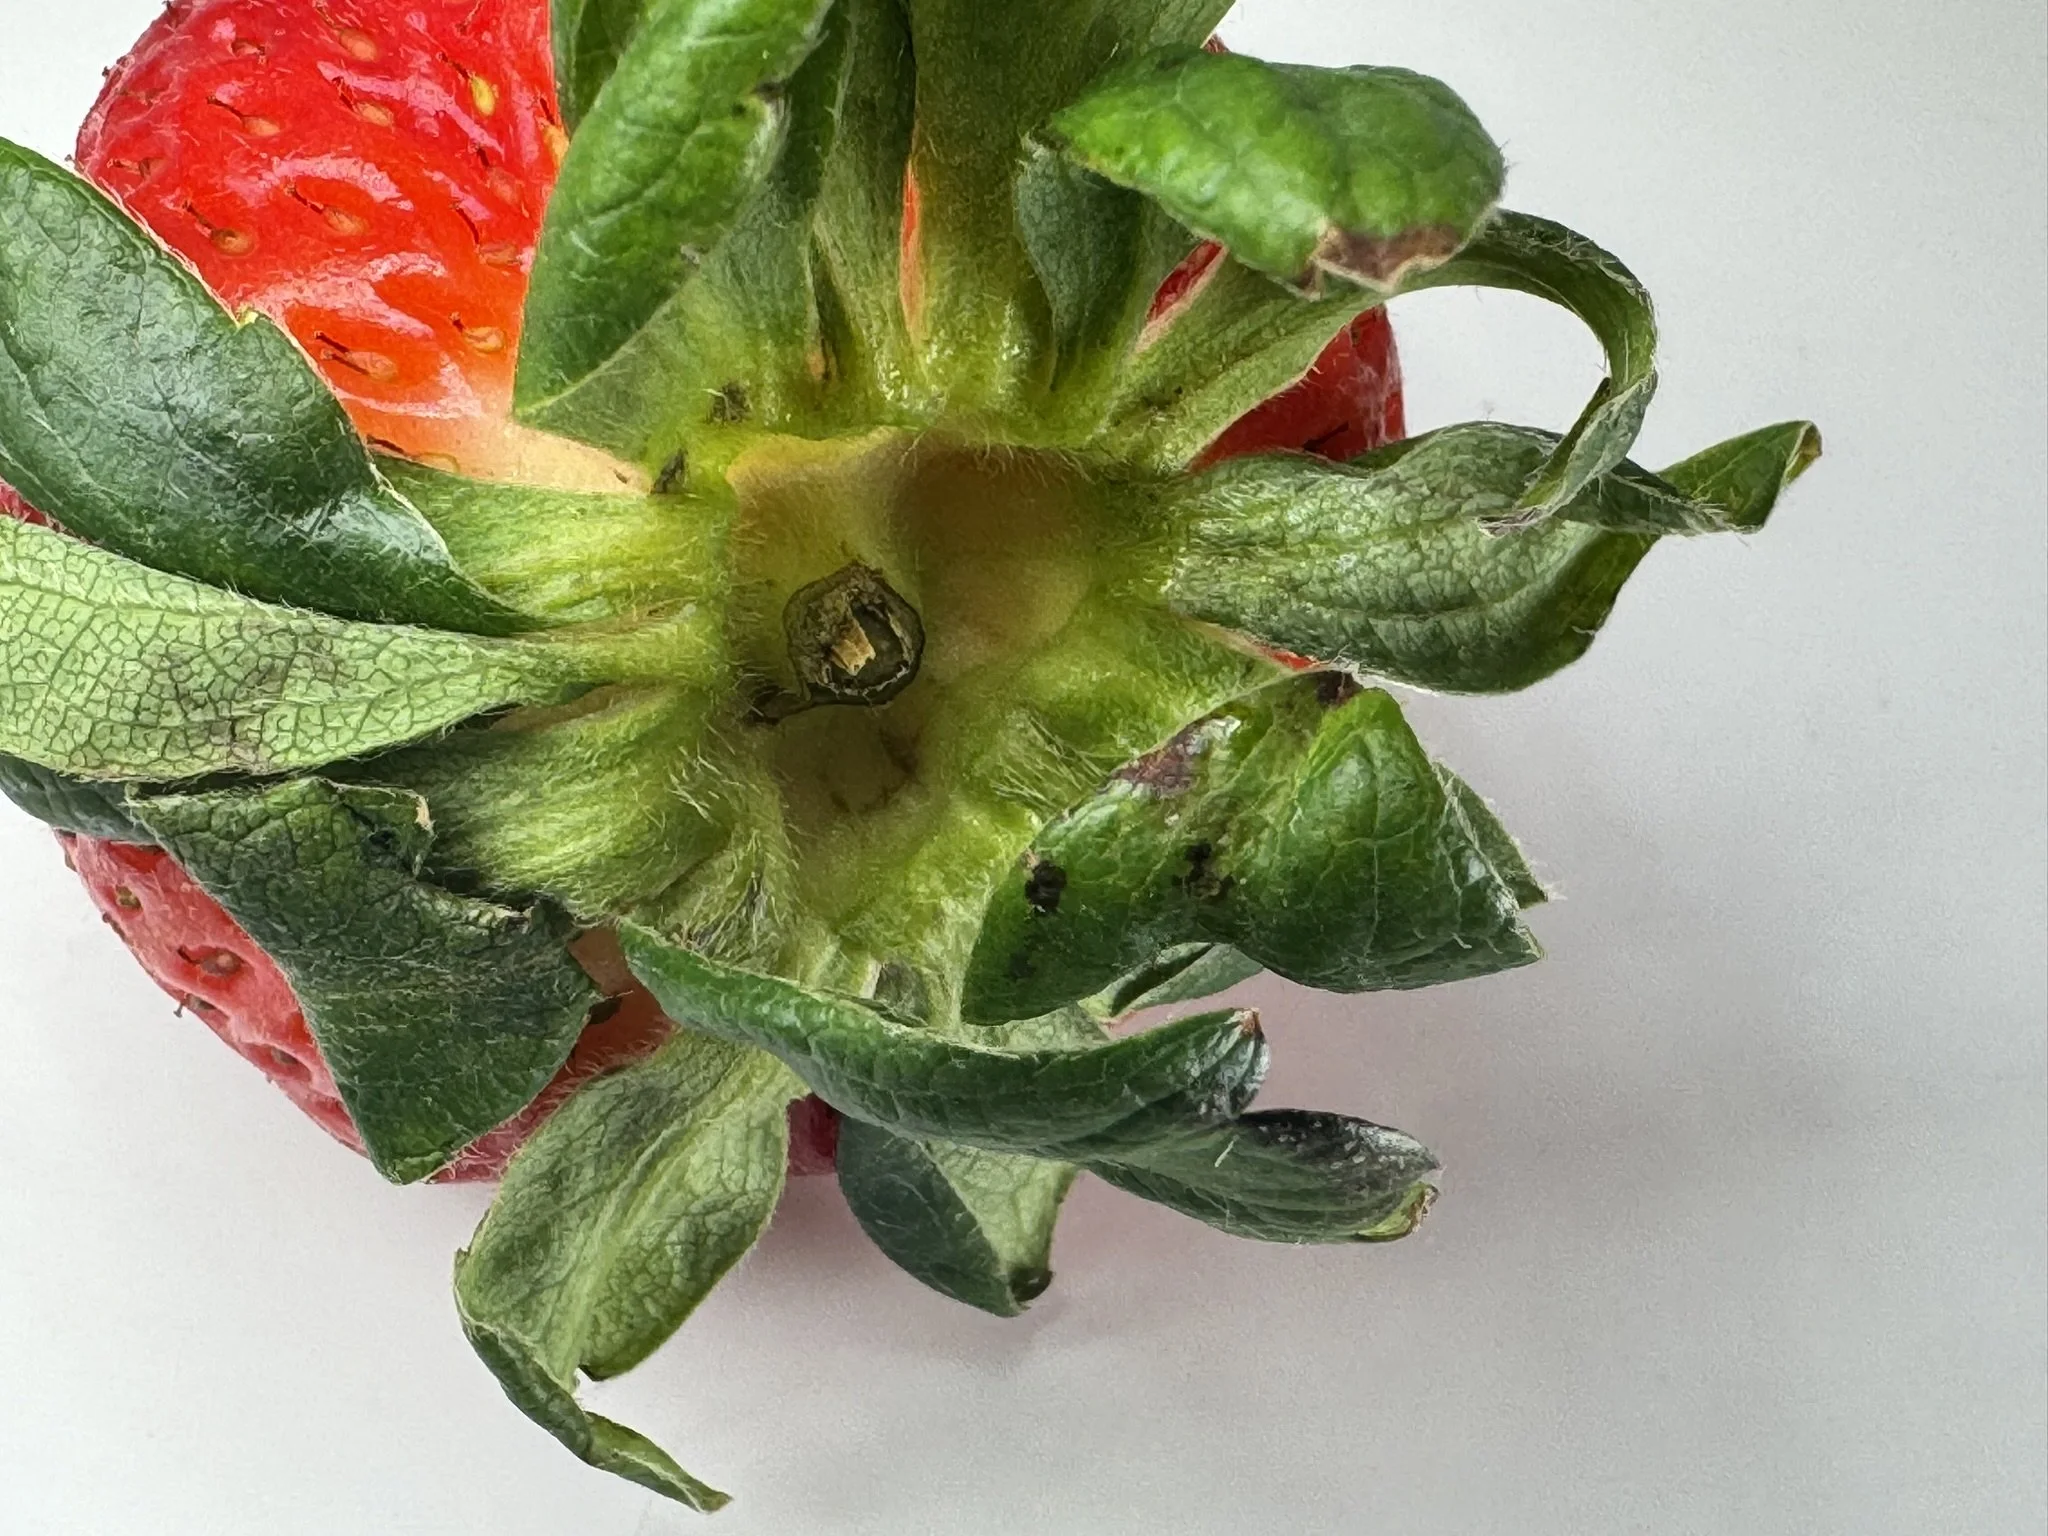
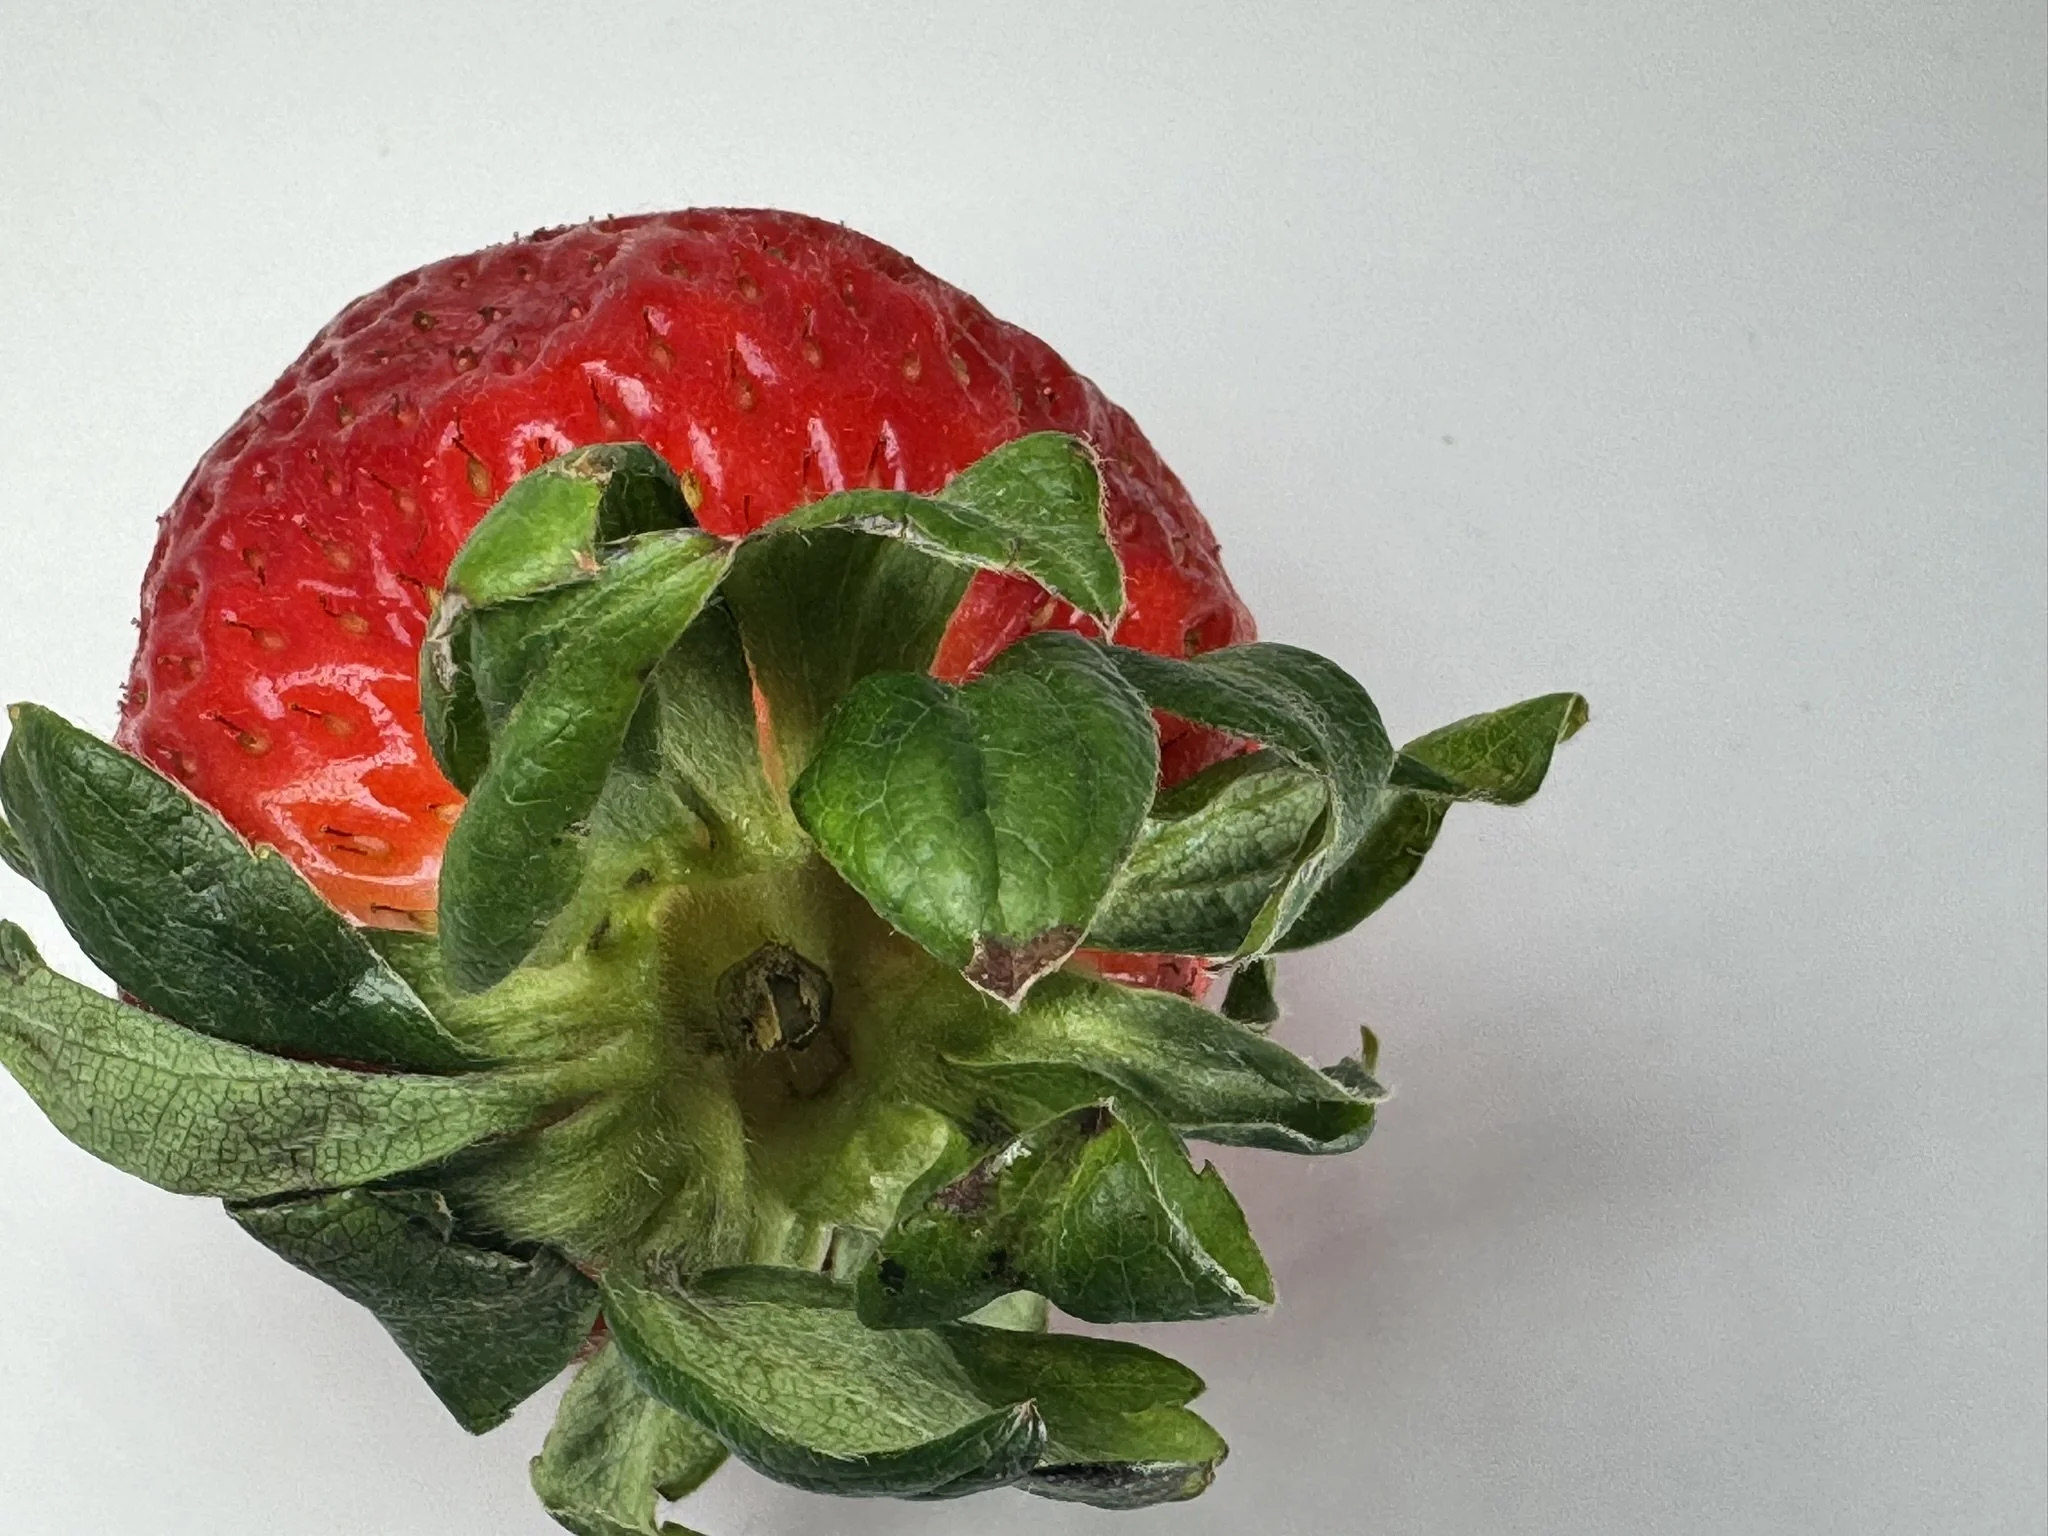
Approved fruits: Apple, Pear, Banana, Grapes, Strawberries, Lemons, Cherry
Approved vegetables: Pumpkin, Potato, Carrot, Bell Pepper, Tomato, Brussels Sprouts, Garlic, Corn, Mushrooms, Chill Pepper, Avocado
Requirements:
Fruit and vegetables must be displayed in a bowl
Bowl must have at least 4 items
Project OverView
Process


Textures


Past Student work


Bowl of Fruit Full 7 Hours 3x Speed