Week 2
ZBrush Review Part 2
Brushes Video
Process Overview
2D SKETCHING
Establish Shape Language
Implicit Design
GREYSCALE CONCEPTING
In this first phase we will be translating our designs from 2D to 3D. We want to make sure we don’t jump into our details too soon an scrafice time and quality as a result. Rather we need to remain focused on what is relative at the appropriate times as we journey through the process of sculpting our concepts. Keep in mind the inital sketches will serve only as a guide for were to start. We want to allow the design to evolve throughout the process and as artists remain dynamic for what the form is expressing - all the while adhering to the request of our clients. Clients can be like wildcards giving feedback that could potentially make or break a design. Sometimes it is our job to hold their hand through the process all the while meeting their needs.
Dynamesh Blockout:
Sculpting in Values: Sculpting with light.
ZSketching: From the surface you should be able to derive your pattern from your design. Note the patterns of rest and the patterns of noise, areas of confusion and detail.
Areas of Rest: (Primary Shapes)
Areas of Noise: (Tertiary Shapes)
Tip: Mask out your patterns and change your Matcap material to the flat white material. This will help you to identify how your patterns are establishing themselves within your design and gives you a Rorschach type peak into how the presentation of your character is reading to the audience.
ITTERATIVE DESIGN
Overview, Attributes vs. Variants
Our goal now
Segmentation & Primary Shape Tracing (Attribute Control)
Build Primary Shape Layers (Sihlouette Control)
Layer mixing and its Process
PRESENTATION (Preliminary)
Extraction and grids
REFINEMENT
Dynameshing your parts together
Refine your surface with Dam Standard, Clay buildup, Clay brush, Smooth and the Standard Brush
Project onto new model with Clean topology
Step1: Duplicate your symmetrical dynamesh
Step2: With symmetry turned on, ZRemesh your model, Subdivide the model and project the detail onto the new mesh from your original source mesh.
Detail Work
Create a morph Target: This will allow you to brush away mistakes returning the surface to the original state of the mesh from when the morph target was created.
Apply Alphas: Begin by testing with large areas with low frequencies
Refine tertiary design with Dam Standard,
Posing
PRESENTATION FINAL
Painting Values
Goal: Push and pull the Surface with lights and dark pigment
Utilize the surface to drive the masking and texture result
Lighting
Goal:
3 Point Lighting
Rendering in Redshift
Photoshop Compositing
ZSketching
Polypaint allows painting on a model’s surface without first assigning a texture map. A texture map can be created at a later time, and the painted surface can be transferred to the map.
Polypainting offers significant advantages compared to standard workflow:
The resolution of the texture map does not need be decided in advance. This is particularly valuable if you find you need more detailing on an area than you thought you would. Instead of repainting a new, larger texture map, you can simply transfer the existing surface painting to a new, larger map, with no rework necessary.
Similarly, the UV unwrapping need not be fixed in advance. If one unwrapping proves unsatisfactory, simply create a different unwrapping and transfer the surface painting to that map.
Turntable records a turntable of your model on screen.
Adjust the speed of the turntable by setting Movie:Modifiers:SpinFrames.
Use Spin Cycles to increase the number of times the model turns around.
Use X, Y, Z or Scrn to set the axis of the rotation.
With Decimation Master you can easily reduce the polygon count of your models in a very efficient way while keeping all their sculpted details. This solution is one of the fastest available and is able to optimize your high polycount models from ZBrush, allowing you to export them to your other 3D software packages.
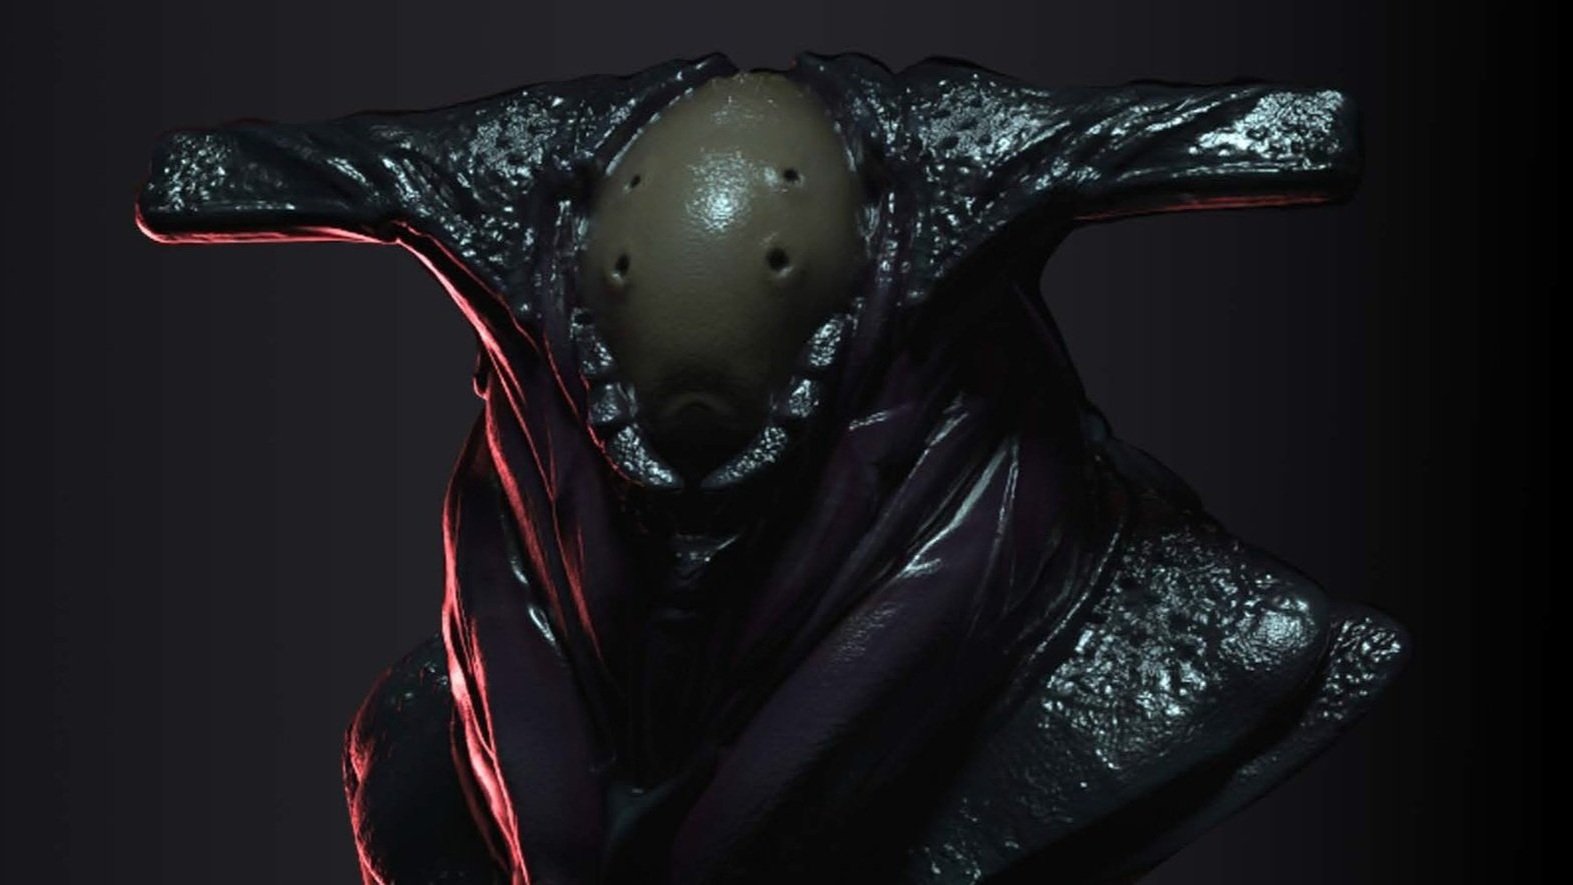
Creature Bust (Jared’s Chapter) | 3 Weeks | 100 pts
Project Brief:
Taken straight from the pages of my new book, coming out in September 2025, this assignment dawns from the instruction of Jared Krichevsky (Godzilla, TMNT, Ready Player 1, Megan, Guardians of the Galaxy) and Ian Robinson Head of ZBrush Education at Maxon. Together we will work through his process for concept, creation, iteration, and rendering.
Critique Date:
2/12/2025
Required Learning:
Dynamesh/Sculptris Pro, ZRemodeler, Redshift3D, Redshift Materials
Required Slides:
Hero Shot - Redshift3D Render: 20 pts
Orthographics: 10 pts
Craftsmanship: 10 pts
Turntable: 10 pts
Brushes: 10 pts
In Pose: 10 pts
Polypainting: 20 pts
References: 10 pts

