Week 6
Classical Sculpting Intro
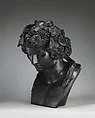
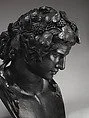
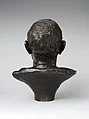
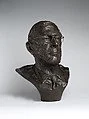
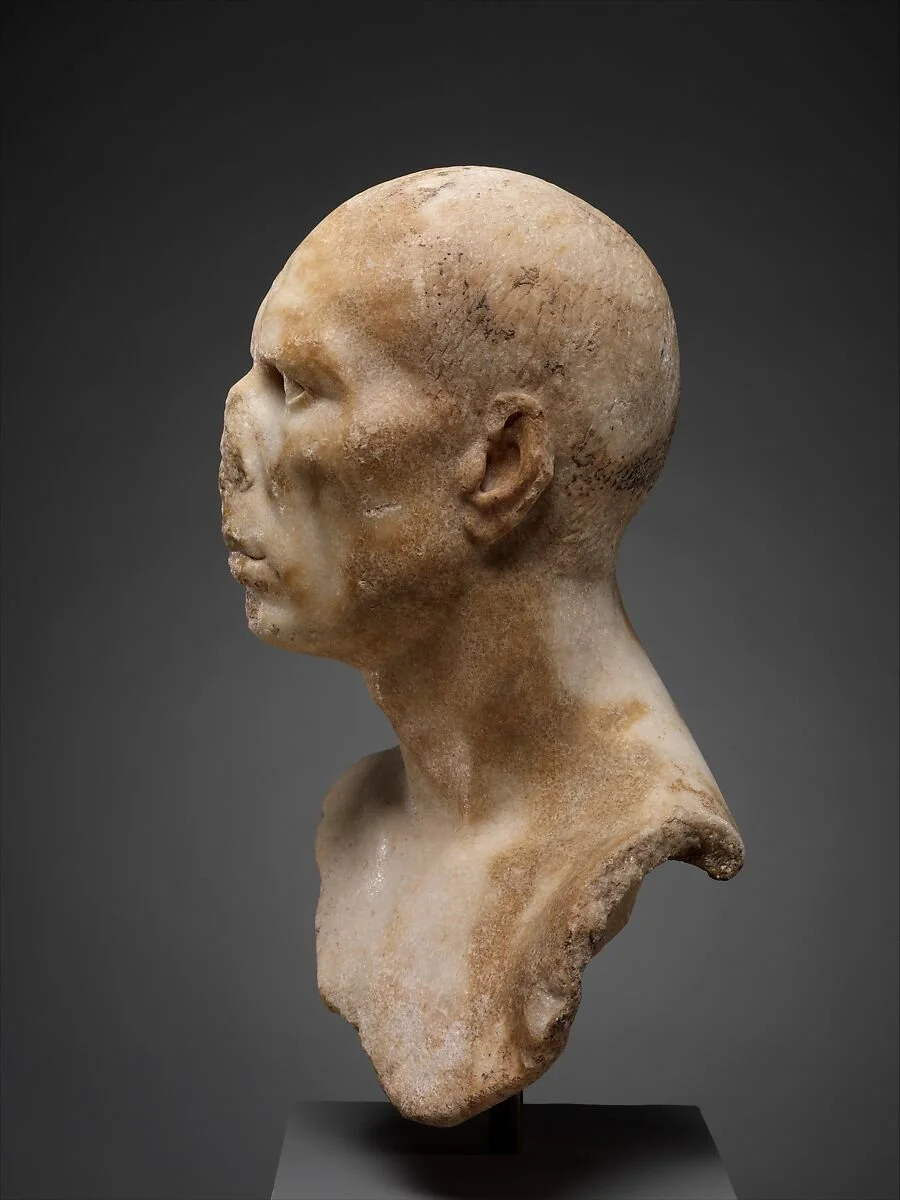
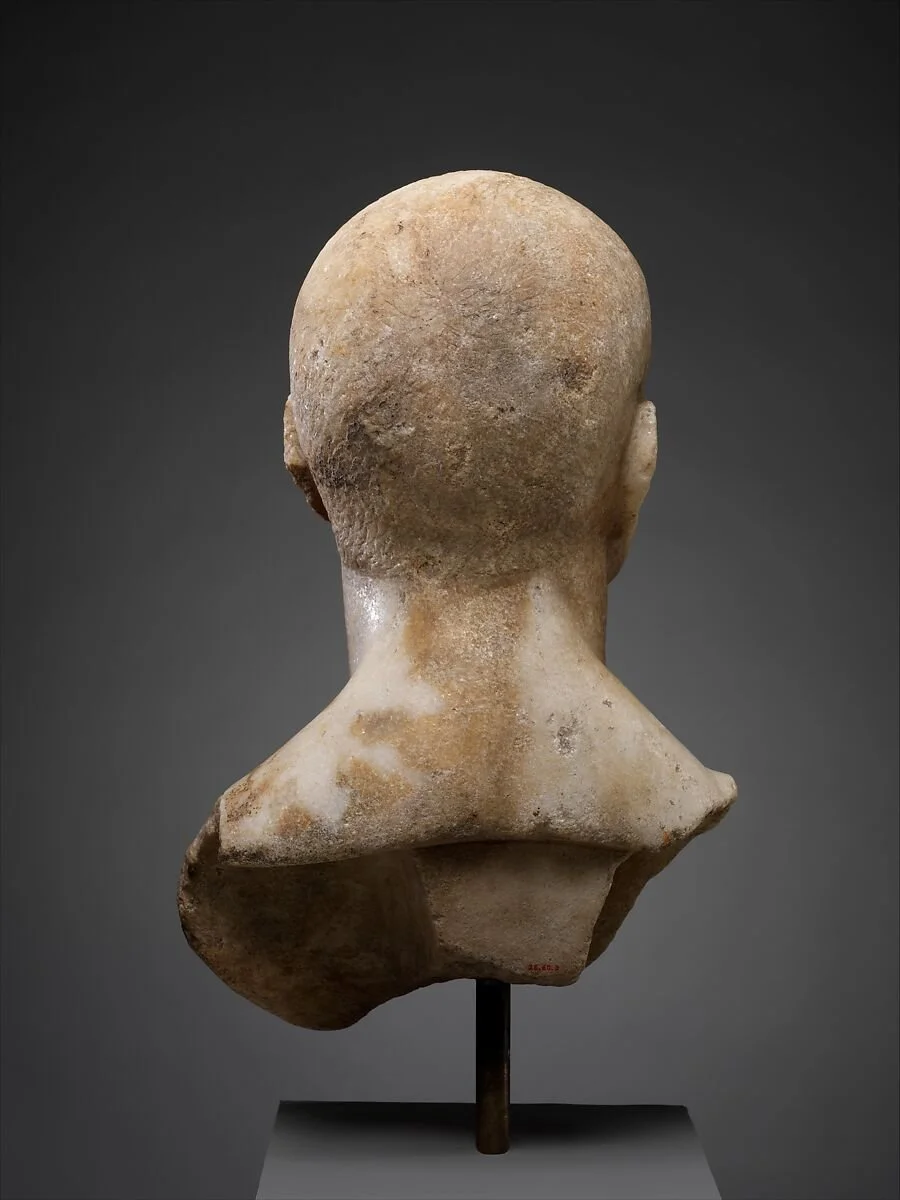
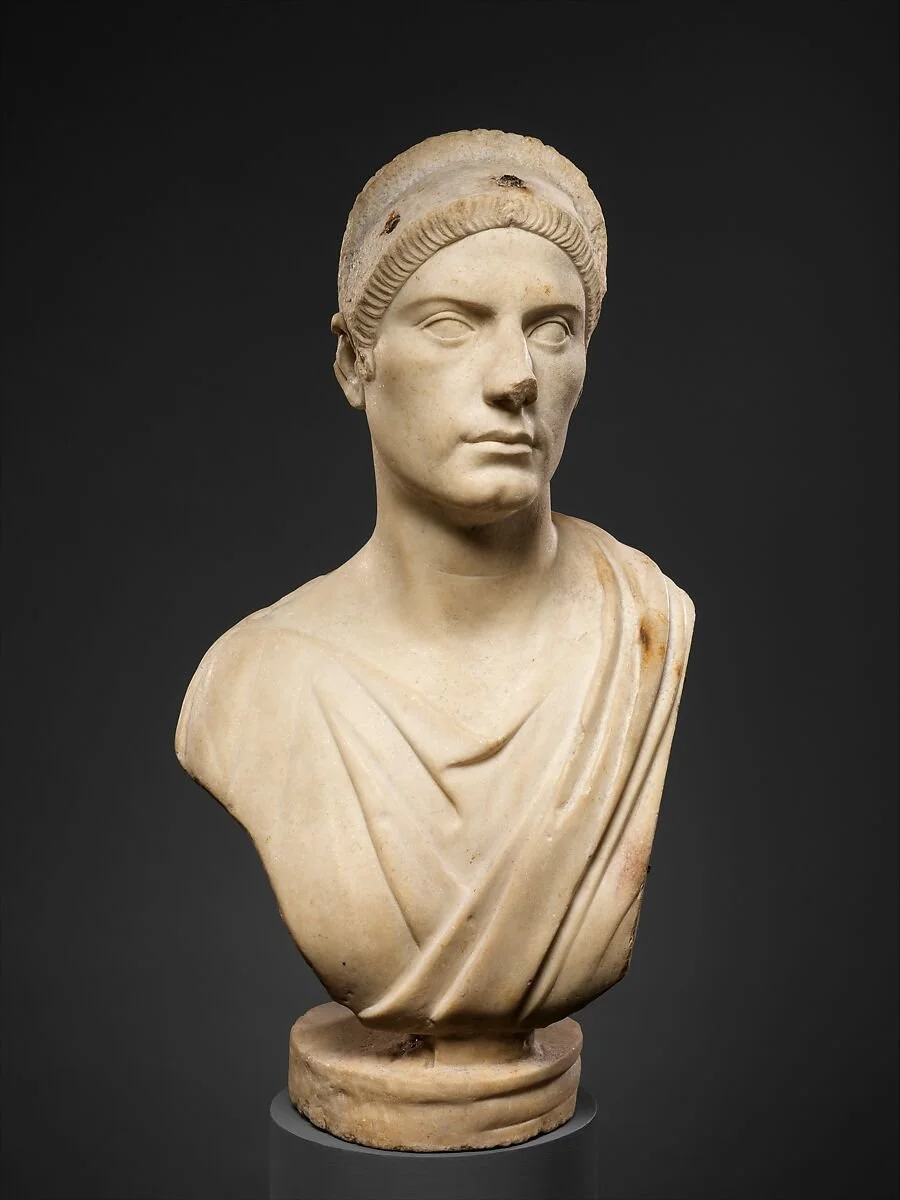
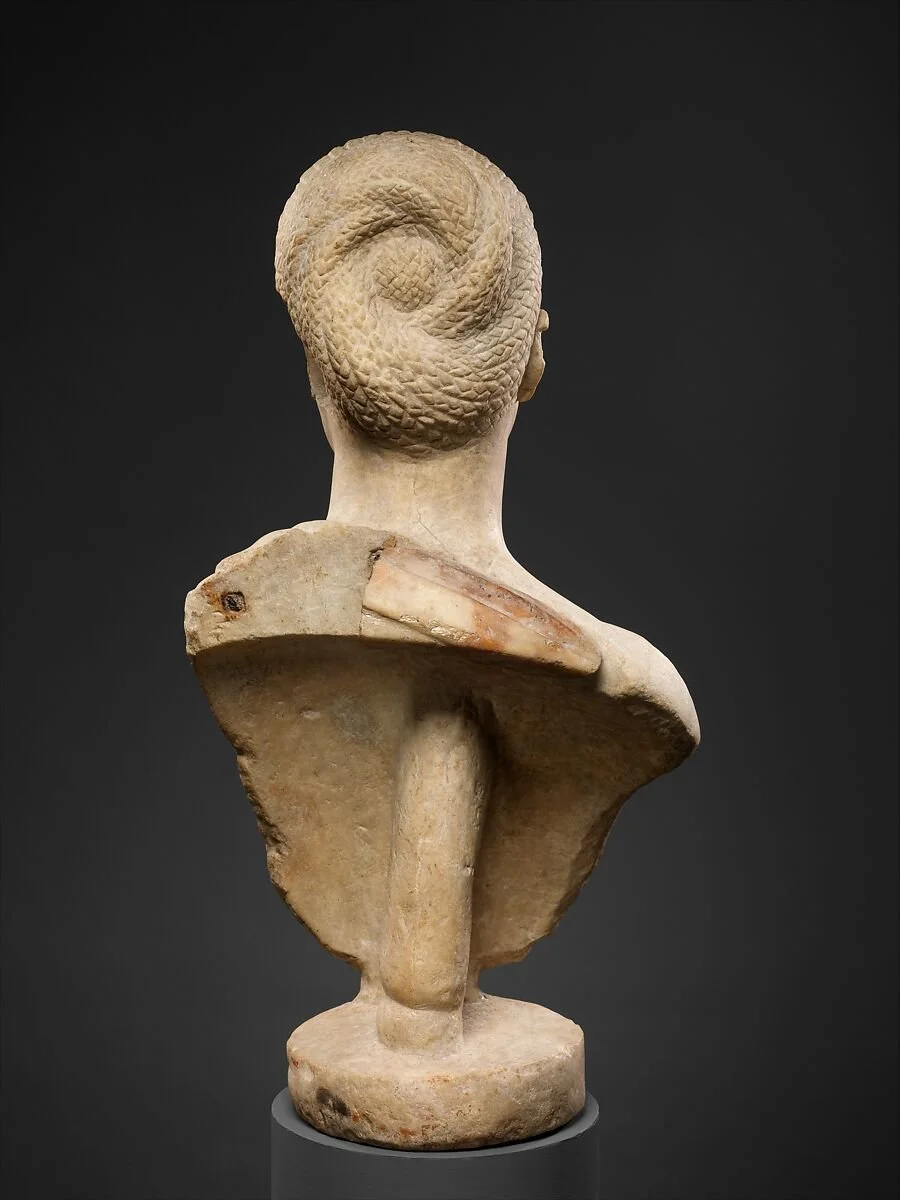
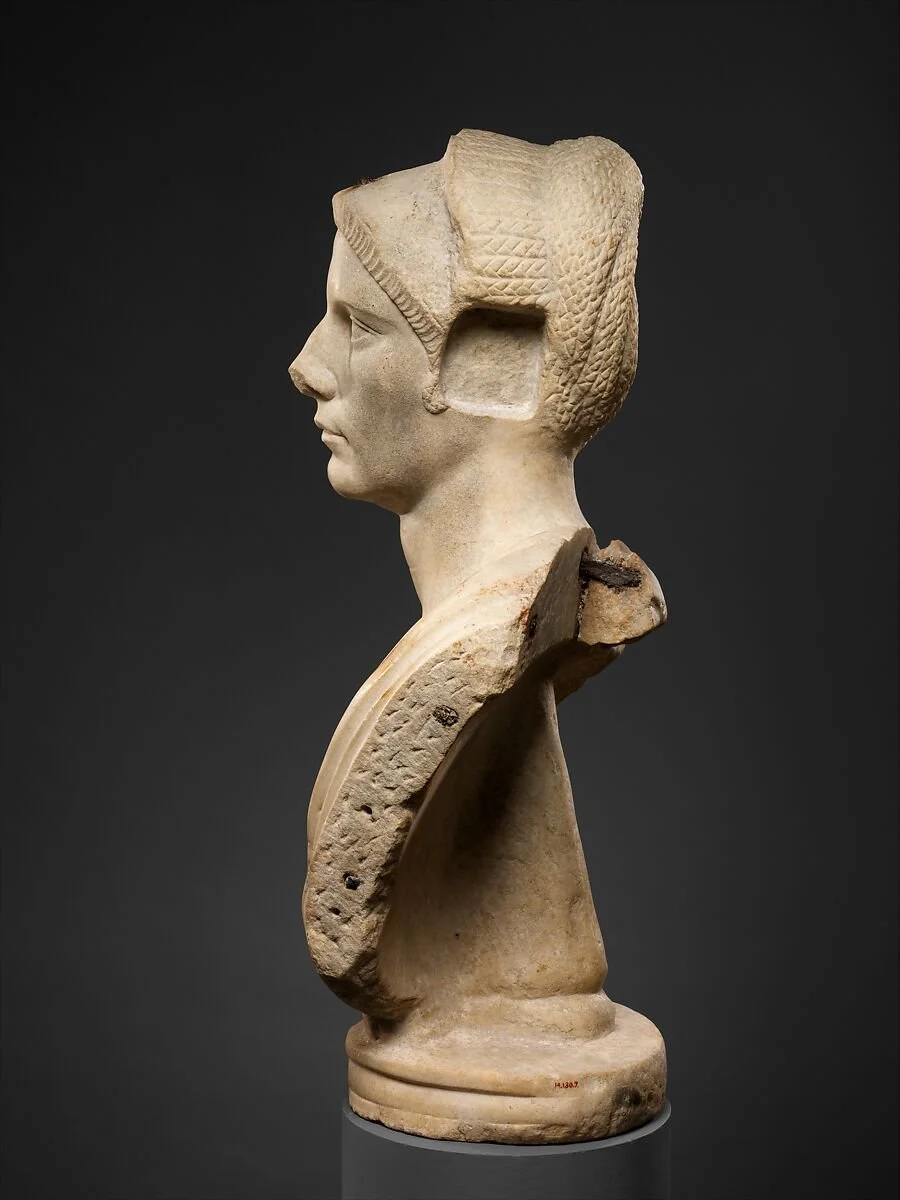
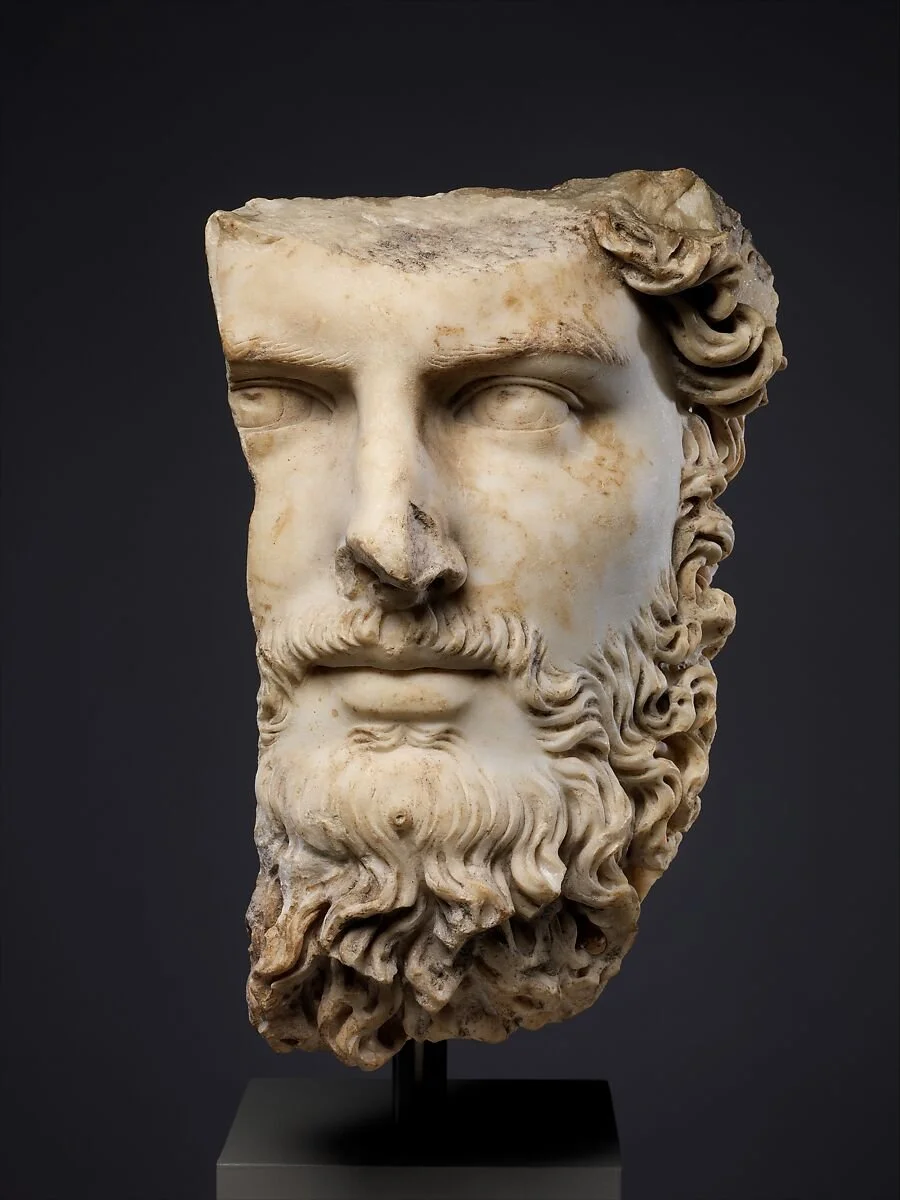
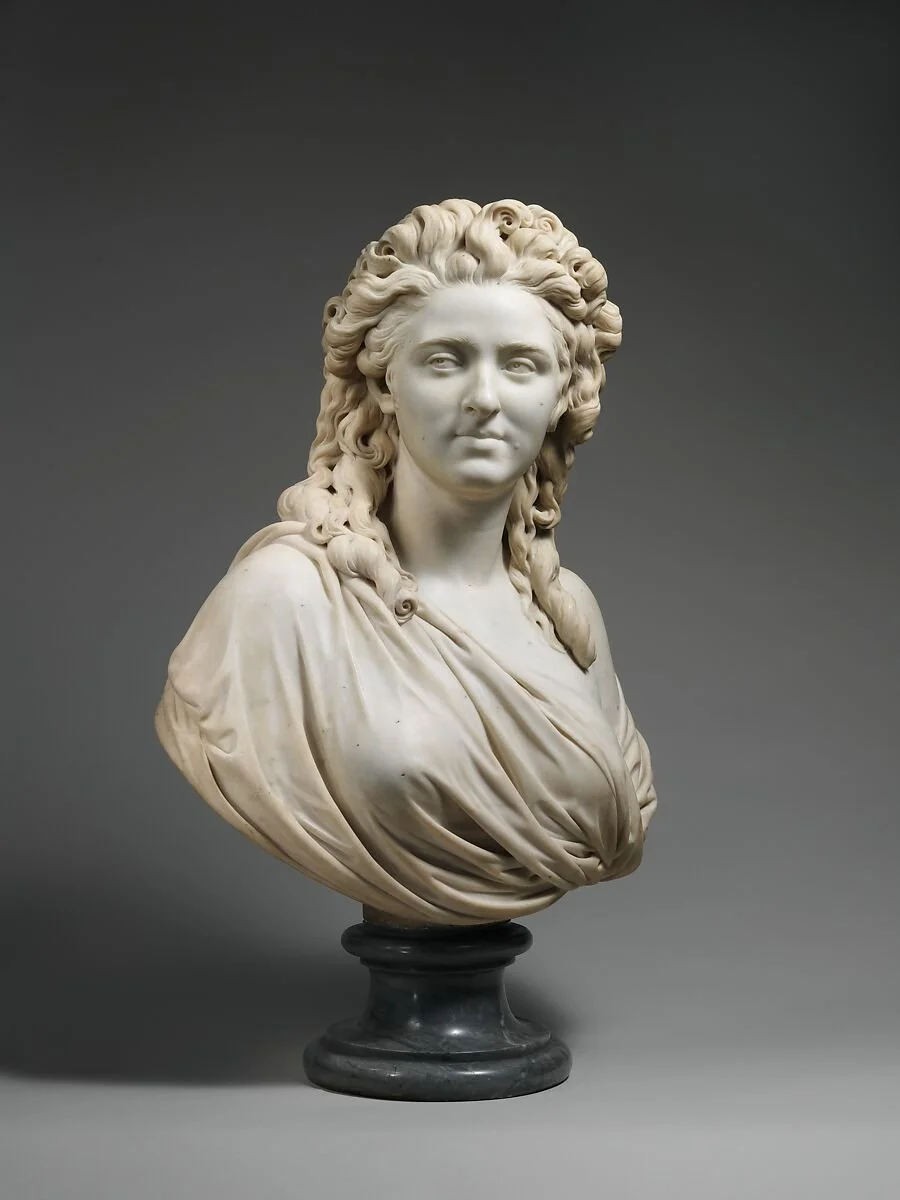
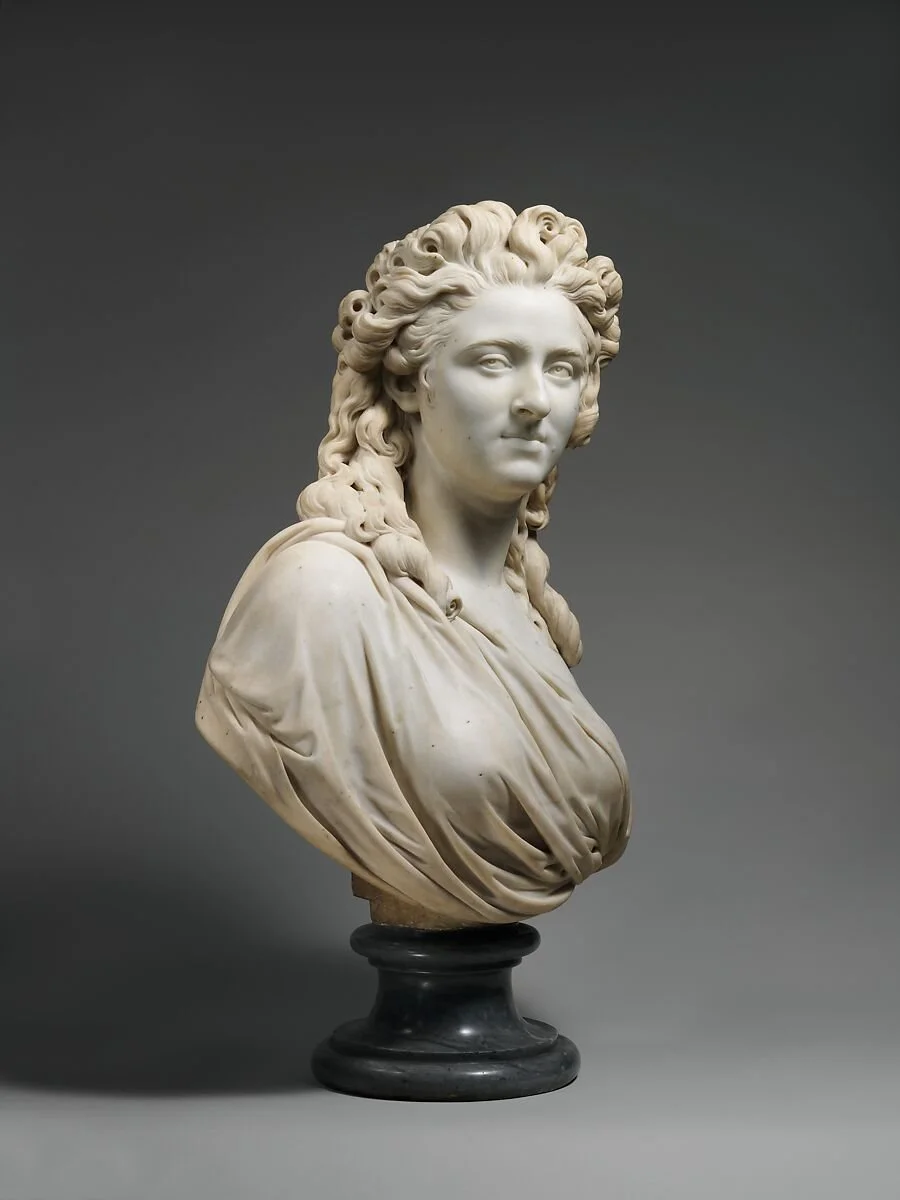
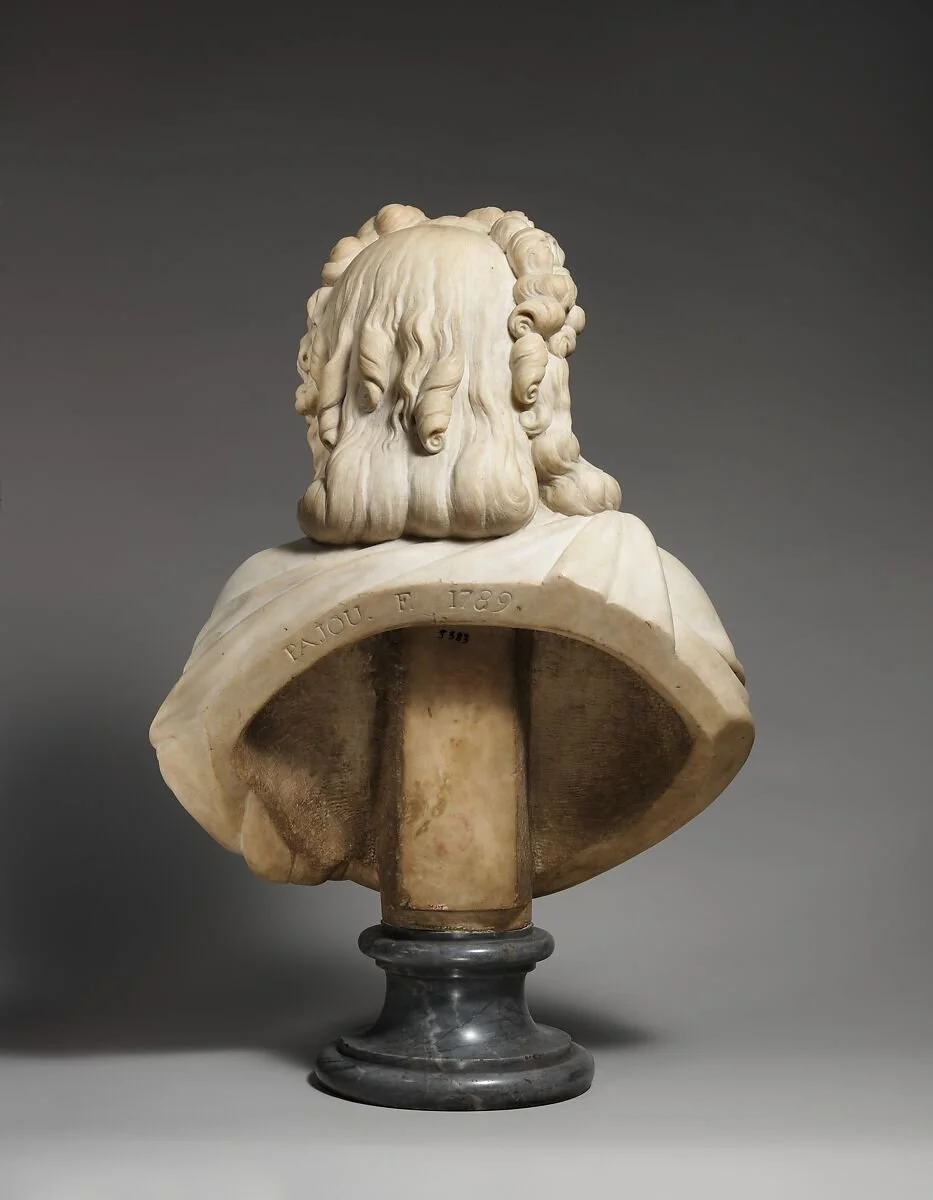
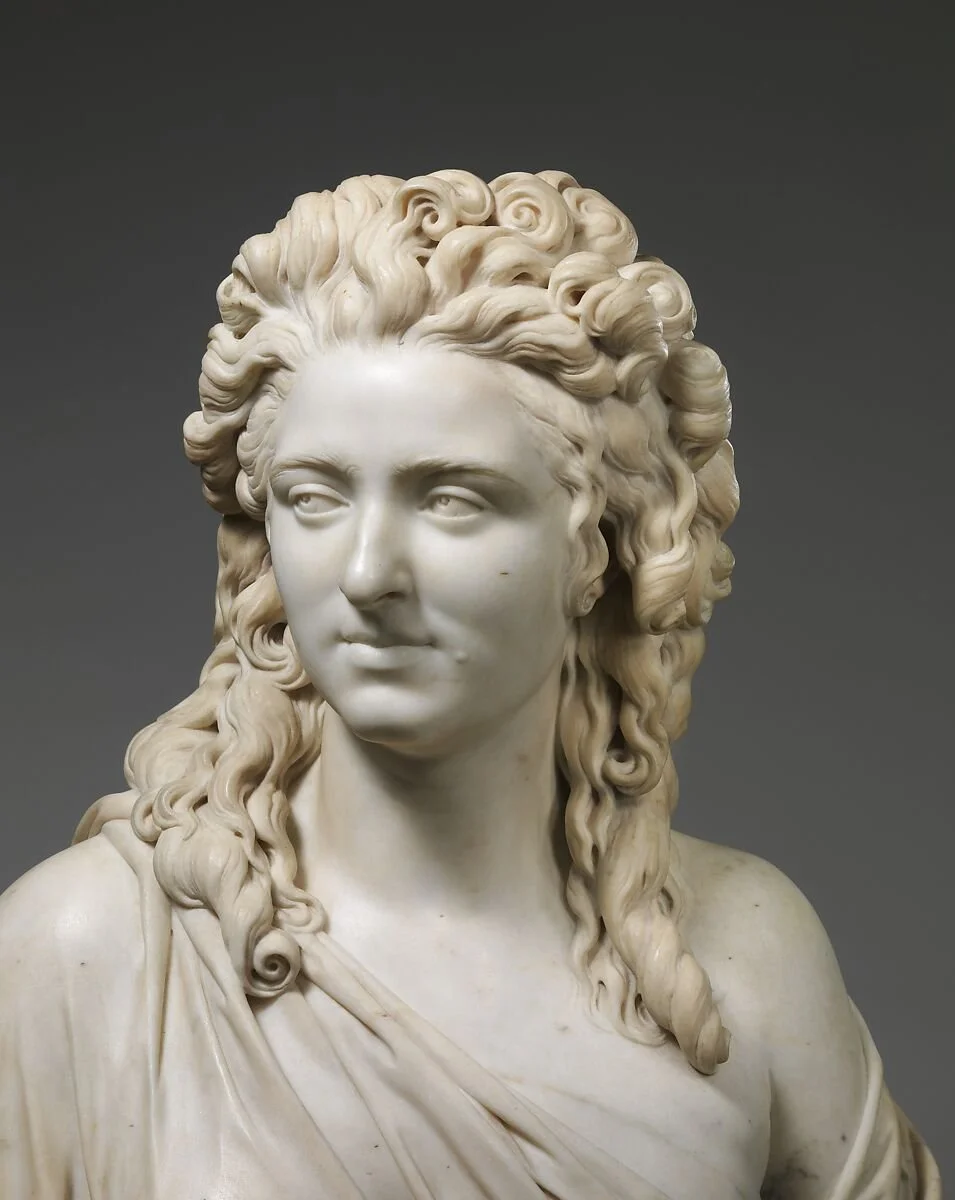
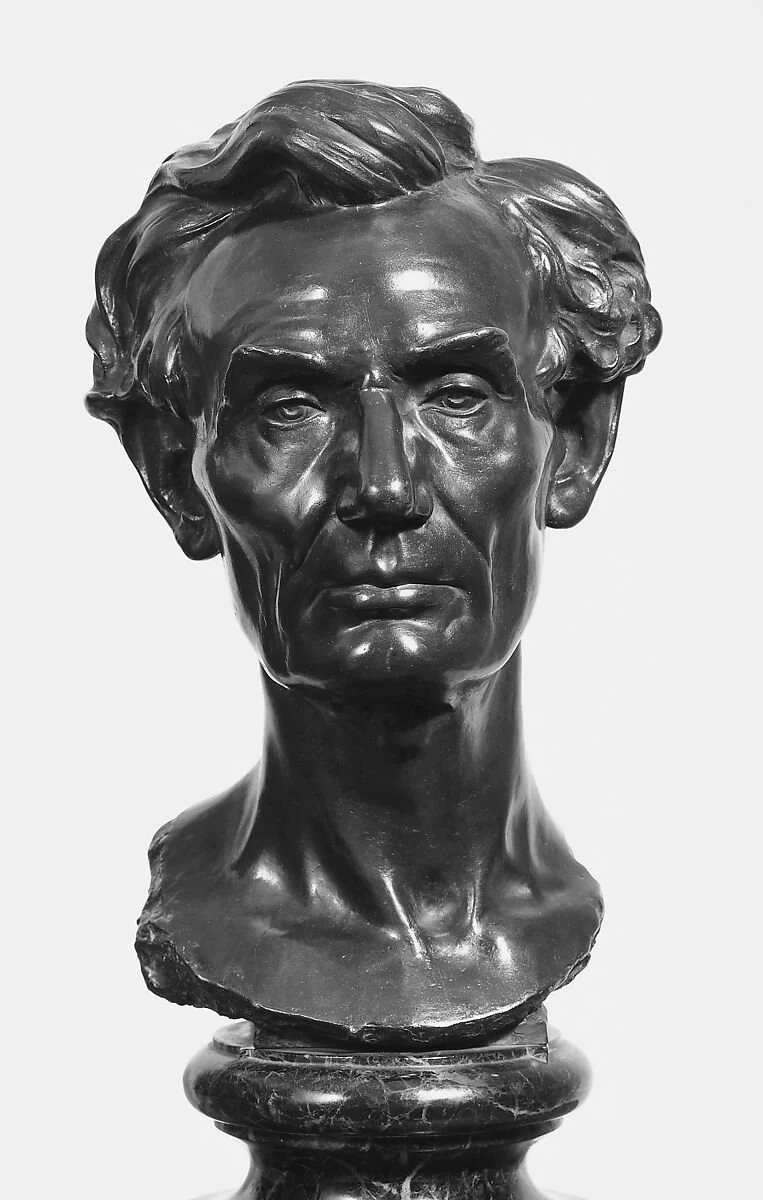
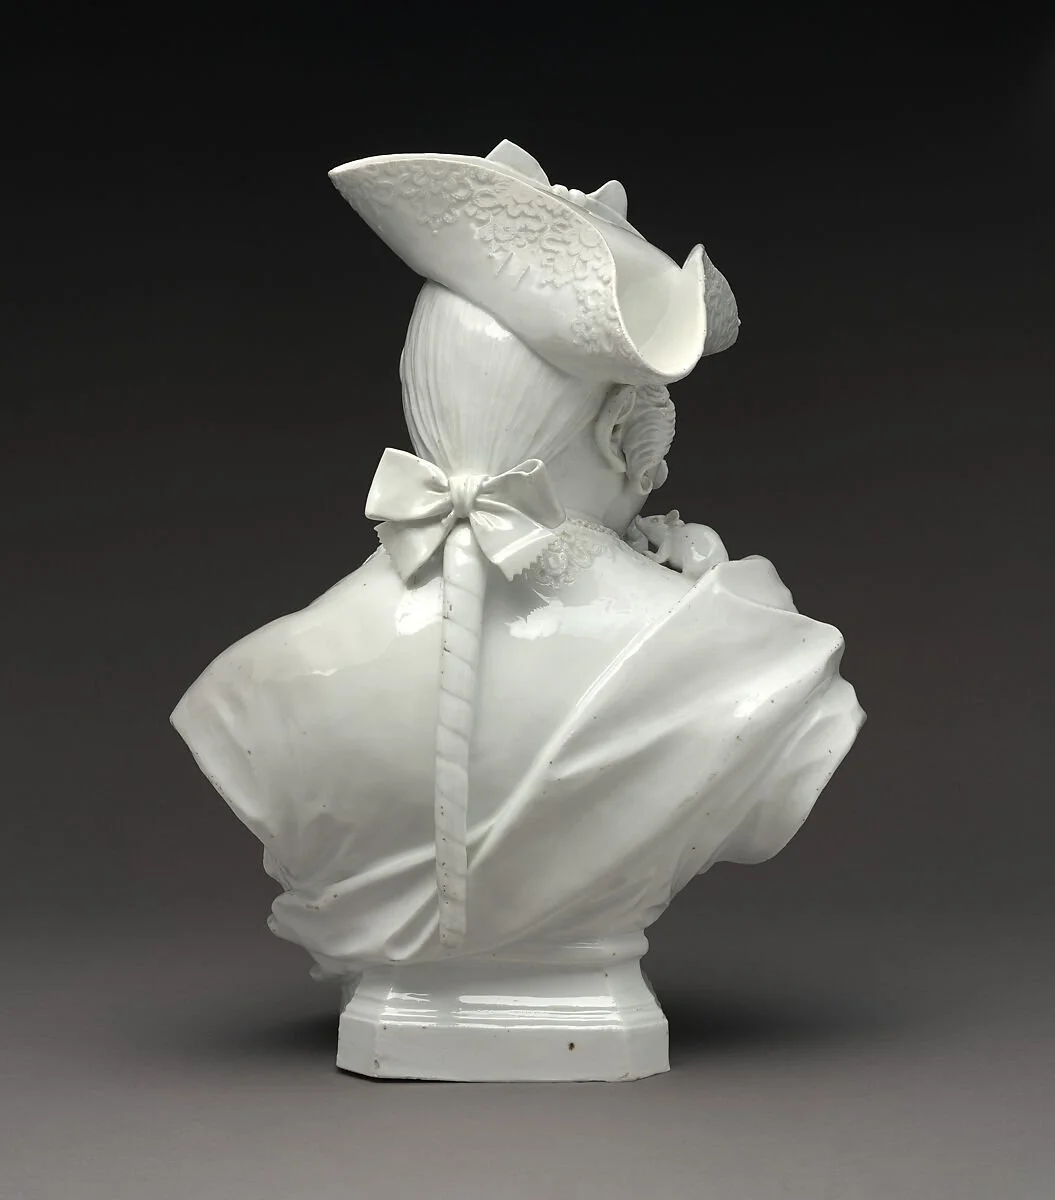
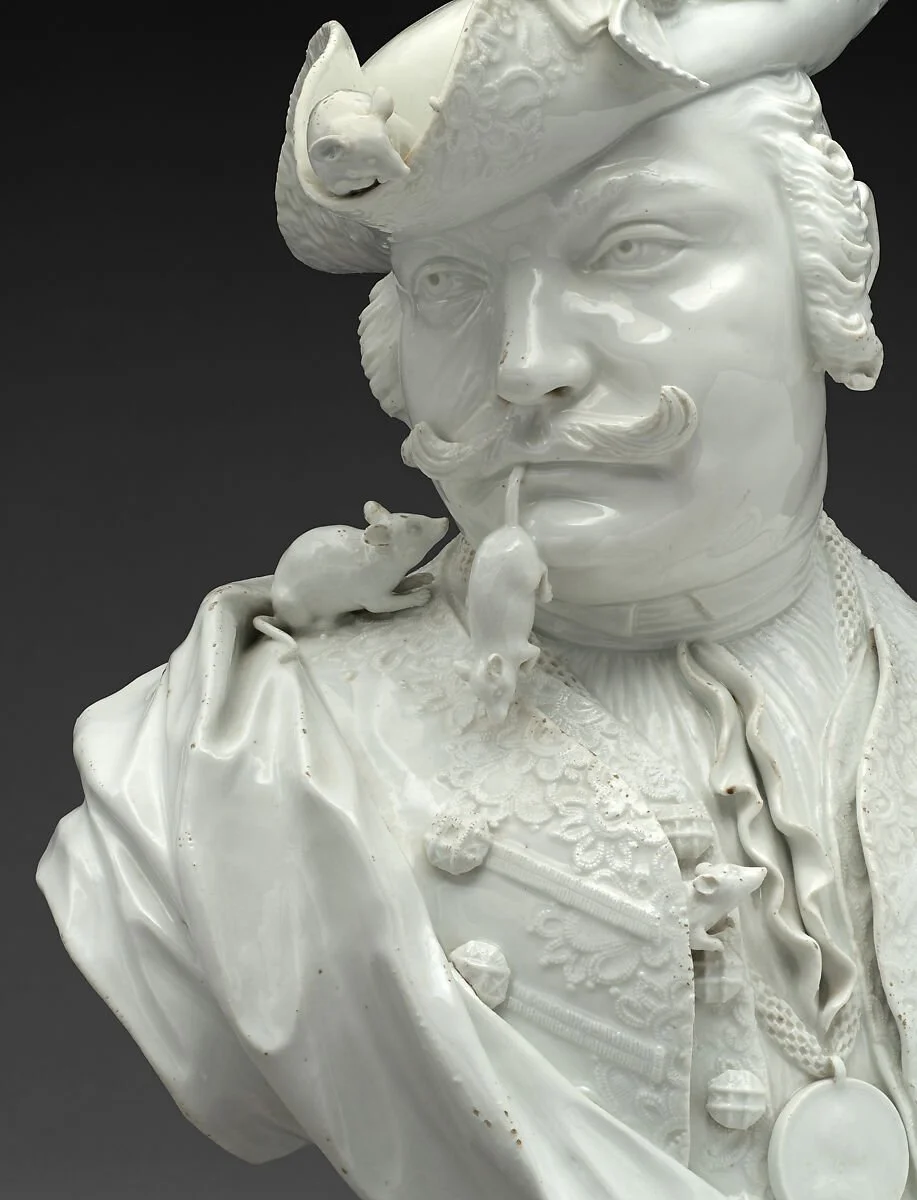
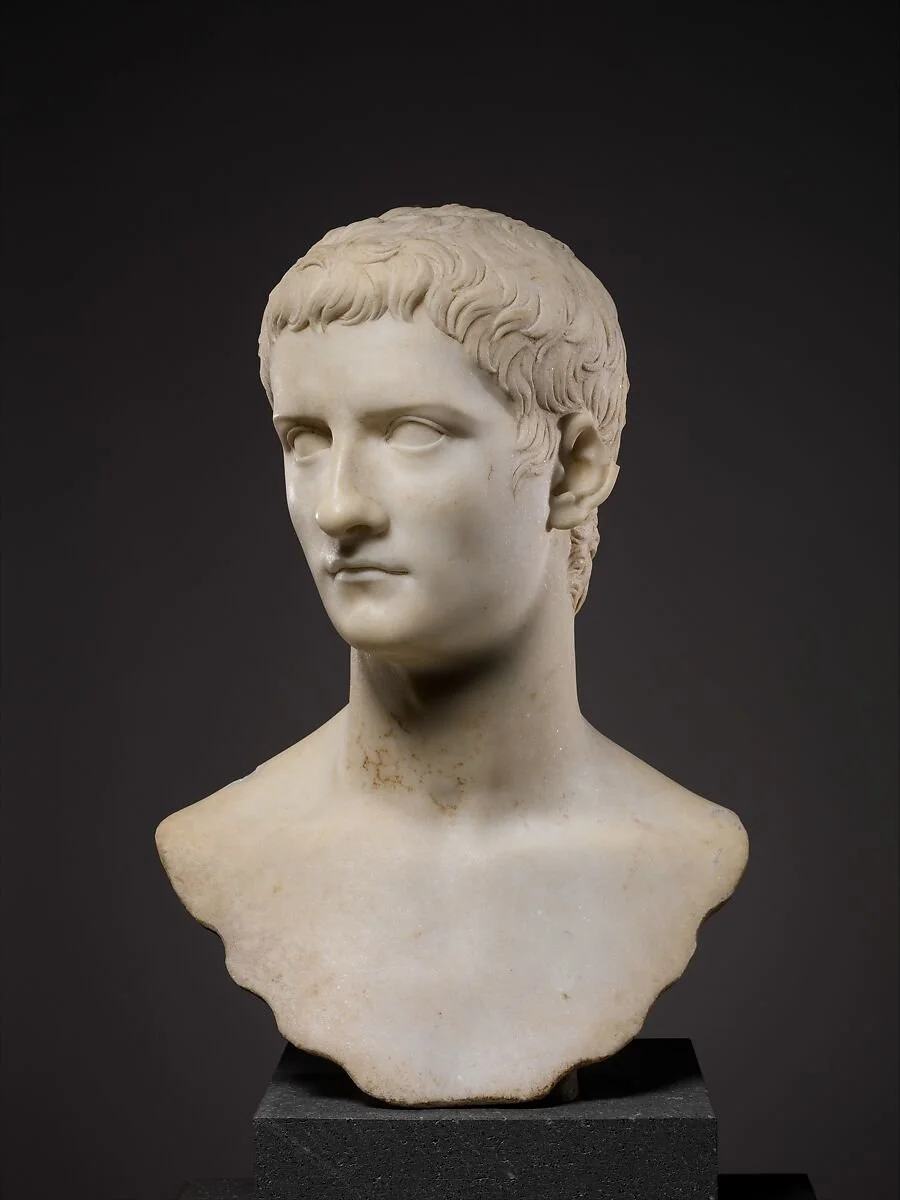
Classical Headbust Sculpting
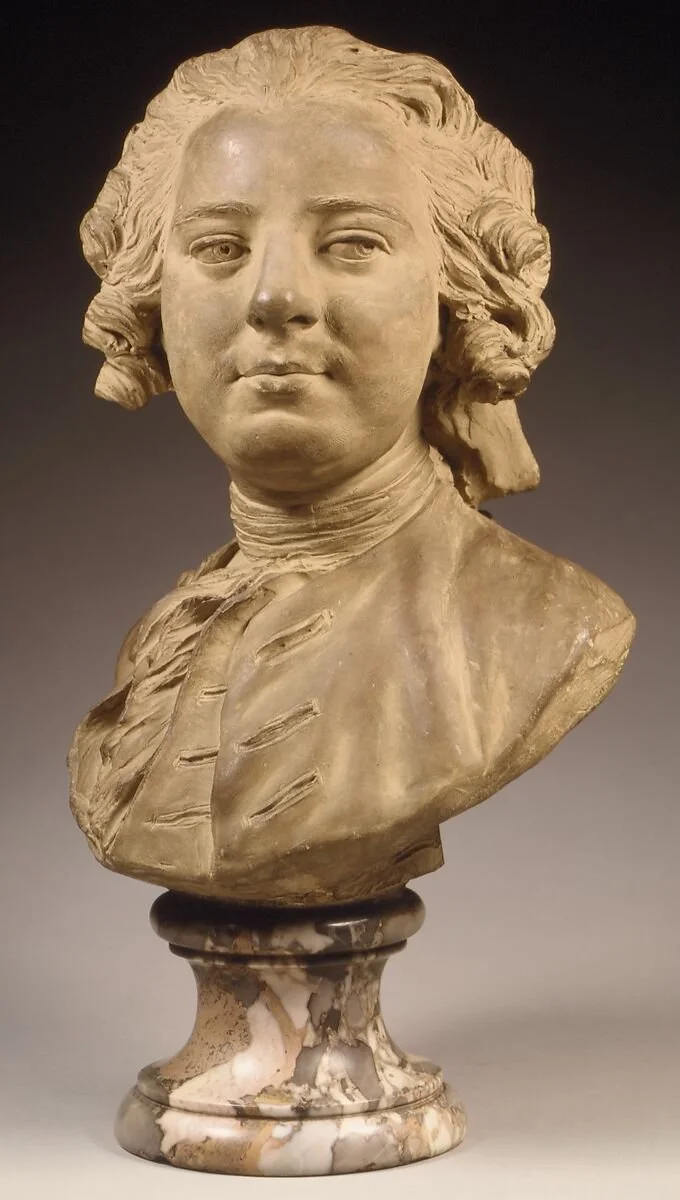
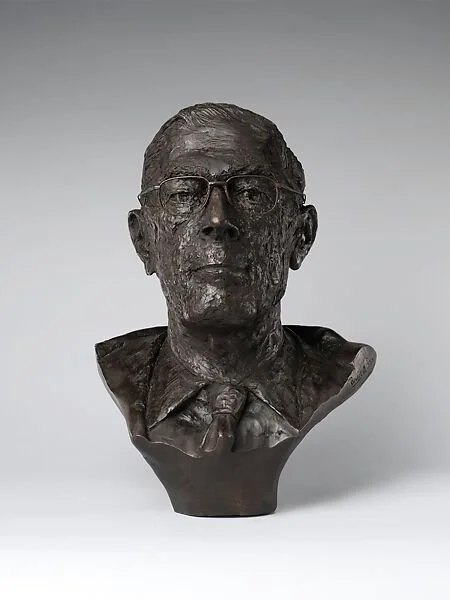
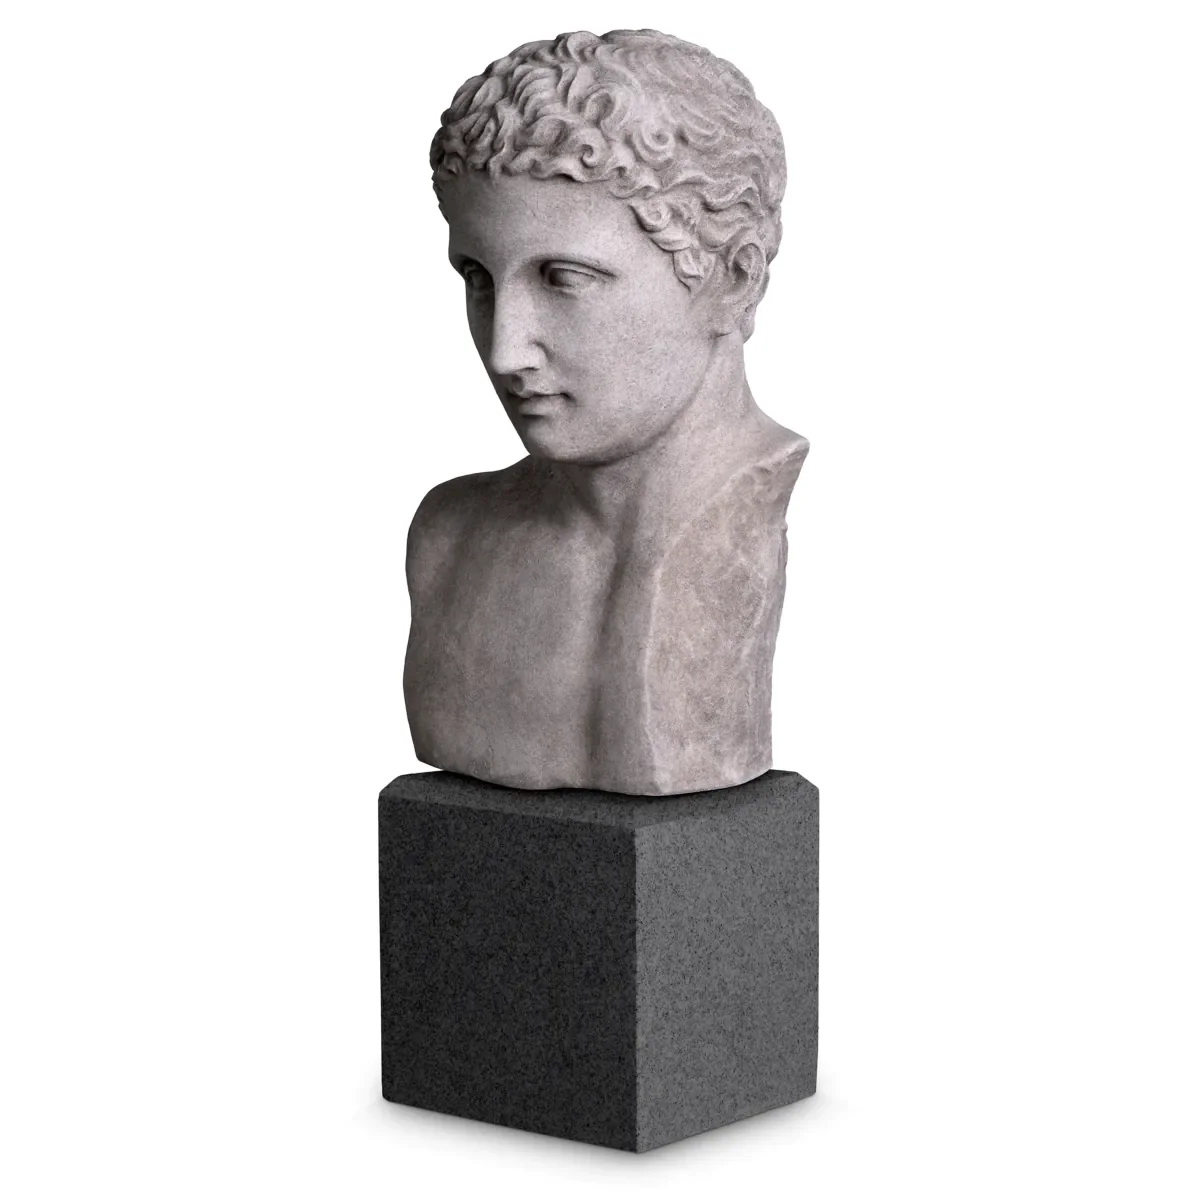
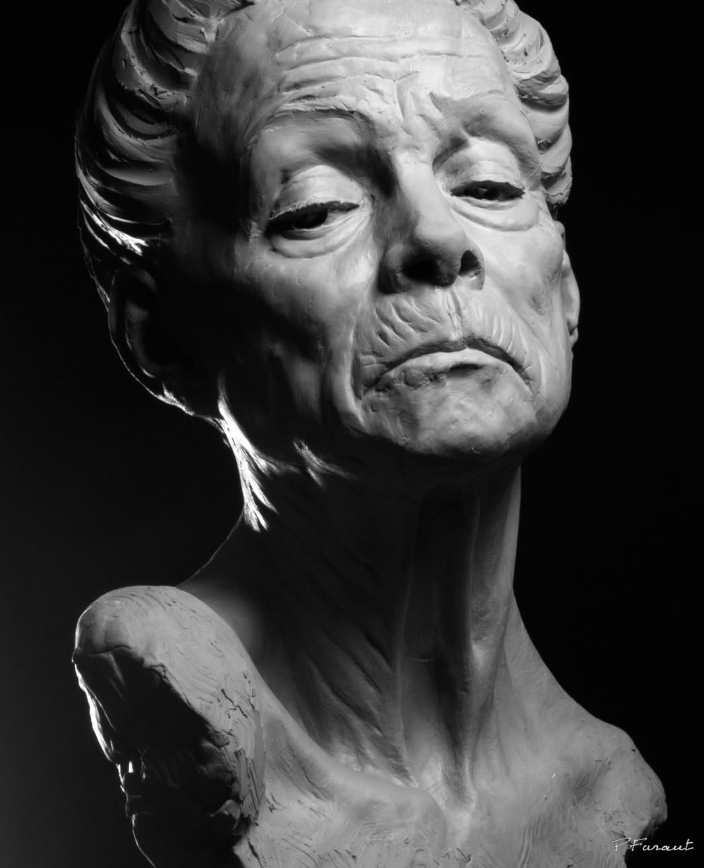
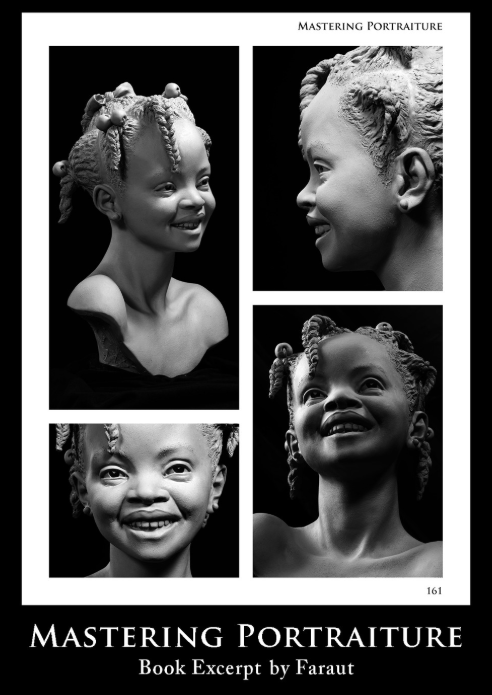
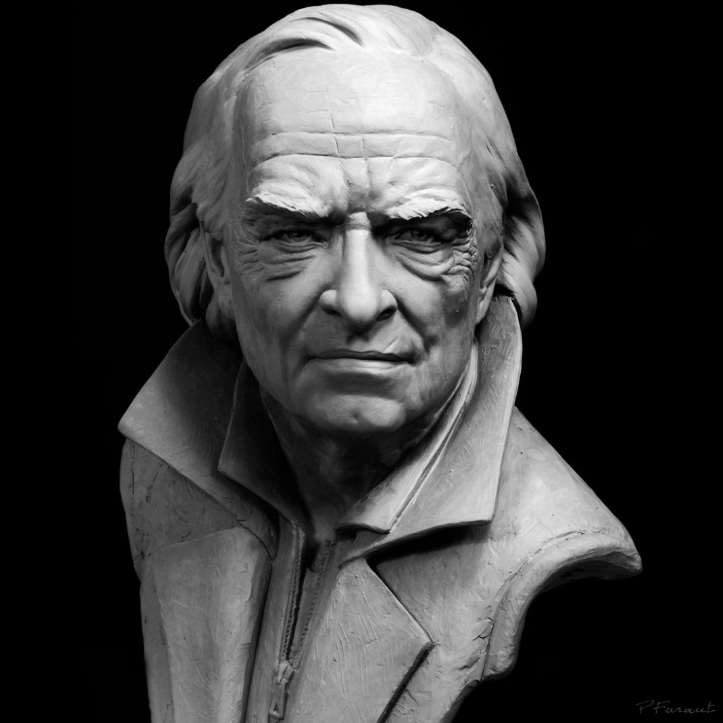
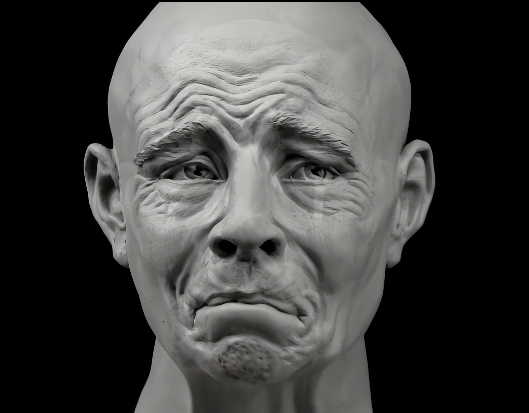
Classical head bust sculpting is one of the most important foundational exercises for learning digital sculpture in ZBrush. Rooted in centuries of academic tradition, the classical bust focuses on capturing the structure, proportion, and expression of the human head and upper torso. Rather than simply copying surface details, the goal is to understand the underlying anatomy and the large sculptural forms that define the skull, facial planes, and neck structure.
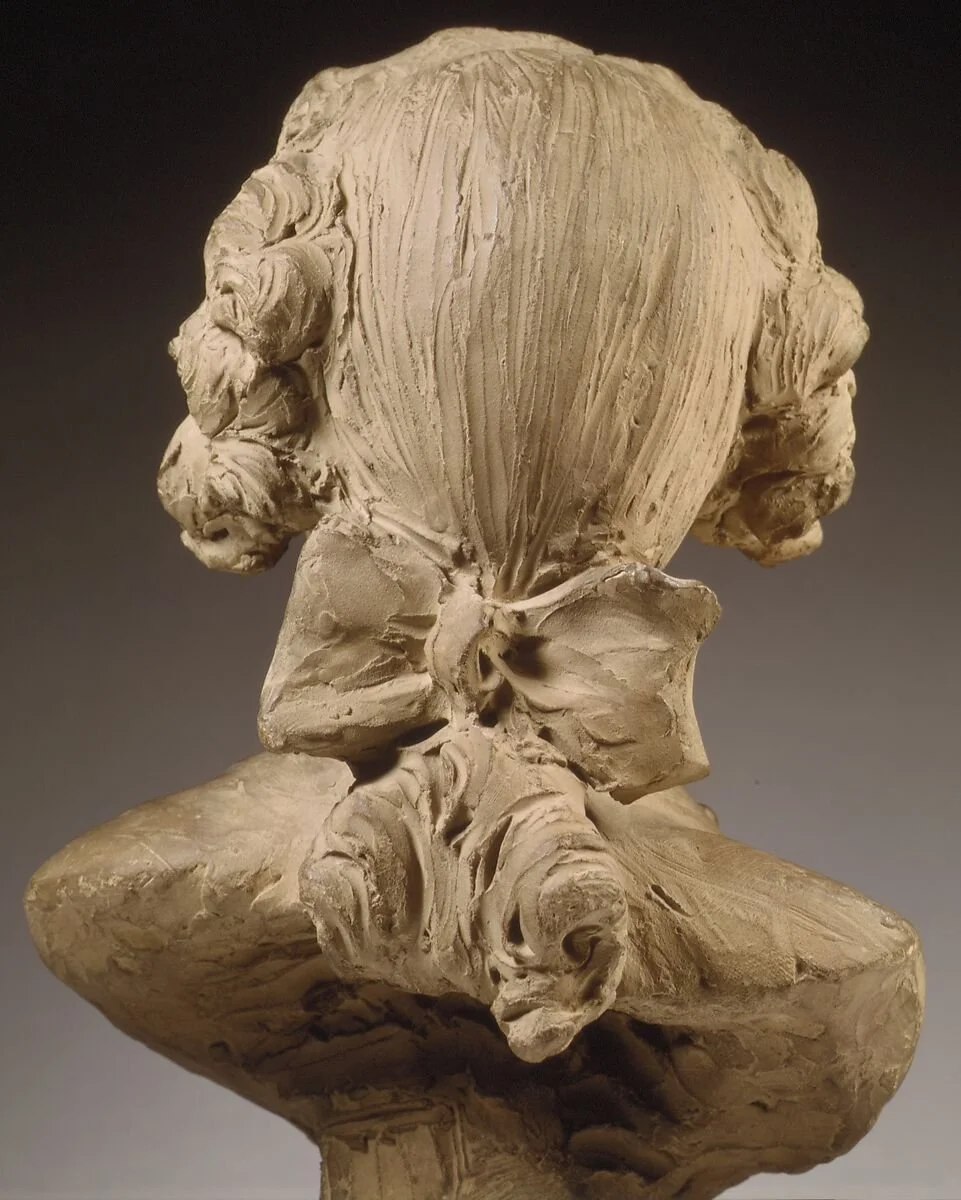
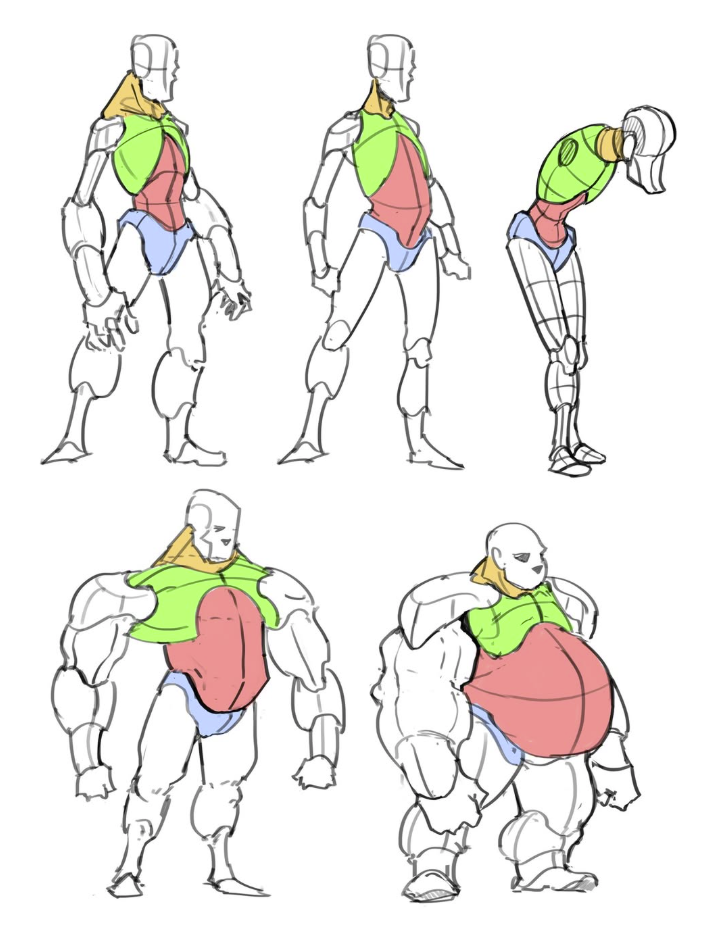
In ZBrush, this process begins with establishing strong primary forms. Artists typically start with a simple base mesh or sphere and gradually build the overall structure using tools such as Move, Clay Buildup, and DamStandard. At this stage, the focus is on silhouette, proportion, and the relationship between major anatomical landmarks such as the brow ridge, cheekbones, jawline, and sternocleidomastoid muscles. Keeping the model at a relatively low subdivision level helps maintain clear, sculptural decision-making.
As the sculpt develops, secondary forms are refined to describe the planes of the face and the subtle transitions between muscles and bone. Classical sculpture emphasizes clarity of form and controlled surfaces, so smoothing, planar refinement, and careful edge definition become essential. Only after these structural elements are solid should finer surface details such as pores, wrinkles, or subtle skin variation be introduced.
Studying classical busts in ZBrush is not just an anatomy exercise. It trains the eye to see form, balance, and rhythm in the human figure. By working digitally, artists can iterate quickly, experiment with lighting and presentation, and evaluate the sculpture from every angle. This practice bridges traditional sculptural principles with modern digital tools, making it an ideal foundation for character artists, creature designers, and anyone pursuing high-level figurative sculpture.
From Monster Clay to a ZBrush Finish
This project combines traditional sculpting methods with modern digital workflows. Students will begin by sculpting a classical head bust in Monster Clay to develop strong foundational form and anatomical structure. Once the physical sculpture is complete, the bust will be scanned using the new photogrammetry feature in ZBrush for iPad. This allows the hand-sculpted form to become a digital model that can be refined, explored, and iterated upon inside ZBrush.
The goal of the project is not only to reproduce the clay sculpture digitally, but to use the scan as a starting point for further design exploration. By using layers, Dynamesh, and projection workflows, students will generate multiple design variations while maintaining a clean and production-ready sculpt. Each final bust must include at least two accessories that help communicate character or narrative.
Step-by-Step Project Workflow
1. Traditional Clay Sculpt
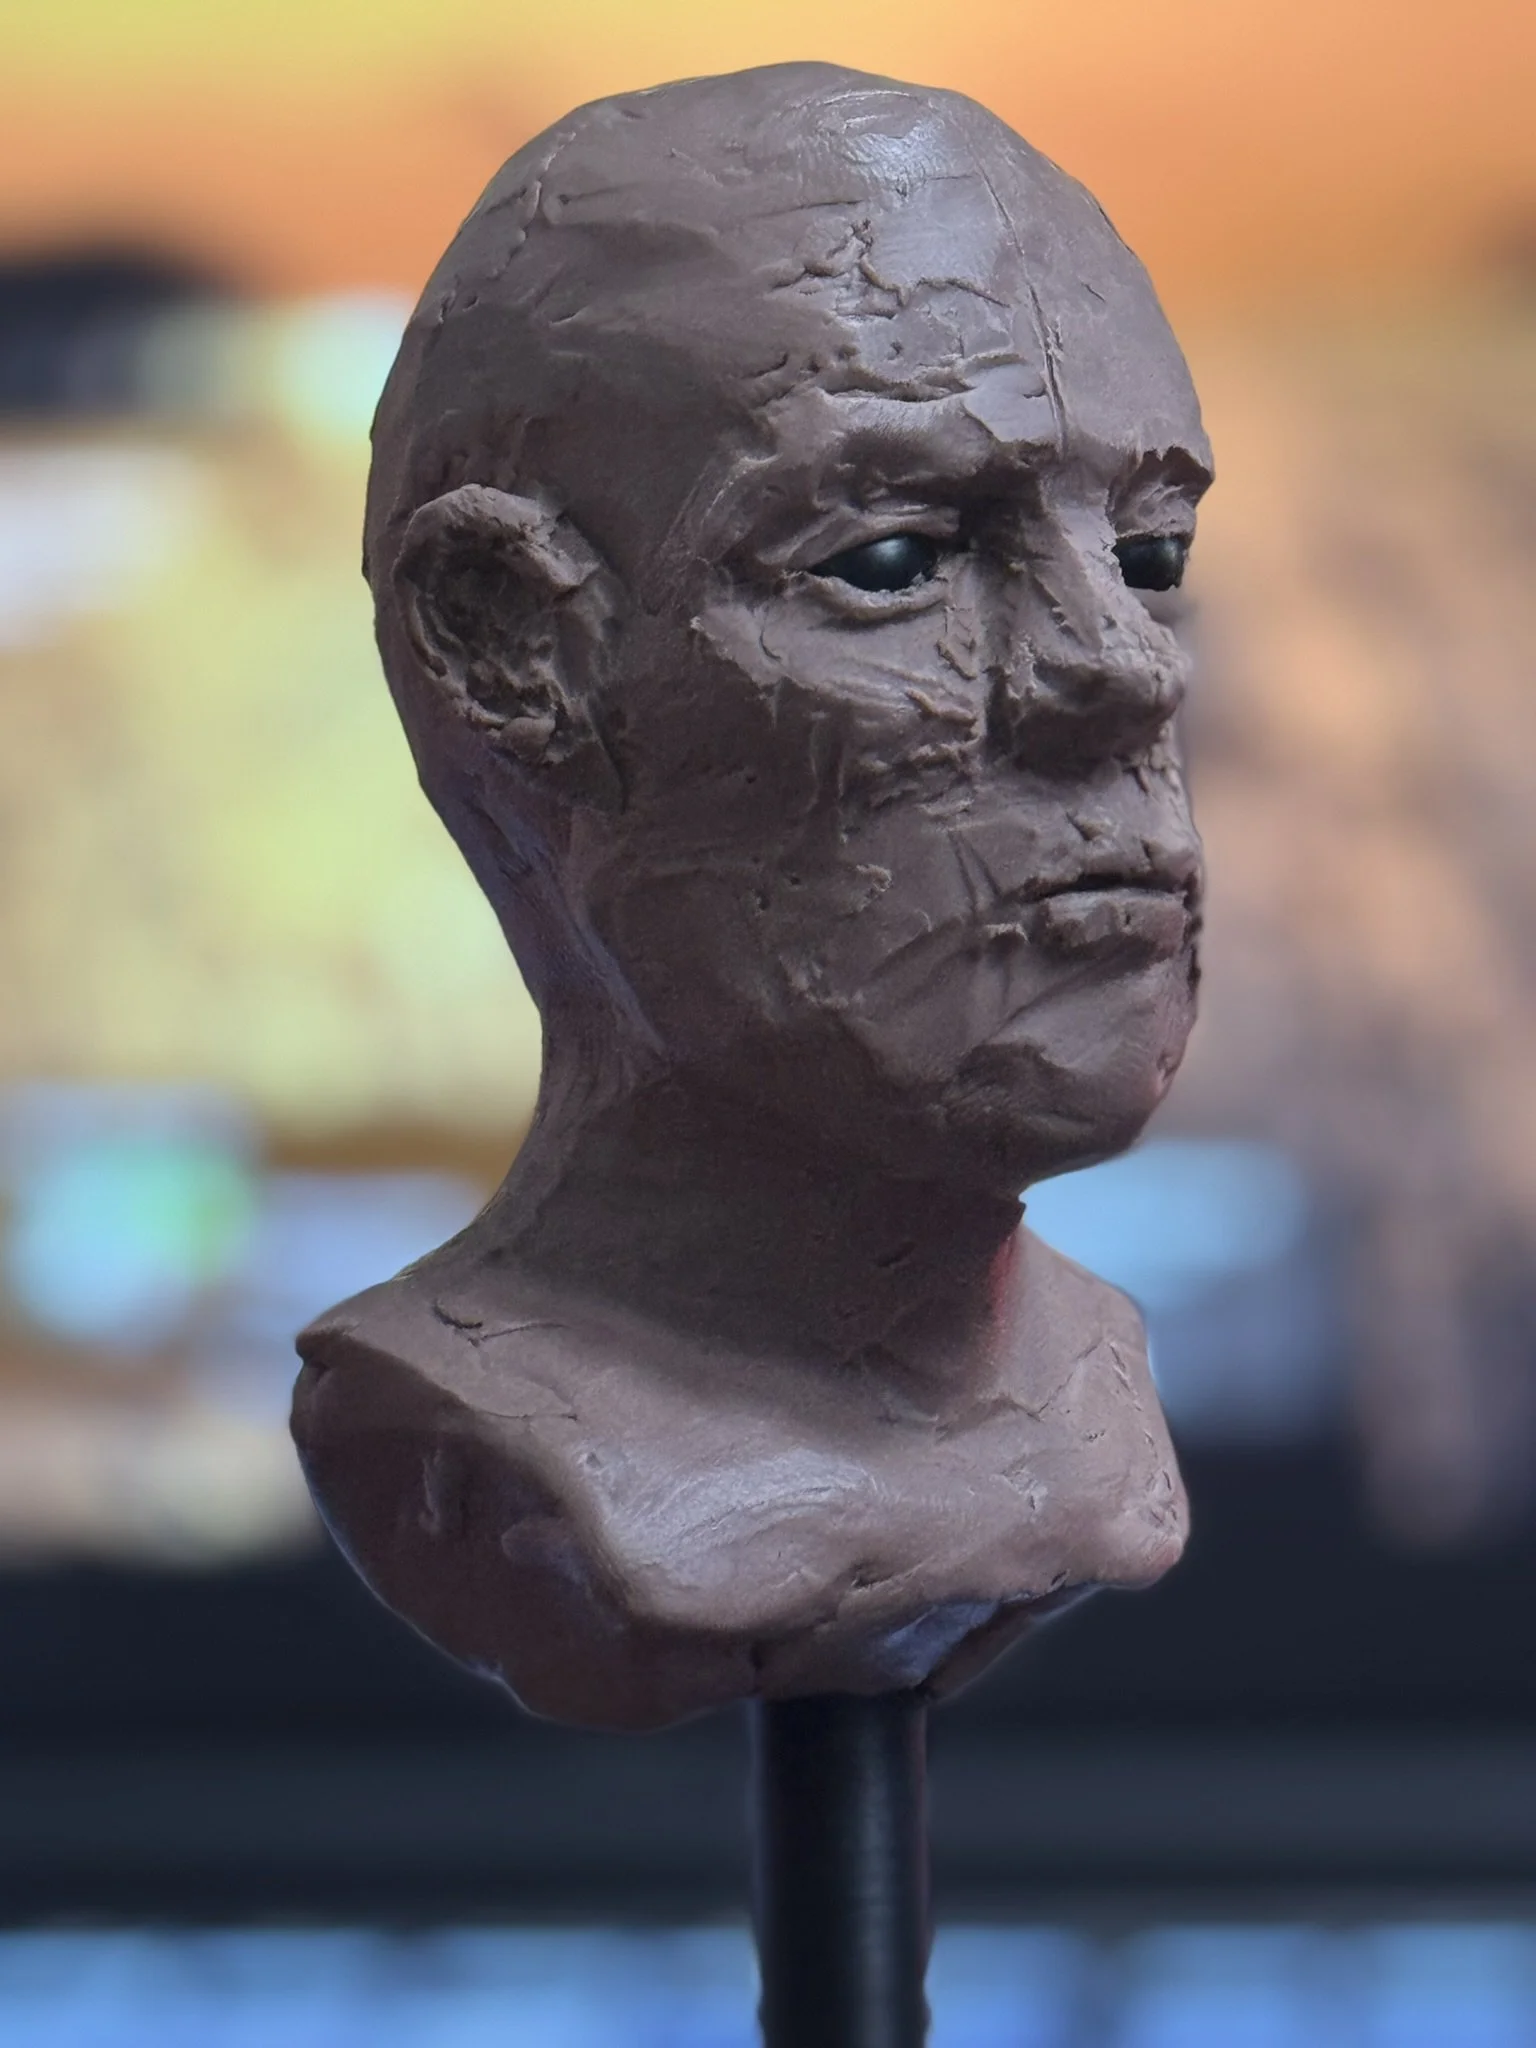
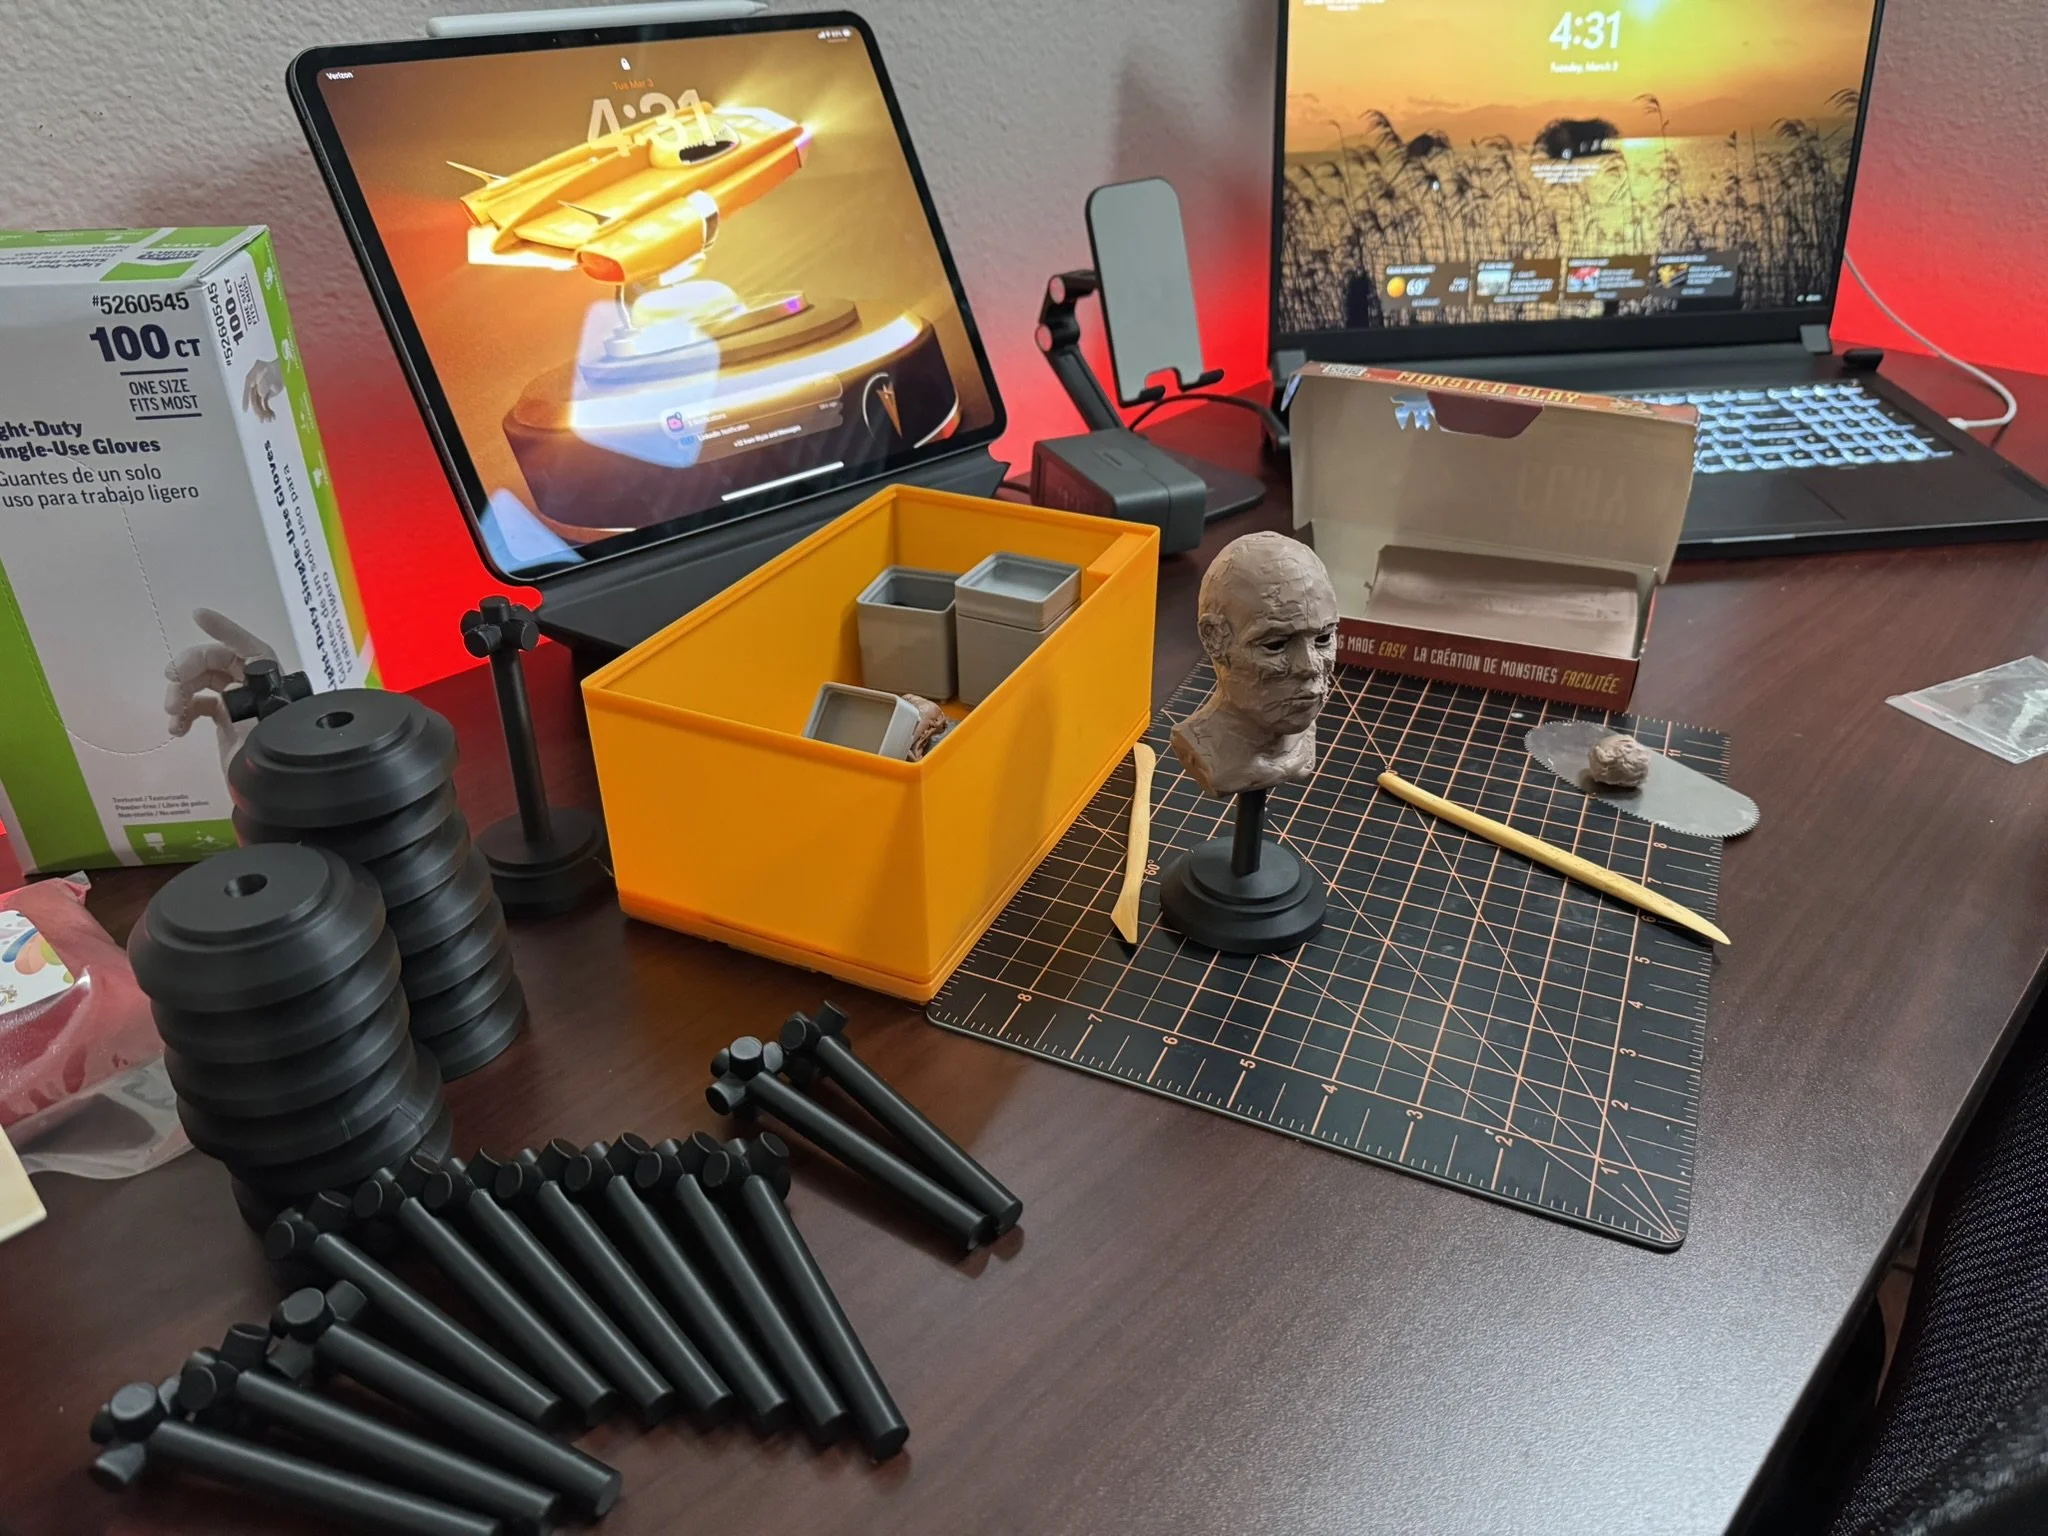
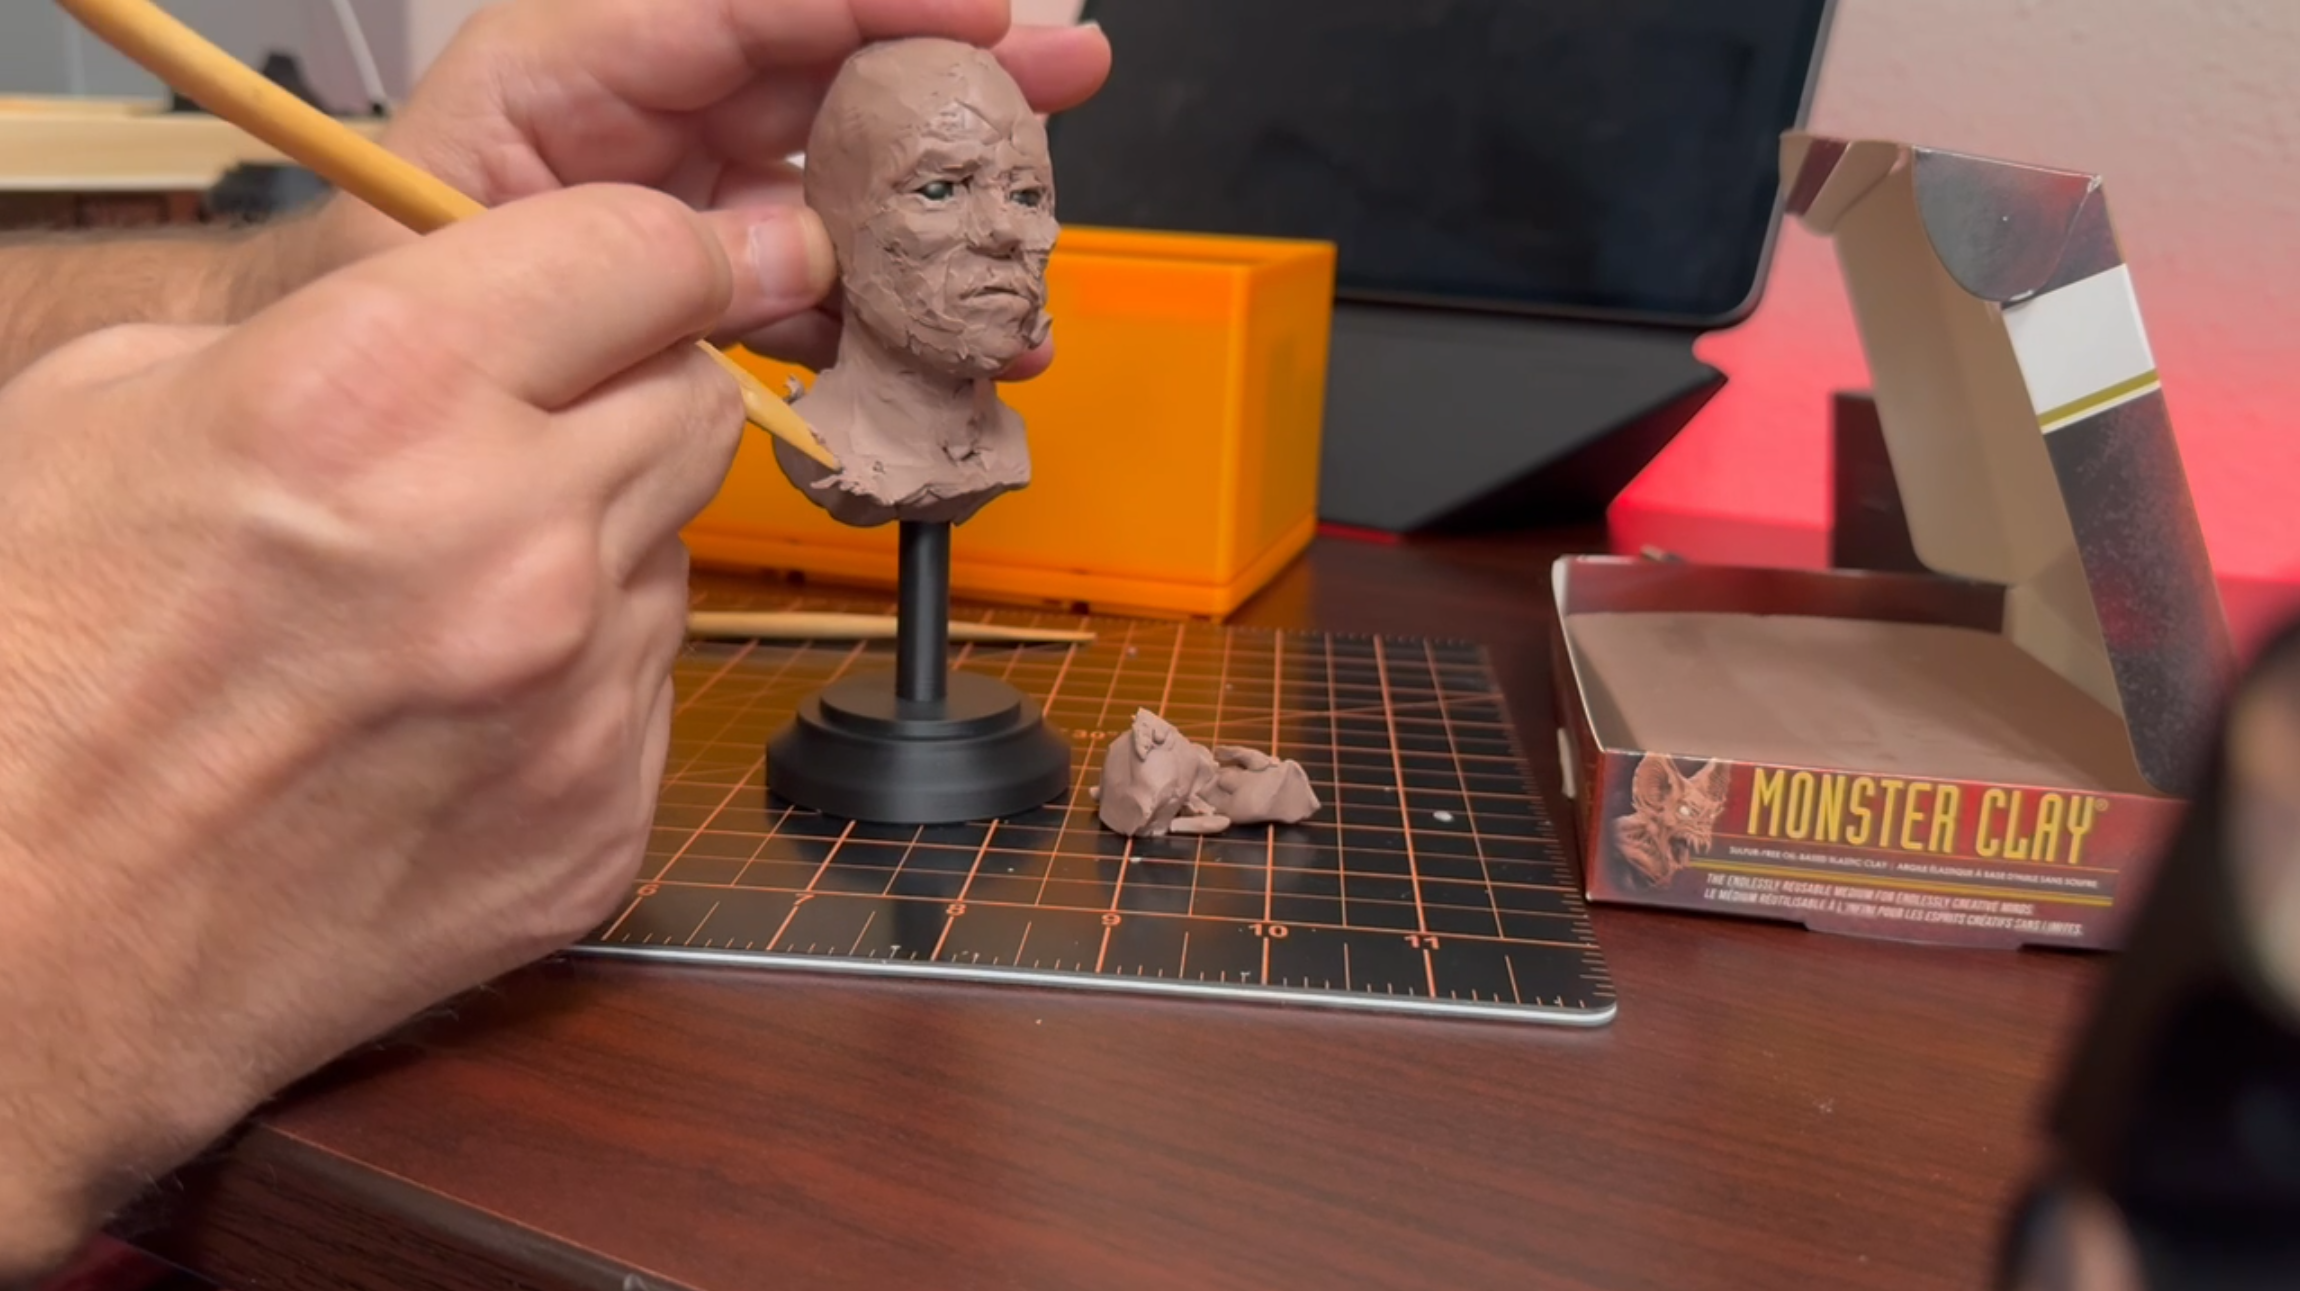
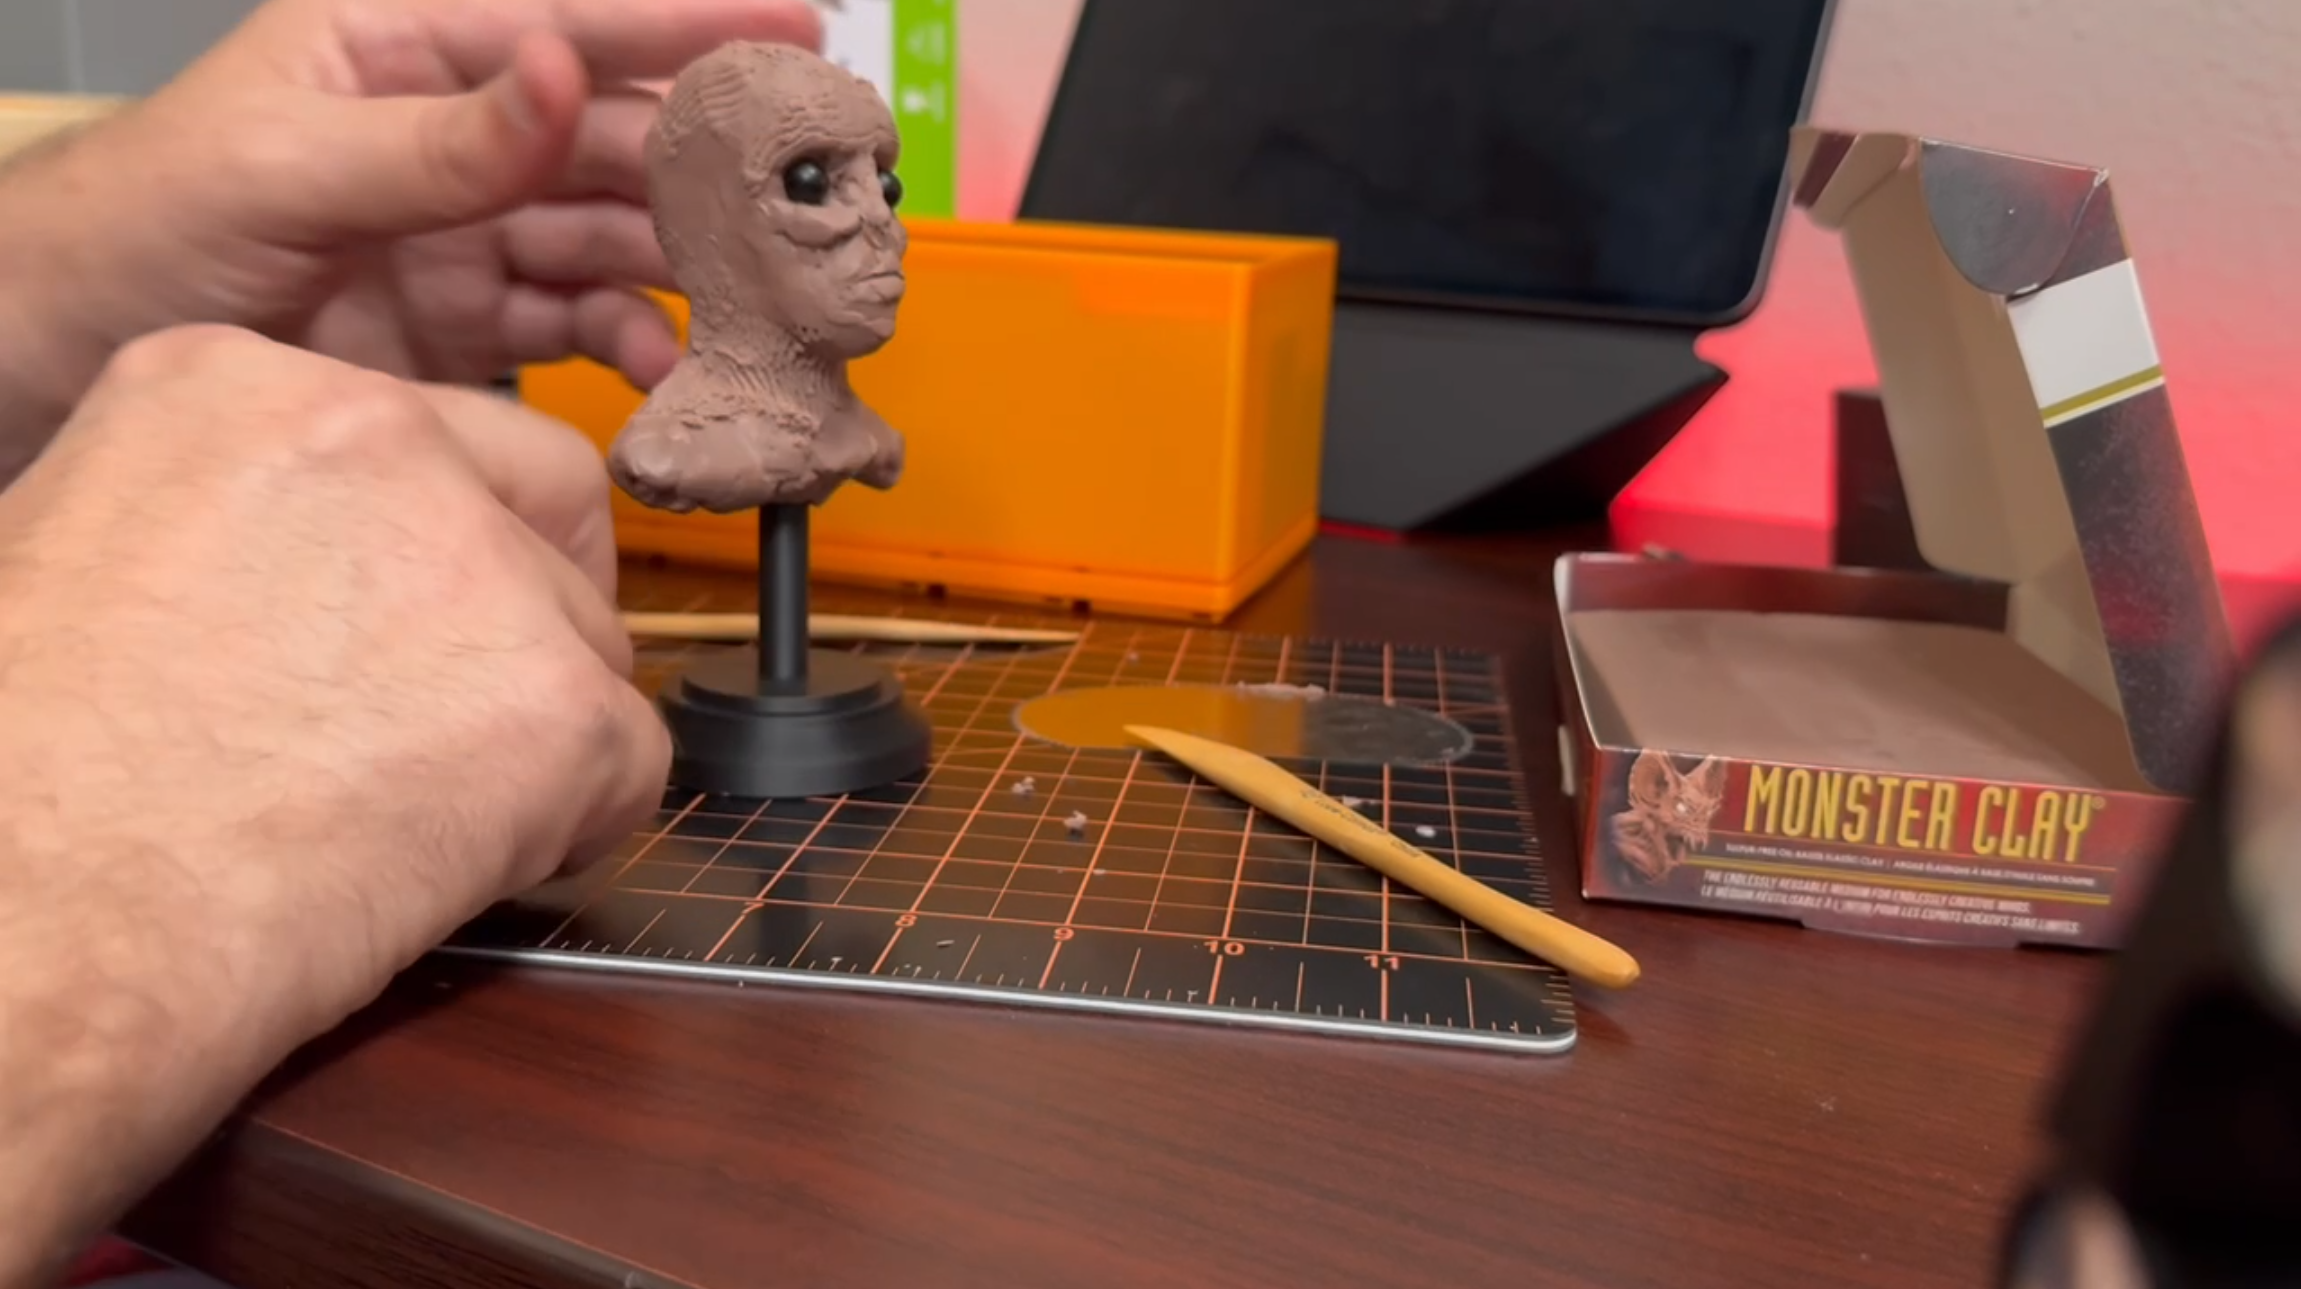

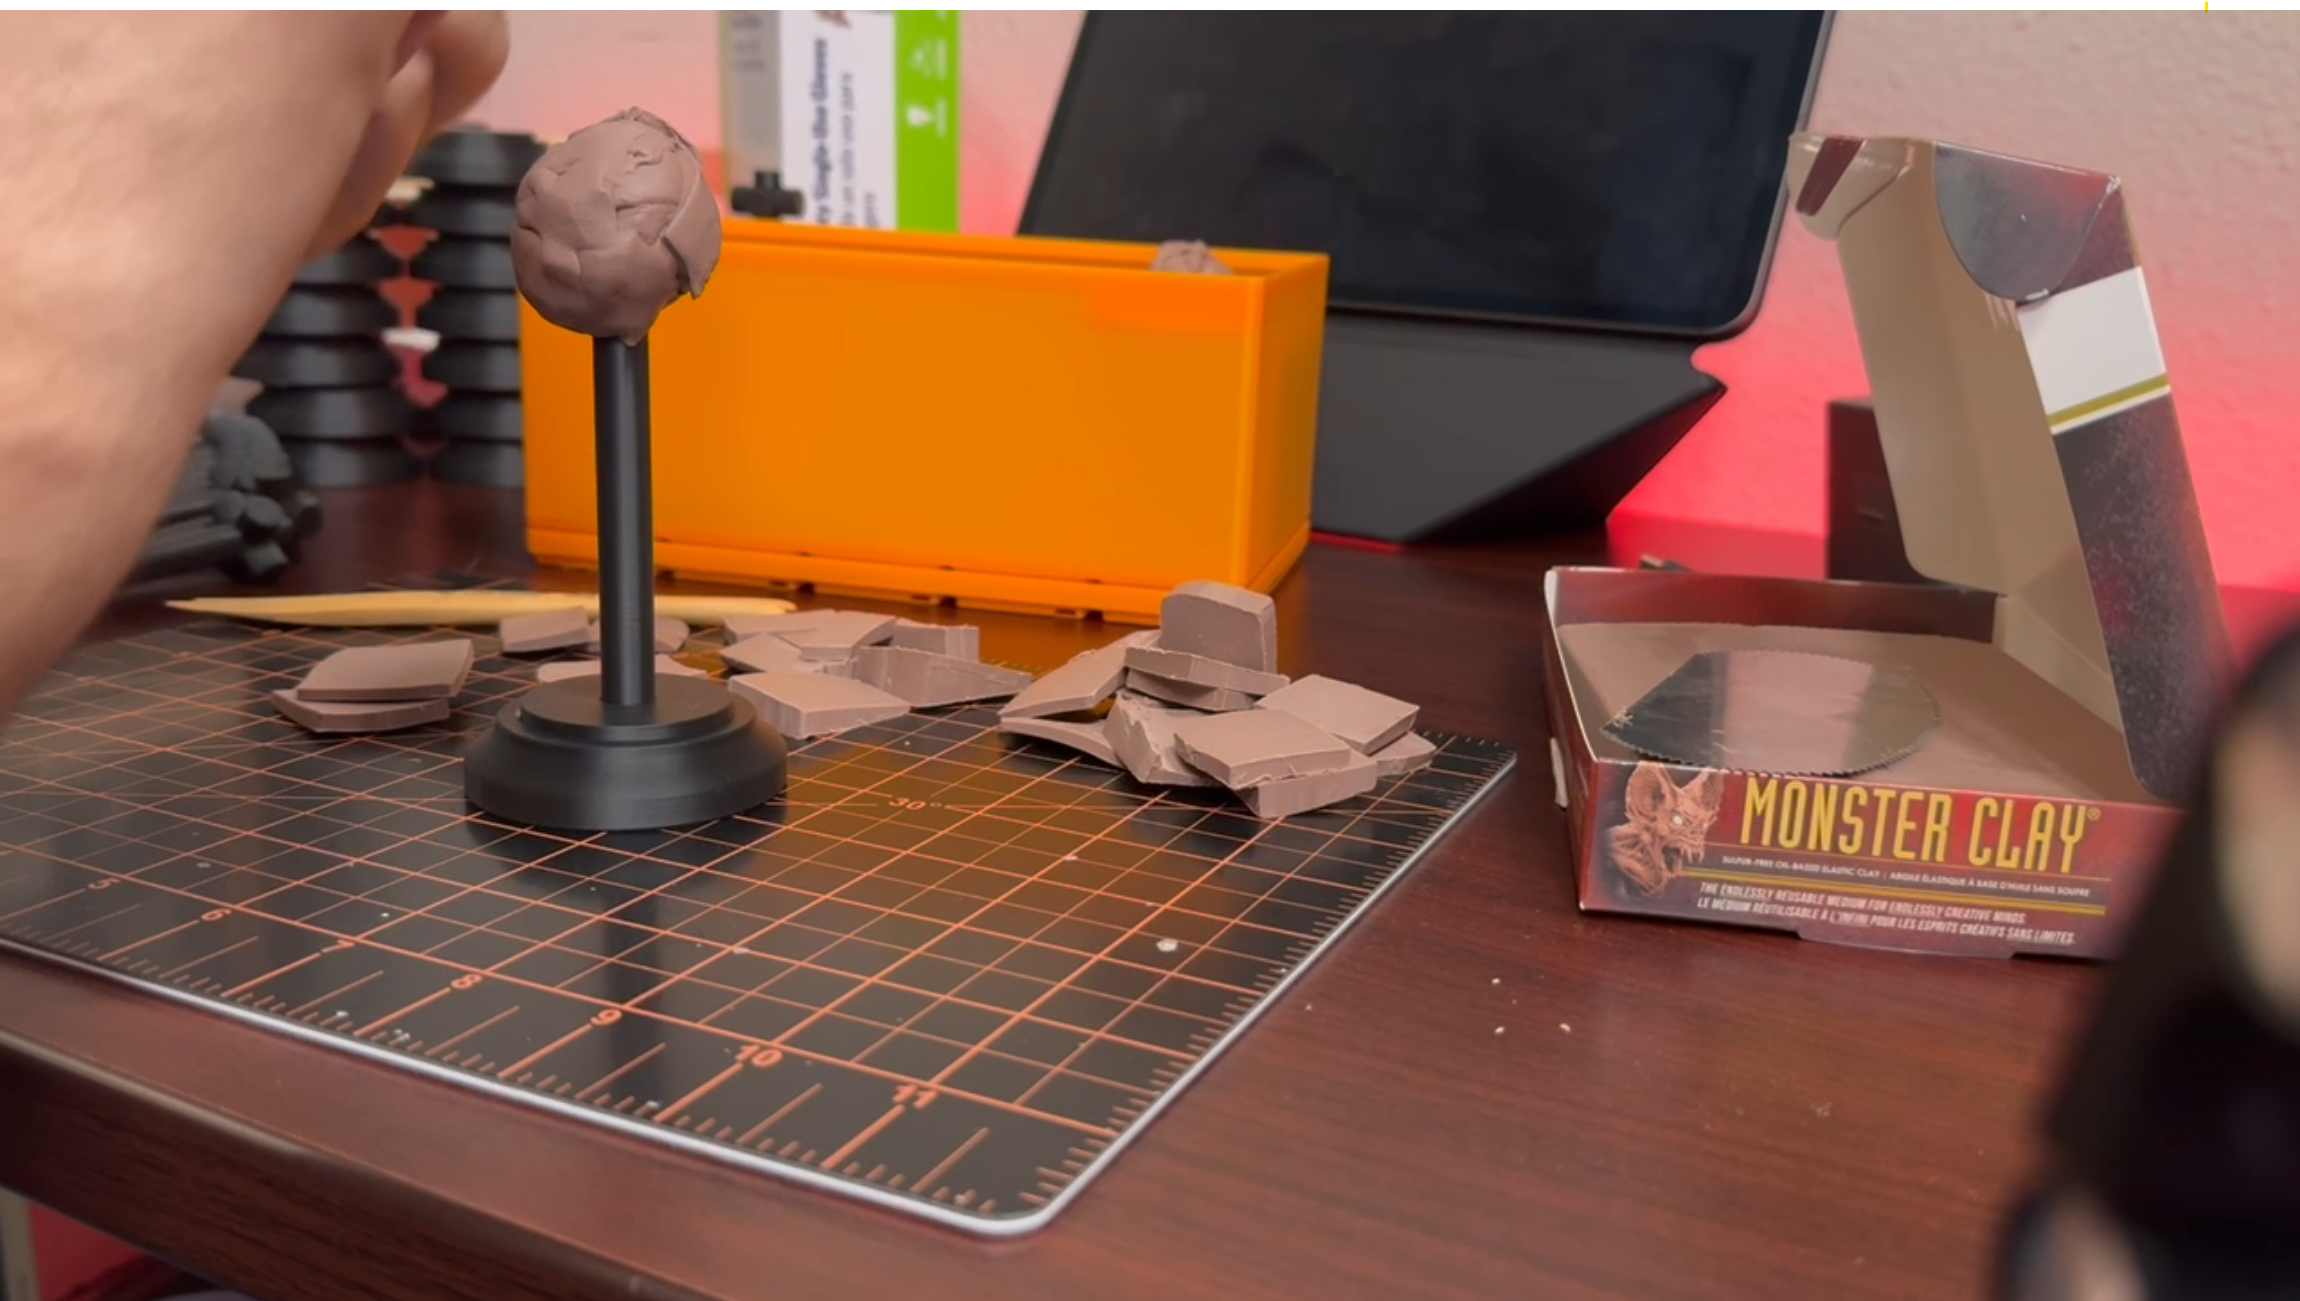
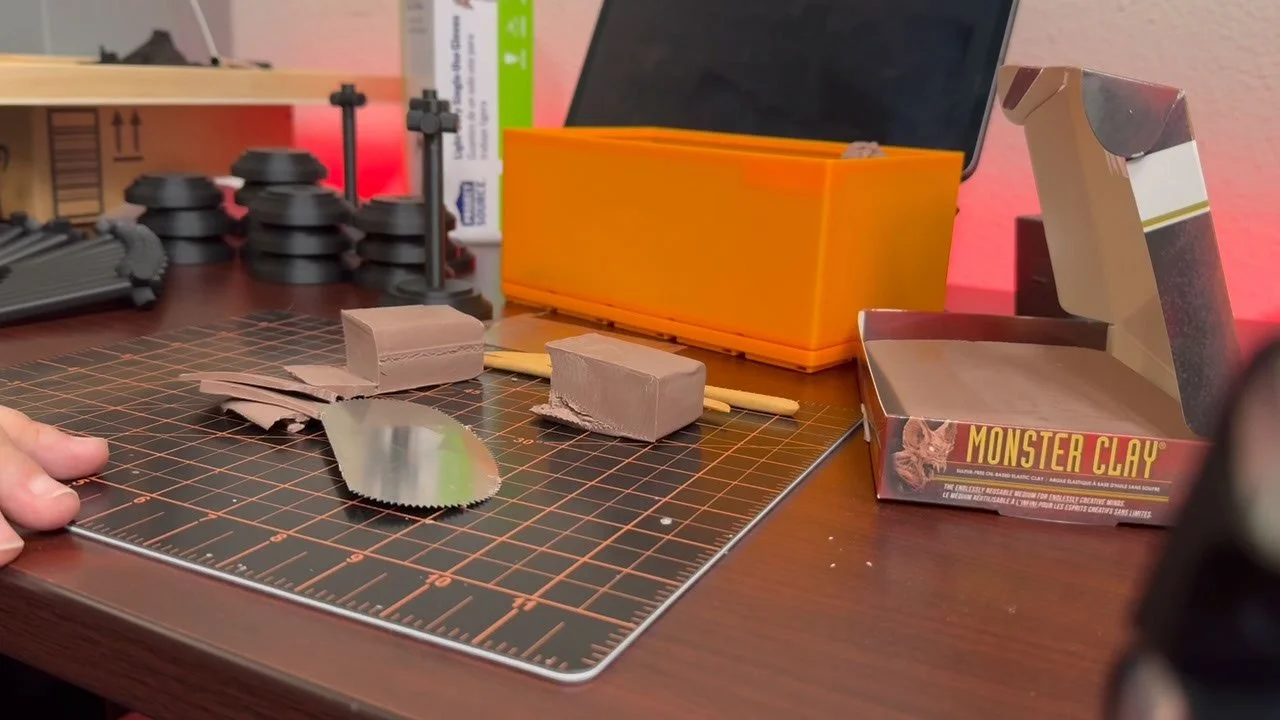
Students begin by creating a classical head bust in Monster Clay.
• Focus on primary forms and proportions of the head and neck
• Establish clear anatomical landmarks such as brow ridge, cheekbones, jawline, and sternocleidomastoid
• Develop a strong silhouette and gesture in the bust
• Refine the surface enough so the scan captures clear forms
• Do not overwork tiny surface details at this stage
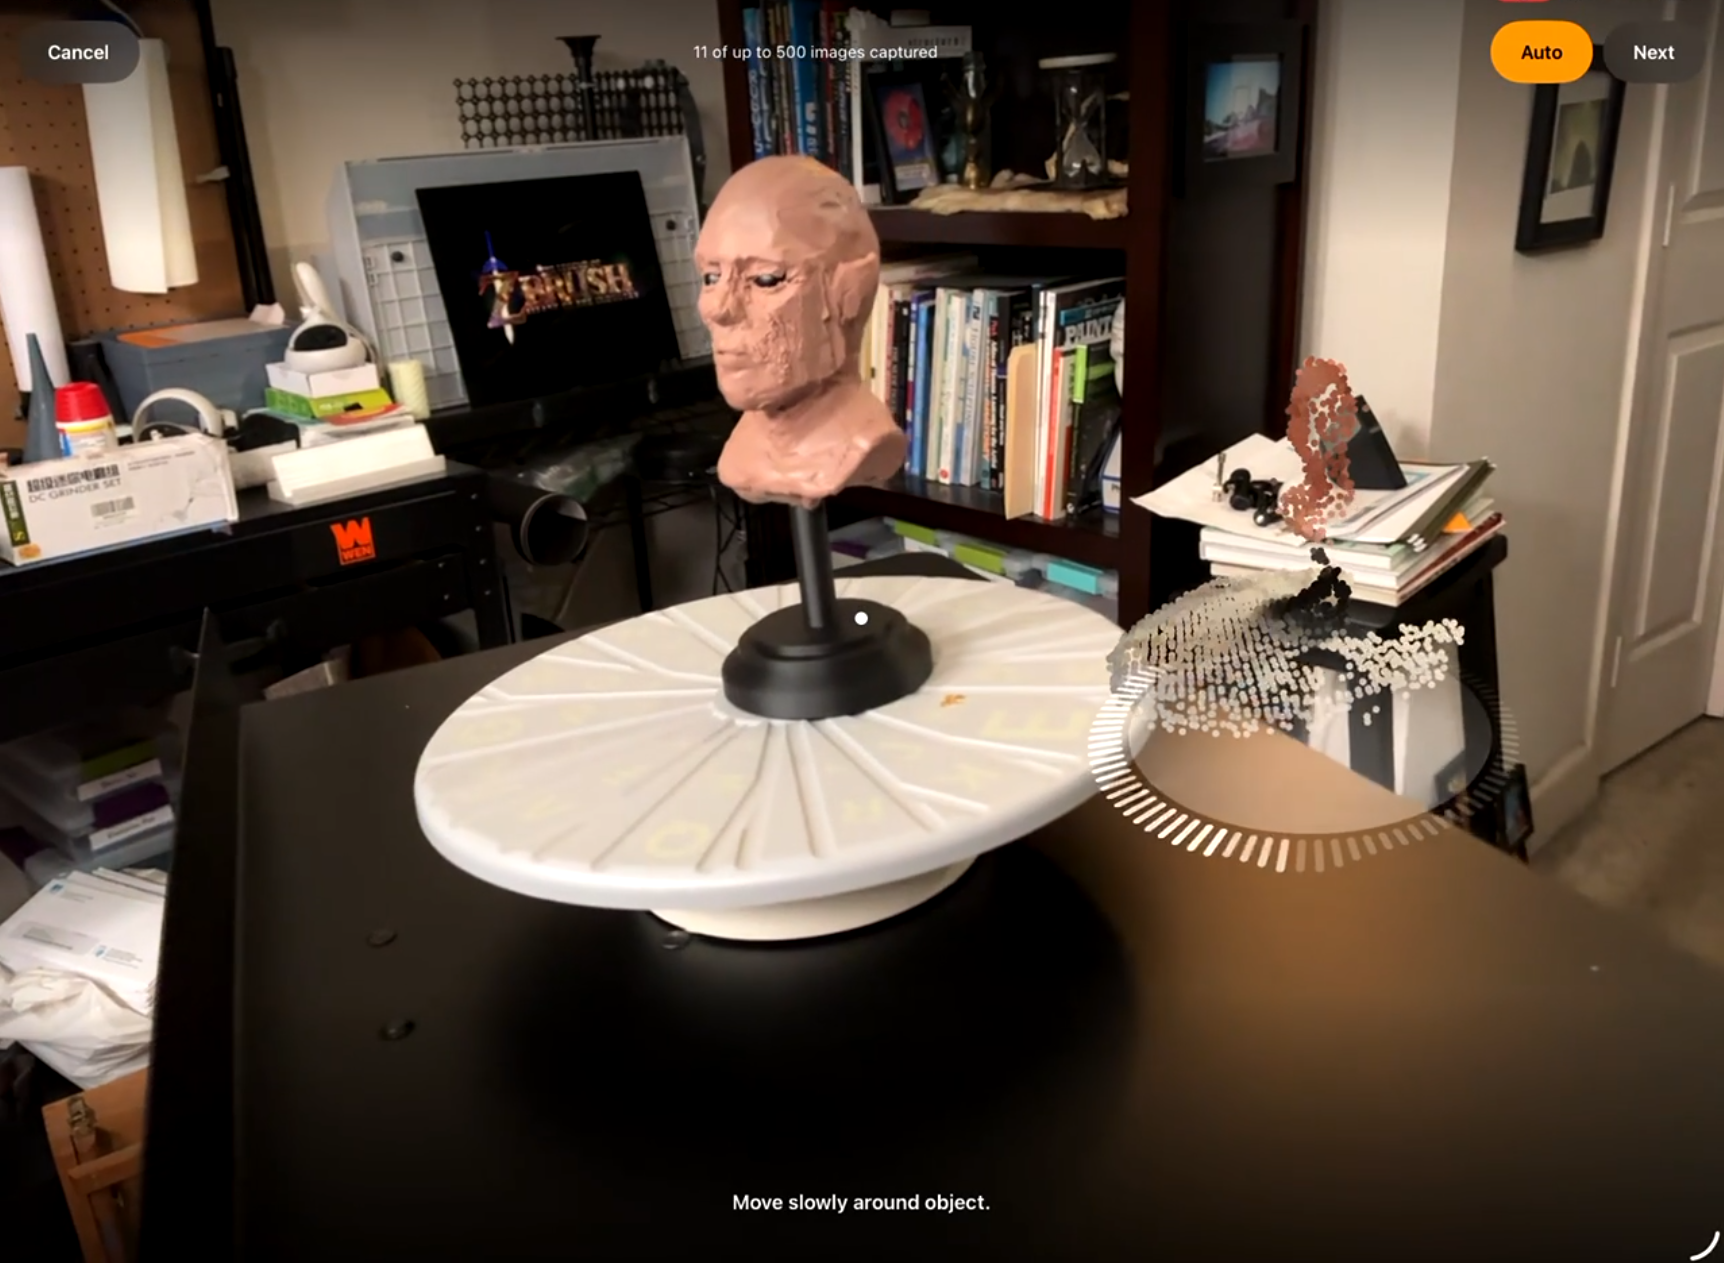
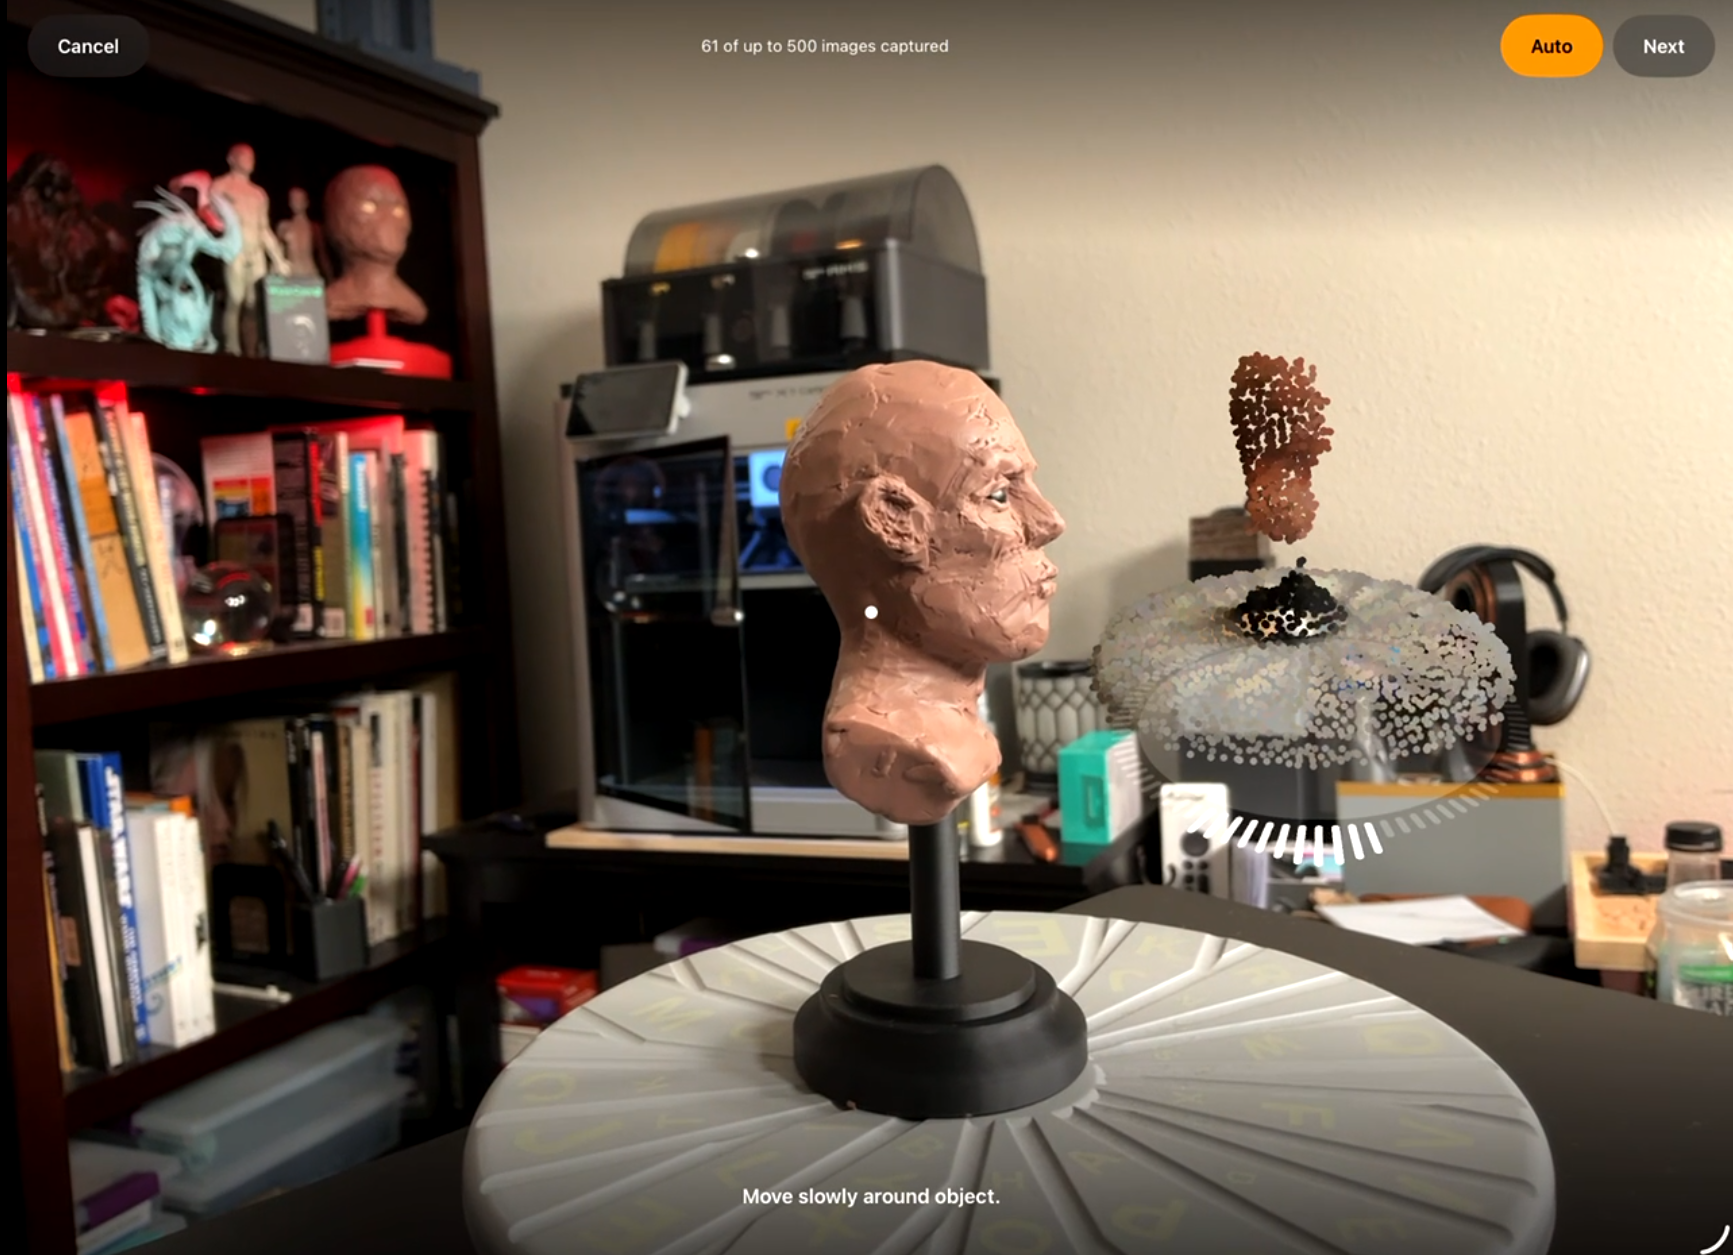
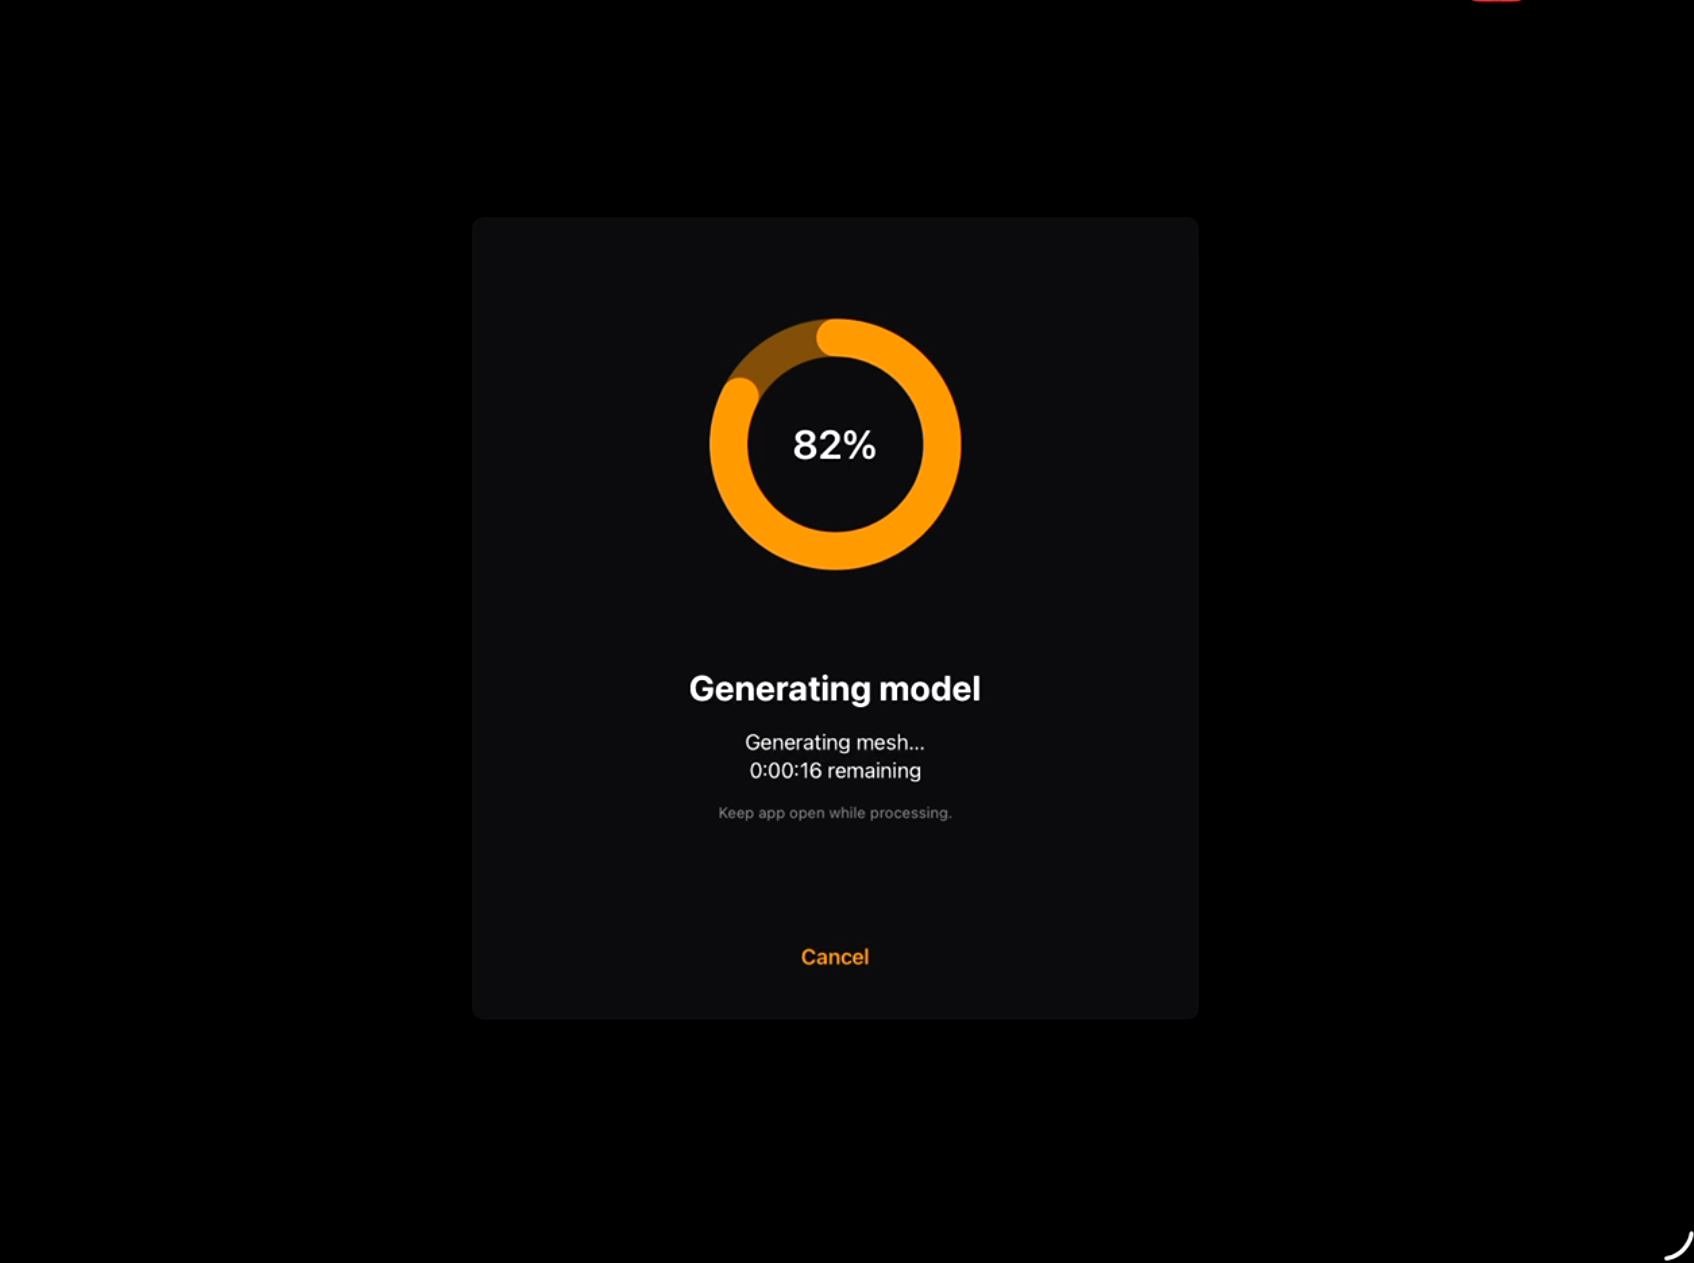
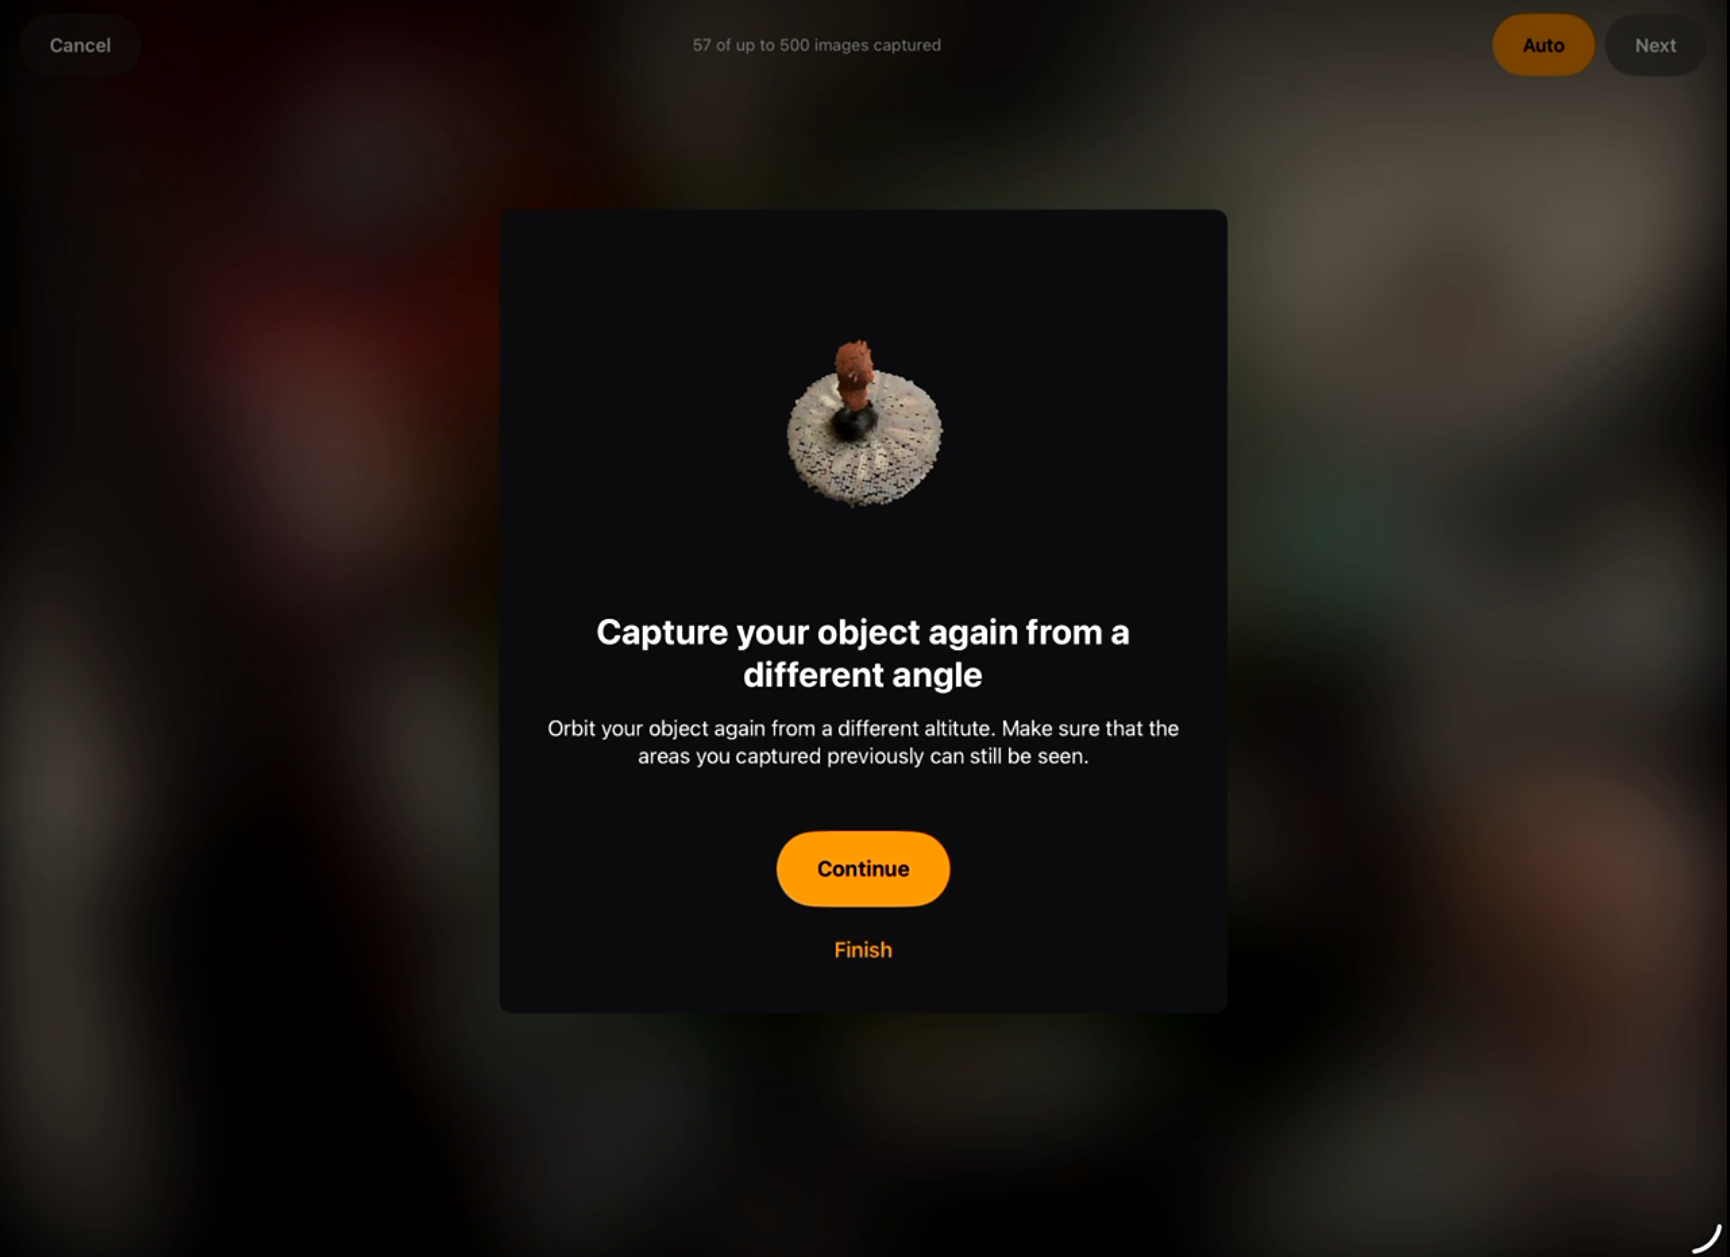
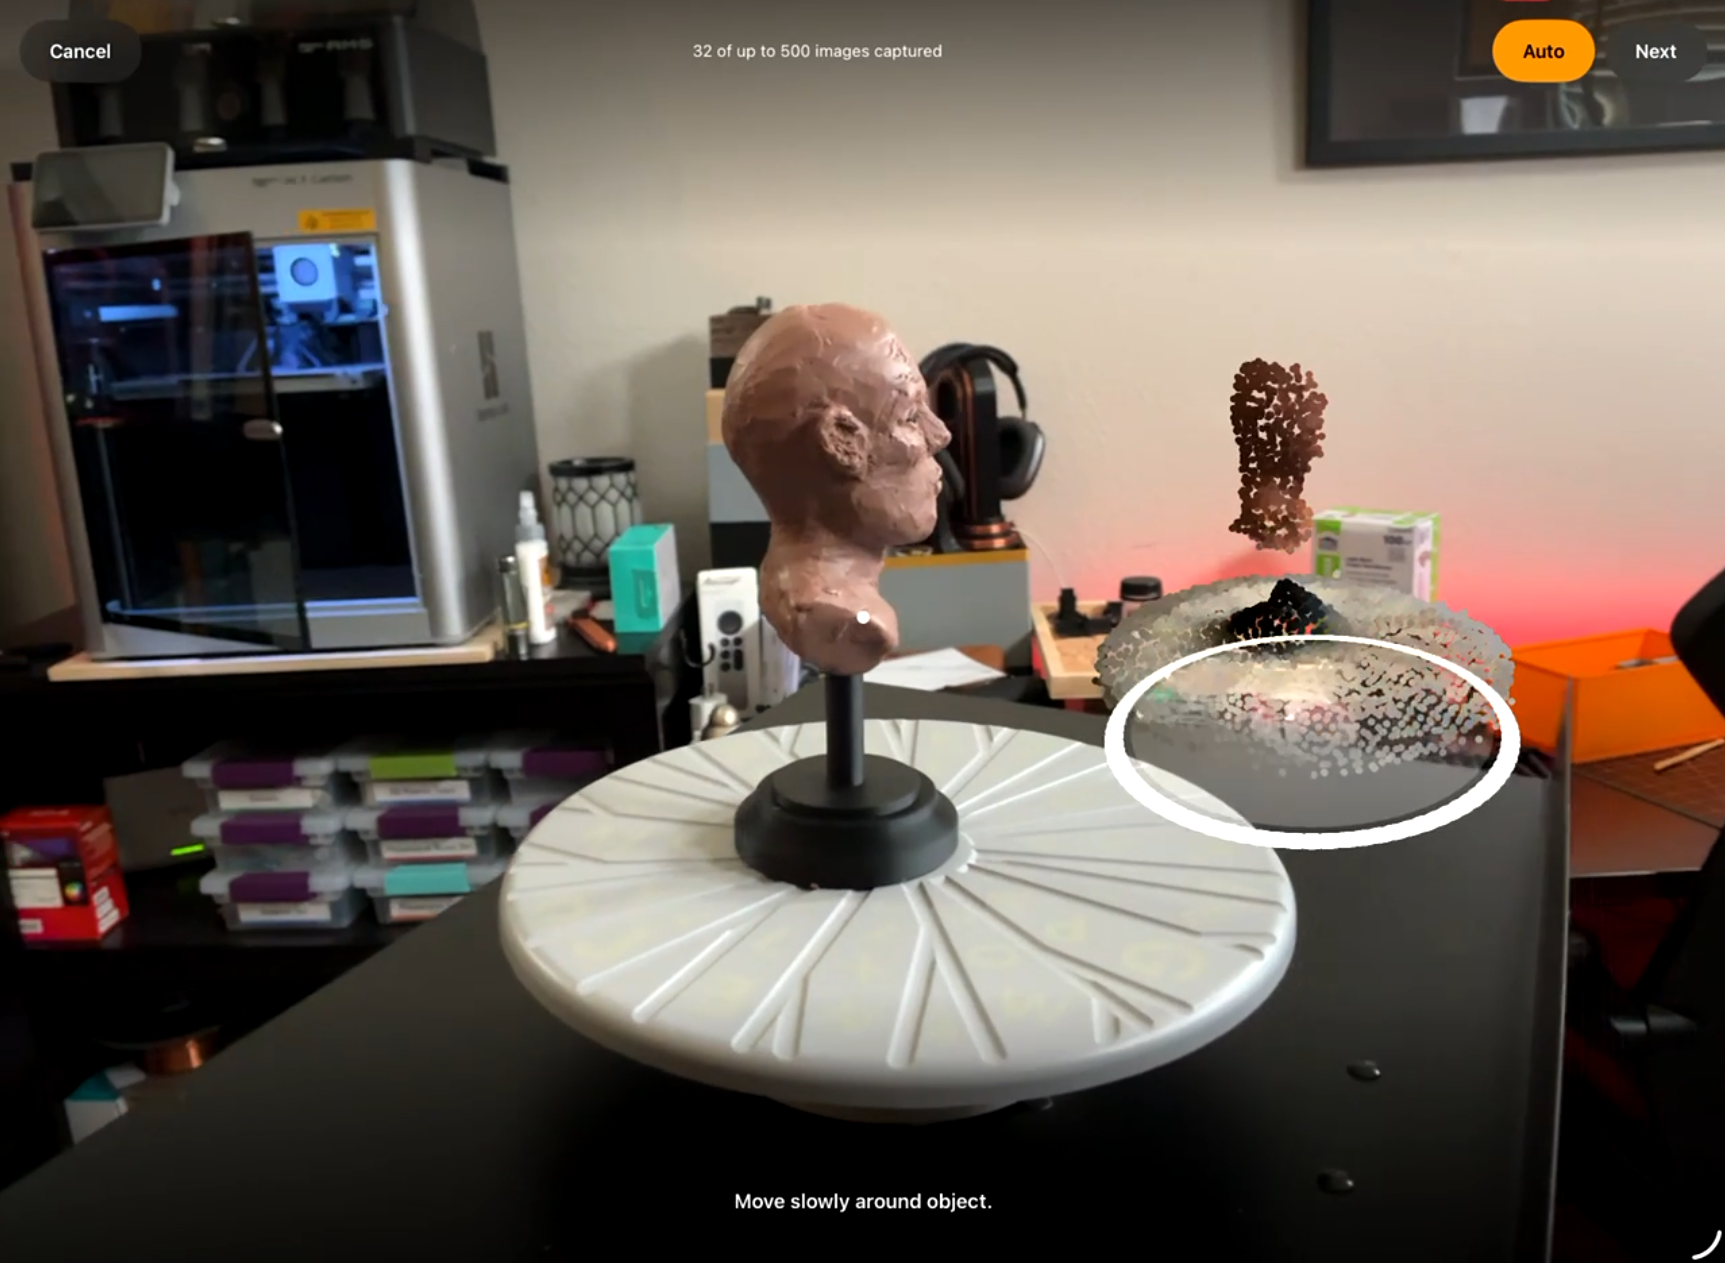
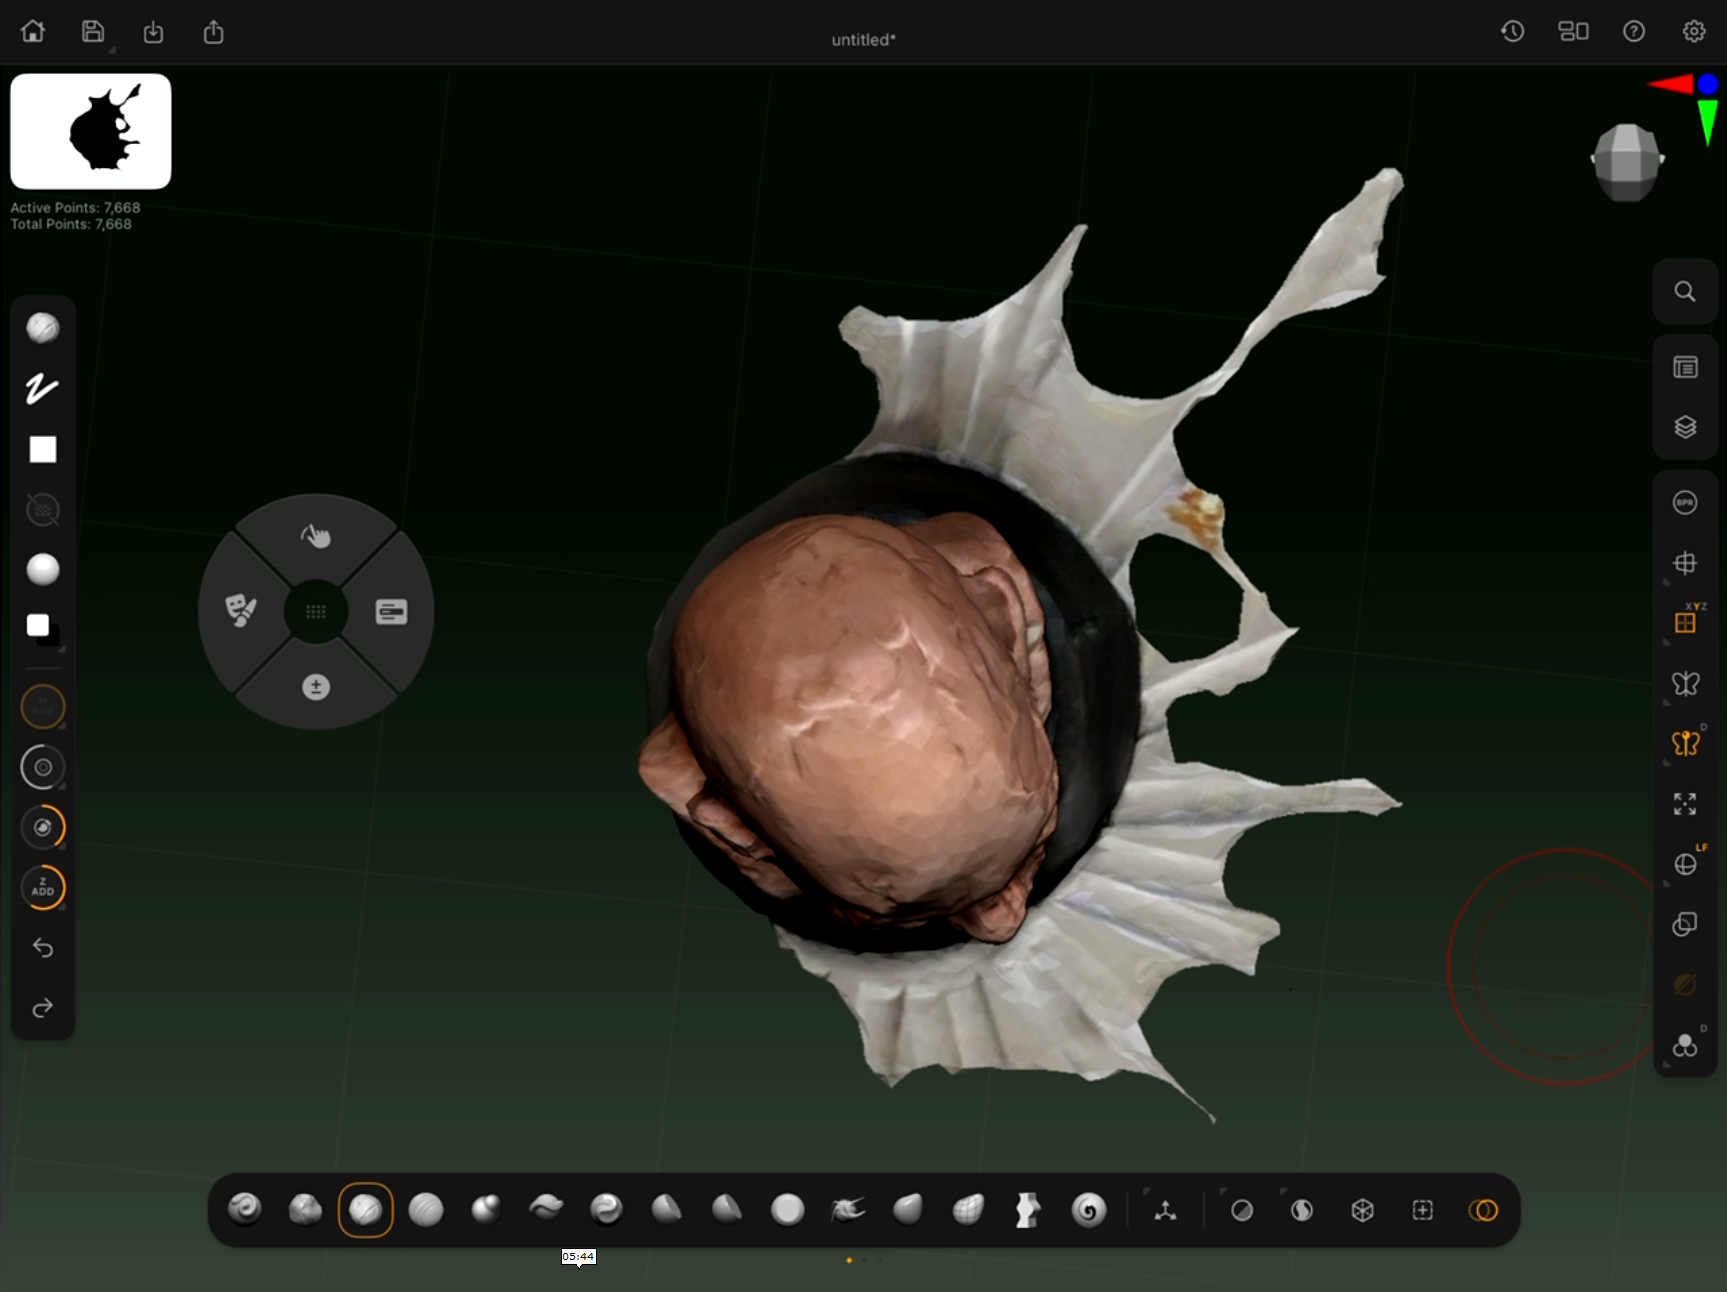
2. Photogrammetry Scan in ZBrush for iPad
Once the clay sculpture is complete, the model will be scanned.
• Use the photogrammetry feature in ZBrush for iPad
• Capture the bust from multiple angles for accurate reconstruction
• Generate a base scan mesh from the captured images
• Import the resulting model into ZBrush for cleanup
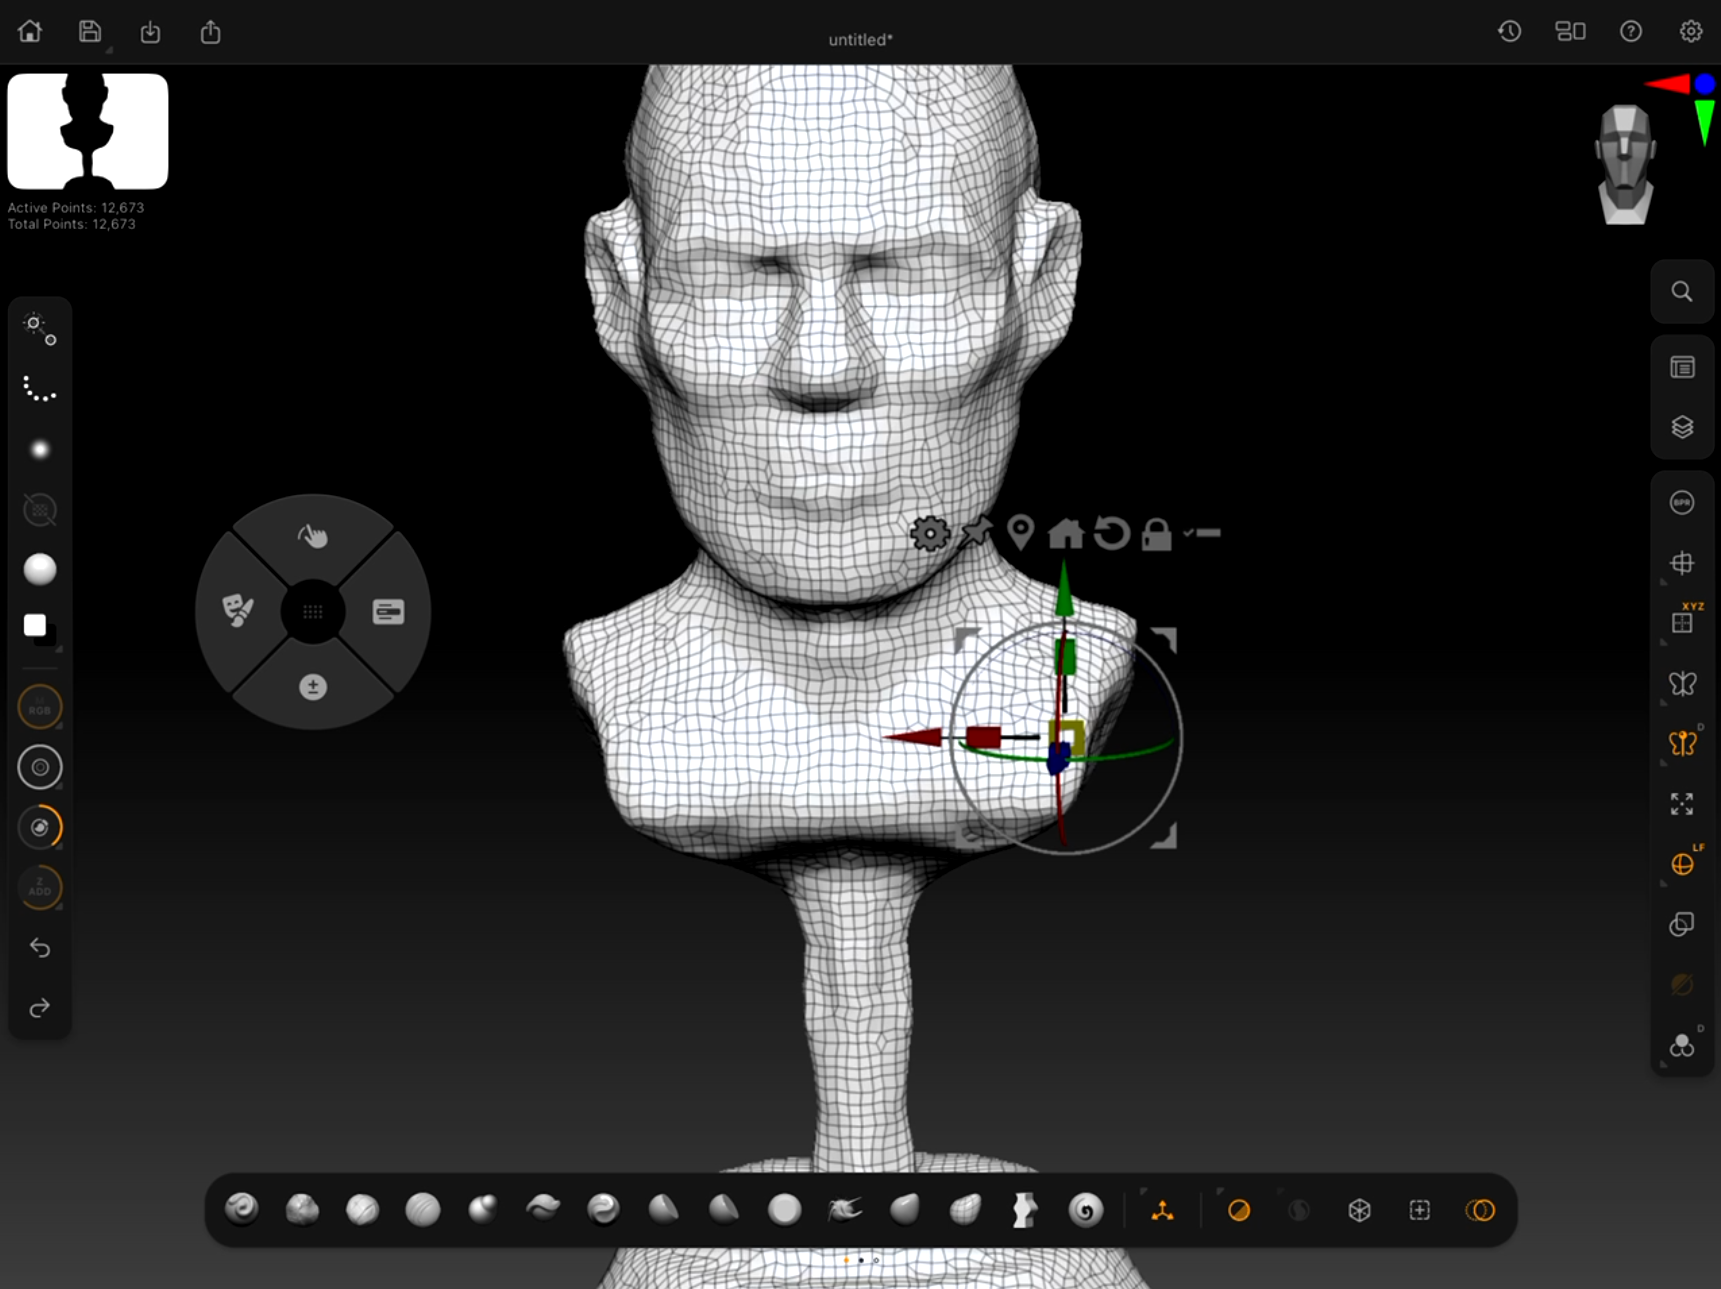
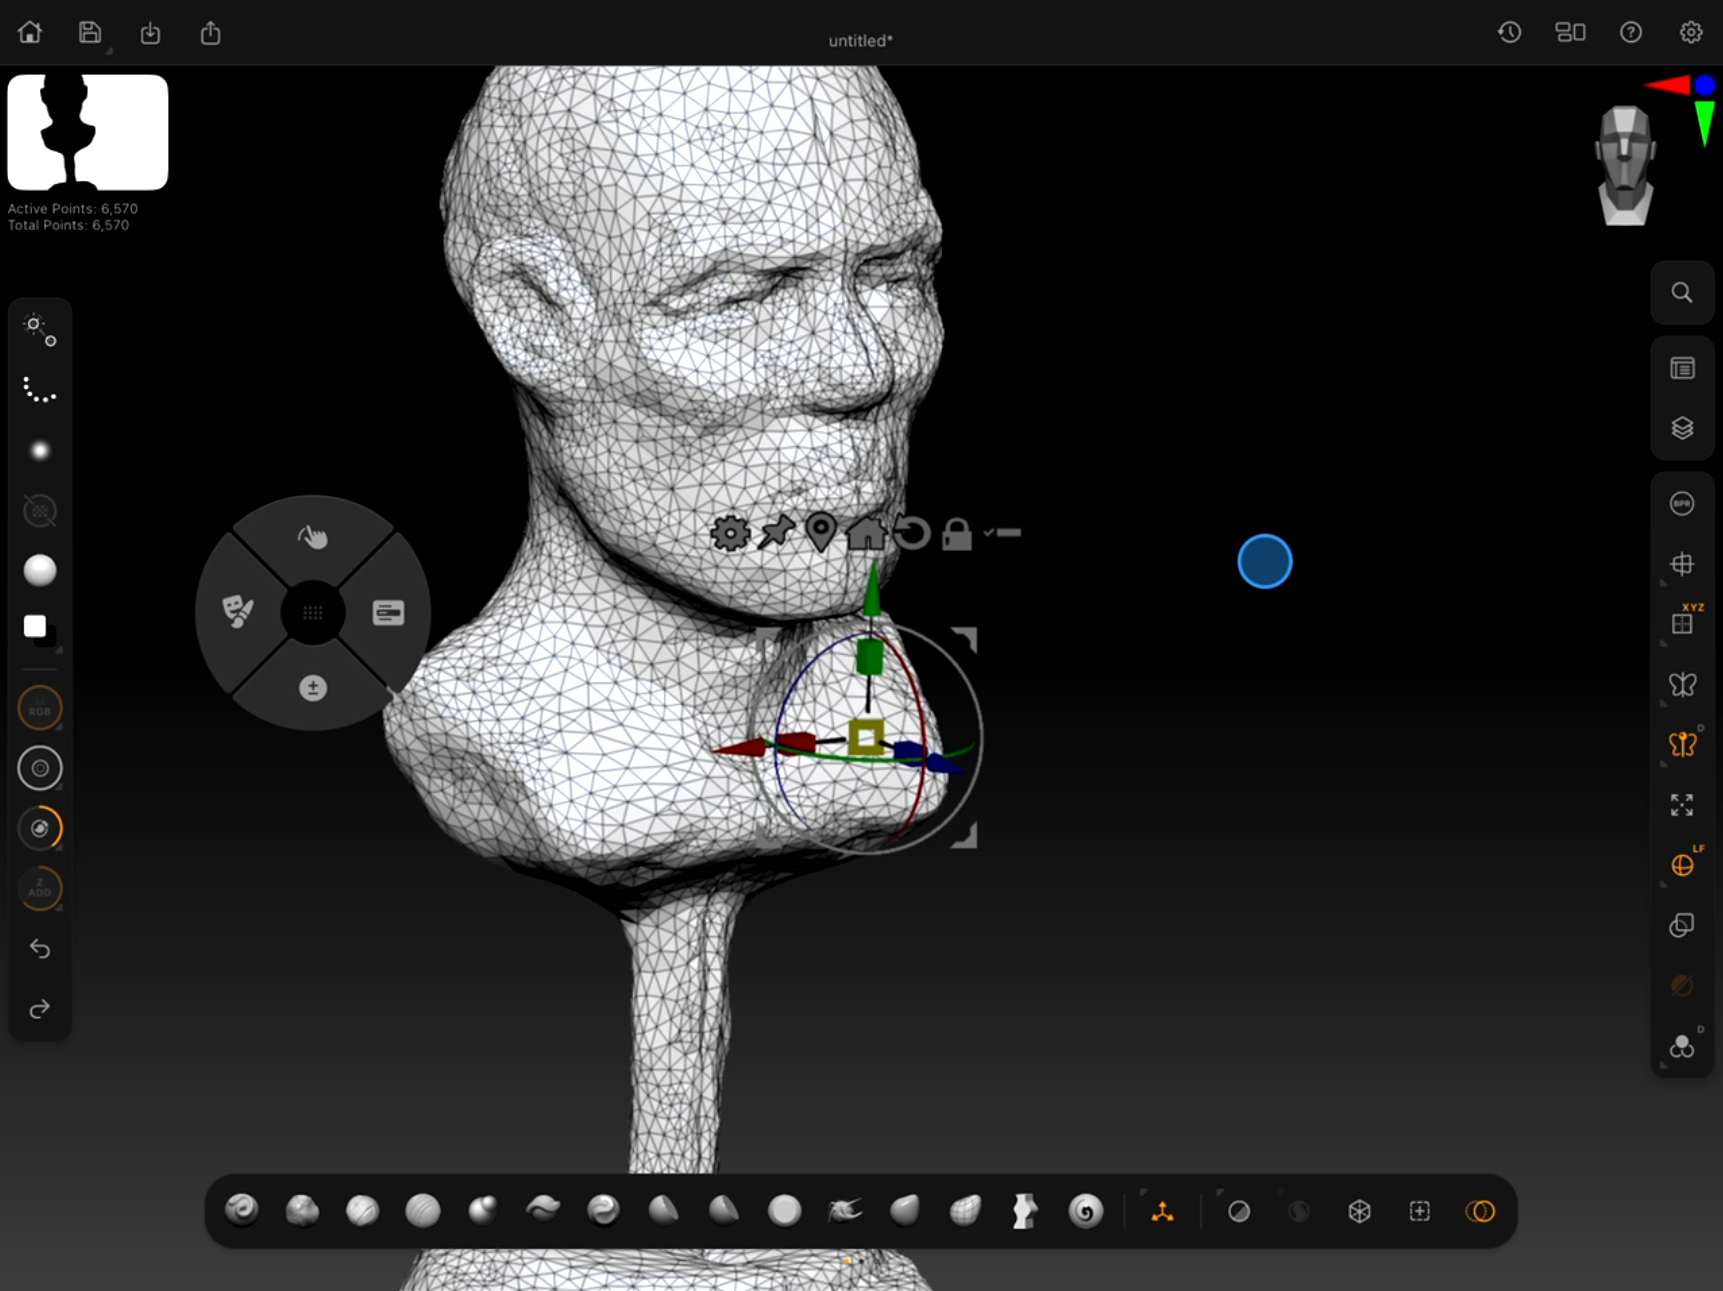
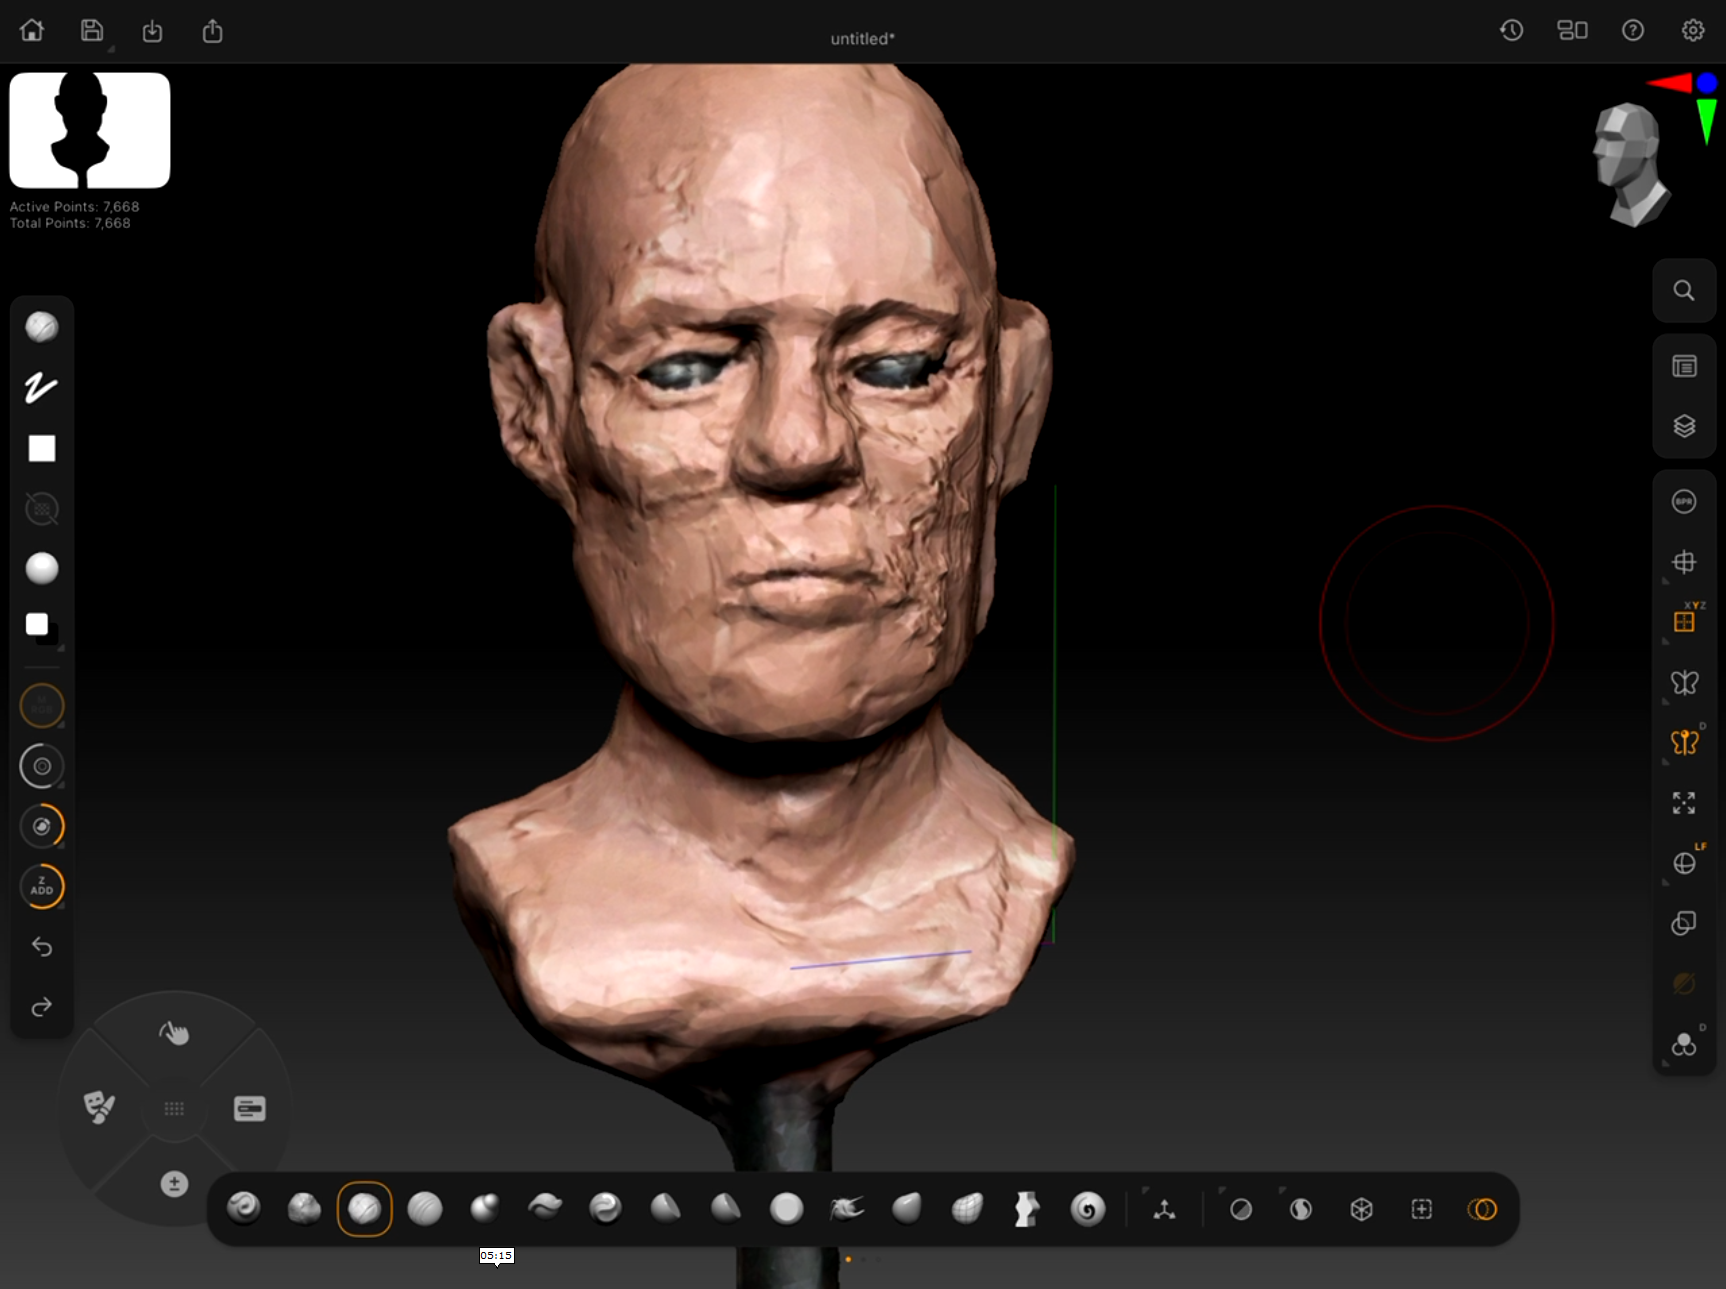
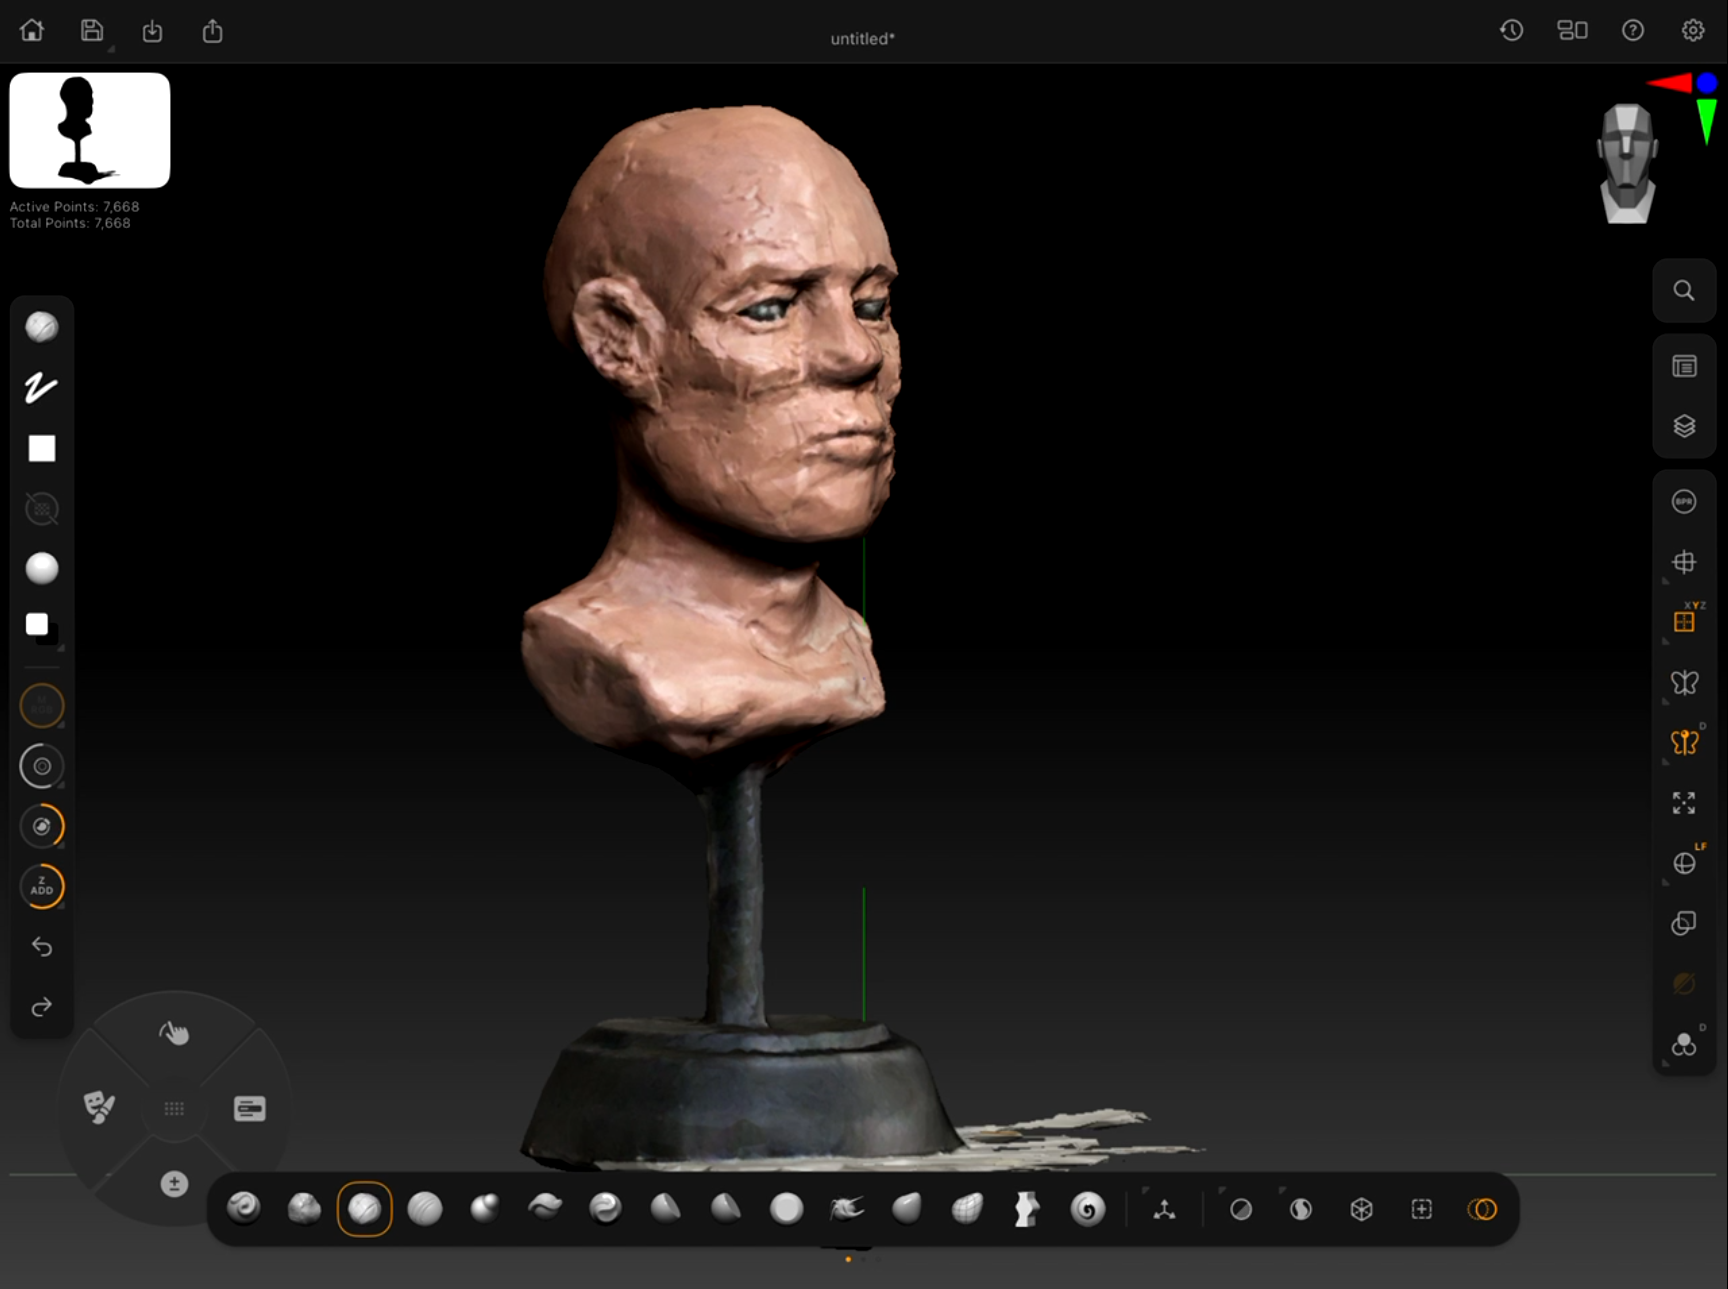
3. Initial Digital Cleanup
Prepare the scanned model for sculpting.
• Remove scanning artifacts or holes
• Use Smooth, Move, and Trim brushes to clean the scan
• Ensure the bust reads clearly from all angles
• Maintain the character and structure of the original clay sculpt
4. Layer Exploration
Students will explore design variations using ZBrush layers.
• Create multiple layer variations for experimentation
• Push forms, proportions, and character traits
• Explore alternate facial structures or stylization
• Blend layers together to create new combinations
• Generate several unique design directions from one base sculpt
5. Dynamesh for Secondary Form Development
Once a strong direction is chosen, students will refine the sculpt.
• Convert the model to Dynamesh
• Strengthen secondary anatomical forms
• Refine the planes of the face and neck
• Clarify transitions between muscles and bone
• Maintain strong sculptural readability
6. Clean Topology and Projection
Prepare the model for higher level detailing.
• Create a clean mesh using ZRemesher or other topology tools
• Subdivide the new mesh
• Project the Dynamesh sculpt onto the clean topology
• Restore all sculptural information on the new mesh
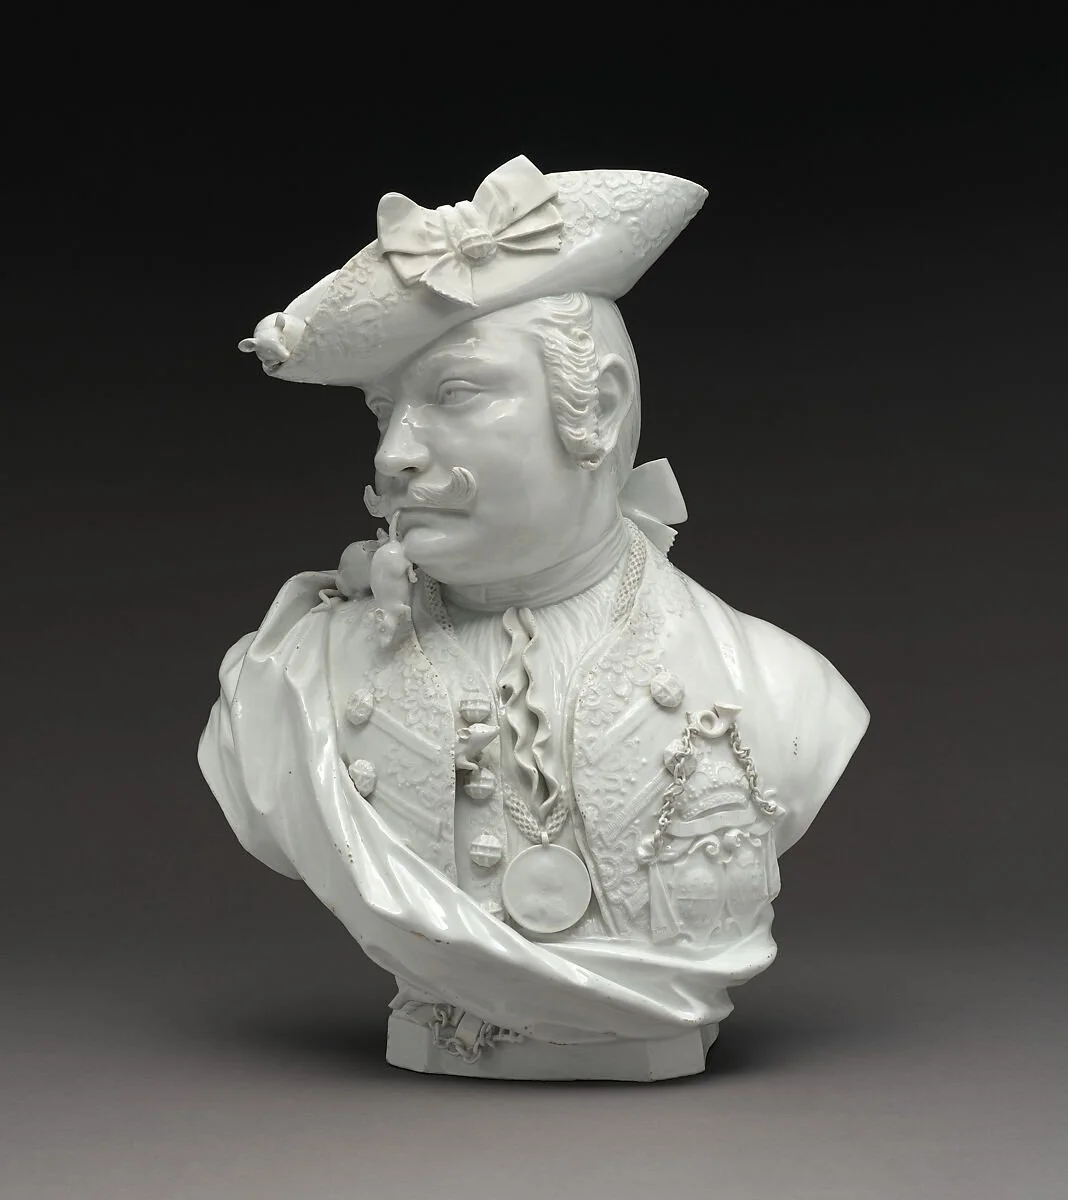
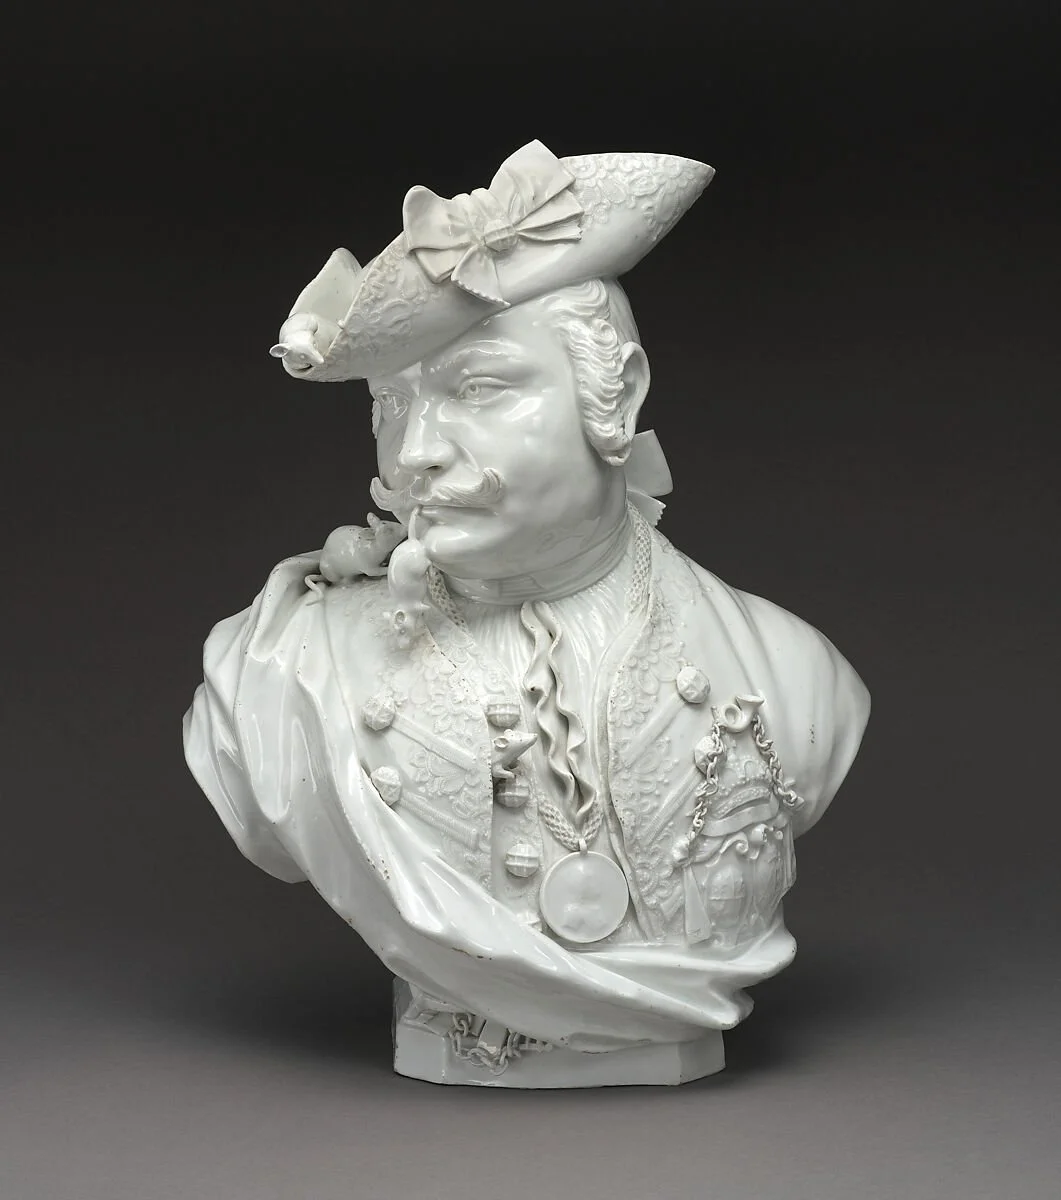
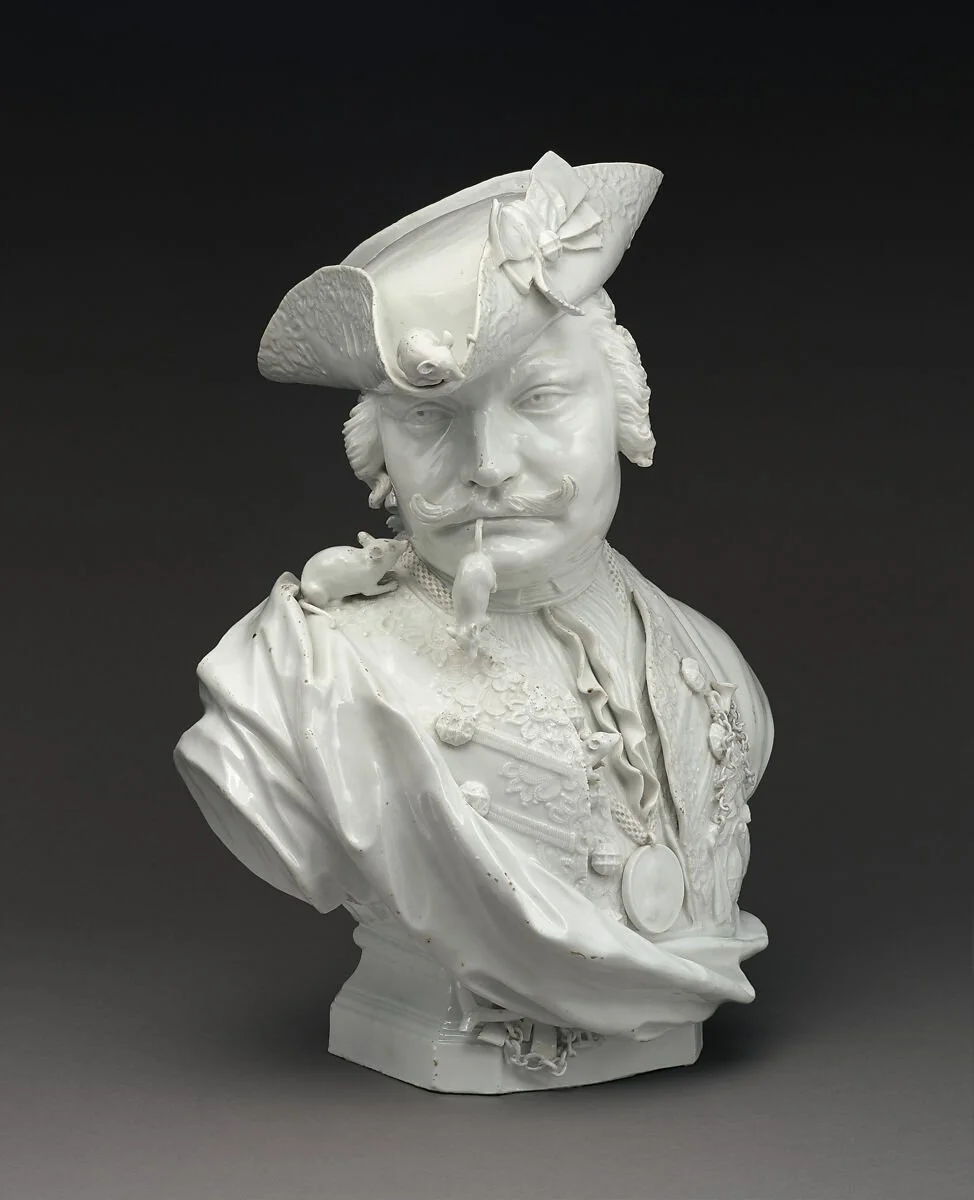
7. Final Refinement and Accessories
Complete the bust with narrative elements.
• Refine surface details and anatomical structure
• Pose the bust slightly if desired for stronger presentation
• Add at least two accessories that support the characte
Examples: armor pieces, jewelry, clothing elements, headgear, mechanical parts, etc.
Ensure accessories integrate naturally with the sculpture