
Week 3
Skill & Control Focus
This week we will cover:
Deformation, Unify, Sculpting Refined Form, AccuCurve, Pinch, Adjust Last, Replay Last, IMM Brush Creation, Depth, Tool and Brush Masking, Polygroups, Image Plane, See-Through, Turntables, Xtractor Brush, Contrast Delta.
Archive Week 3
-
Location: BB10
Instructor: Ryan Darling
Summary
This lecture is a hands-on workshop where the instructor guides students through a ZBrush workflow for creating and managing multiple design variations. The core process uses layers for localized and global changes, saving versions incrementally, and duplicating the model to generate many variants. The instructor provides detailed, individualized feedback on baking layers, handling polygroups, fixing color/material issues, using ZRemesher to create clean topology for refinement, and projecting details onto the new mesh. The goal is to generate many variations (e.g., 50), present them for a vote to select a top three, then choose one design to refine next week.
Knowledge Points
1. Versioning and File Management
Incremental Saving
Save files incrementally using numbers (e.g., version 1, 2, 3) instead of names like "whip," "final," or "final master version two."
Numerical versioning is more organized and standard in studio settings.
Use "Save Next" and save often to preserve progress.
Organizing Variants
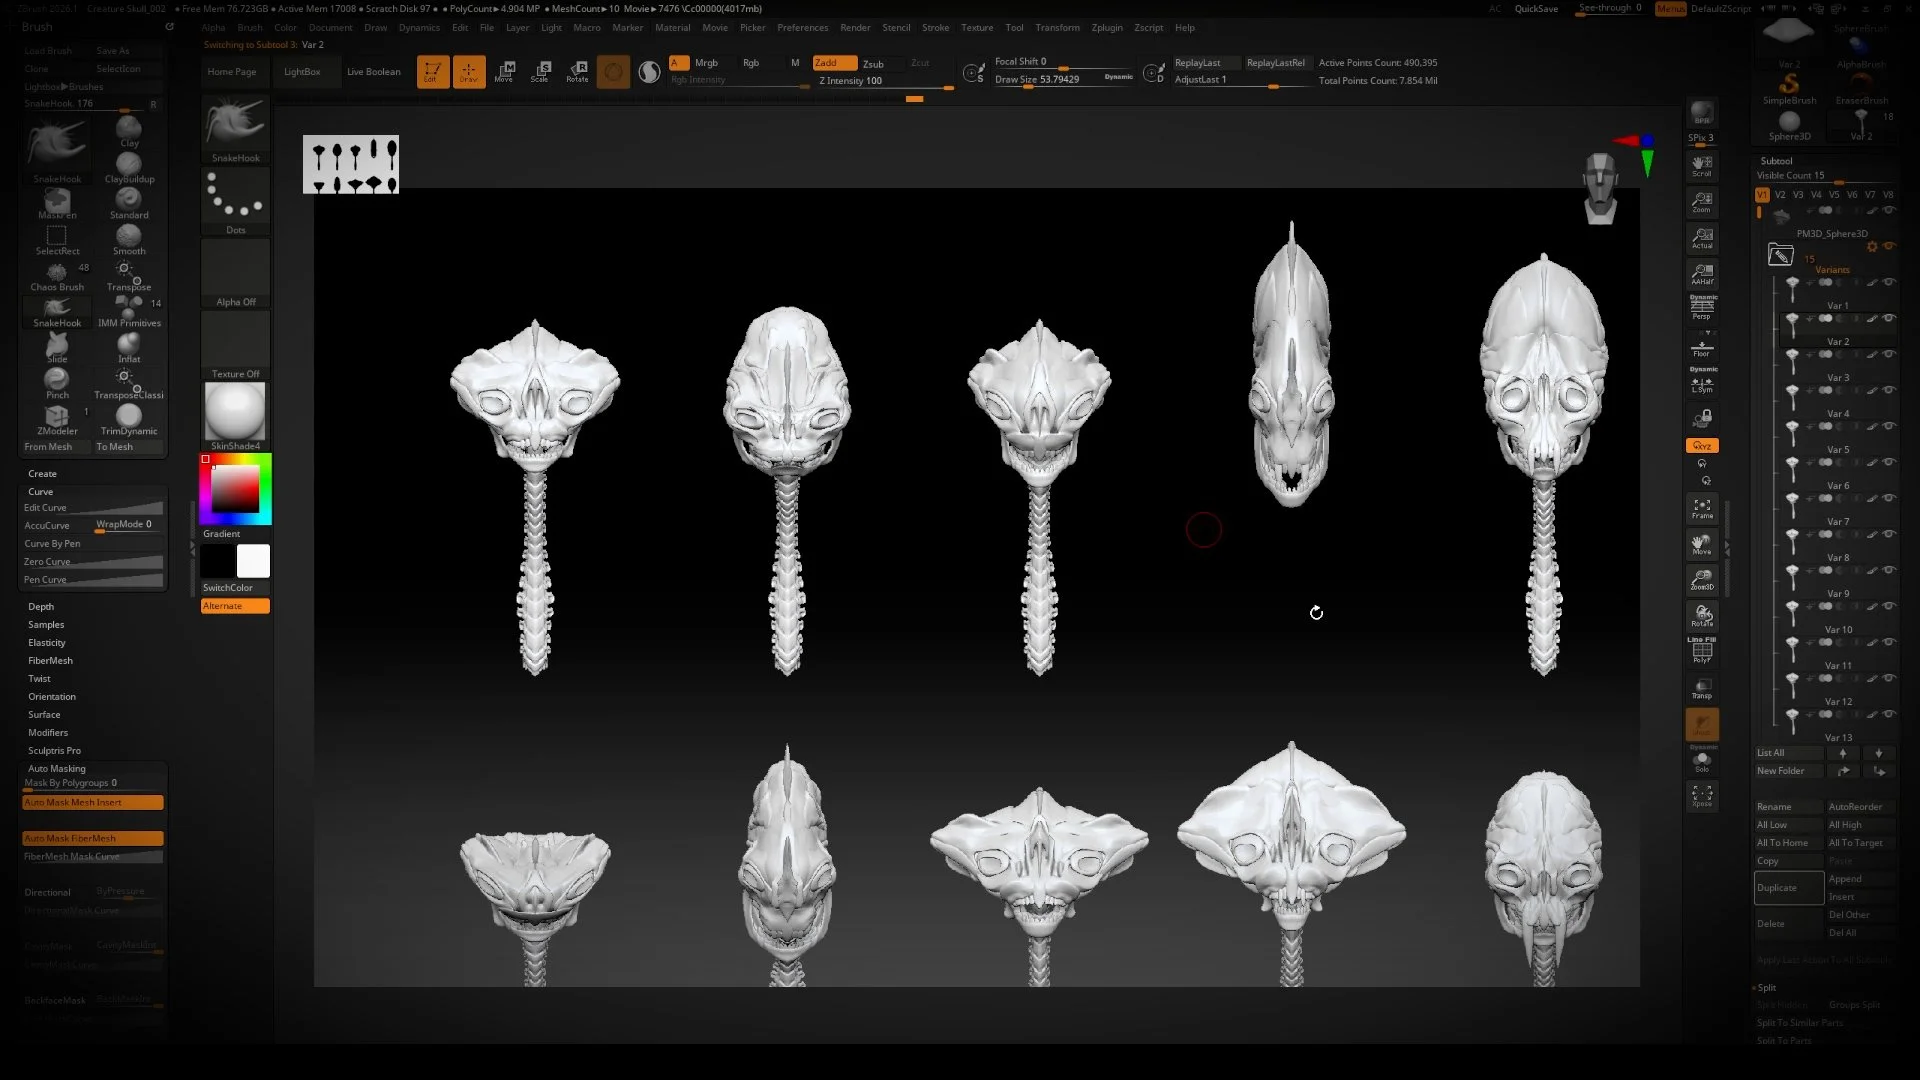
After creating layers, duplicate the main object, hide the original, and place duplicates into a folder named "variance."
Rename the first duplicate to "var 1"; subsequent duplicates auto-increment (e.g., "variant 5," "variant 6").
This keeps large sets of generated variations organized.
2. Creating Variations with Layers
Layer Workflow
Create a new layer to start a variation; recording is enabled automatically.
Make changes (localized or global) to the model.
Turn off 'Record' when the change is complete.
Set the layer's intensity slider back to zero before creating the next layer to keep changes distinct and isolated.
Types of Changes
Localized Change: Affects a specific part of the model. Use "Mask by Polygroups" to isolate transformations to the selected polygroup.
Global Change: Affects the entire model. Turn off "Mask by Polygroups" and use a large brush for broad, sweeping changes.
Generating Combinations
More layers = more possible combinations.
Aim for 20–50 layers.
With more than 12 layers, possible combinations can reach into the millions before a design repeats.
3. Finalizing and Baking Variations
Generating Multiple Heads
After creating a set of layers (e.g., 12), duplicate the object to reach the desired number of variations (e.g., 50).
Use solo mode to focus on one variant at a time.
For each duplicate, adjust layer sliders to create a unique combination.
When satisfied, "bake" the layers to merge them into the base geometry.
Move to the next object and repeat until all duplicates have unique, baked designs.
Spend no more than three minutes per head to encourage rapid iteration.
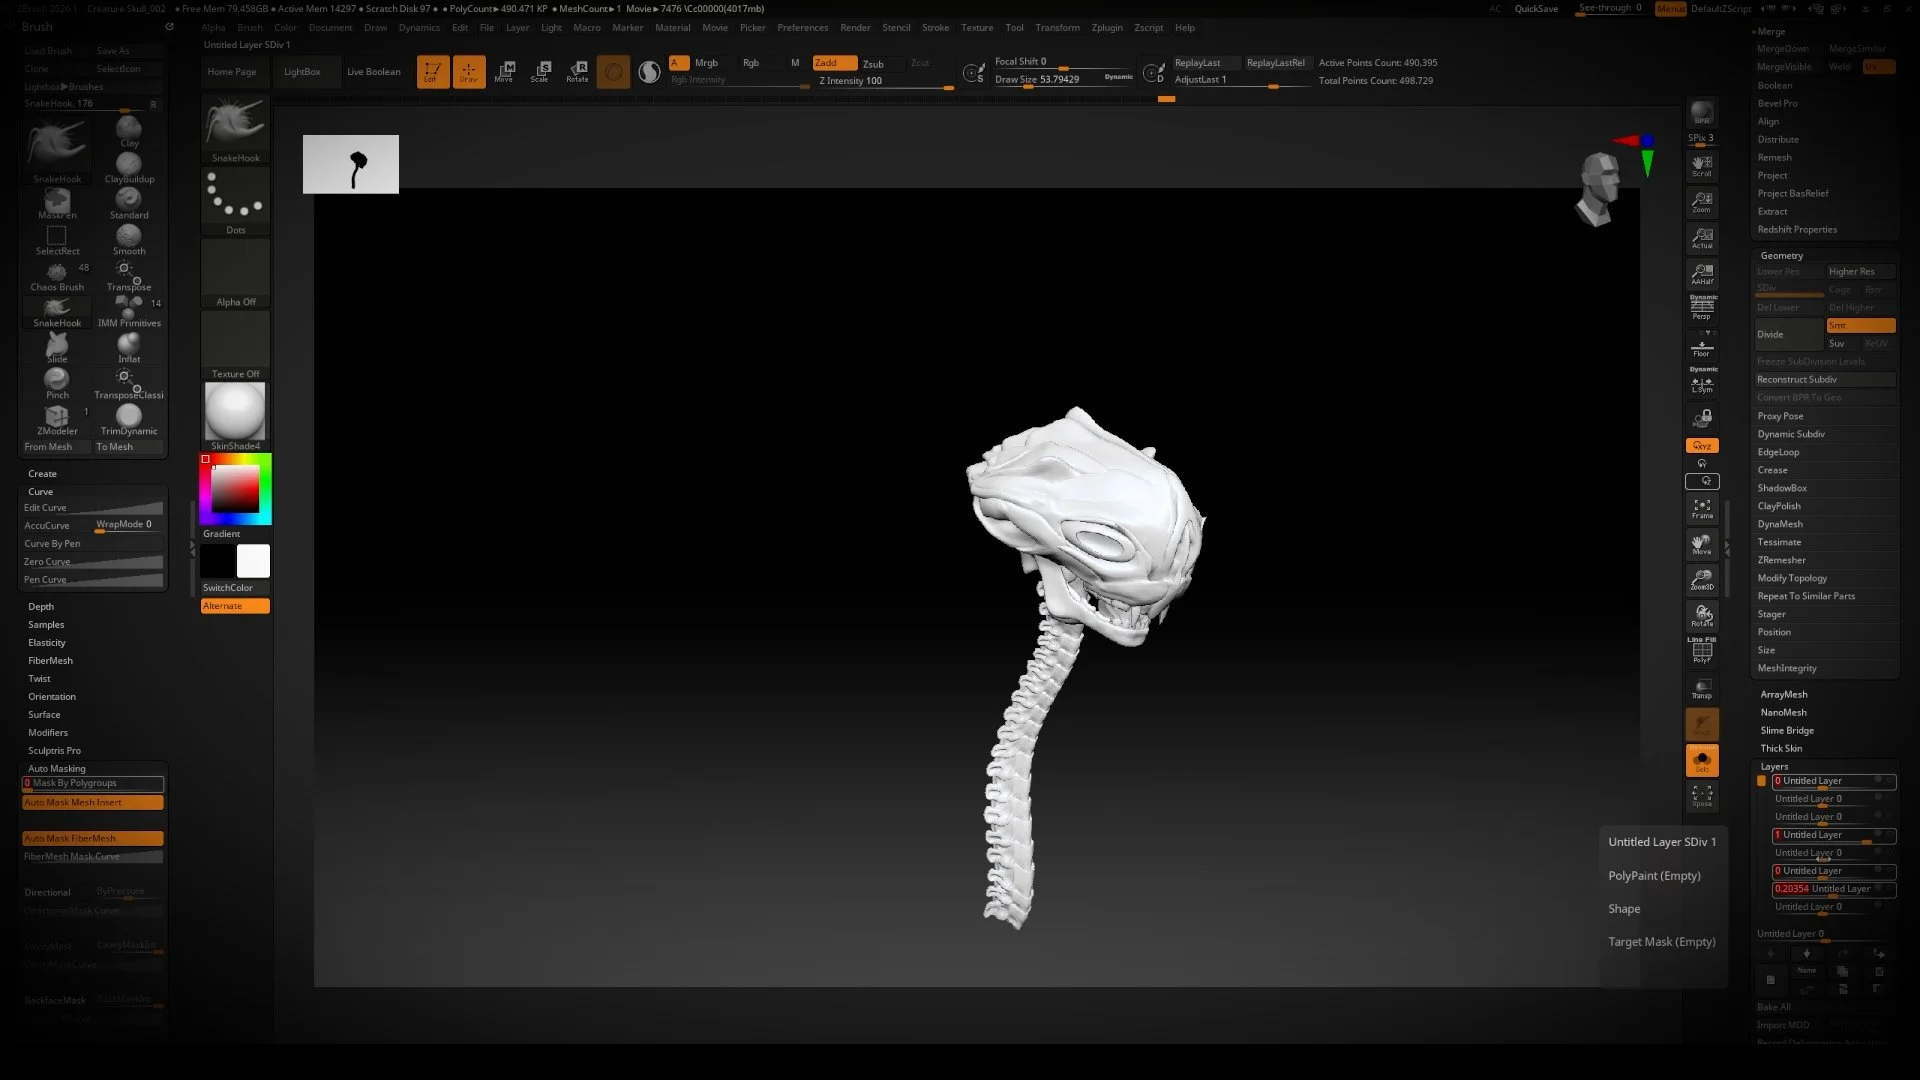
Handling Layer Issues
If an object turns dark after baking, color information was likely added and inherited by a layer.
Fix using the "Subtool Master" plugin: run "Fill Color Material" to cycle through all subtools.
Select subtools that turned dark and use "Fill Object" to fill them with white.
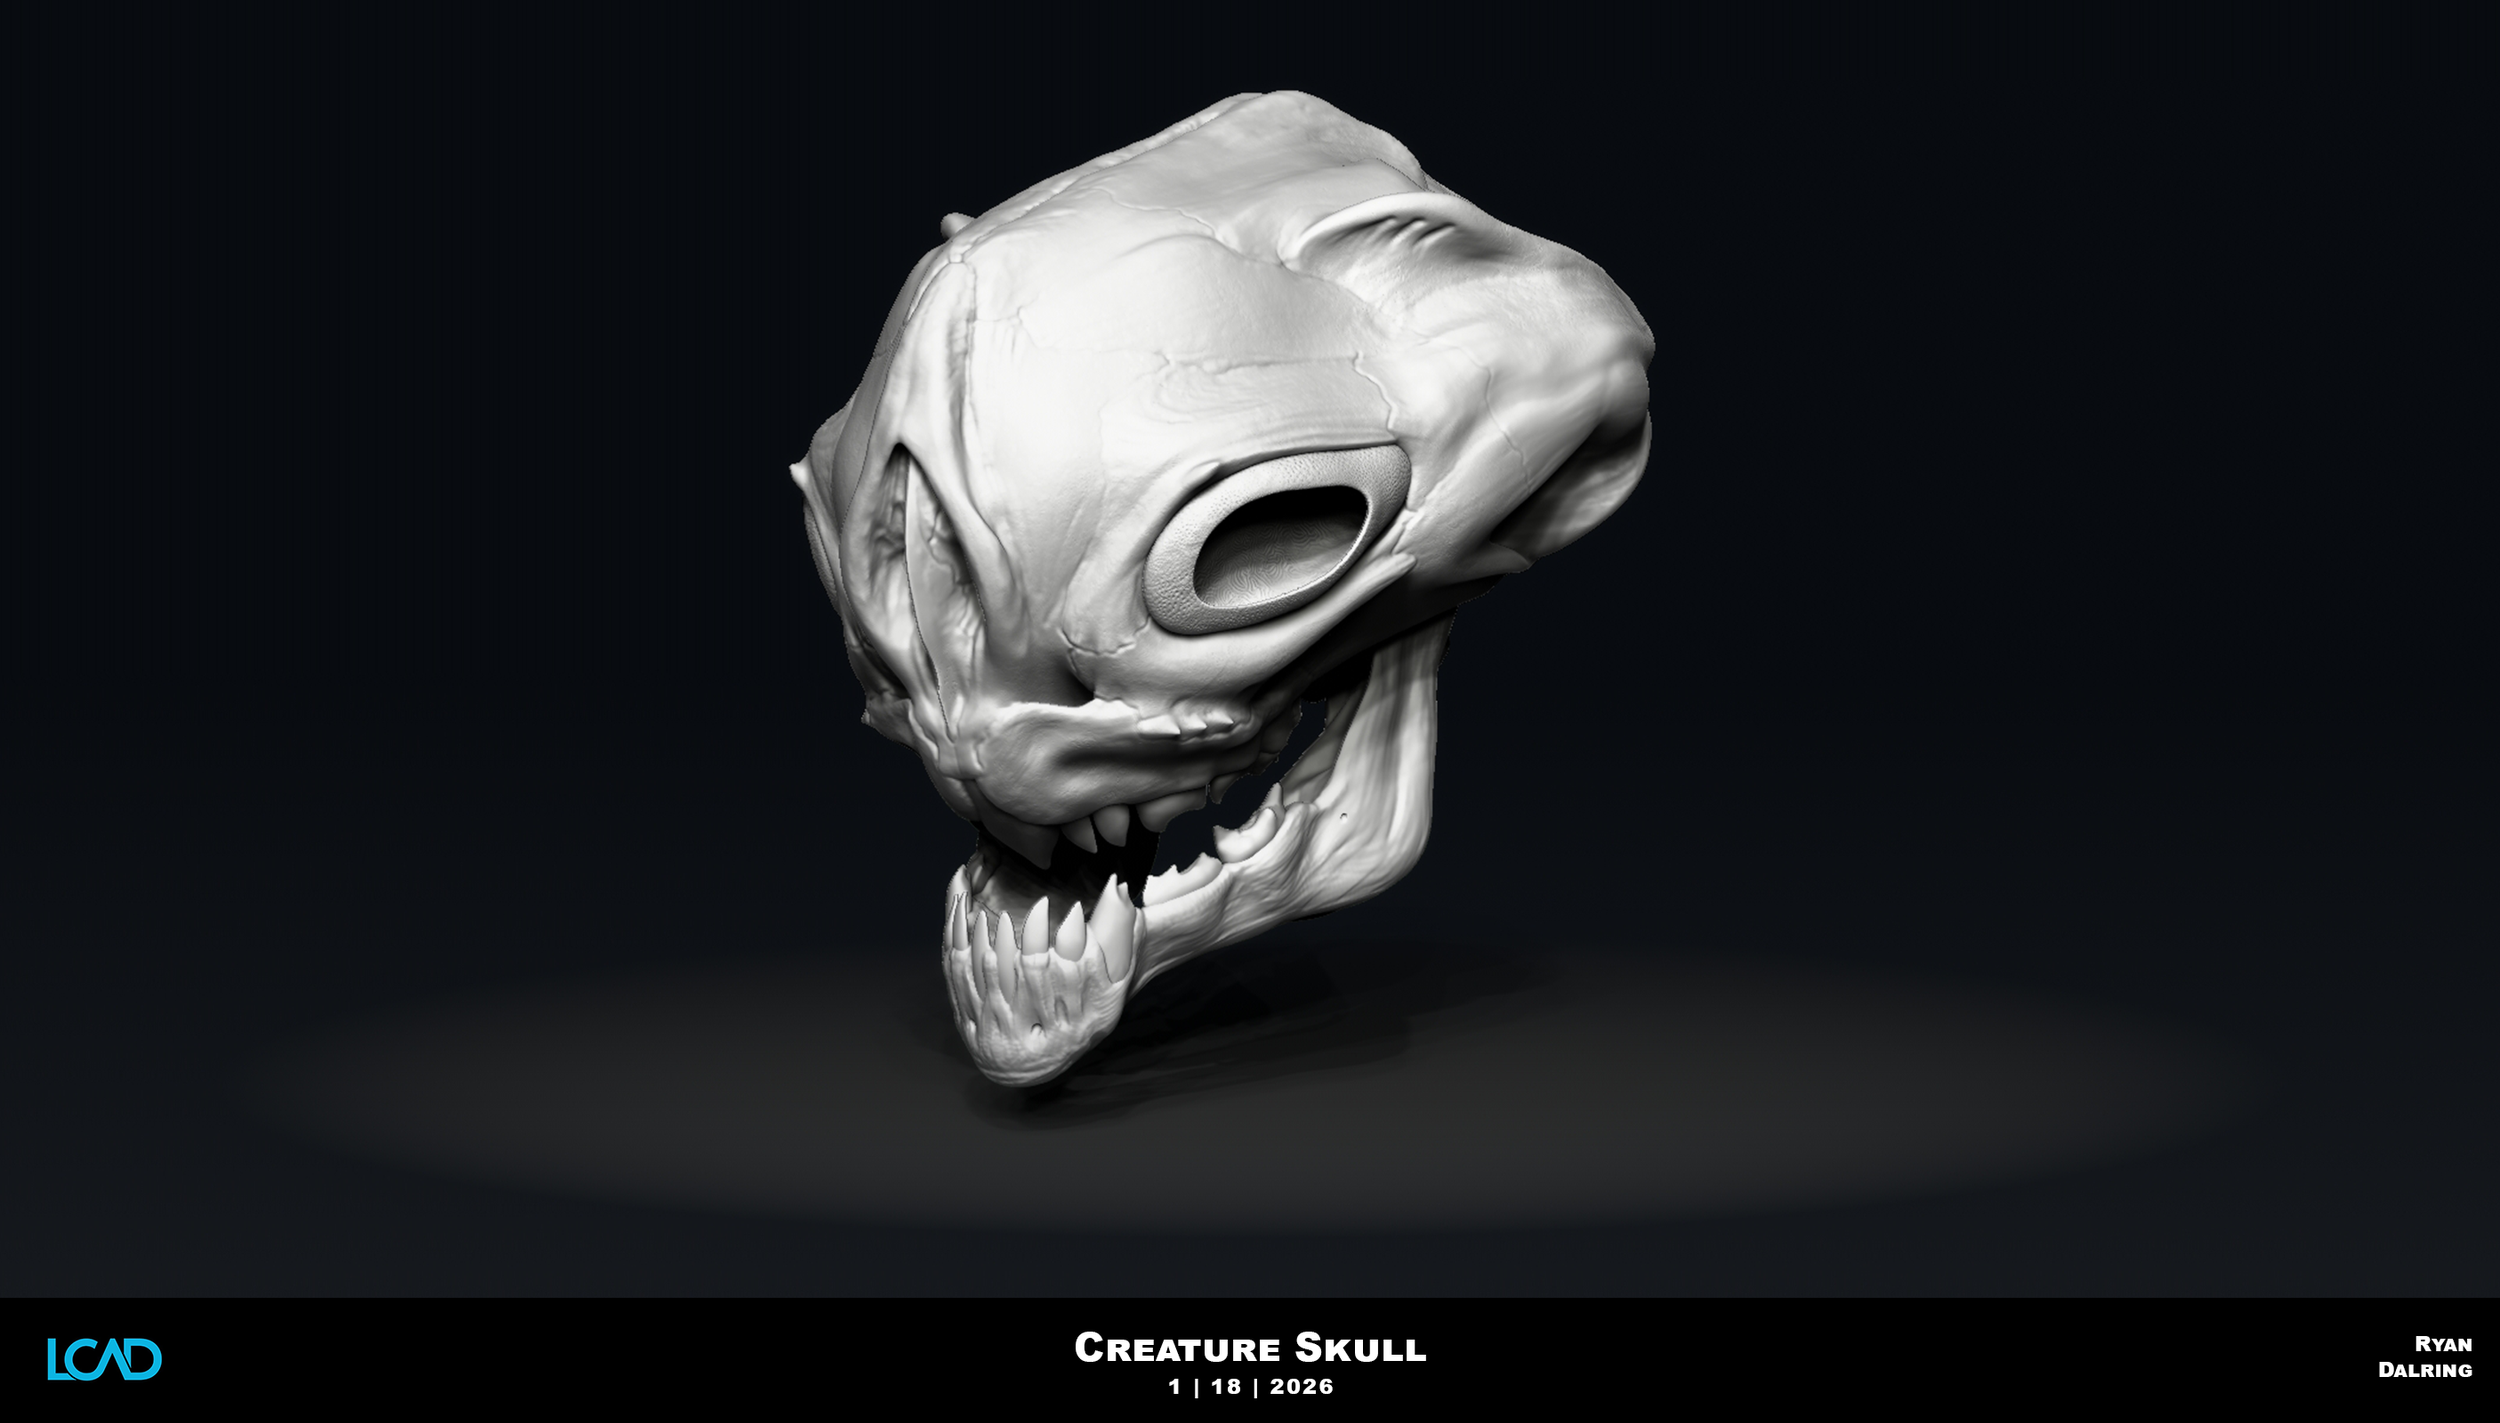
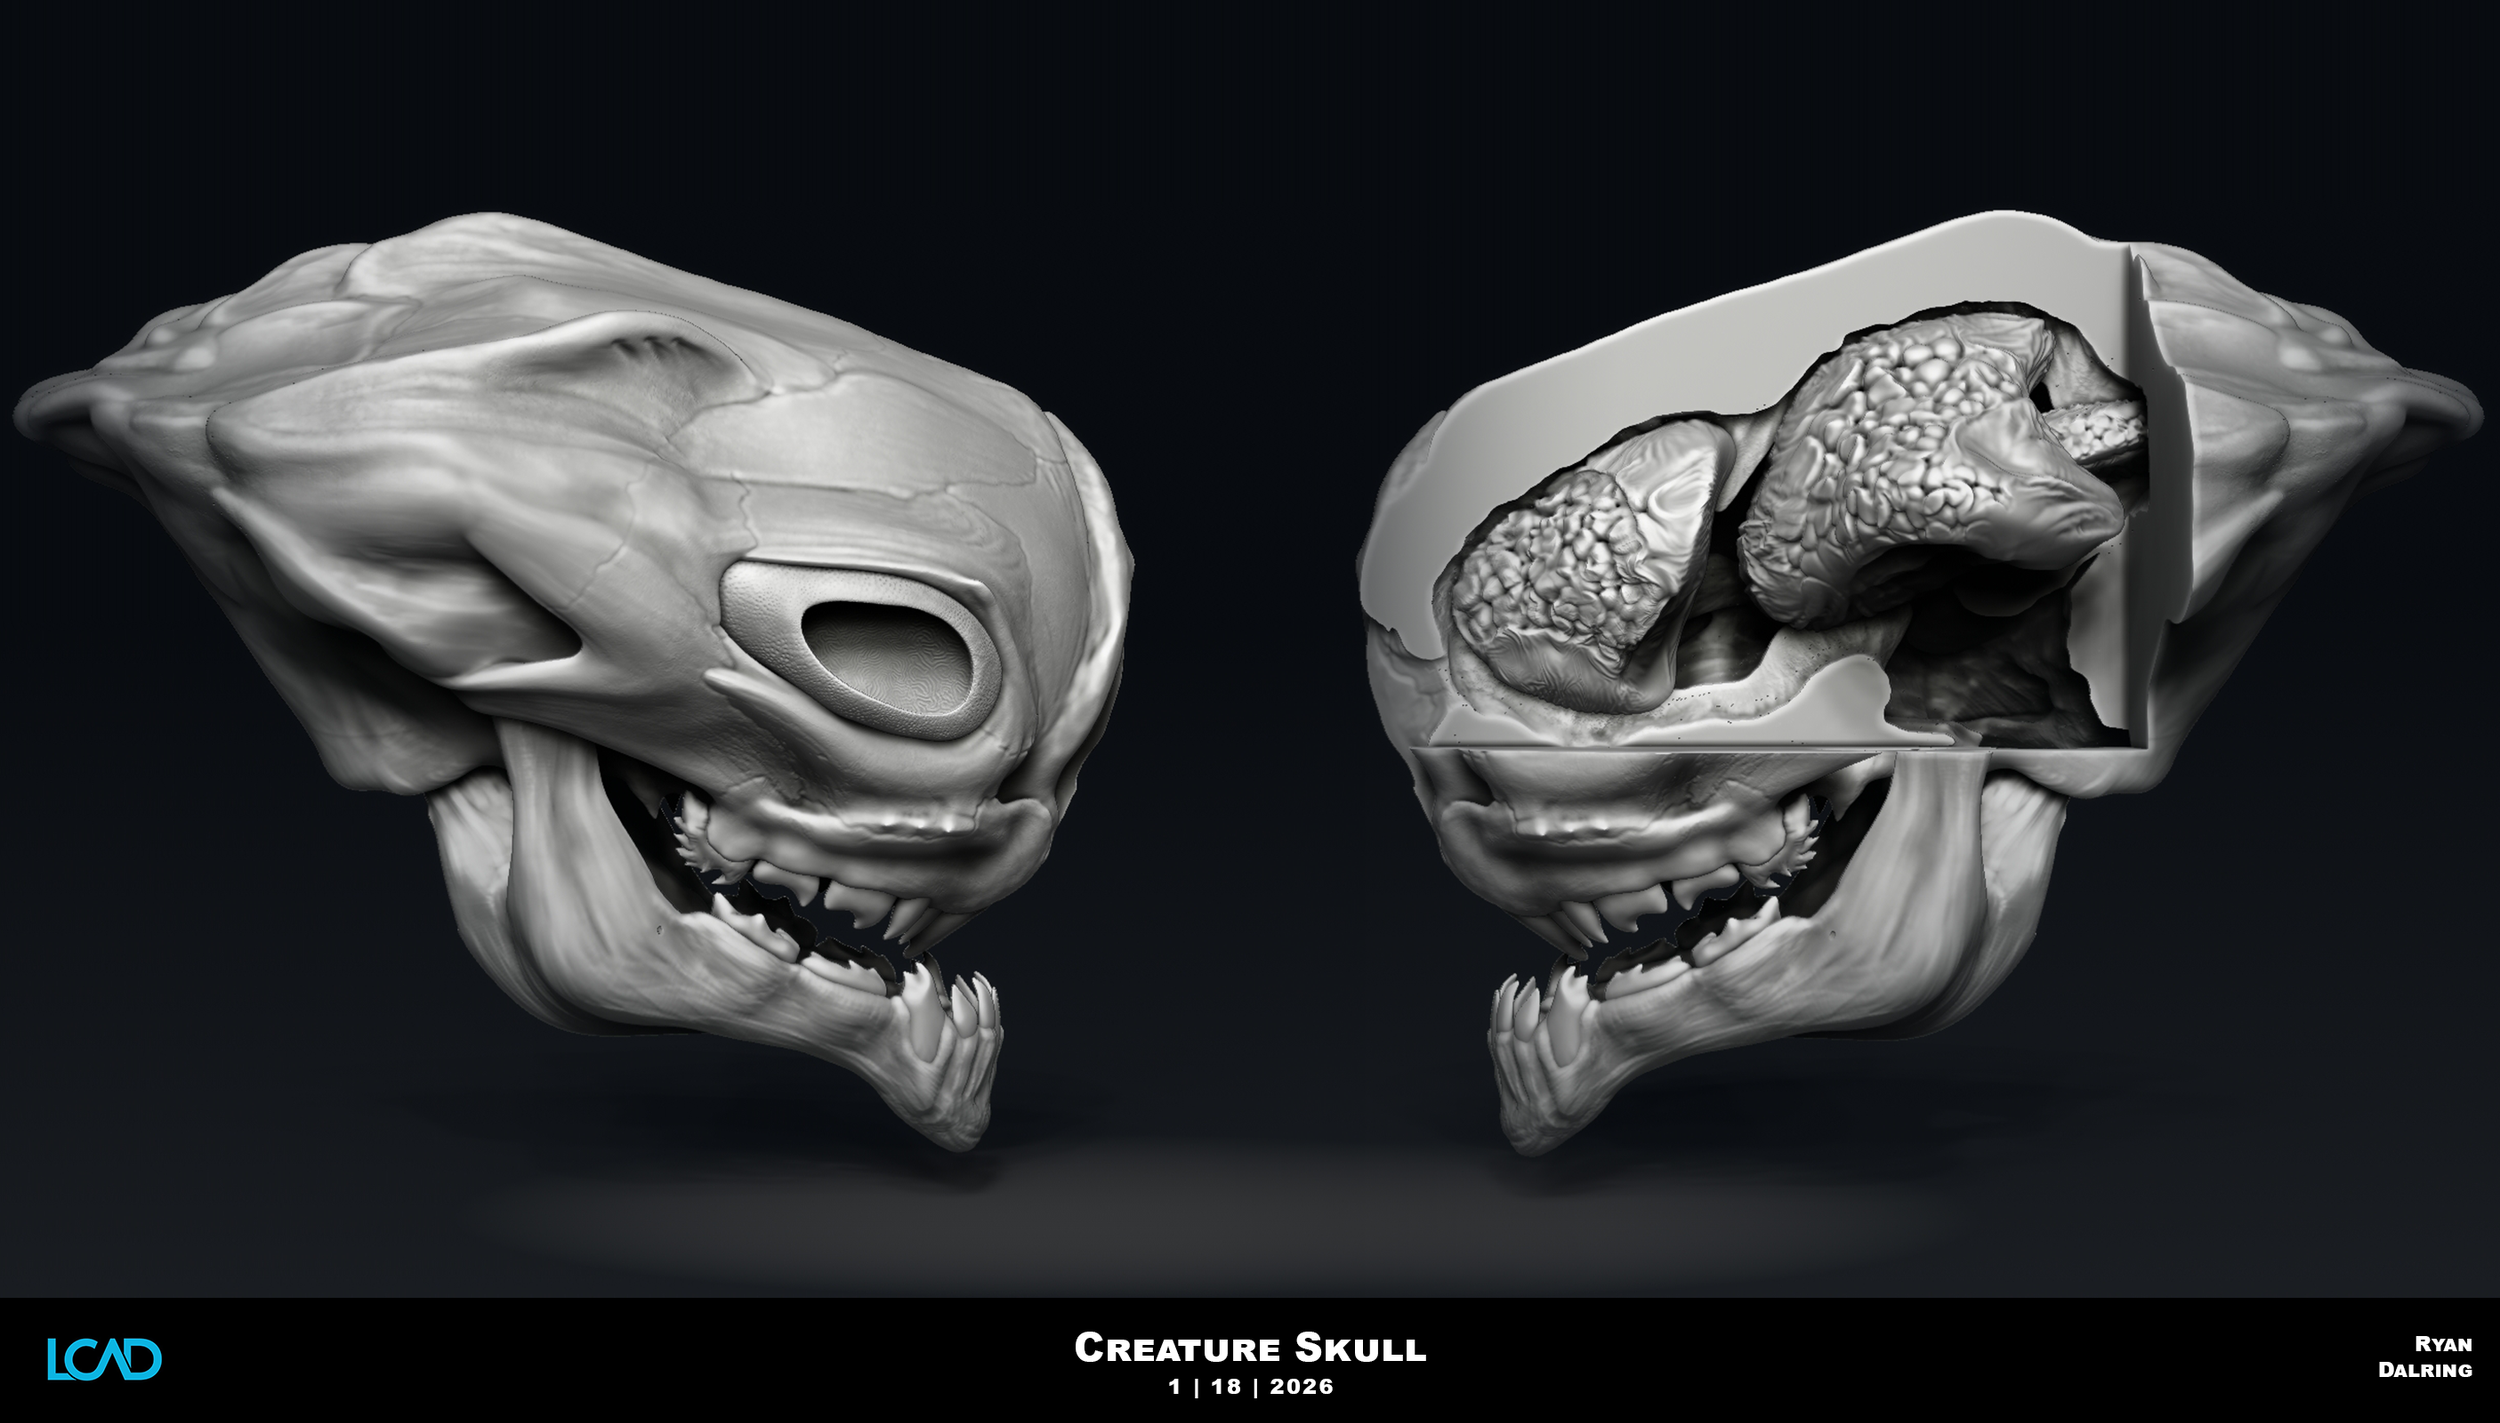
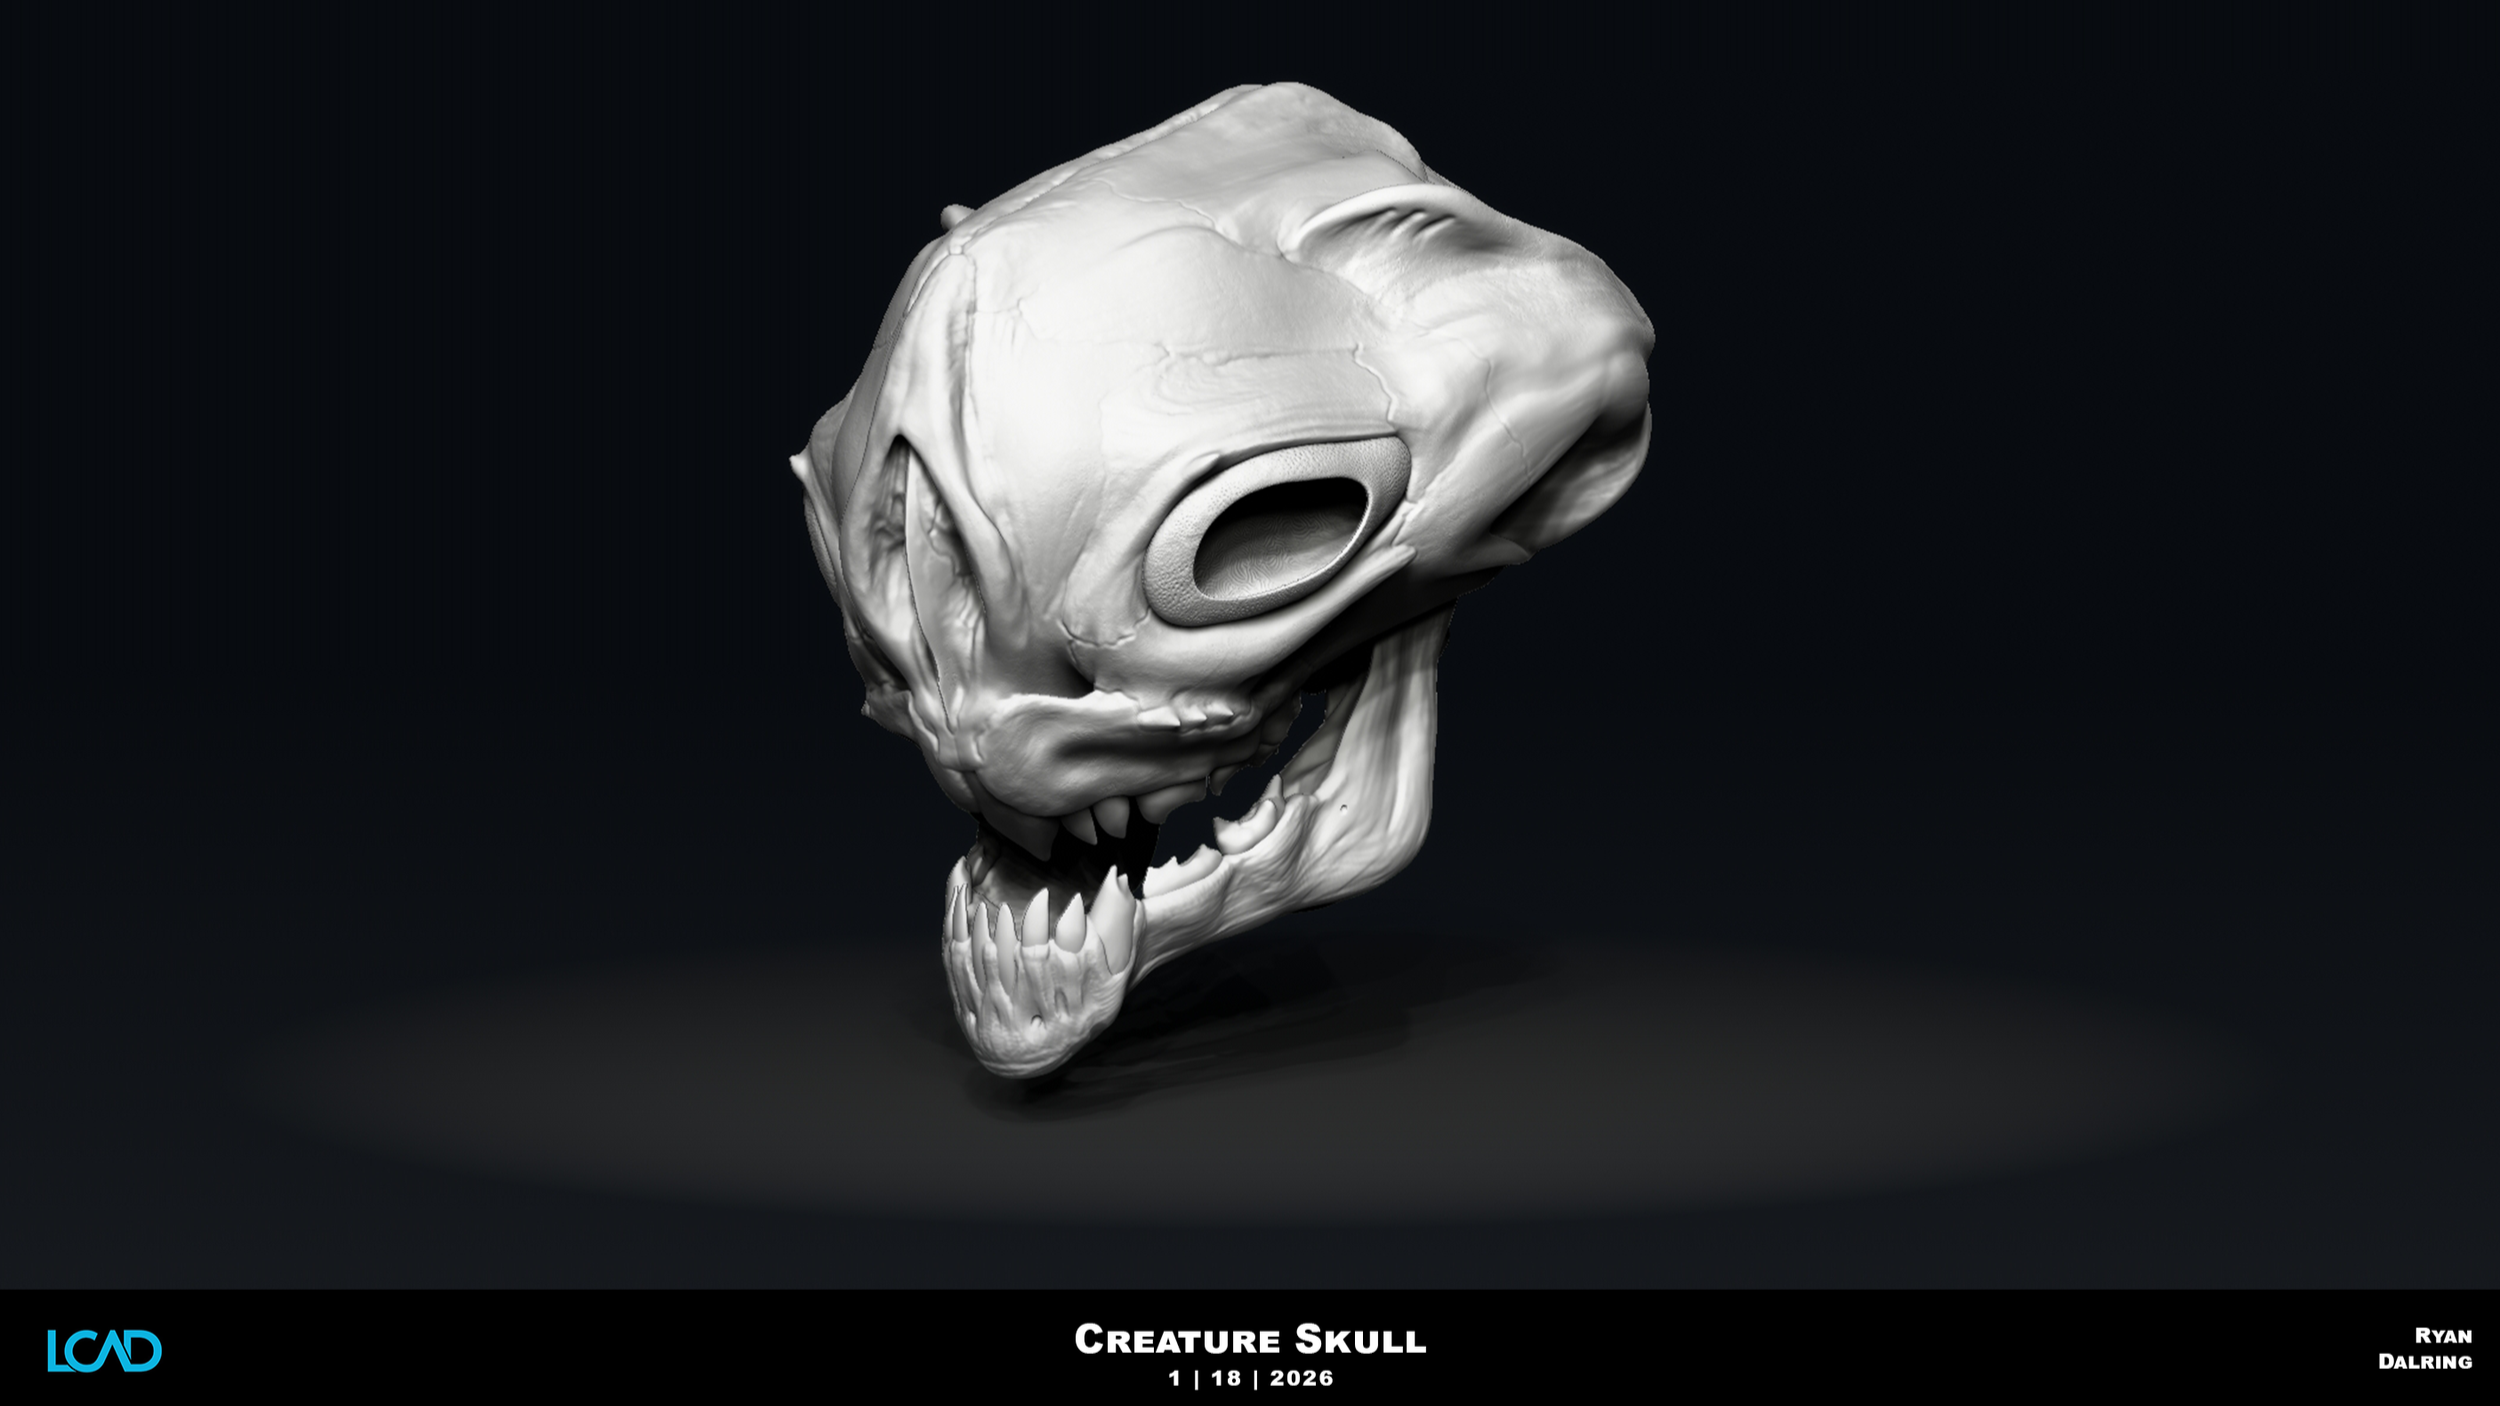
4. Refining the Chosen Sculpt
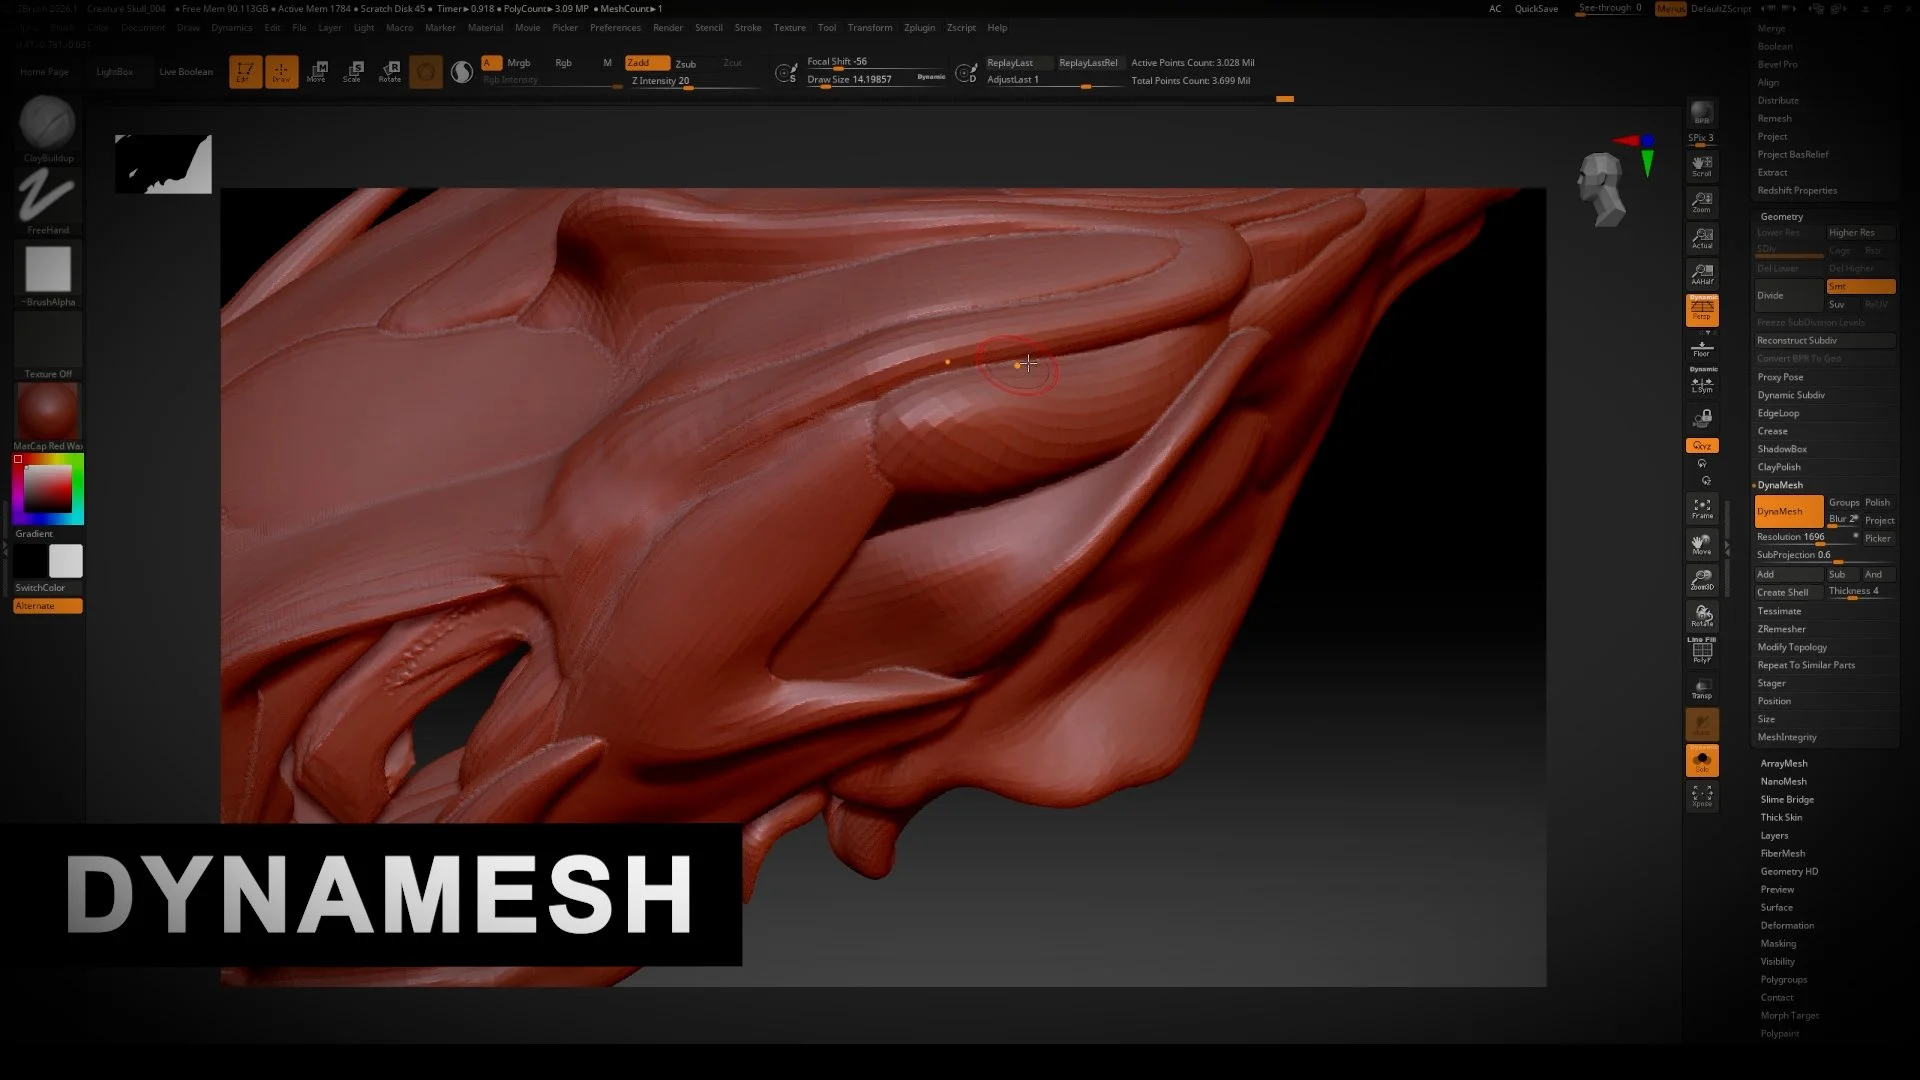
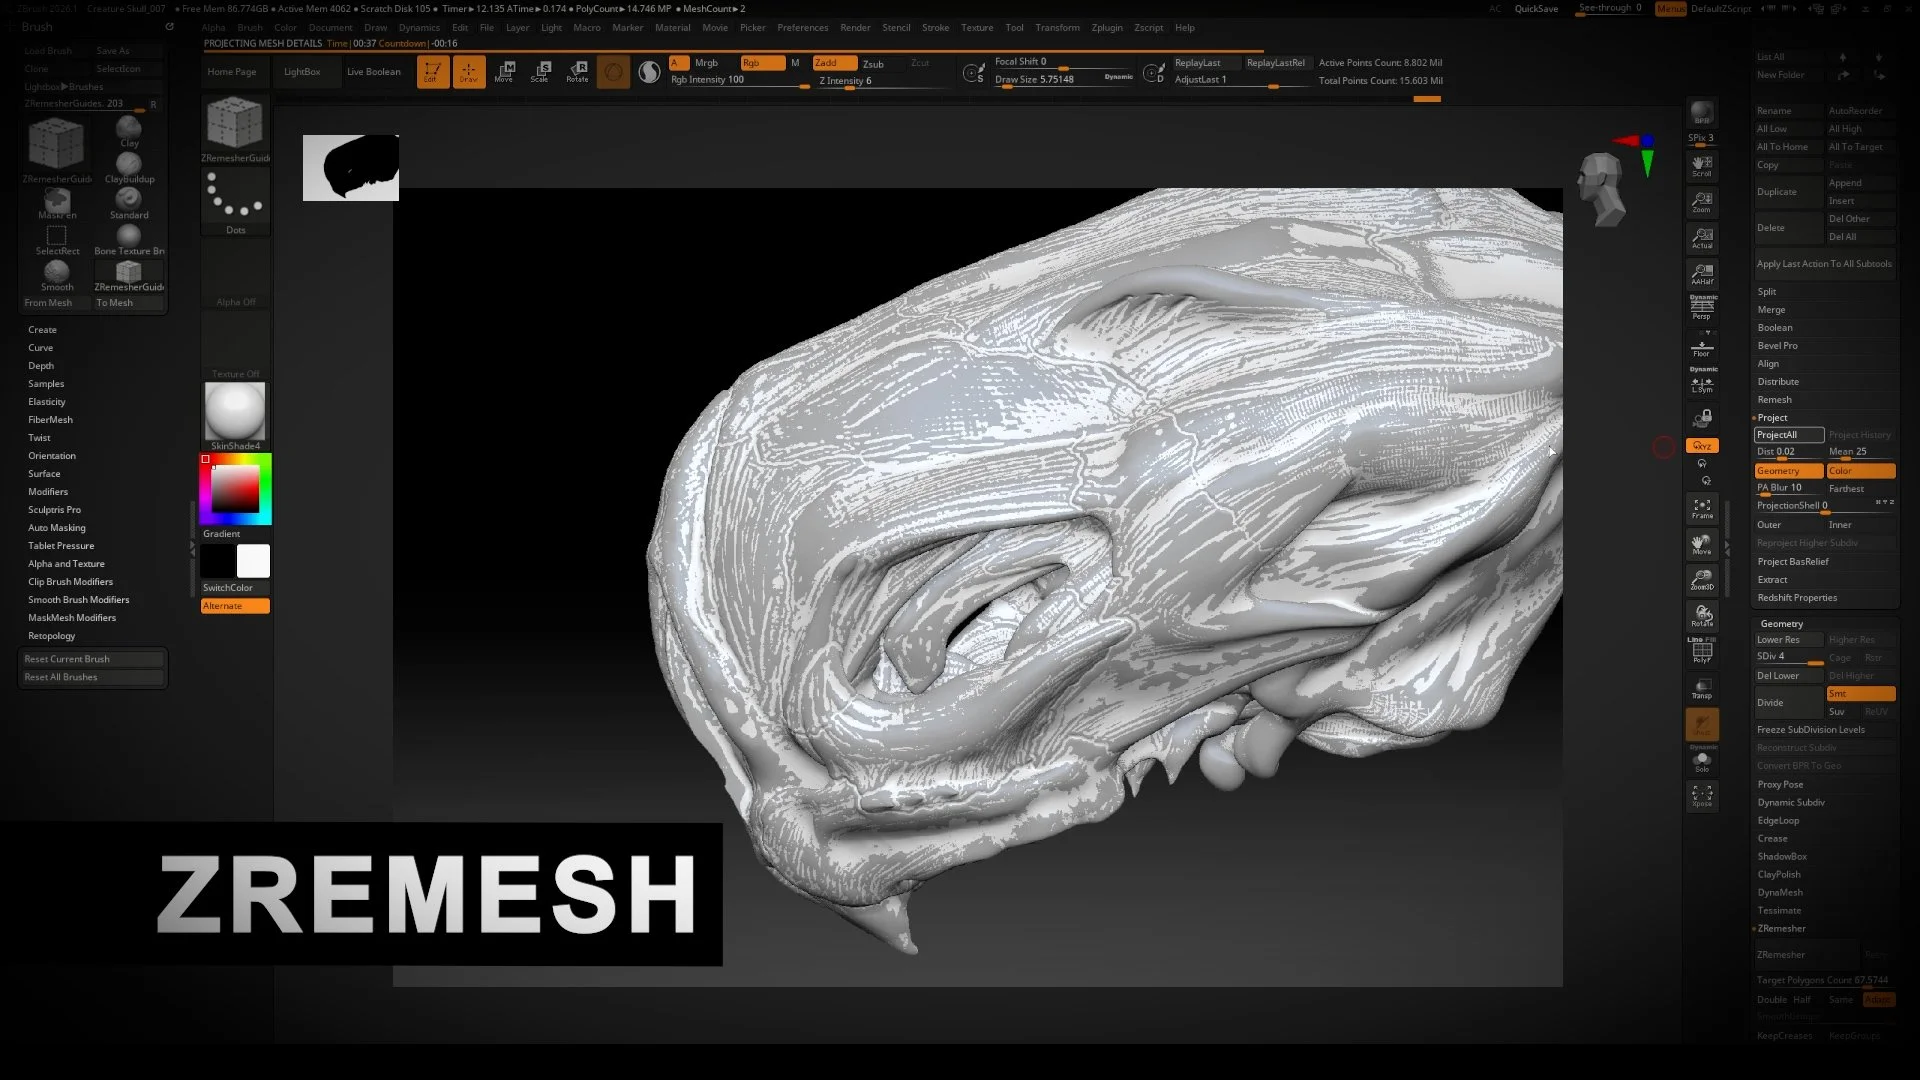
ZRemesher for Clean Topology
After voting selects a final design, begin refinement.
Duplicate the chosen subtool (e.g., the skull).
Use "ZRemesher" to generate a clean mesh with improved topology; set a target polygon count (e.g., 15,000).
Clean topology is crucial for projections, sculpting, and compatibility with other software (e.g., for UVs). It provides a smoother, more "clay-like" sculpting feel than high-res Dynamesh.
Projecting Details
Subdivide the new ZRemeshed object incrementally.
With both original (high-detail) and new (ZRemeshed) subtools visible, use "Project All" (Subtool > Project) to transfer details from the original onto the new mesh.
Repeat at each subdivision level to capture all detail.
Keep the original high-poly Dynamesh in a folder as backup or delete later.
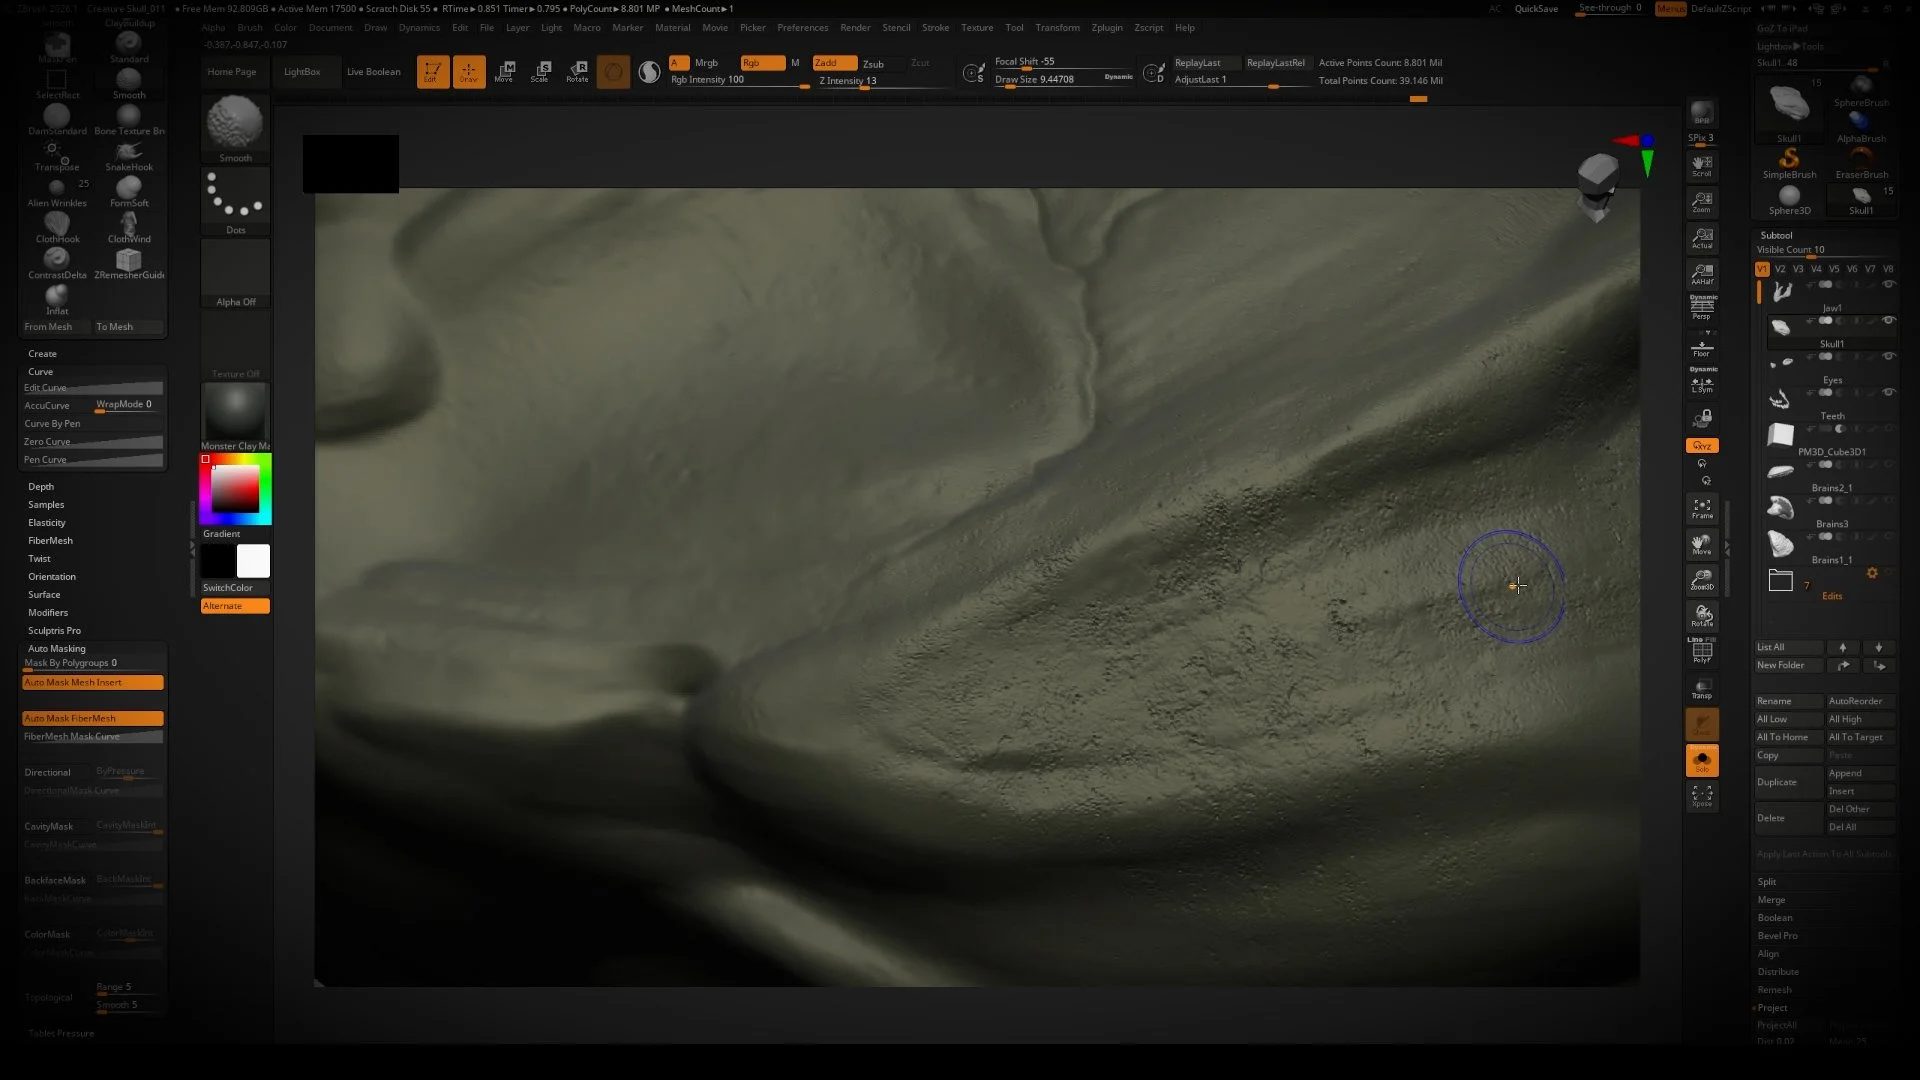
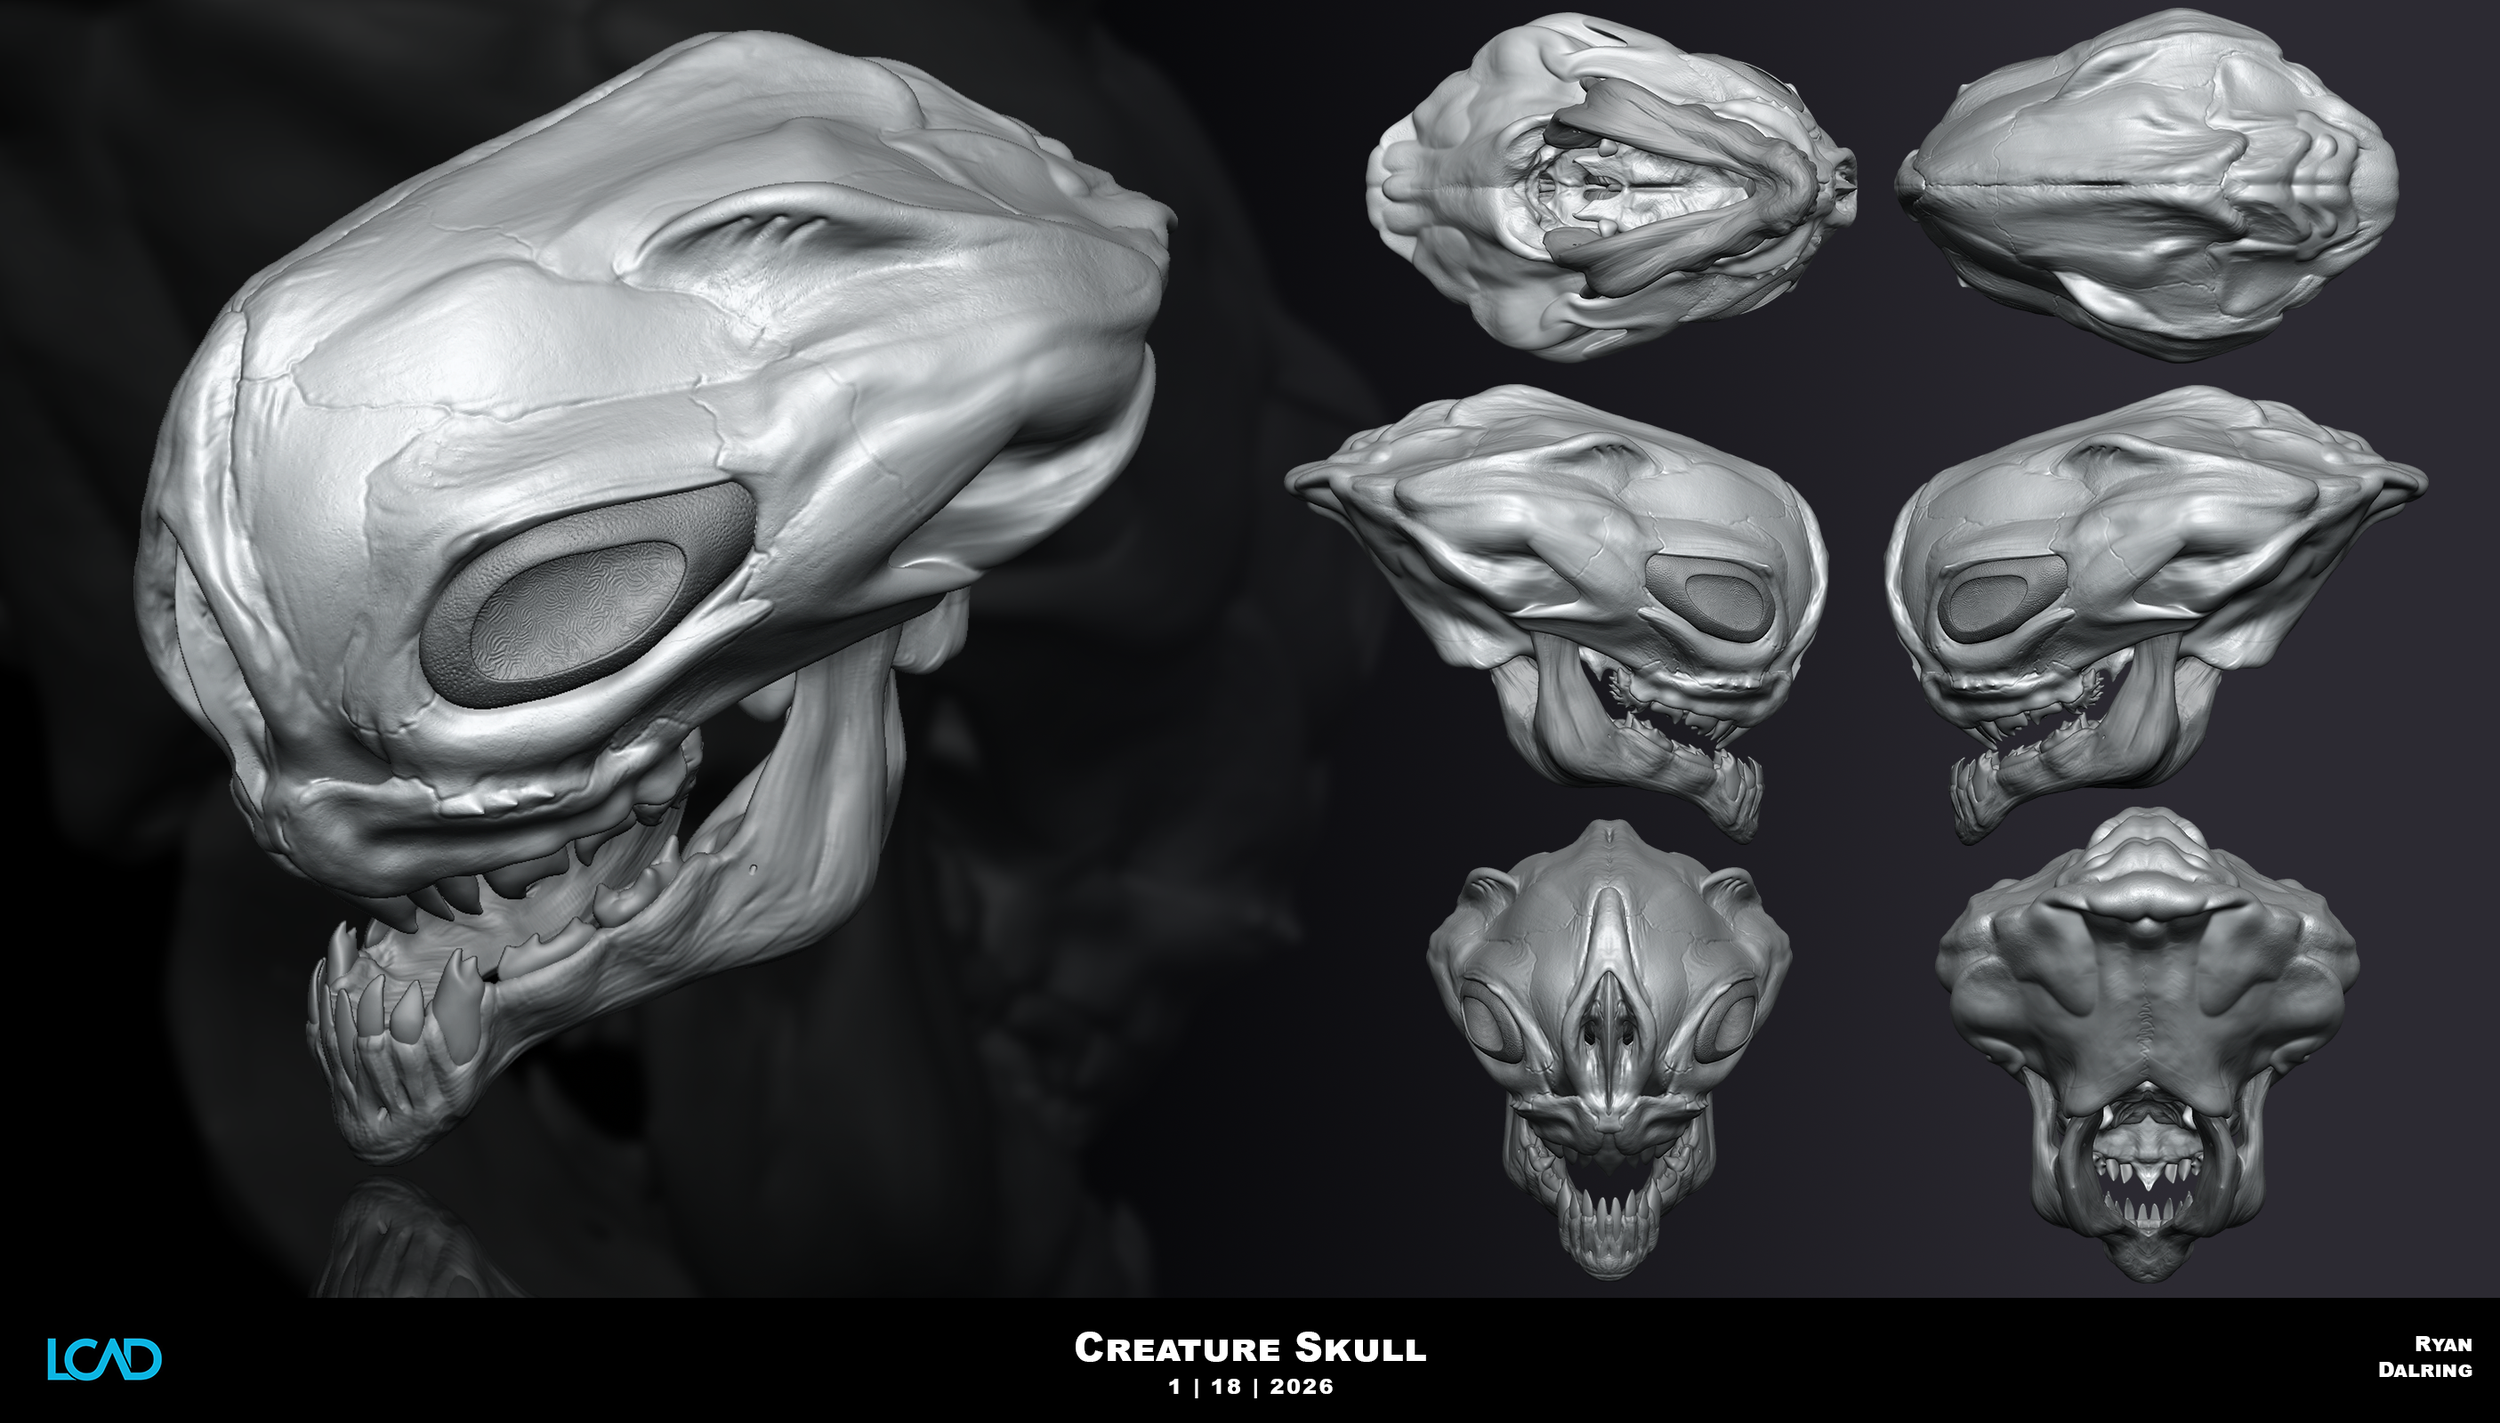
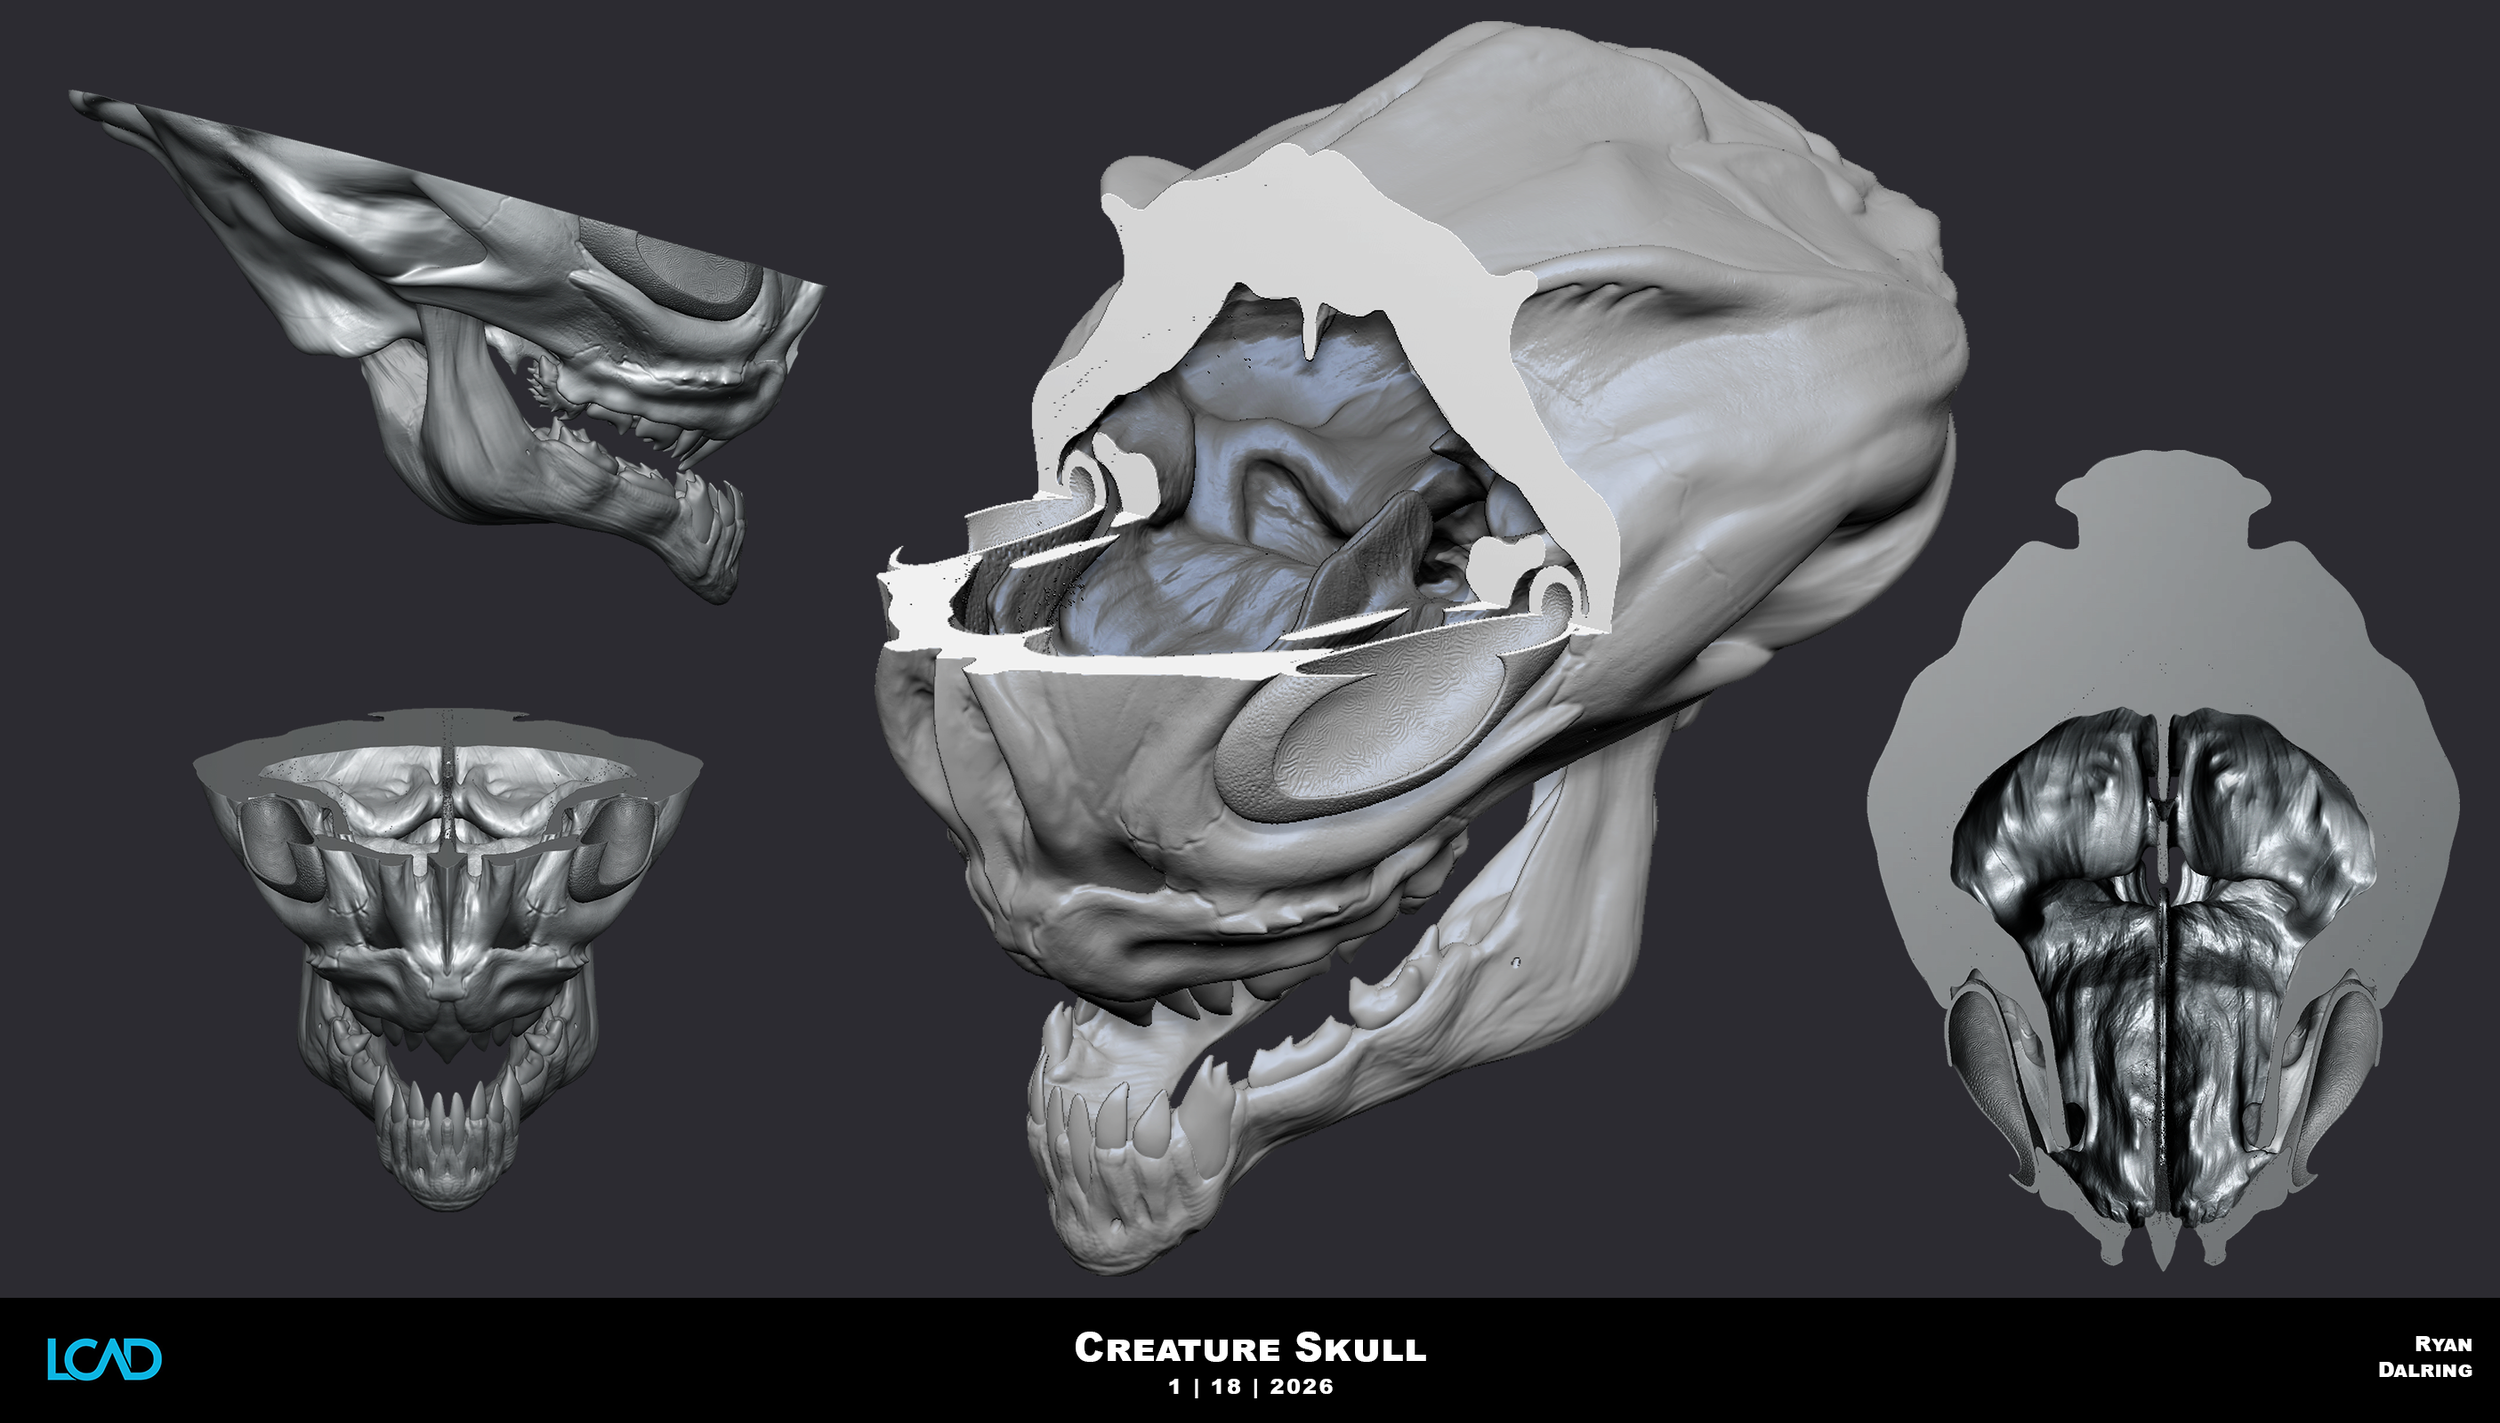
Detailing and Finishing
With the new, clean, subdivided mesh, begin refinement.
Smooth polygonal facets that projected from the Dynamesh model.
Use brushes like "Damien Standard" to sketch and define contours and details.
Use alphas for texture, then blend them with sculpting brushes to integrate them.
Use reference images (e.g., a real skull) to guide detail level, such as adding foramina for blood vessel entry points.
5. Presentation and Voting
Preparing for Presentation
Adjust document size to fit the model's orientation (e.g., more vertical) for a character sheet.
Use "Ctrl+N" to clear the canvas, then drag the tool out and frame it.
Use "Z output properties" to generate a character sheet with multiple views (e.g., front, profile) and send it to Photoshop.
Voting Process
Get the generated variations voted on by others.
Show designs publicly on a device like an iPad.
Narrow down to a top three.
From the top three, pick one design to refine in the next phase.
Assignments
Create 20–50 layers of variations on your model.
Generate 50 unique head variations by combining and baking layers. Spend no more than 3 minutes per head.
Upload final variations to the cloud drive for voting.
Get votes to narrow designs to a top three, then select one to continue.
Review the material posted on the week three page for next week.
For the chosen sculpt, use ZRemesher and projection to create clean, refinable meshes for both skull and jaw.
Begin refining the new clean mesh, focusing on form, details, and textures, referencing provided skull images.
Lab day - No Video
Deformation
The Deformation palette provides a set of global transformation tools used to adjust the overall shape, scale, and proportions of a model without adding or sculpting surface detail. These operations affect the entire subtool or masked regions and are controlled through sliders, making them ideal for early block-in, proportional correction, and structural adjustments. Deformation tools are resolution-independent and predictable, allowing for clean transformations such as scaling, inflating, twisting, tapering, and bending. The Unify function is commonly used to center and uniformly scale a model so it fits correctly within ZBrush world space, ensuring consistent behavior across tools and workflows.
Primary Use Cases:
Adjusting overall proportions during early block-in
Correcting scale and positioning of imported meshes
Applying controlled global transformations without surface distortion
Preparing geometry for further sculpting and refinement
Unify
Unify automatically centers and uniformly scales the active subtool so it fits correctly within ZBrush world space. This operation does not alter the model’s proportions, only its overall size and position, making it ideal for correcting improperly scaled or offset imported geometry. Using Unify helps prevent common issues such as incorrect gizmo sizing, unstable deformation behavior, Boolean errors, and inconsistent brush responses. Because it standardizes scale and placement, Unify is most effective when applied early in a project or immediately after importing a mesh, and it affects only the currently selected subtool.
Primary Use Cases:
Correcting scale and position of imported meshes
Normalizing subtool size for predictable gizmo behavior
Preventing issues with deformation, Boolean, and brush tools
Establishing a clean, consistent starting point for sculpting
Sculpting Refined Form
Sculpting Refined Form focuses on improving the clarity, structure, and flow of an existing sculpt without adding new major shapes. This stage emphasizes cleaning up planes, strengthening transitions, and ensuring forms read clearly from all angles. Refined form work is typically done after primary and secondary shapes are established, using controlled brush strokes and subtle adjustments. The goal is to remove visual noise, reinforce intent, and prepare the model for surface detail and presentation.
Primary Use Cases:
Cleaning up and clarifying existing forms
Strengthening plane changes and transitions
Improving silhouette and overall readability
Preparing the sculpt for detailing and final passes


AccuCurve
AccuCurve modifies how a brush influences the surface by producing sharper, more defined edges with reduced falloff. This setting creates crisper and more intentional form transitions, making it especially effective for sculpting planes, hard breaks, and structural forms. AccuCurve is commonly used in combination with brushes such as Move, Clay, and Standard during the form refinement stage, rather than early block-in. By limiting softness in brush strokes, AccuCurve helps prevent mushy surfaces and maintains clean, readable shapes throughout the sculpt.
Primary Use Cases:
Sharpening planes and edge transitions
Refining structural forms without over-smoothing
Maintaining crisp silhouettes during mid-to-late sculpt stages
Improving clarity and readability of surface forms
Pinch Brush
The Pinch brush pulls surface points toward the center of the stroke, sharpening edges and tightening form transitions. It is commonly used to define creases, sharpen folds, and clean up plane changes, making it especially effective for wrinkles, hard edges, and stylized details. Pinch is best applied after primary and secondary forms are established, as excessive use can thin geometry or introduce surface artifacts. It is often paired with Smooth or Polish brushes to balance sharpness and maintain clean surface flow.
Primary Use Cases:
Sharpening edges and tightening form transitions
Defining creases, folds, and wrinkles
Cleaning up intersections between planes
Refining stylized or high-contrast surface detail.
Adjust Last
Adjust Last allows you to modify the most recent brush stroke without undoing the action. It enables post-stroke adjustments to size, intensity, and depth, making it ideal for fine-tuning strokes that are nearly correct. Adjust Last is accessed through Stroke ▸ Replay Last ▸ Adjust Last and applies only to the last action performed. Once a new stroke or operation is executed, the adjustment option is no longer available, making this tool most effective for quick, immediate refinements.
Primary Use Cases:
Fine-tuning brush strokes without undoing
Correcting intensity or depth after a stroke is applied
Improving precision during detail refinement
Maintaining workflow efficiency during sculpting
Replay Last
Replay Last repeats the most recent brush stroke or action exactly as it was originally performed. This tool is useful for building consistent, repeatable detail without manually recreating the same stroke. Replay Last is accessed through Stroke ▸ Replay Last and can be triggered multiple times to stack identical results. It works best for patterns, wrinkles, and controlled incremental buildup, and the stored action is replaced as soon as a new stroke or operation is performed.
Primary Use Cases:
Repeating consistent surface detail
Building patterns or rhythmic forms
Speeding up incremental sculpting workflows
Maintaining uniformity across repeated elements
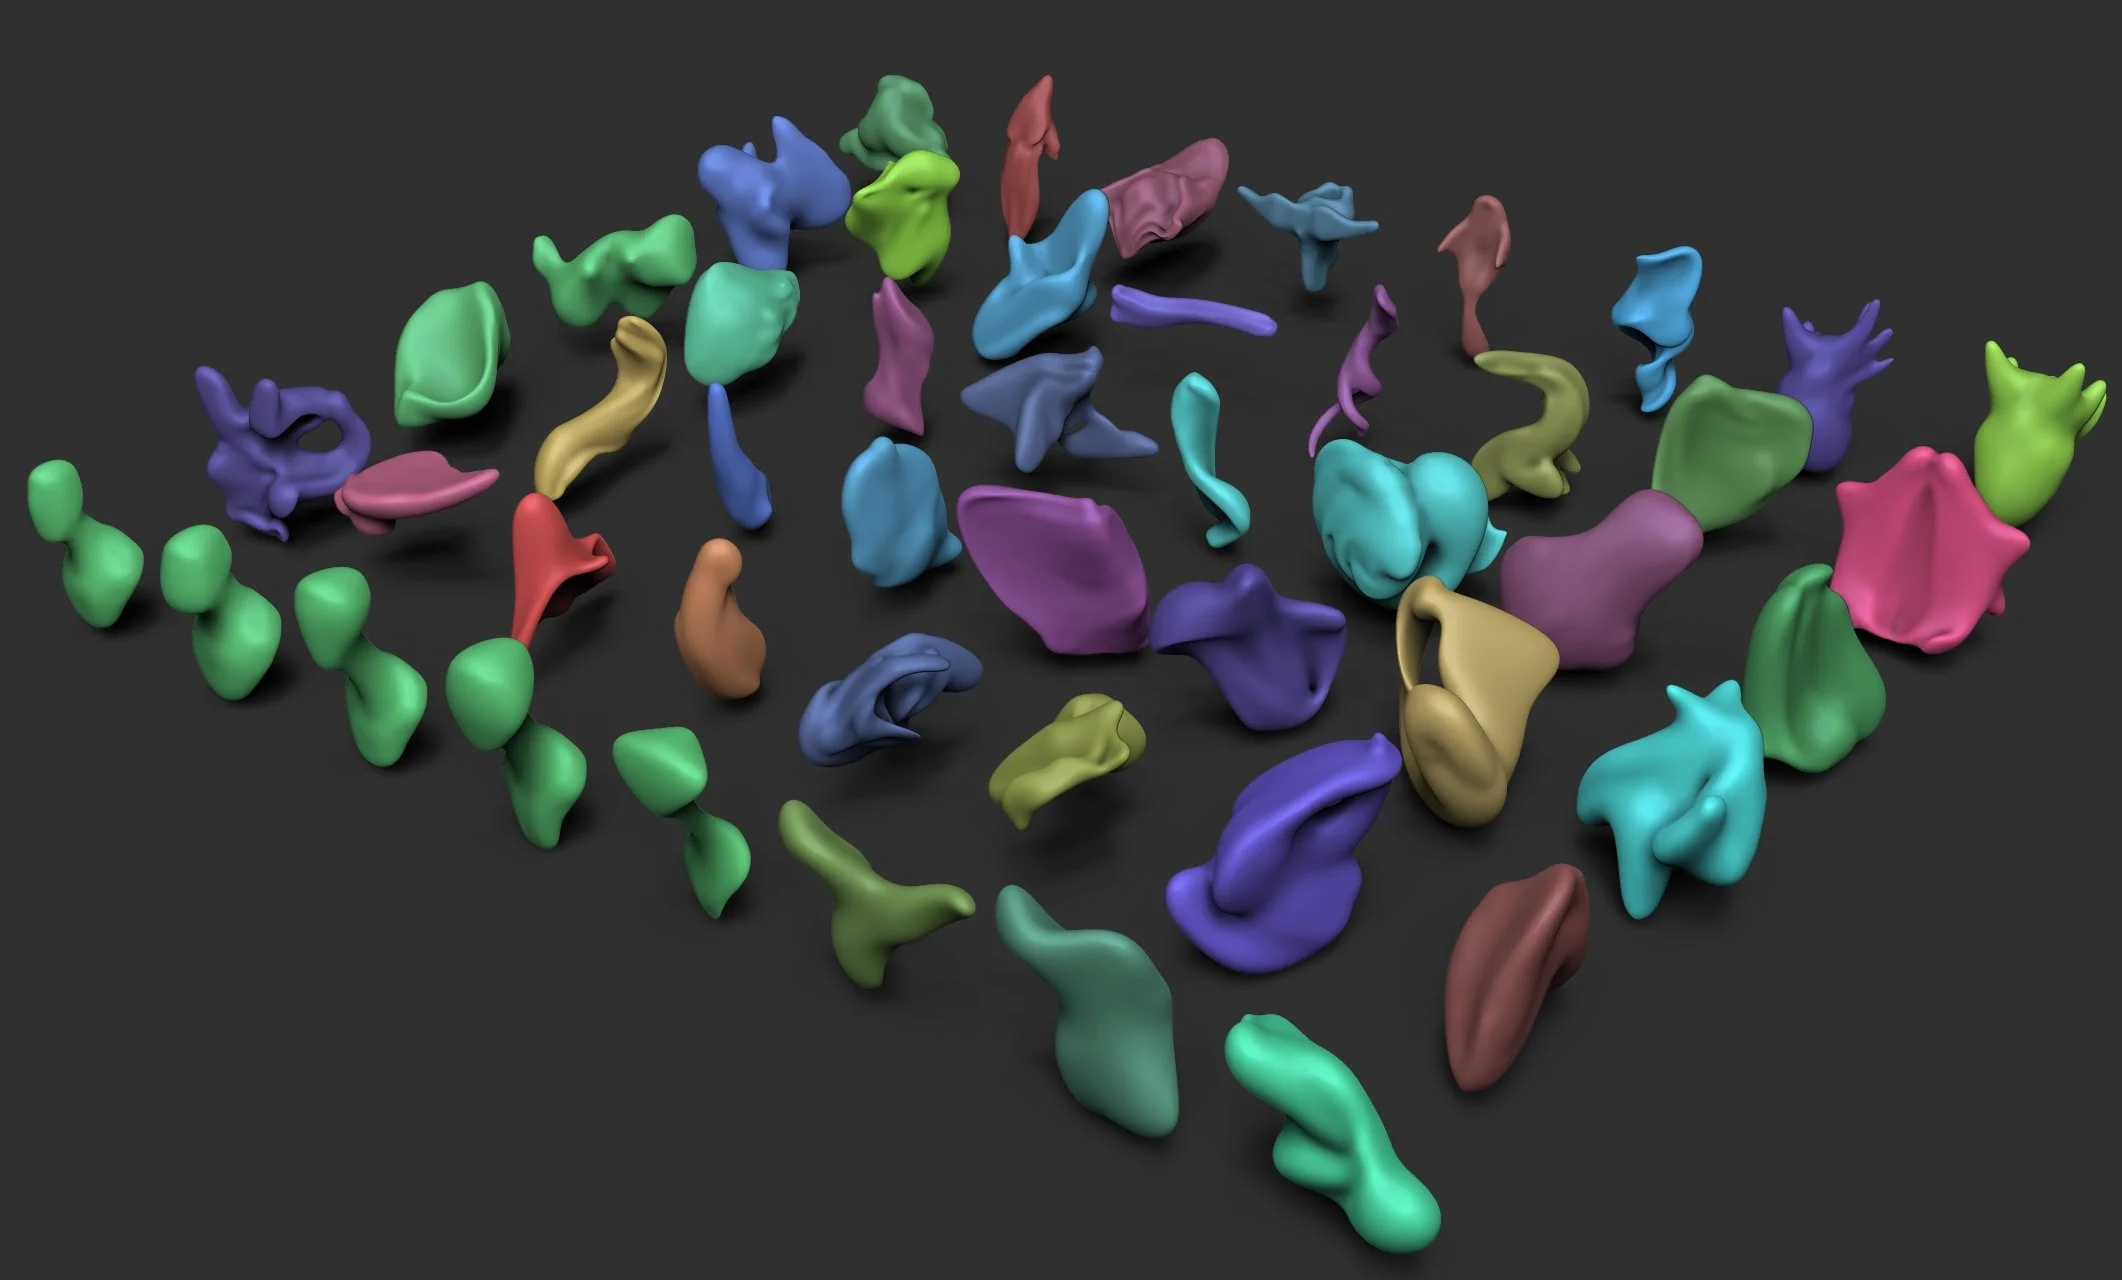
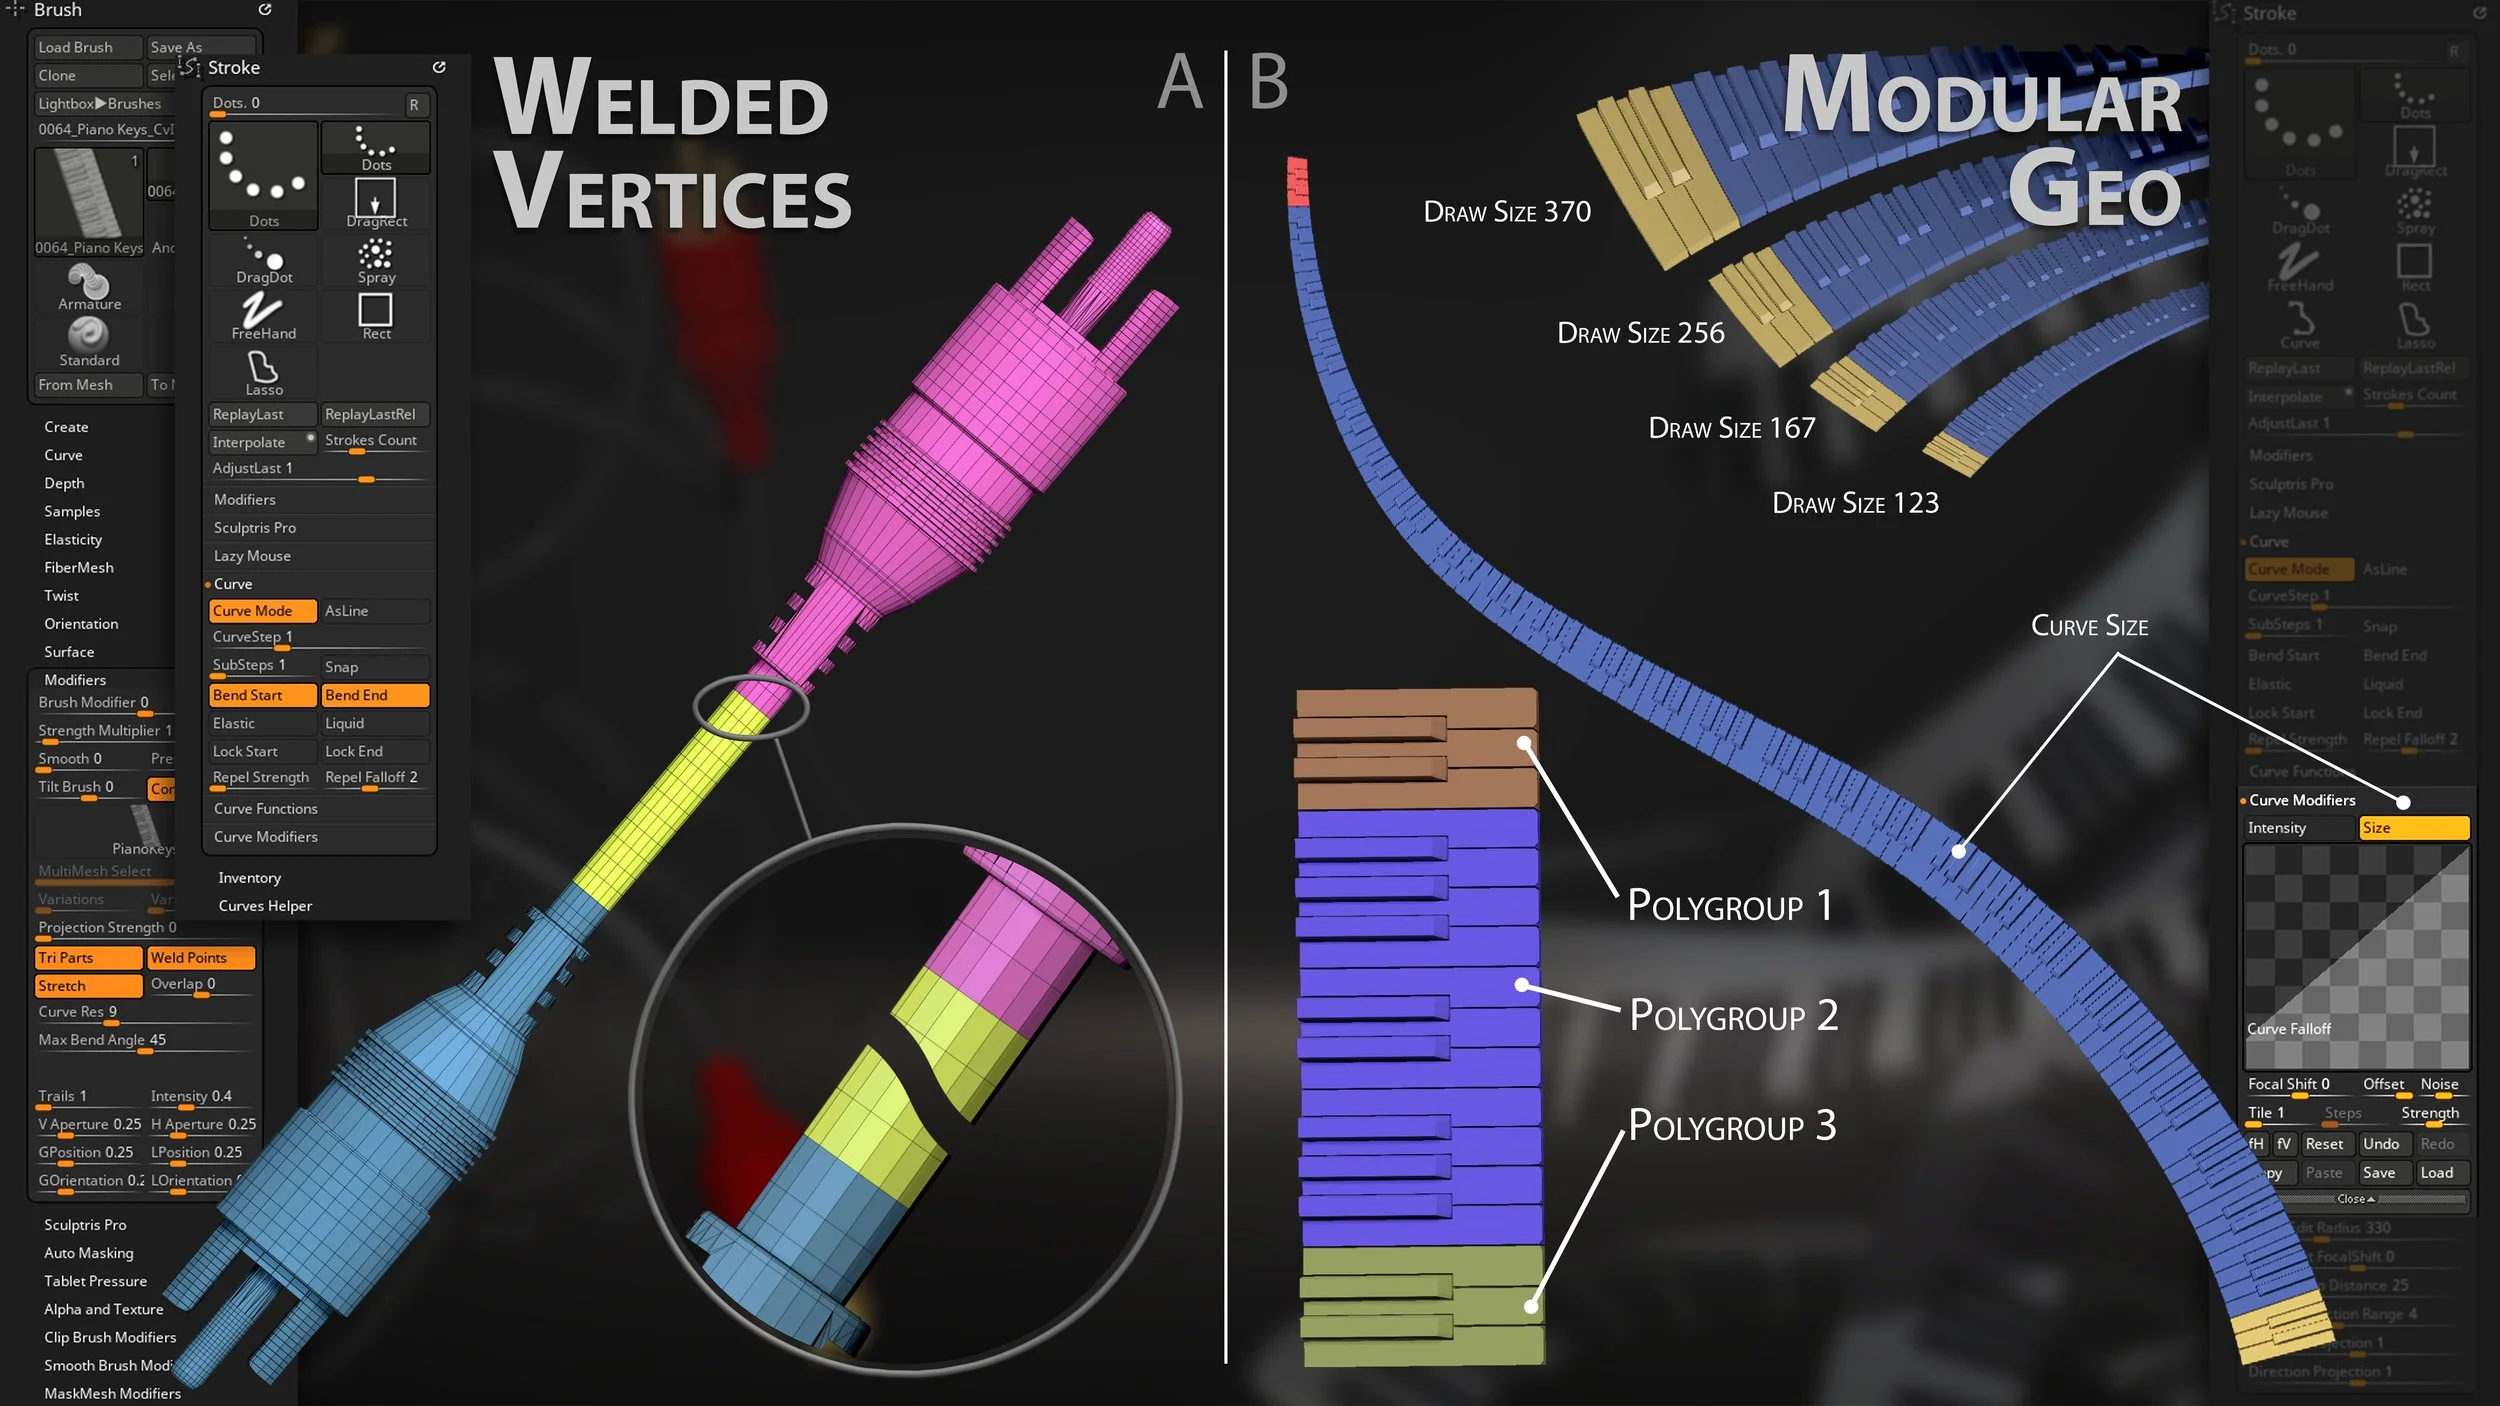
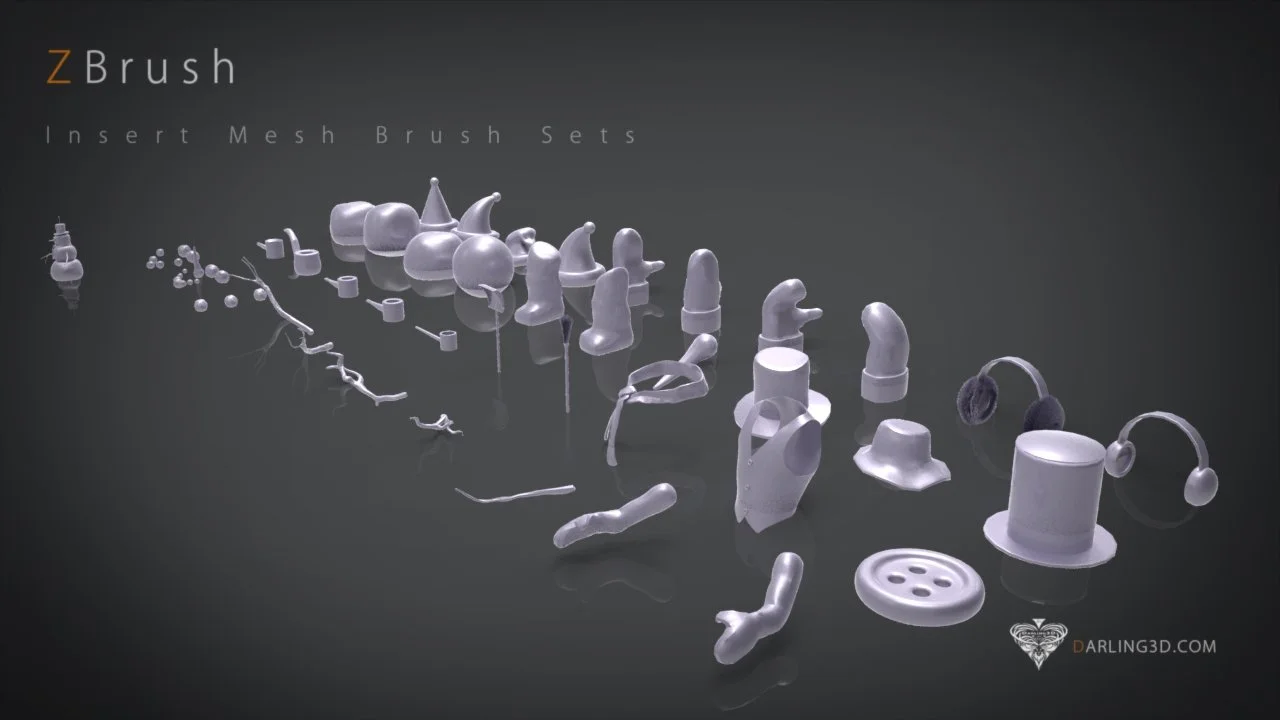
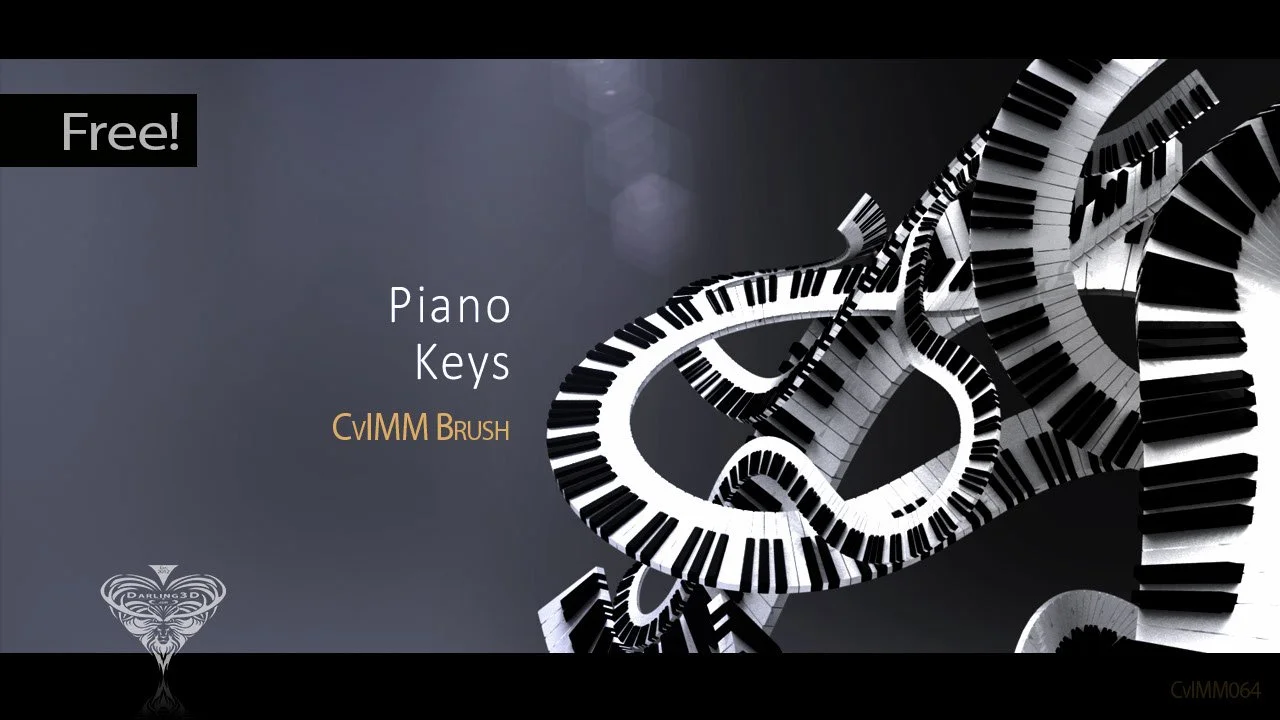
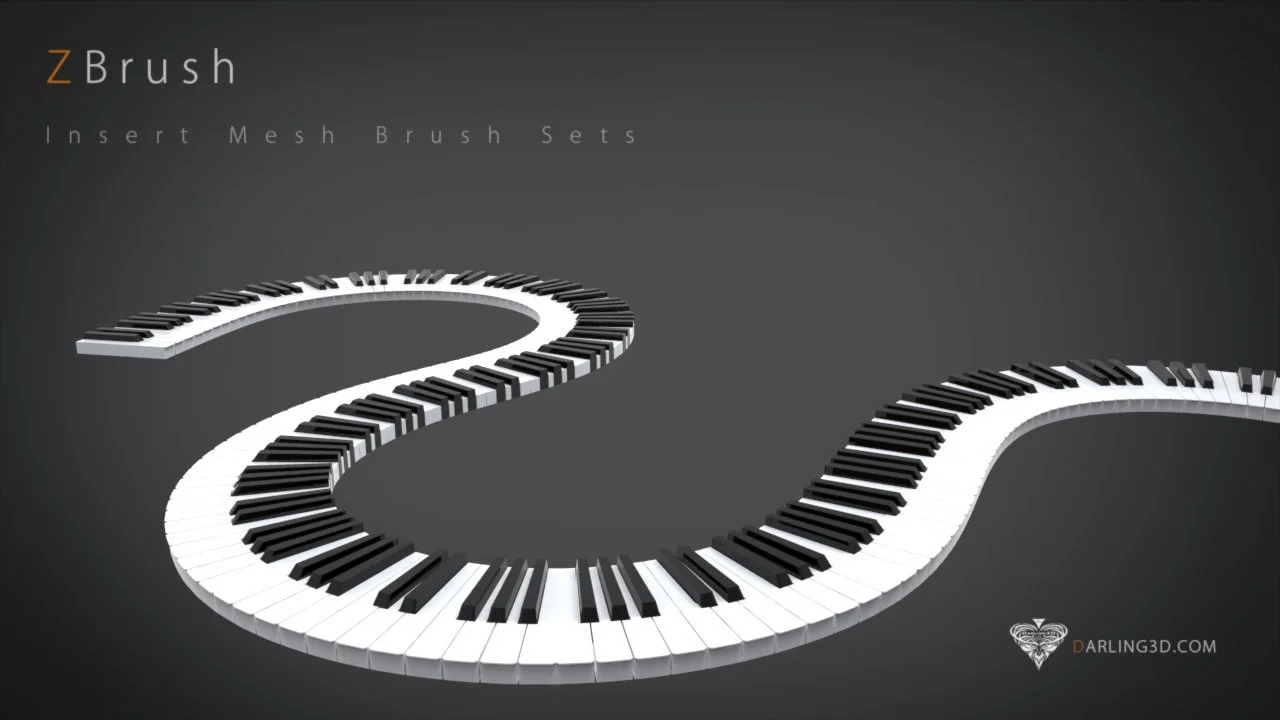
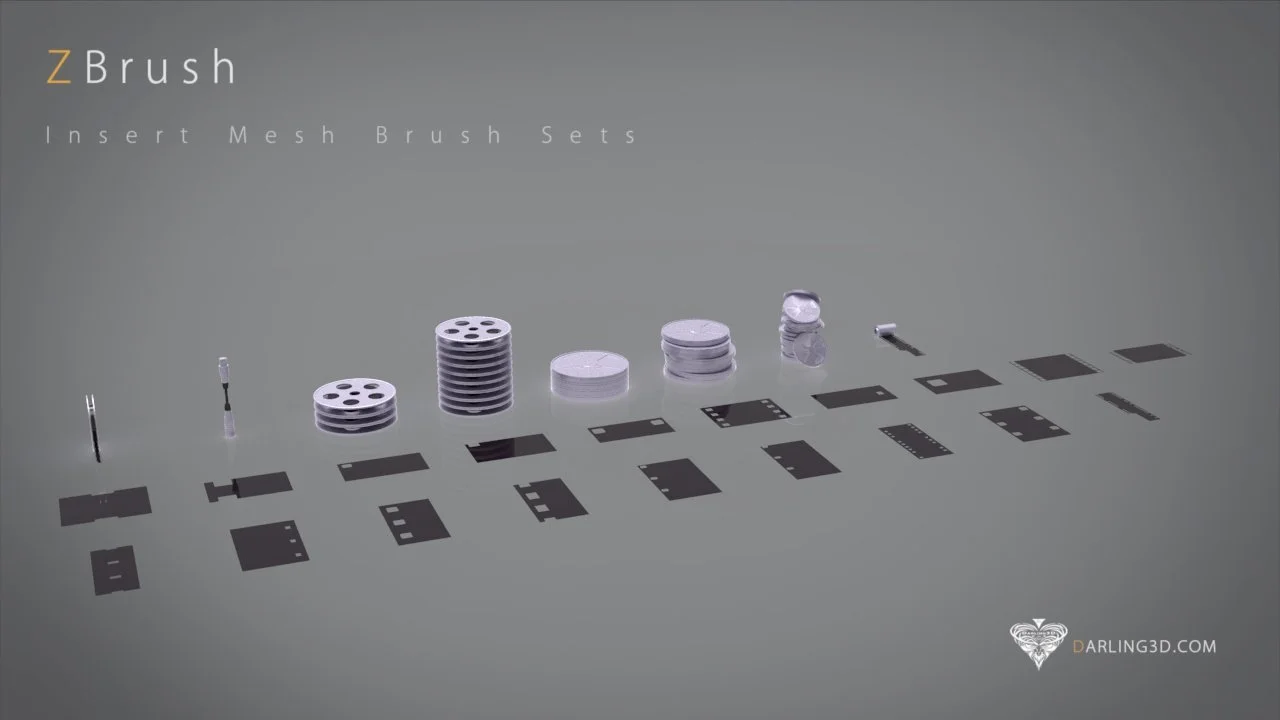
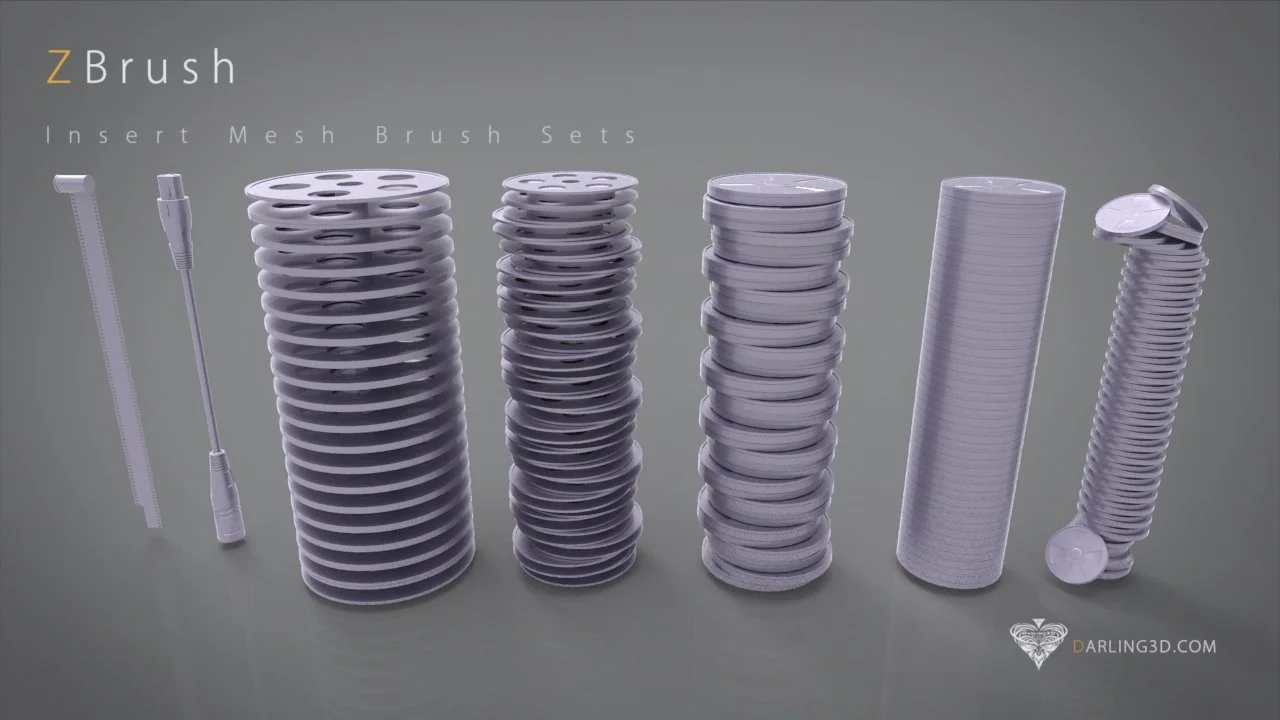
IMM Brush Creation
IMM Brushes (Insert Multi Mesh) allow you to insert pre-made geometry directly onto a model instead of sculpting each element manually. Each IMM brush can contain multiple mesh variations that cycle as you place them, making them ideal for rapid iteration. Inserted meshes become part of the sculpt and can be moved, scaled, and rotated using the Gizmo, while working cleanly with polygroups and masking for precise placement. IMM Brushes are widely used in kitbashing workflows to maintain consistency and significantly speed up production, especially for mechanical, armor, and repeatable design elements.
Primary Use Cases:
Rapidly placing repeatable design elements
Kitbashing armor, panels, and mechanical parts
Maintaining consistent forms across a model
Speeding up production without sacrificing control


Depth
Depth controls how far a brush stroke pushes into or pulls out of the surface along the camera’s view direction. It directly affects how strongly a brush adds or subtracts volume, with higher values producing deeper, more pronounced strokes and lower values creating subtler effects. Depth is especially important when using Standard, Clay, and Inflate-type brushes, where volume control is critical. It can be adjusted through the Brush ▸ Depth menu or via brush intensity, helping artists avoid over-sculpting and maintain clear, readable forms.
Primary Use Cases:
Controlling how strongly brushes add or remove volume
Preventing over-sculpting during form development
Fine-tuning stroke intensity for subtle detail work
Maintaining readable form transitions and surface clarity
Tool and Brush Masking
Tool and Brush Masking use masks to control which areas of a model are affected during sculpting and transformation. Tool Masking protects specific regions of a mesh from edits, while Brush Masking modifies how an individual brush interacts with the surface. Masks are commonly created by painting them directly, generating them from polygroups, or using selection tools, allowing artists to isolate areas, control deformations, and focus detail work. Masked regions remain unaffected by sculpting or deformation tools, enabling clean, precise edits without damaging surrounding forms.
Primary Use Cases:
Isolating areas for focused sculpting or deformation
Protecting existing detail during refinement
Controlling brush influence on complex forms
Making clean, non-destructive edits to a model
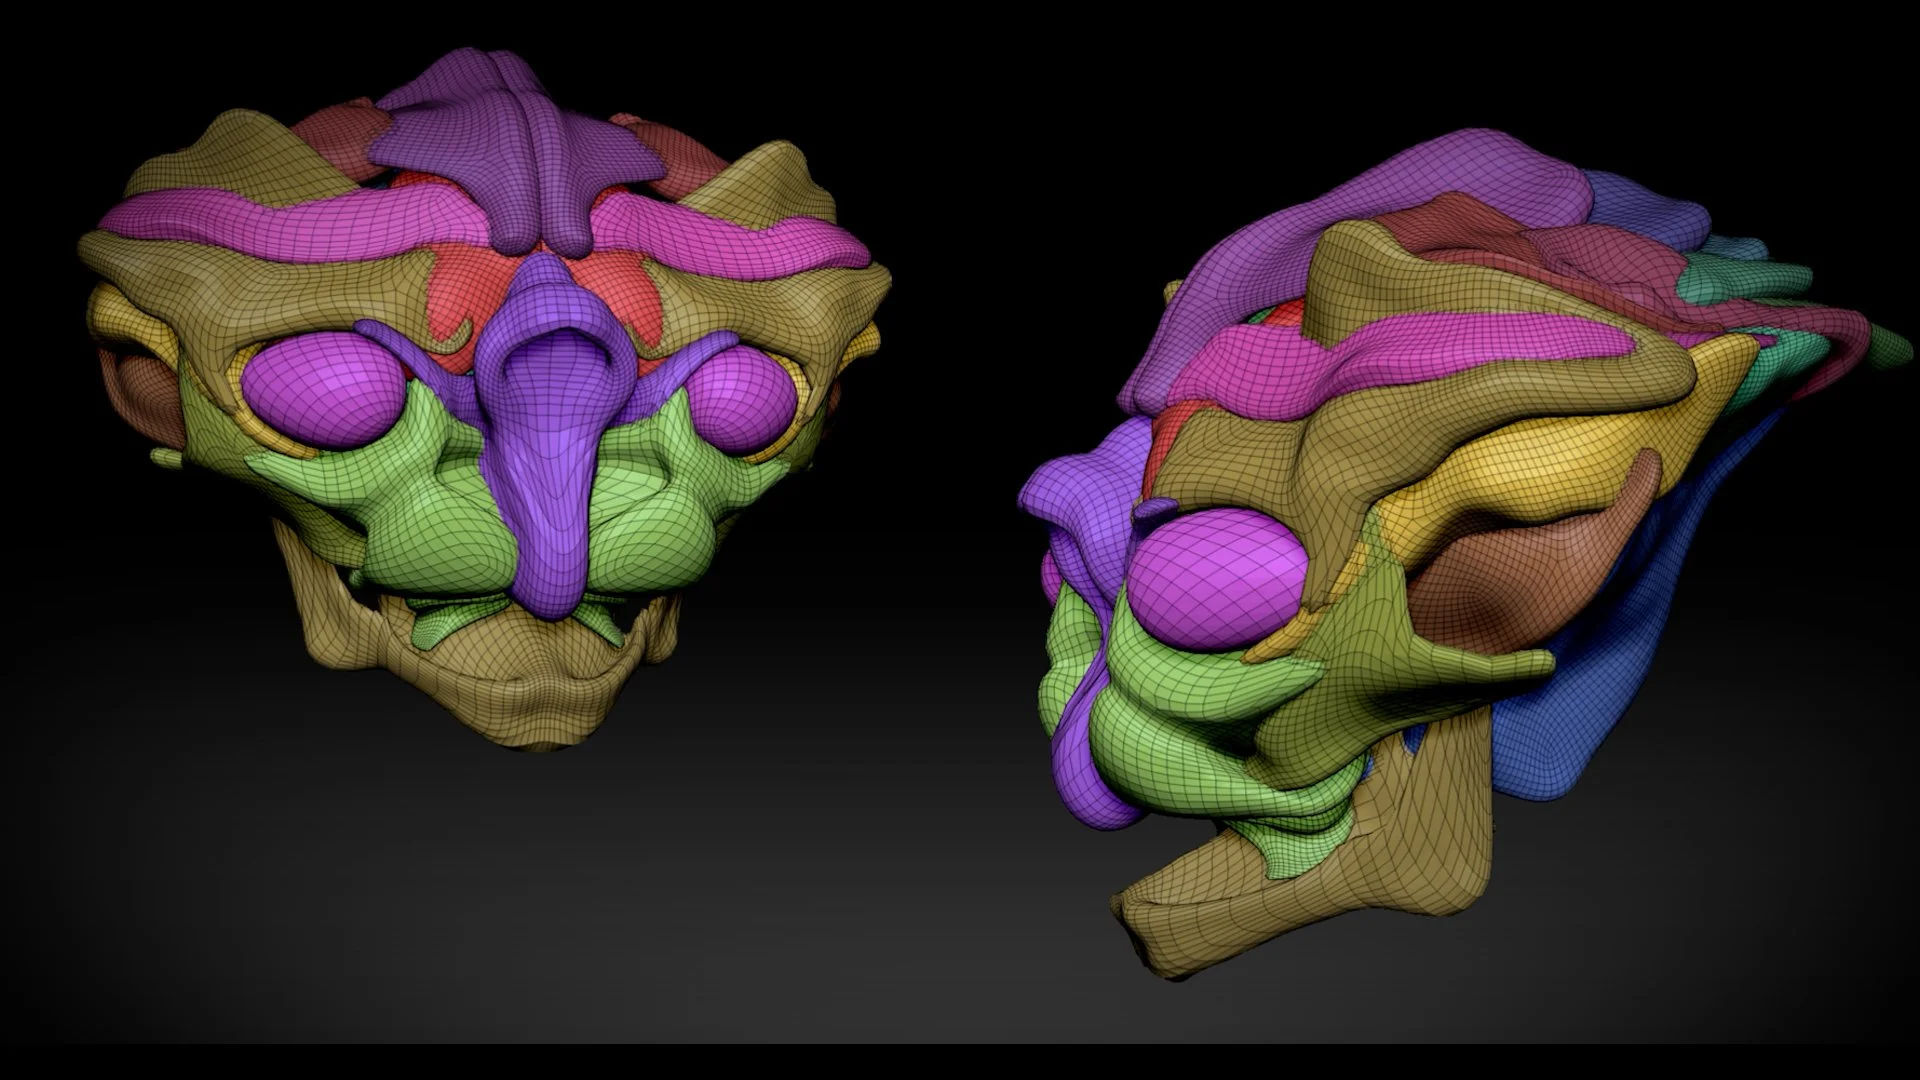
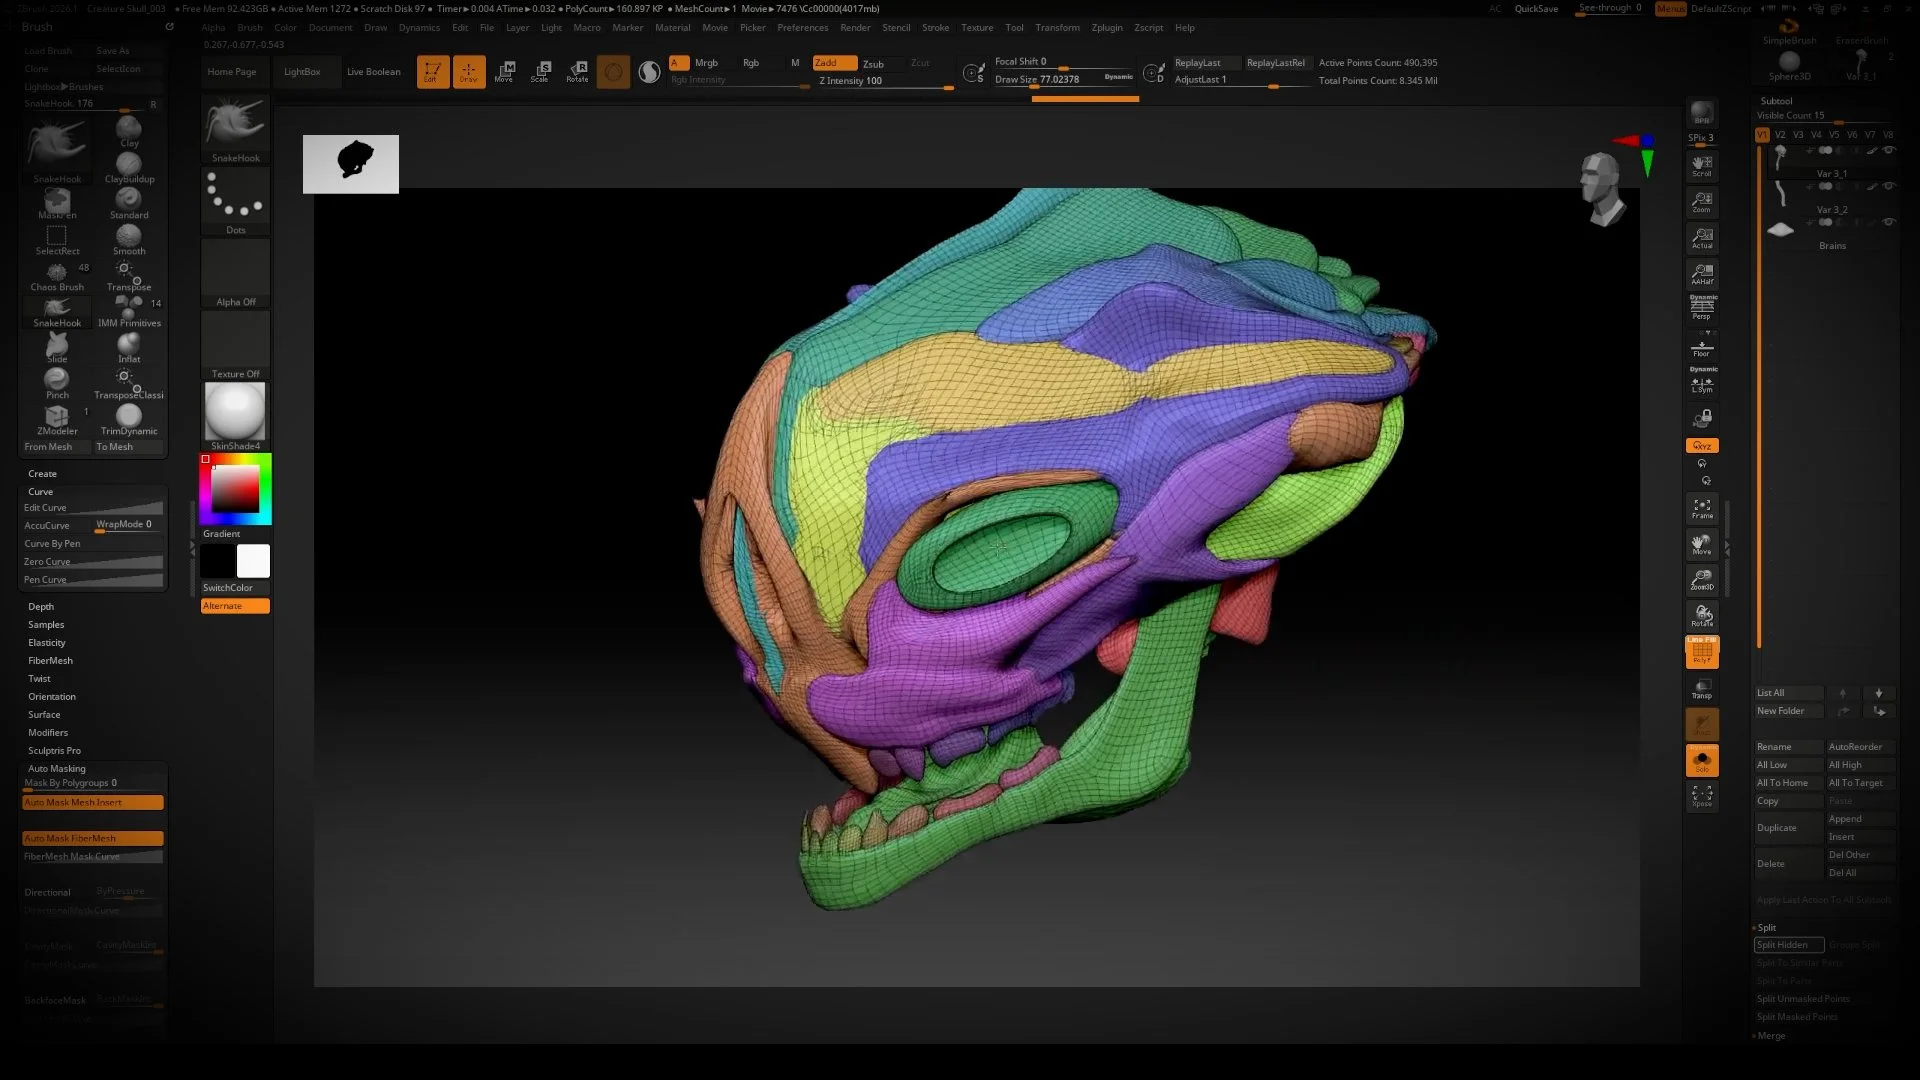
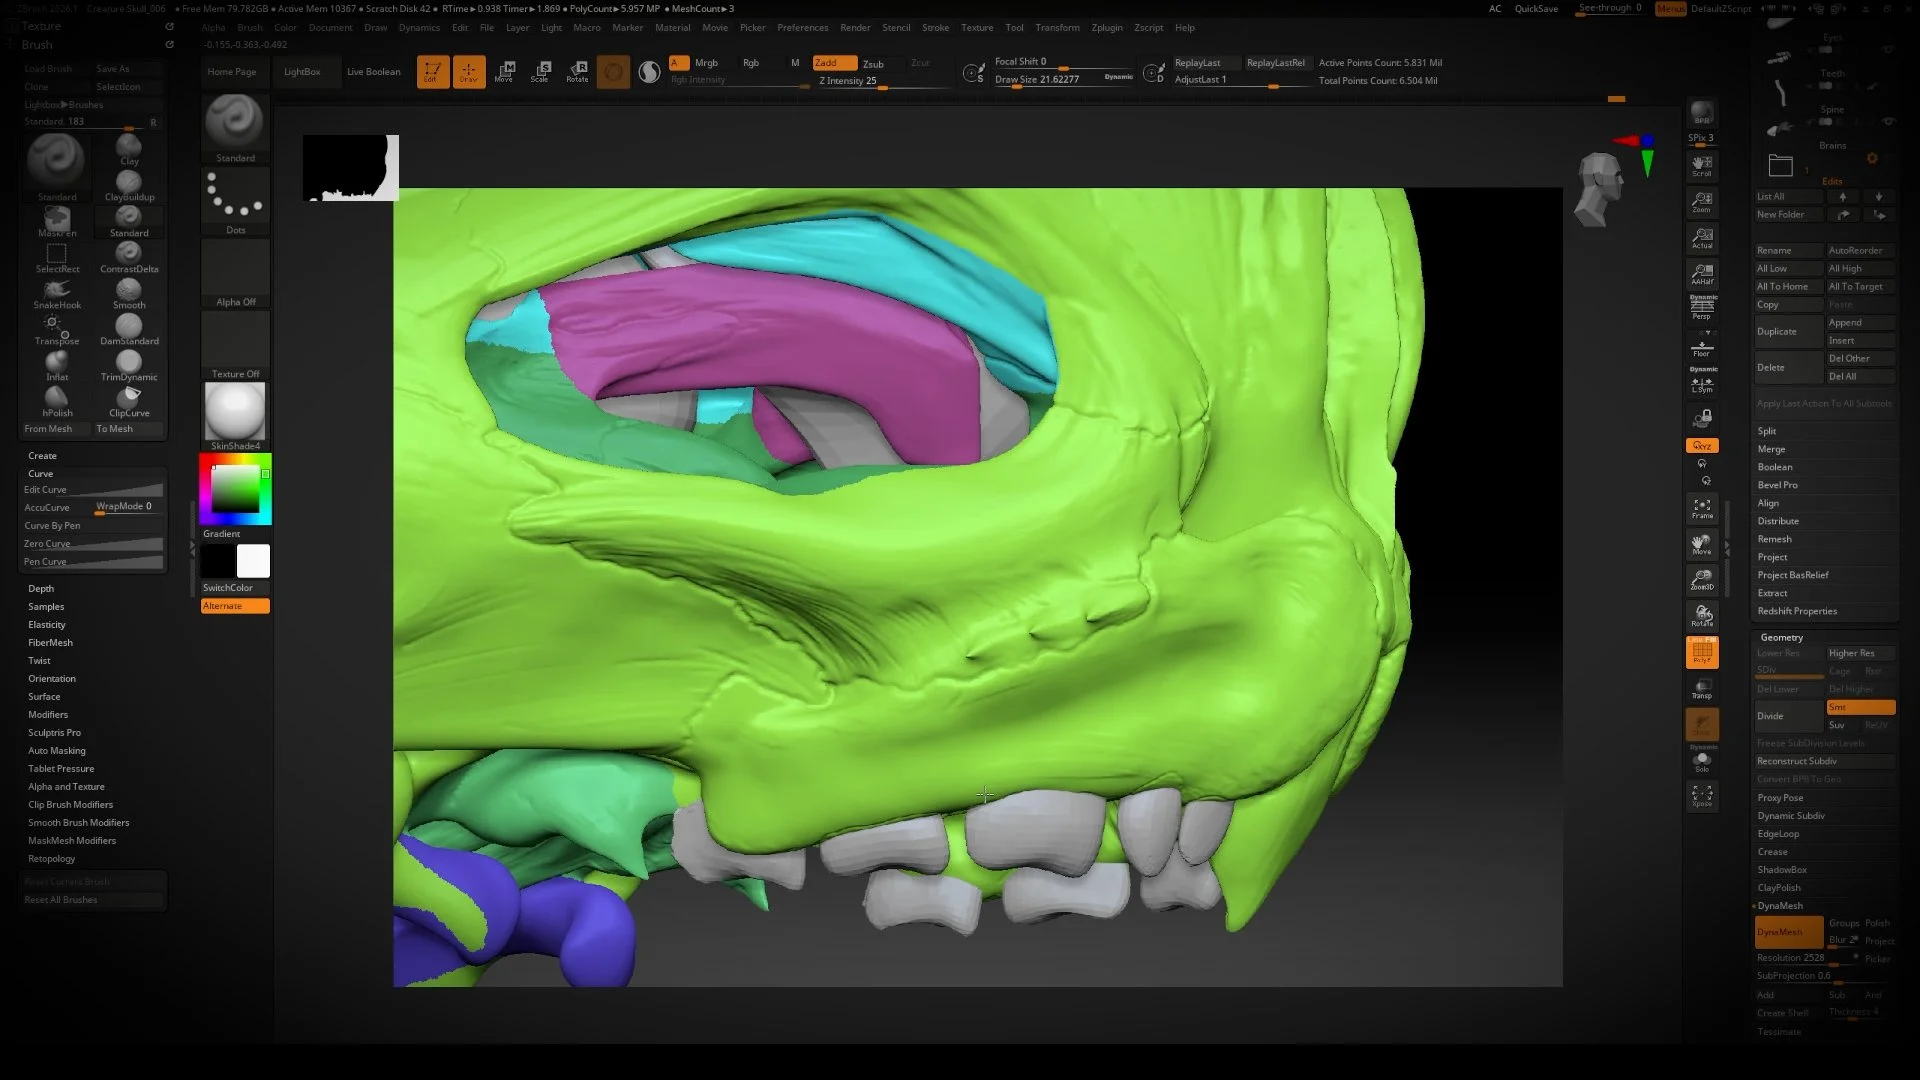
Polygroups
Polygroups divide a model into colored sections that help organize and control geometry within a sculpt. They make it easier to select, mask, hide, or isolate specific parts of a mesh, and many ZBrush tools can operate by polygroup for cleaner, more controlled edits. Polygroups are commonly used to separate hard-surface components, limbs, and distinct forms, and are essential for workflows such as ZModeler, Panel Loops, and masking. By breaking complex models into logical sections, polygroups help keep projects organized and manageable.
Primary Use Cases:
Organizing complex geometry into manageable sections
Isolating parts of a model for sculpting or editing
Enabling polygroup-based tools and workflows
Supporting hard-surface modeling and paneling operations
Image Plane
An Image Plane allows a reference image to be displayed directly within the ZBrush viewport for visual guidance while sculpting. It is commonly used to match proportions, anatomy, and silhouettes during form development. Image Planes can be positioned on the front, side, or top views of a model and do not affect the geometry in any way. Because they are reference-only, Image Planes help maintain accuracy and consistency throughout the sculpting process.
Primary Use Cases:
Matching proportions and anatomical landmarks
Aligning silhouettes to reference images
Maintaining accuracy during block-in and refinement
Providing visual guidance without affecting geometry
See-Through
See-Through allows you to view internal or hidden geometry by making the surface of a model visually transparent. This view-only feature is useful for aligning forms, checking symmetry, and positioning internal structures without modifying the mesh. See-Through can be toggled on and off to quickly inspect spatial relationships between parts, making it an effective tool for accurate placement and proportion checks during sculpting.
Primary Use Cases:
Inspecting internal or overlapping geometry
Aligning forms and checking symmetry
Positioning internal structures or components
Verifying proportions without altering the mesh
Turntables
Turntables automatically rotate a model to create a 360-degree view of a sculpt. They are commonly used to review forms, check symmetry, and identify issues that may not be visible from a single angle. Turntables are also used to export videos or image sequences for critique, presentation, and portfolio use. This tool helps ensure the model reads clearly from all viewing angles and is an essential step in preparing final submissions and professional presentations.
Primary Use Cases:
Reviewing overall form and silhouette
Checking symmetry and proportion consistency
Creating turntable videos for critique or portfolios
Presenting finished work from all angles
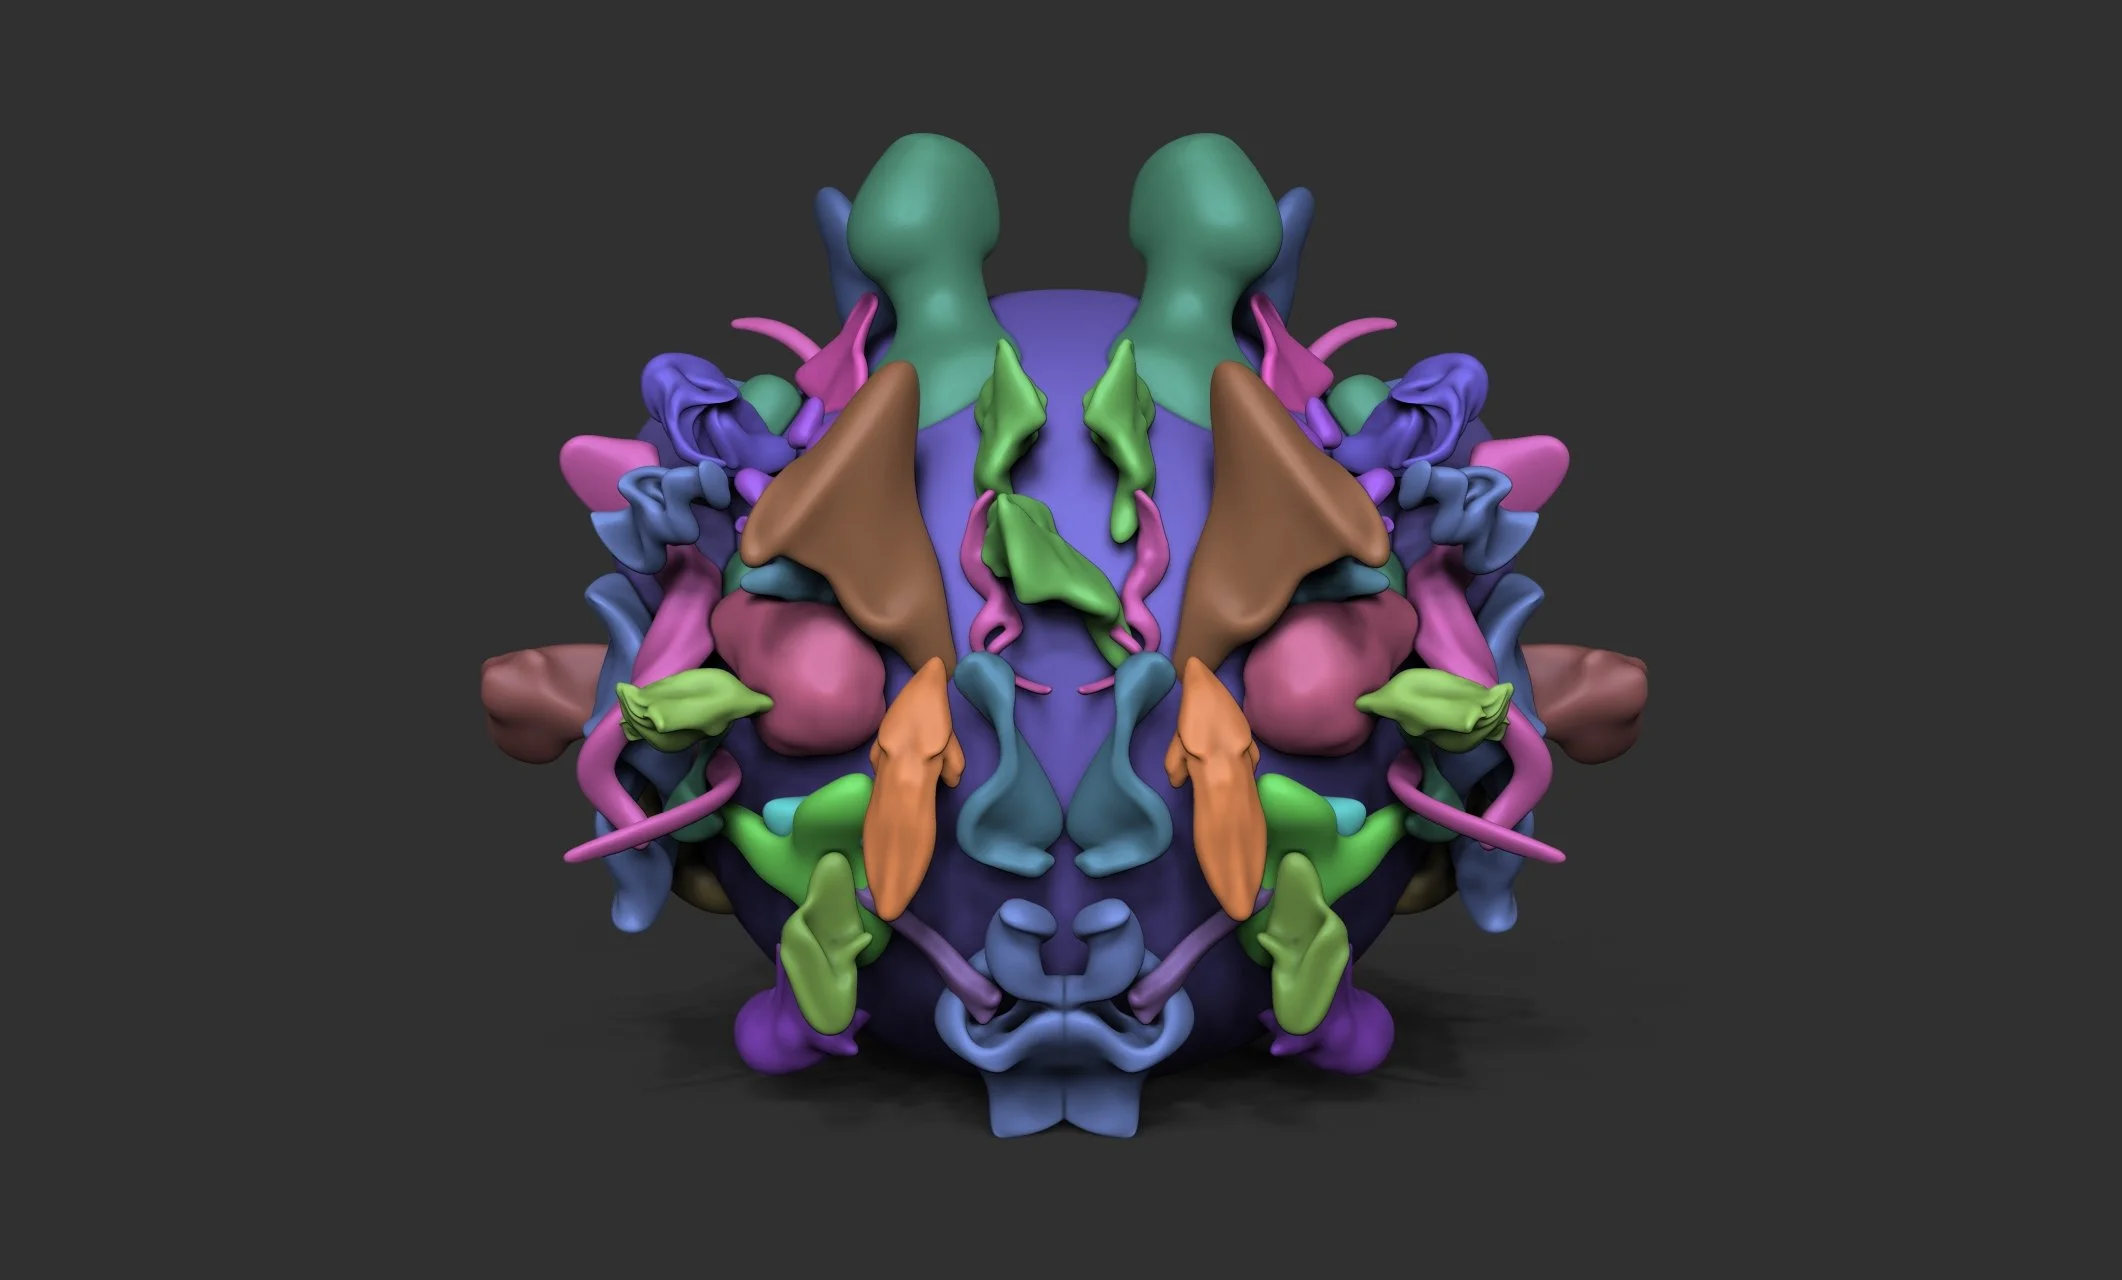
Xtractor Brush
The XTractor Brush samples surface detail from one area of a model and transfers it to another during sculpting. It works by copying the surface height and form under the cursor and reapplying that detail as you stroke, allowing for consistent repetition of textures, wrinkles, and surface patterns. The XTractor Brush does not copy color, only sculpted form, and works best when applied to areas with similar curvature and scale. This brush is commonly used to speed up detailing workflows without manually recreating the same surface detail.
Primary Use Cases:
Repeating surface textures and patterns
Duplicating wrinkles or sculpted details
Maintaining consistency across similar areas
Speeding up detail work without resculpting
Contrast Delta
Contrast Delta increases the difference between high and low points on a surface, sharpening existing detail by pushing peaks higher and valleys deeper. It enhances texture and surface definition without adding new forms, making it ideal for strengthening detail that is already present. Contrast Delta works best during the late stages of refinement and should be used lightly, as excessive values can create harsh or noisy surfaces.
Primary Use Cases:
Enhancing existing surface detail
Increasing contrast in textures and fine forms
Strengthening sculpted details without adding geometry
Final pass refinement of surface definition
Creating Varriants
Concept Exploration and Iterative Sculpting Workflow (Steps 2–5)
This video covers the early ideation and selection phase of a character or creature head design workflow in ZBrush, guiding students from initial exploration through Step 5 of the process. It begins with a Chaos Brush approach to randomly distribute forms across the head, encouraging experimentation and breaking habitual design patterns. Multiple variations are created by generating a large pool of layered subtool versions, allowing for rapid iteration and comparison.
Students duplicate and manage multiple design options, then evaluate and vote on the strongest results, narrowing the exploration down to a final selection. By the end of this video, students should have three strong design candidates and a clear direction chosen. All steps shown in this video stop at Step 5 (Design Selection), with refinement, Dynamesh consolidation, and detailing continuing in the following videos.