
Week 6
Surface and Color Workflow in ZBrush
This week we will cover:
Extraction, Sculptural Hair, Curve Brush Basics, UV Master, Texture Maps, PolyPaint, Skin Color Zones, Spotlight, Adjust Color
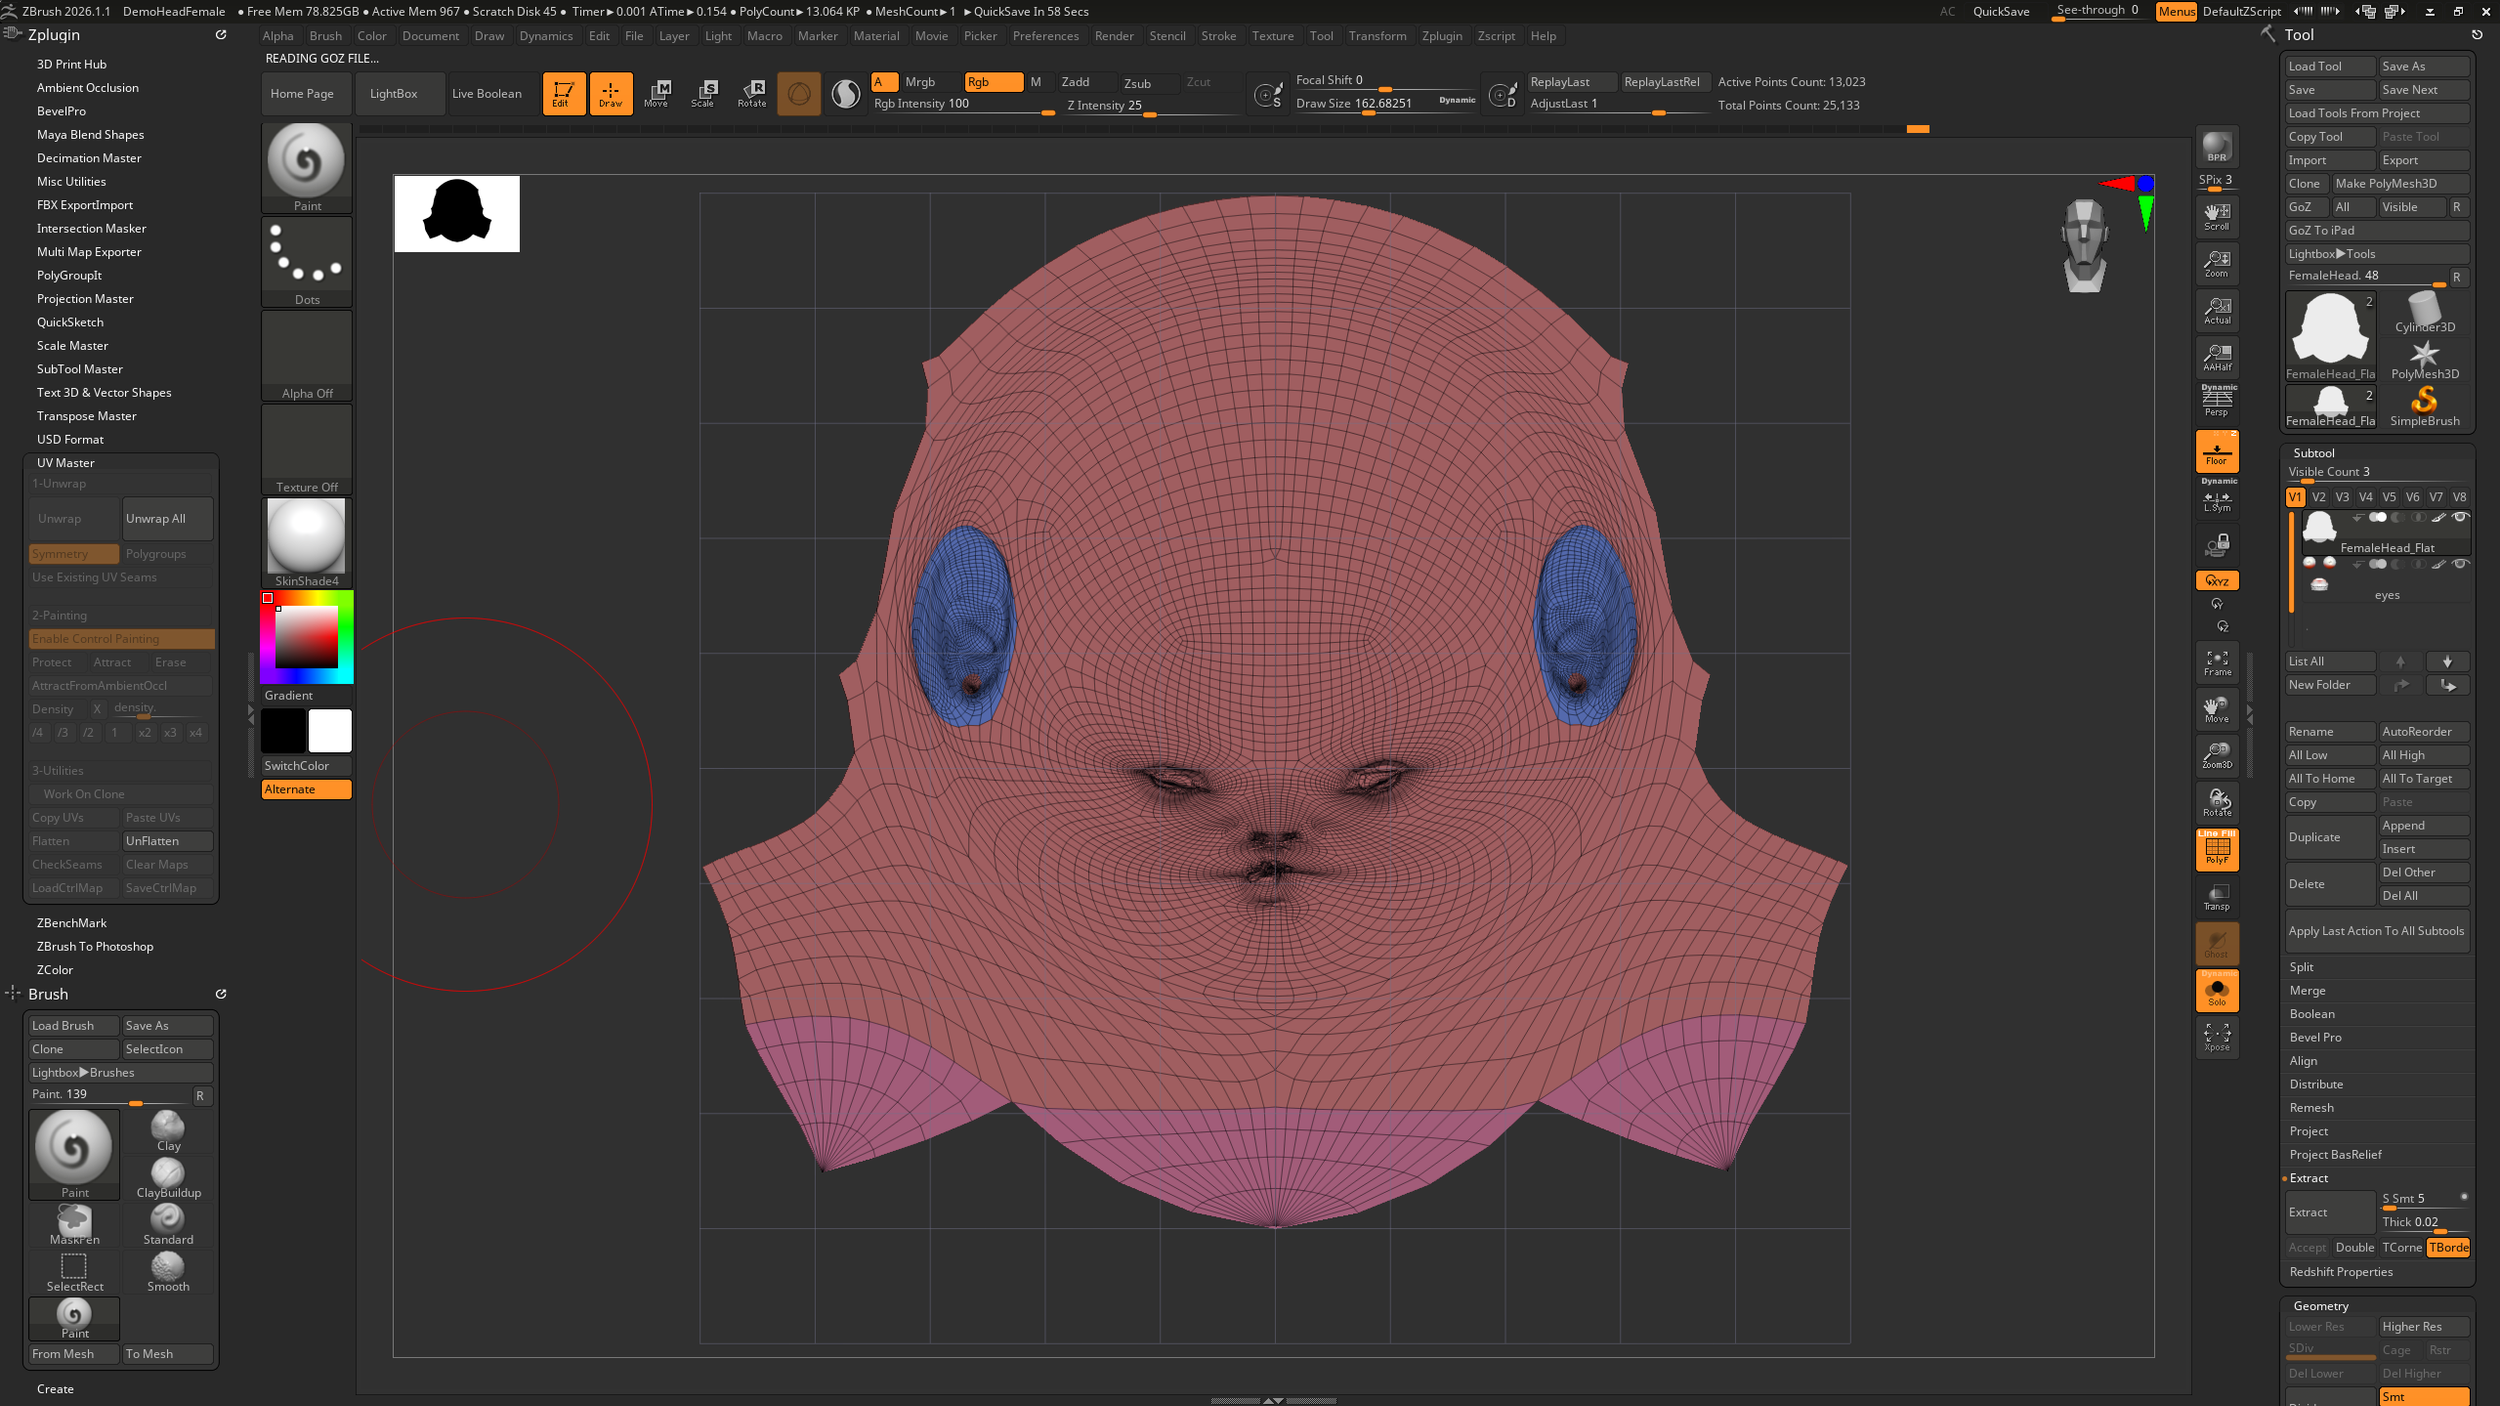
Extraction
Extraction Brushes in ZBrush allow you to generate new geometry directly from an existing surface by “pulling” a masked area outward to create thickness. Instead of sculpting clothing, armor, or surface panels from scratch, you can mask a region of your model and extract it into a separate SubTool with adjustable thickness and edge softness.
This workflow is especially useful for creating garments, straps, hard surface plates, or layered design elements that conform perfectly to the underlying form. Because the extraction follows the contours of your base mesh, it maintains clean surface continuity and saves significant time during the blocking phase.
For beginner to mid-level artists, Extraction Brushes are powerful because they bridge sculpting and construction. They allow you to quickly prototype layered forms while keeping your original model intact, making them ideal for character design exploration and iterative refinement.
Sculptural Hair
VDMs
Sculptural hair in ZBrush is built as solid form rather than individual strands. Instead of thinking in terms of thousands of fibers, you focus on rhythm, flow, mass, and silhouette. Hair is treated like a series of organized ribbons or clumps that wrap around the skull, responding to gravity, gesture, and design intent. For a beginner to mid level artist, this approach keeps the process manageable and visually strong.
The first step is to establish primary masses. Block in the overall shape of the hairstyle using simple forms. Think about the large directional movement before carving in separation lines. Once the major volumes feel balanced, begin defining secondary forms by separating hair into distinct clumps. These clumps should interlock and overlap in a believable way, creating depth and structure without becoming noisy.
This is where VDMs become powerful.
Vector Displacement Mesh brushes allow you to stamp complex three dimensional forms directly into your sculpt. Instead of only pushing or pulling surface depth, a VDM can add fully formed hair strands or clump shapes that project outward in multiple directions. This makes them ideal for quickly building layered hair structures.
To use VDMs effectively for sculptural hair:
Start with a clean, subdivided surface so the displacement has enough geometry to resolve clearly.
Use the DragRect stroke to place individual hair clumps with precision.
Rotate and scale each stamp to avoid repetition and keep the design organic.
Layer multiple VDM strokes to build density gradually rather than all at once.
Blend transitions with Smooth or the Morph Brush to integrate the stamped forms into your base sculpt.
The key is restraint. VDMs are not meant to replace your sculpting judgment. They are tools for accelerating repetition and adding complexity once your foundational hair masses are established. If the primary forms are weak, VDM detail will only amplify the problem.
For a beginner to mid level workflow, think of VDMs as structural building blocks. Block the hairstyle traditionally. Define clumps manually. Then use VDMs to enhance, refine, and multiply well designed shapes. This combination gives you both artistic control and production speed, resulting in sculptural hair that feels intentional, dimensional, and professional.
Curve Brush Basics
Curve Brush Basics
Curve Brushes in ZBrush allow you to draw controlled, editable curves that generate geometry or apply deformation along a defined path. Instead of sculpting stroke by stroke, you place a curve that acts as a guide. This makes Curve Brushes especially useful for creating consistent, repeatable forms such as tubes, cables, horns, trims, stitching, or hair strands.
At their core, Curve Brushes operate by attaching geometry to a spline. You draw the curve directly on the surface of your model, and ZBrush distributes the brush shape along that path. The curve remains editable, meaning you can move control points, adjust tension, reposition it, or even snap it to a different surface without rebuilding the form from scratch.
For beginner to mid level artists, the most important concepts to understand are:
Drawing the Curve – Click and drag on the surface to lay down the path.
Editing the Curve – Click on curve points to move or reshape them.
Snapping – Curves can adhere to the surface of your model, maintaining contact as you reposition them.
Deleting – Alt click on the curve to remove it cleanly.
Curve Brushes are especially powerful when paired with Insert Mesh brushes. For example, a Curve IMM Brush can place a repeating mesh element such as a chain link or trim piece along the curve automatically. This creates clean, production ready detail quickly and consistently.
The key principle is control. Curve Brushes reduce guesswork and improve precision. Instead of manually sculpting symmetry and spacing, you define a path and let the brush handle distribution. When used thoughtfully, they dramatically speed up hard surface detailing, stylized hair design, and ornamental elements while maintaining clean structure.
UV Master
UV Master is ZBrush’s built in tool for quickly creating UVs for your model. UVs define how a 2D texture wraps around a 3D surface. Without clean UVs, textures will stretch, distort, or fail to display correctly in rendering and game engines.
For beginner to mid level artists, UV Master simplifies what is traditionally a very technical process. Instead of manually cutting seams and unfolding shells in another application, UV Master allows you to unwrap your model directly inside ZBrush with just a few steps.
The basic workflow is straightforward:
Duplicate your SubTool to preserve a backup.
Go to ZPlugin > UV Master.
Click Work on Clone to create a temporary version for unwrapping.
(Optional) Use Polygroups to guide seam placement.
Click Unwrap.
Copy the UVs and paste them back onto your original SubTool.
UV Master works best on clean geometry with clear Polygroups. If you define logical groupings, such as separating the head, torso, arms, or clothing pieces, UV Master can use those borders as seam suggestions. This produces cleaner islands and reduces visible stretching.

It is important to understand that UV Master is optimized for speed and practicality. For highly technical production assets, more advanced UV control may be required in dedicated software. However, for sculpted characters, concept models, or rendering inside ZBrush and Redshift, UV Master provides an efficient and reliable solution.
For your workflow, think of UV Master as the bridge between sculpting and rendering. Once your forms are refined and your topology is clean, UV Master prepares your model for texturing, polypaint conversion, and export to external applications.
Texture Maps
Texture Maps
Texture maps are 2D images that store surface information and apply it to a 3D model through its UVs. While sculpting defines physical form, texture maps define surface appearance. They control how a model looks when rendered, including color, material response, and fine surface detail.
In ZBrush, texture maps are typically created after UVs are established. Once UVs are clean, you can convert Polypaint into a texture map, export displacement maps, or generate normal maps depending on your production needs. This allows your sculpted and painted information to transfer into other applications such as Maya, Blender, or game engines.
For beginner to mid level artists, it is helpful to understand the most common map types:
Color Map (Diffuse or Albedo) – Stores surface color information. Often created from Polypaint.
Normal Map – Simulates high resolution surface detail using lighting information.
Displacement Map – Uses grayscale values to physically push and pull geometry at render time.
Roughness or Specular Map – Controls how light reflects across the surface.
Inside ZBrush, you can generate these maps from the Tool > Texture Map and Tool > Displacement Map menus after subdividing your model properly. A clean subdivision structure is important because most maps rely on the difference between high and low subdivision levels.
The key concept is translation. Texture maps allow you to move information from a high resolution sculpt into a format that can be rendered efficiently elsewhere. For your workflow, once the sculpt is complete and UV Master has prepared the model, texture maps become the final step that brings color, detail, and realism into production.
PolyPaint
PolyPaint in ZBrush allows you to paint color directly onto the surface of your model without relying on a texture map. Instead of painting onto UVs, color information is stored per polygon. This makes PolyPaint fast, intuitive, and ideal during the sculpting phase.
Because PolyPaint depends on polygon density, your model must have enough subdivision to support clean color transitions. The higher the resolution, the smoother and more detailed your painted result will appear. If the surface looks blocky or pixelated, it usually means the mesh needs more subdivision.
The basic workflow is simple:
Subdivide your model to an appropriate resolution.
Turn on Colorize in the Tool palette.
Select a brush and enable RGB (or RGB + ZAdd if sculpting and painting together).
Begin painting directly on the model.
PolyPaint is especially powerful during concept development. You can explore skin tones, surface variation, material breakups, and design accents without leaving ZBrush. It keeps the creative process fluid and eliminates the need to switch between applications early in the workflow.
Once your painting is complete and UVs are established, you can convert PolyPaint into a texture map for export. In this way, PolyPaint acts as both a creative sketching tool and a production ready color solution, bridging sculpting and final rendering seamlessly.
Skin Color Zones
Skin is not a single flat color. It shifts subtly across the surface of the face and body based on blood flow, bone proximity, fat deposits, and thickness of tissue. Understanding skin color zones helps your character feel alive rather than plastic.
For beginner to mid level artists, think in three primary zones:
Red Zones – Areas with increased blood flow. These include the cheeks, nose, ears, lips, elbows, and knuckles. These regions tend to appear warmer and slightly more saturated.
Yellow Zones – Areas where fat deposits sit closer to the surface. Commonly seen in the forehead, jawline, and parts of the neck. These areas feel softer and slightly warmer but less red.
Blue or Green Zones – Areas where skin is thinner and closer to bone. Around the temples, eye sockets, and lower jaw, subtle cooler tones may appear due to underlying structure and veins.
When working in ZBrush with PolyPaint, build these zones gradually:
Start with a neutral mid tone across the entire model.
Introduce subtle warmth in red zones using low intensity brush settings.
Shift hue slightly cooler in thinner areas rather than just darkening the value.
Blend transitions softly to avoid harsh patches of color.
The key is subtlety. Skin color variation should support the form, not overpower it. Large hue shifts can break realism quickly. Always think of color as reinforcing anatomy. Warmer tones often emphasize soft tissue, while cooler shifts can help define structure.
For your workflow, especially when sculpting head busts, these zones elevate the realism dramatically. Even a simple sculpt becomes more believable once thoughtful color variation is introduced.
Spotlight
Spotlight is ZBrush’s projection and reference tool. It allows you to project images directly onto your model for sculpting, painting, or extracting detail. Instead of constantly switching between a reference window and your sculpt, Spotlight brings the reference onto the surface itself.
For beginner to mid level artists, Spotlight is most commonly used for two purposes: reference alignment and texture projection.
When used as reference, you can load an image and position it over your model to guide proportions and placement. This is especially helpful when sculpting faces, anatomy, or likeness work. You can scale, rotate, and fade the image to match your model’s perspective.
When used for projection, Spotlight can transfer color or grayscale detail onto the surface:
Load an image into Spotlight.
Position and scale it over your model.
Adjust opacity and alignment.
Enable RGB for color projection or ZAdd for sculpting detail.
Drag across the canvas to project the image onto the surface.
Spotlight works best when your model has sufficient subdivision and clean UVs if you plan to convert projection into texture maps later. It is also powerful for adding surface detail such as skin pores, fabric patterns, decals, or graphic elements.
The key concept is integration. Spotlight is not a shortcut for form. It enhances an already solid sculpt. Use it to reinforce structure, refine surface information, and accelerate realism while maintaining control over your underlying anatomy and design.
Adjust Color
Adjust Color in ZBrush allows you to globally shift the hue, saturation, and value of your PolyPaint without repainting the surface manually. It is a powerful correction tool that helps unify color zones, rebalance contrast, or push a model toward a specific lighting mood.
For beginner to mid level artists, Adjust Color is especially useful after you have completed your initial PolyPaint pass. Instead of repainting large areas, you can make controlled global changes to refine the overall look.
The basic workflow is simple:
Make sure your SubTool is selected and Colorize is enabled.
Go to Tool > Polypaint > Adjust Color.
Adjust Hue to shift overall color temperature.
Adjust Saturation to increase or decrease intensity.
Adjust Value to lighten or darken the paint globally.
Click OK to apply the change.
This tool affects all visible PolyPaint on the active SubTool. If you want more control, you can mask areas before applying Adjust Color so that only unmasked regions are affected.
The key concept is refinement. Adjust Color is not for creating skin zones from scratch. It is for harmonizing them. If your reds are too strong or your overall tone feels dull, small percentage changes can dramatically improve cohesion.
For your head bust and character workflows, Adjust Color acts as a final pass tool. It helps unify the sculpt visually before converting PolyPaint into texture maps or moving into rendering.