Chapter 7
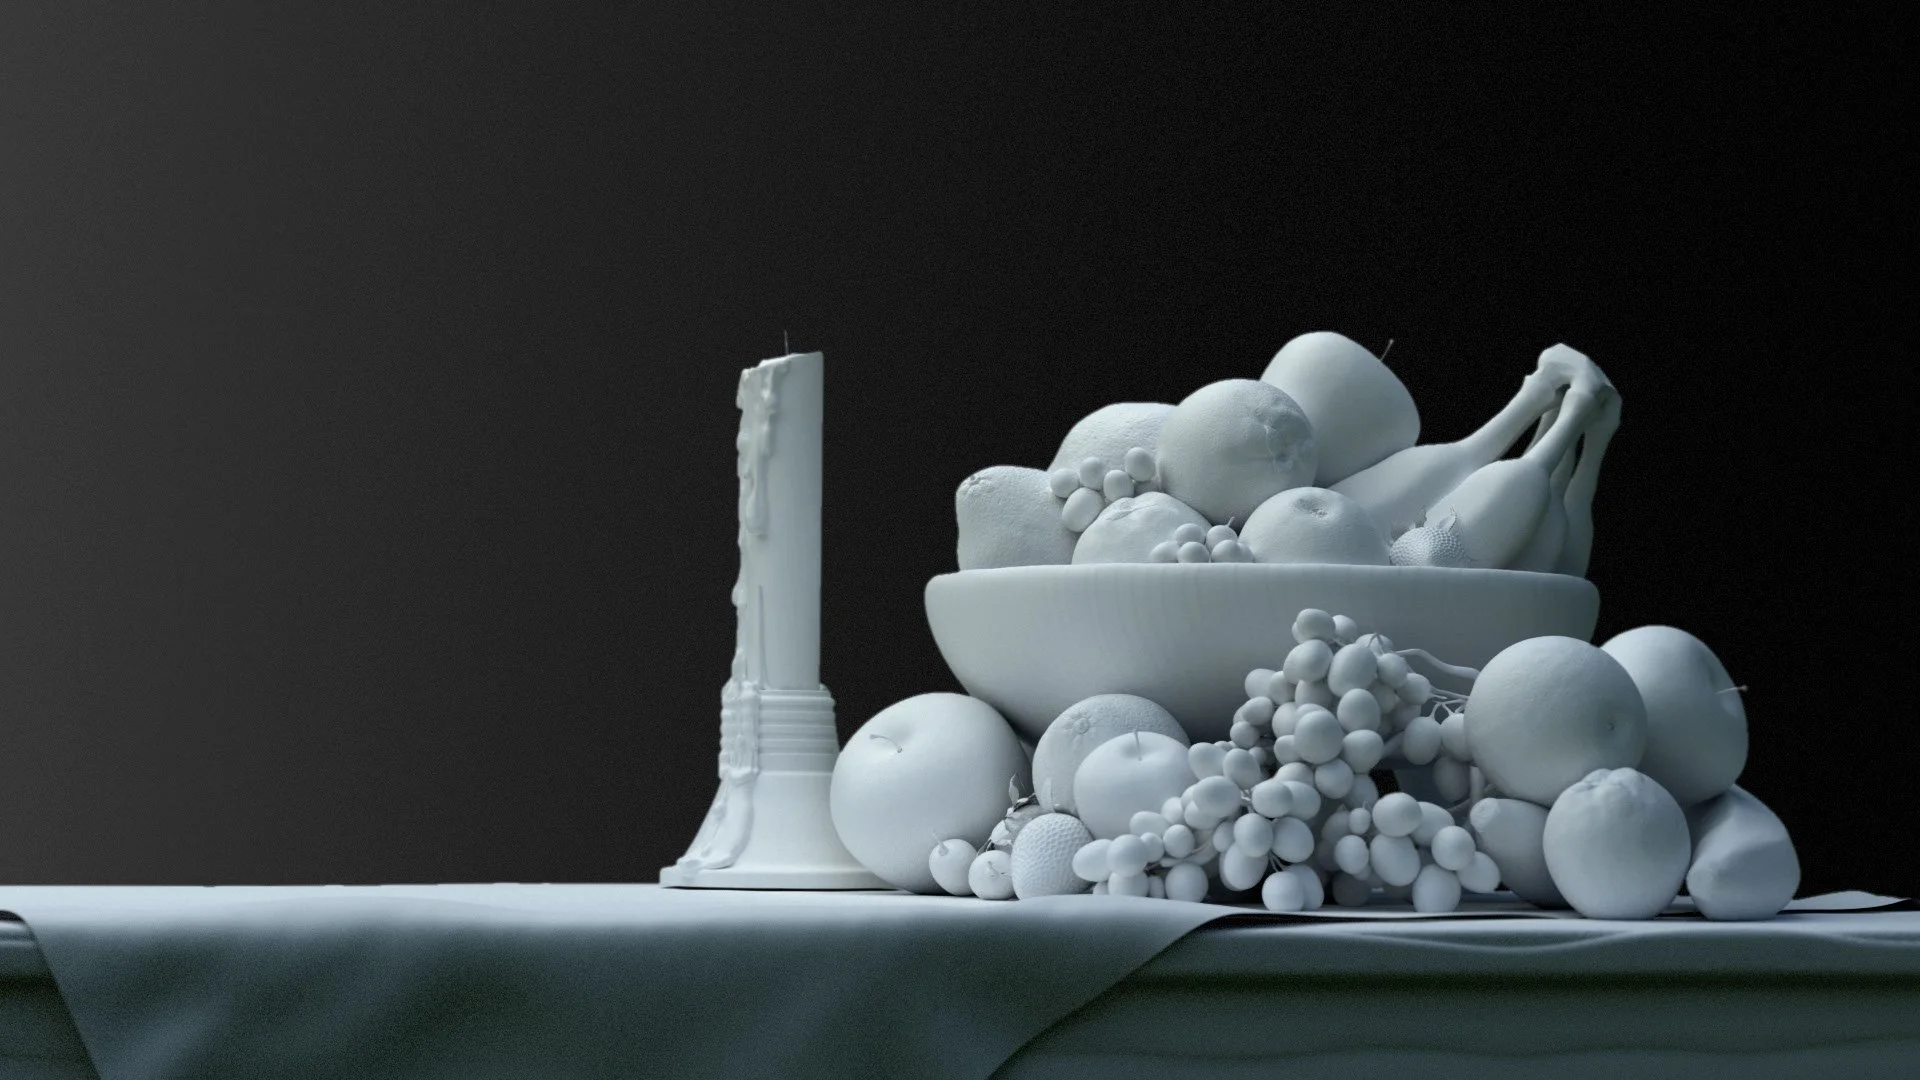
Bring your sculpts to life with cinematic beauty using Redshift inside ZBrush. In this chapter, Ian Robinson guides you through the essentials of setting up Redshift for ZBrush, from installing the plugin to unlocking photorealistic materials, lights, and shadows—all without ever leaving the ZBrush interface. You’ll learn how to harness the power of GPU rendering, fine-tune your settings, and get the most out of Redshift’s speed and flexibility whether you’re rendering a simple bust or a complex multi-subtool composition.
But it doesn’t stop at hitting "Render." You’ll also dive into exporting AOVs (render passes), building light rigs with HDRI maps and ZBrush lights, and performing post-processing magic in Photoshop. Whether you’re polishing a portfolio piece or prepping your model for presentation, this chapter equips you with a professional rendering pipeline tailored to a sculptor’s workflow. If you’ve ever wondered how to make your ZBrush work look gallery-ready, this is where the magic happens.

Ian Robinson


Chapter 7 – Redshift Rendering
By Ian Robinson
Chapter OVERVIEW
Installing and activating Redshift for ZBrush
Understanding Redshift’s rendering pipeline
Setting up lighting using HDR images and in-scene lights
Applying and editing Redshift materials
Camera positioning and framing your sculpt
Exporting and rendering turntables
AOV passes and Photoshop post-processing
This chapter demystifies terms like diffuse, specular, and depth maps, showing you how to use them for more control over your final presentation.
Common beginner pitfalls like poor lighting placement, mismatched materials, and confusing AOV exports are addressed head-on. With step-by-step breakdowns and real-world examples, you’ll gain confidence navigating Redshift from inside ZBrush.